
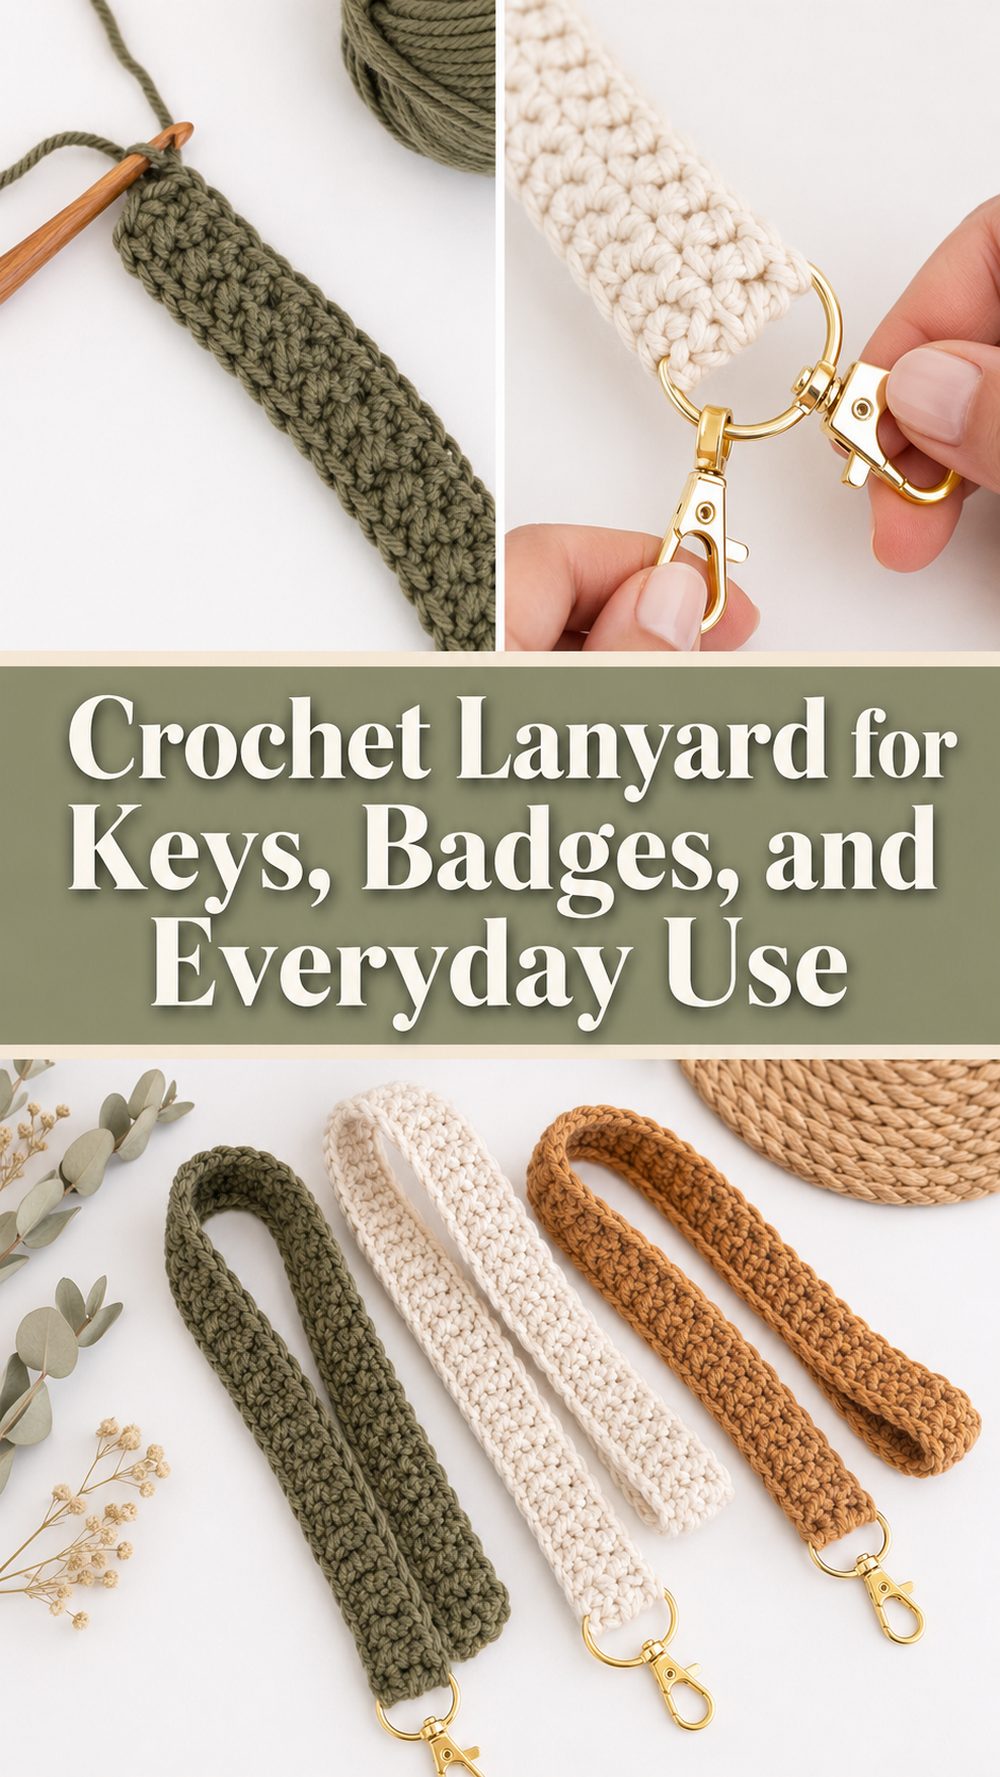
A crochet lanyard is one of those small projects that is surprisingly useful once you make one. It is simple, practical, and easy to customize, which makes it a great crochet project for everyday life. The tutorial I selected teaches a quick and easy crochet lanyard that can be used for keys, a work badge, or a school ID, so it is not just cute, it is genuinely handy too. The video is presented as a beginner-friendly project, which makes it a lovely choice if you want something relaxing to crochet without a lot of shaping or complicated steps.
What makes this project especially nice is that it works up into something lightweight and wearable, but still feels sturdy enough for daily use. It is also a great stash-busting idea if you have leftover yarn sitting around. Whether you want to make one for yourself, a student, a teacher, or as a quick handmade gift, a crochet lanyard is a practical little project with plenty of room for personal style.
Why You’ll Love This Project
This project is fun because it is quick, useful, and very easy to personalize. The selected tutorial describes the lanyard as quick and easy, and it is specifically meant for holding things like a work badge, school badge, or keys, so it is the kind of crochet piece you can actually use every day.
Materials Needed
- Yarn
- Crochet hook
- Scissors
- Yarn needle
- Stitch markers
- Lobster clasp, keyring, or other hardware for attaching keys or a badge
- Optional badge holder or ID clip
Use a yarn and hook size that matches your desired fit and texture.
Best Yarn for This Project:
A smooth yarn with a little strength works best for a lanyard. Cotton is a very good choice because it feels sturdy, shows stitch detail nicely, and usually stretches less than softer yarns. A cotton blend can also work well if you want a little softness while still keeping the strap practical. If you want a thicker lanyard, choose a yarn with a bit more body. If you want a lighter one, go with a smoother medium-weight yarn.
Skill Level:
Beginner-friendly.
The selected video describes this as a quick and easy crochet project for useful everyday items like keys and badges, which makes it a very approachable project for beginners who already know the basic stitches.
Size and Fit Guide:
A lanyard is easy to adjust. You can make it shorter if you want a compact neck strap, or longer if you prefer more room and movement. A good way to size it is to loosely measure around your neck and decide where you want the item to hang. If you are making it for keys, you may prefer it slightly shorter. If it is for a badge, a little extra length can make it more comfortable.
Stitches Used:
The tutorial is presented as a quick and easy beginner project, so the build is simple and repetitive. Follow the stitch pattern shown in the tutorial and focus on keeping the strap even and comfortable rather than worrying about fixed counts if you want to change the length.
How to Make It
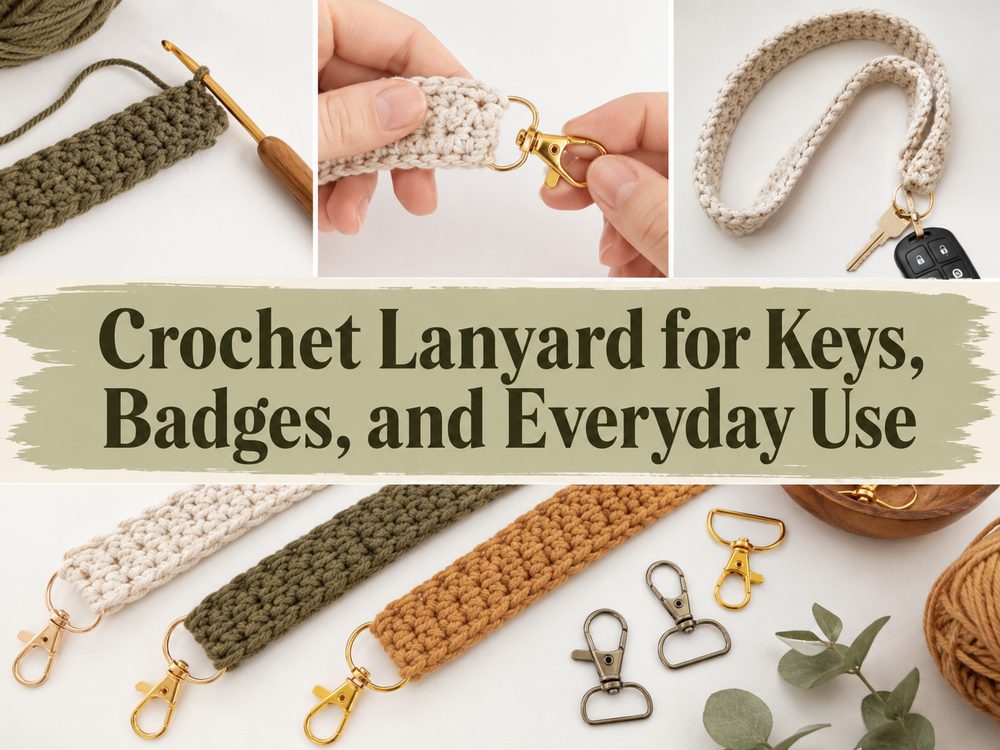
Step 1: Start the Foundation
Begin by making the starting chain or foundation that creates the length of the lanyard. This first part matters because it determines how long the finished strap will be when worn. Before you go too far, it helps to hold the yarn or chain roughly around your neck to picture the drop.
If you want the lanyard mainly for keys, a medium length usually feels practical. If you want it for a work or school badge, you may want it a little longer so the badge sits comfortably and is easy to reach. Keep the foundation smooth and not too tight, because a stiff beginning can make the whole strap feel less flexible.
Step 2: Build the Strap
Once the foundation is ready, continue crocheting back along it to create the body of the lanyard. The selected tutorial describes the project as quick and easy, so the strap construction is designed to stay simple and repetitive rather than complicated.
This is where the lanyard starts to become more useful and sturdy. As you work, try to keep your tension even so the strap does not twist or narrow in places. A lanyard usually looks best when it stays consistent from one end to the other. Since it will be worn and handled often, a neat strap also makes it feel more polished.
Step 3: Check the Length and Feel
Before finishing the ends, take a moment to check how the lanyard feels. Hold it up or loosely place it around your neck and imagine where the badge, keys, or clip will hang. If it feels too short, continue until it reaches a comfortable length. If it seems too long, adjust before adding any hardware.
This is also a good time to think about thickness. A narrow strap can look sleek and simple, while a slightly thicker one can feel more secure for keys. The right choice depends on how you plan to use it every day.
Step 4: Add the Hardware
The selected tutorial mentions using the lanyard for a work badge, school badge, or keys, so attaching the right hardware is an important part of the project.
At one end, add a lobster clasp, keyring, or badge attachment, depending on what you want to carry. Make sure this section is joined securely because it takes the most strain in daily use. If you are using a keyring, the end should feel snug and steady. If you are attaching a badge clip, test how it hangs before fully finishing.
Step 5: Join the Lanyard Into Its Final Shape
Once the strap length is right and the hardware is in place, join the ends if the tutorial forms a continuous neck loop. Keep the join neat and strong. Since a lanyard is worn and moved around a lot, secure finishing matters just as much as the crochet itself.
Lay the strap flat after joining and check that it is not twisted. A smooth join makes the finished lanyard more comfortable to wear and helps it look much cleaner.
Step 6: Weave In Ends and Finish
After the structure is complete, weave in all loose ends carefully. Small practical projects like this often get used every day, so a secure finish really matters. Tug lightly on the strap and around the clasp area to check that everything feels solid.
The finished piece should be lightweight, neat, and easy to wear, with a practical attachment for keys or a badge. Since the selected tutorial specifically presents it as a quick and easy lanyard for work badges, school badges, or keys, the overall design is meant to be simple, functional, and beginner-friendly.
Helpful Tips
- Use cotton yarn if you want the lanyard to feel sturdier.
- Check the length before attaching the final hardware.
- Keep your tension even so the strap stays neat.
- Make sure the clasp area is extra secure.
- Test it with real keys or a badge before calling it done.
- Weave in ends carefully because this project gets handled often.
Common Mistakes to Avoid
- Making the strap too short to wear comfortably
- Crocheting too tightly so the lanyard feels stiff
- Forgetting to check the length before joining
- Attaching the clasp too loosely
- Letting the strap twist before final assembly
- Using very stretchy yarn if you want a firmer everyday lanyard
Customization Ideas
You can make this lanyard feel very personal with just a few changes. Try bold colors for a cheerful everyday accessory, neutral shades for something simple and practical, or school or work colors for a more themed look. You can also add stripes, color blocking, beads, a decorative edging, or a matching key charm. If you want a softer look, use pastel tones. If you want something more modern, keep it plain and minimal.
Style Ideas
A crochet lanyard is useful for work badges, school IDs, keys, small card holders, and even tiny pouches. It also makes a thoughtful handmade gift for teachers, students, coworkers, or anyone who likes practical accessories with a handmade touch.
Care Instructions
Hand wash gently in cool water if needed. Press out extra moisture without twisting, then reshape the lanyard and lay it flat to dry. Avoid high heat, especially if metal hardware is attached. If the strap softens after washing, smoothing it flat while damp can help it dry more neatly.
Time Needed
This may take a few hours depending on your speed, yarn, stitch pattern, and preferred length. Since the selected tutorial describes it as quick and easy, it looks like a nice smaller project rather than a long or complicated make.
Conclusion
A crochet lanyard is such a handy little project to keep in your crochet collection. It is quick, practical, easy to customize, and simple enough to enjoy without feeling overwhelmed. Whether you use it for keys, a school badge, or a work ID, it is the kind of item that adds a bit of handmade charm to everyday life. Once you make one, it is easy to imagine making more in different colors for gifts or daily use.
FAQs
Is this beginner-friendly?
Yes. The selected tutorial presents it as a quick and easy project, which makes it a good fit for beginners.
What yarn is best for a crochet lanyard?
Cotton or a cotton blend is a great choice if you want a neater and sturdier strap.
Can I adjust the length?
Yes. You can make it shorter or longer depending on whether you want it for keys, a badge, or everyday wear.
What can I attach to it?
You can use it for keys, a work badge, or a school badge, which are all uses mentioned in the selected tutorial.
Does it need special hardware?
A simple lobster clasp, keyring, or badge attachment is usually enough, depending on how you want to use it.