
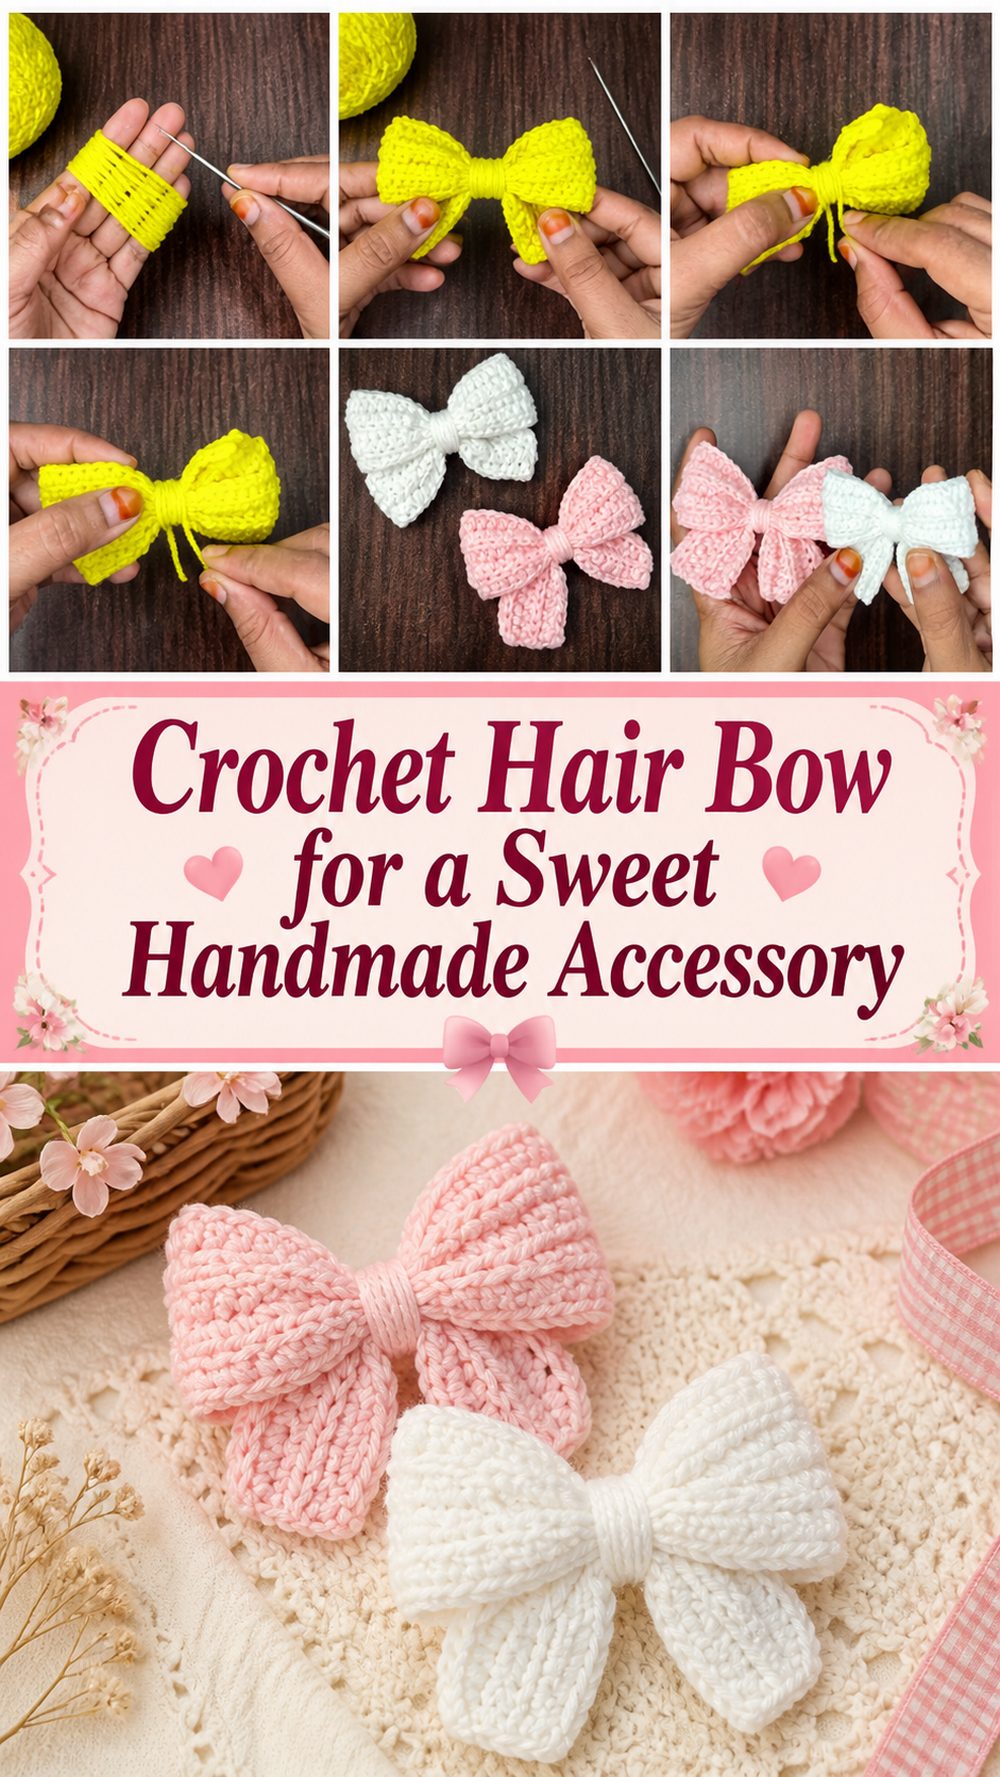
A crochet hair bow is one of those little projects that feels fun from the very beginning. It is small, cute, and practical, which makes it perfect when you want something quick but still satisfying to finish. The YouTube tutorial I selected teaches a cute and simple hair bow in a step-by-step tutorial for beginners, so it is a lovely choice if you want an easy accessory project without a complicated pattern. A hair bow like this can be worn on clips, headbands, ponytail holders, or even added to gift wrapping and baby items for an extra handmade touch. Since it is such a small make, it is also a great way to use leftover yarn. This is the kind of project that works up quickly and still feels special when it is done.
Why You’ll Love This Project
This project is easy to love because it is small, wearable, and quick to finish. The selected tutorial clearly presents it as an easy crochet hair bow taught step by step for beginners, so it feels approachable while still giving you a pretty finished accessory.
Materials Needed
- Yarn
- Crochet hook
- Scissors
- Yarn needle
- A hair clip, hair tie, or headband for attaching the bow
Use a yarn and hook size that matches your desired fit and texture.
Best Yarn for This Project
A hair bow usually looks nicest in a yarn that helps the shape stay neat. Cotton is a lovely choice because it often gives the bow a crisper shape and helps the loops hold well. A soft acrylic can also work beautifully if you want the bow to feel a little softer and gentler. Smooth yarn tends to show the shape best, especially in a small project like this where the details matter.
Skill Level
Beginner-friendly.
The selected tutorial is specifically described as an easy crochet hair bow tutorial and step by step for beginners, so it should feel comfortable for someone who knows the basic stitches and wants a quick accessory project.
Size and Fit Guide
The finished size of your hair bow will depend on your yarn, hook, and how wide you want the bow to look. If you want a smaller bow for a child’s clip or a more delicate style, use thinner yarn and keep the bow section more compact. If you want a fuller statement bow, use a slightly thicker yarn or make the main panel a little wider.
It also helps to match the size of the bow to the hardware you plan to use. A tiny bow can look sweet on a small snap clip, while a fuller bow may suit a barrette or headband better. Before finishing, hold the bow against the clip or band to make sure the size feels balanced.
Stitches Used
The visible YouTube result confirms that this is an easy crochet hair bow tutorial taught step by step for beginners, but the search result does not clearly list every stitch by name. To stay accurate, it is best not to invent exact stitch names, stitch counts, or row totals that are not clearly confirmed in the source.
How to Make It
Step 1: Start the Main Bow Section
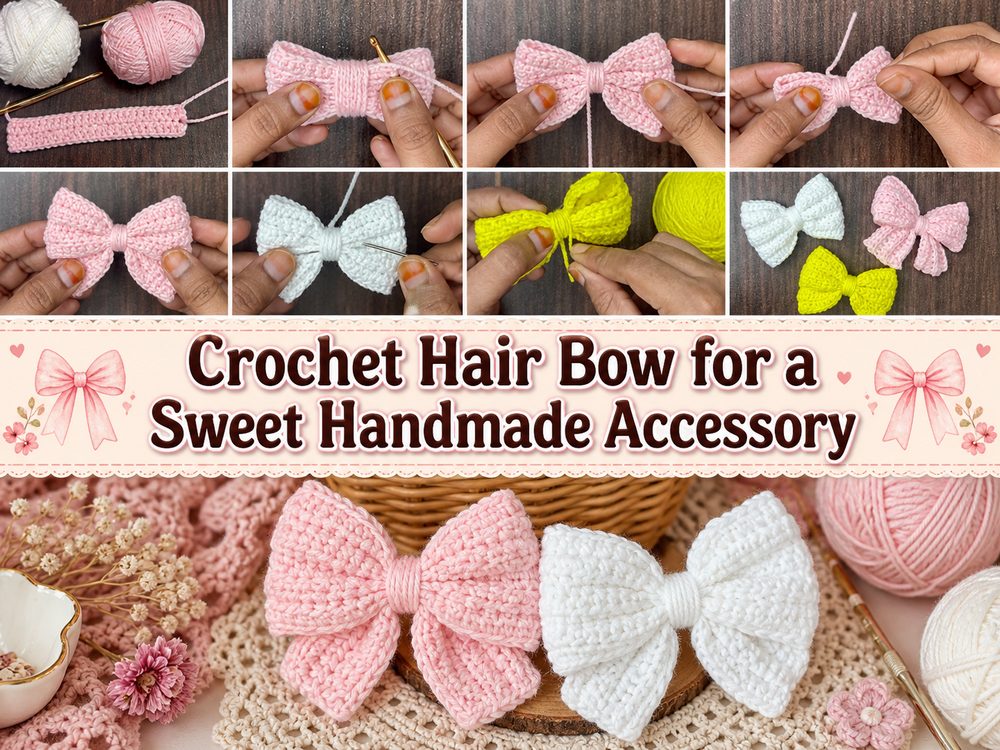
Begin by making the main piece that will become the bow itself. In a project like this, the bow usually starts as a simple crocheted shape before it is gathered into that familiar bow form. Since the selected tutorial is aimed at beginners, the beginning should feel straightforward and manageable rather than overly detailed.
At this stage, try to keep your tension even. A bow looks best when both sides feel balanced, so a neat start makes a real difference. Small accessories tend to show every little detail, which is why steady stitching matters so much here.
Step 2: Build the Bow Panel
As you continue, the main panel starts to take shape. This is the relaxing part of the project, because once you settle into the rhythm, you are simply creating the fabric that will later be formed into the bow. Keep an eye on the width as you work.
If you want a petite bow, stop when the panel feels small and delicate. If you want a fuller bow, continue until it feels wide enough to create nice loops. This is one of the nicest things about a project like this. You can easily adjust the look without making it complicated.
Step 3: Form the Bow Shape
Once the main section is done, shape it into a bow by gathering the center. This is the moment when the project really comes to life. A simple crocheted strip or rectangle suddenly starts looking like a sweet finished accessory.
Try to keep both sides looking fairly even as you cinch the middle. They do not have to be absolutely perfect, but a balanced shape gives the bow a much prettier finish. If one side looks too full or too flat, gently adjust it before securing the center.
Step 4: Add the Center Wrap
A crochet bow usually looks much more polished once the middle is wrapped neatly. This center section gives the bow that classic pinched look and helps hold the shape in place. Keep the wrap snug enough to define the bow, but not so tight that the loops lose their softness.
This step may be small, but it makes a big difference. A tidy center wrap can take the bow from simple to really charming.
Step 5: Attach It to Your Hair Accessory
After shaping the bow, attach it to the clip, headband, or tie you want to use. Since this is specifically a hair bow tutorial, the final look should feel secure and comfortable enough for wearing as an accessory. This is a reasonable adaptation from the tutorial’s stated hair-bow purpose.
Take your time with this part so the bow sits centered and does not twist awkwardly. Once attached, check how it looks from the front. A well-placed bow should feel neat, balanced, and easy to wear.
Step 6: Make More in Different Colors
Because this is a small beginner project, it is the kind of pattern that is very easy to repeat once you have finished one. That makes it perfect for using yarn scraps, making matching accessories, or creating little gift sets. The beginner step-by-step format of the selected tutorial strongly supports this as a practical repeat project.
Soft pastels look sweet and classic, bright colors make the bow more playful, and neutral shades can feel simple and elegant. Once you make one, it is hard not to imagine a whole set in different colors.
Helpful Tips
- Use smooth yarn if you want the bow shape to stand out clearly.
- Keep your tension even so both sides of the bow look balanced.
- Check the size against your clip or band before final attachment.
- Do not wrap the center too tightly or the loops can lose shape.
- Make several at once if you are using leftover yarn.
- Choose hardware that suits the finished bow size.
Common Mistakes to Avoid
- Making the bow too large for the clip or band
- Making the bow too small to show nicely
- Pulling the center wrap too tightly
- Crocheting too loosely so the bow feels floppy
- Forgetting to check that the bow sits centered
- Using very fuzzy yarn if you want a neat defined shape
Customization Ideas
This hair bow is very easy to personalize. You can make it in soft pastel shades for a sweet everyday look, brighter colors for playful accessories, or simple neutrals for a cleaner style. You could also make a tiny bow for baby accessories or a fuller bow for a more noticeable statement piece. A pearl, button, or little center detail could make it feel even more special.
Style Ideas
A crochet hair bow looks lovely clipped to the side of the hair, added to a ponytail, attached to a headband, or worn with a half-up style. It also makes a sweet little handmade gift, especially when paired with matching clips or a simple accessory set. Because it is small and soft, it works well for everyday wear and special occasions alike.
Care Instructions
If needed, gently hand wash and lay flat to dry. Shape the bow while damp so the loops dry neatly. Avoid high heat, especially if your yarn is acrylic or a delicate blend. If the bow gets a little flattened, a gentle finger reshape usually helps it look nice again.
Time Needed
The visible YouTube result does not clearly state an exact time, but it does present this as an easy tutorial and a step-by-step for beginners project, which supports it being a manageable smaller make rather than a long or technical one.
Conclusion
A crochet hair bow is such a sweet little project when you want something quick, wearable, and handmade. The selected YouTube tutorial teaches it as an easy project and step by step for beginners, which makes it a lovely option for simple accessory-making, gift-giving, and using up small amounts of yarn. Once you finish one, it is easy to see how this could turn into a whole collection of pretty little bows.
FAQs
Is this beginner-friendly?
Yes. The selected tutorial specifically presents it as step by step for beginners.
What can I attach the bow to?
You can attach it to a hair clip, headband, or hair tie depending on the look you want. This is a practical adaptation based on the tutorial being for a hair bow.
What yarn works best?
A yarn with good stitch definition, such as cotton or soft acrylic, usually works very well.
Can I adjust the size?
Yes. You can make it smaller or larger by changing your yarn, hook, and the size of the main bow section.
Is this good for gifts?
Yes. A crochet hair bow is small, pretty, and easy to personalize, which makes it a lovely handmade gift.