
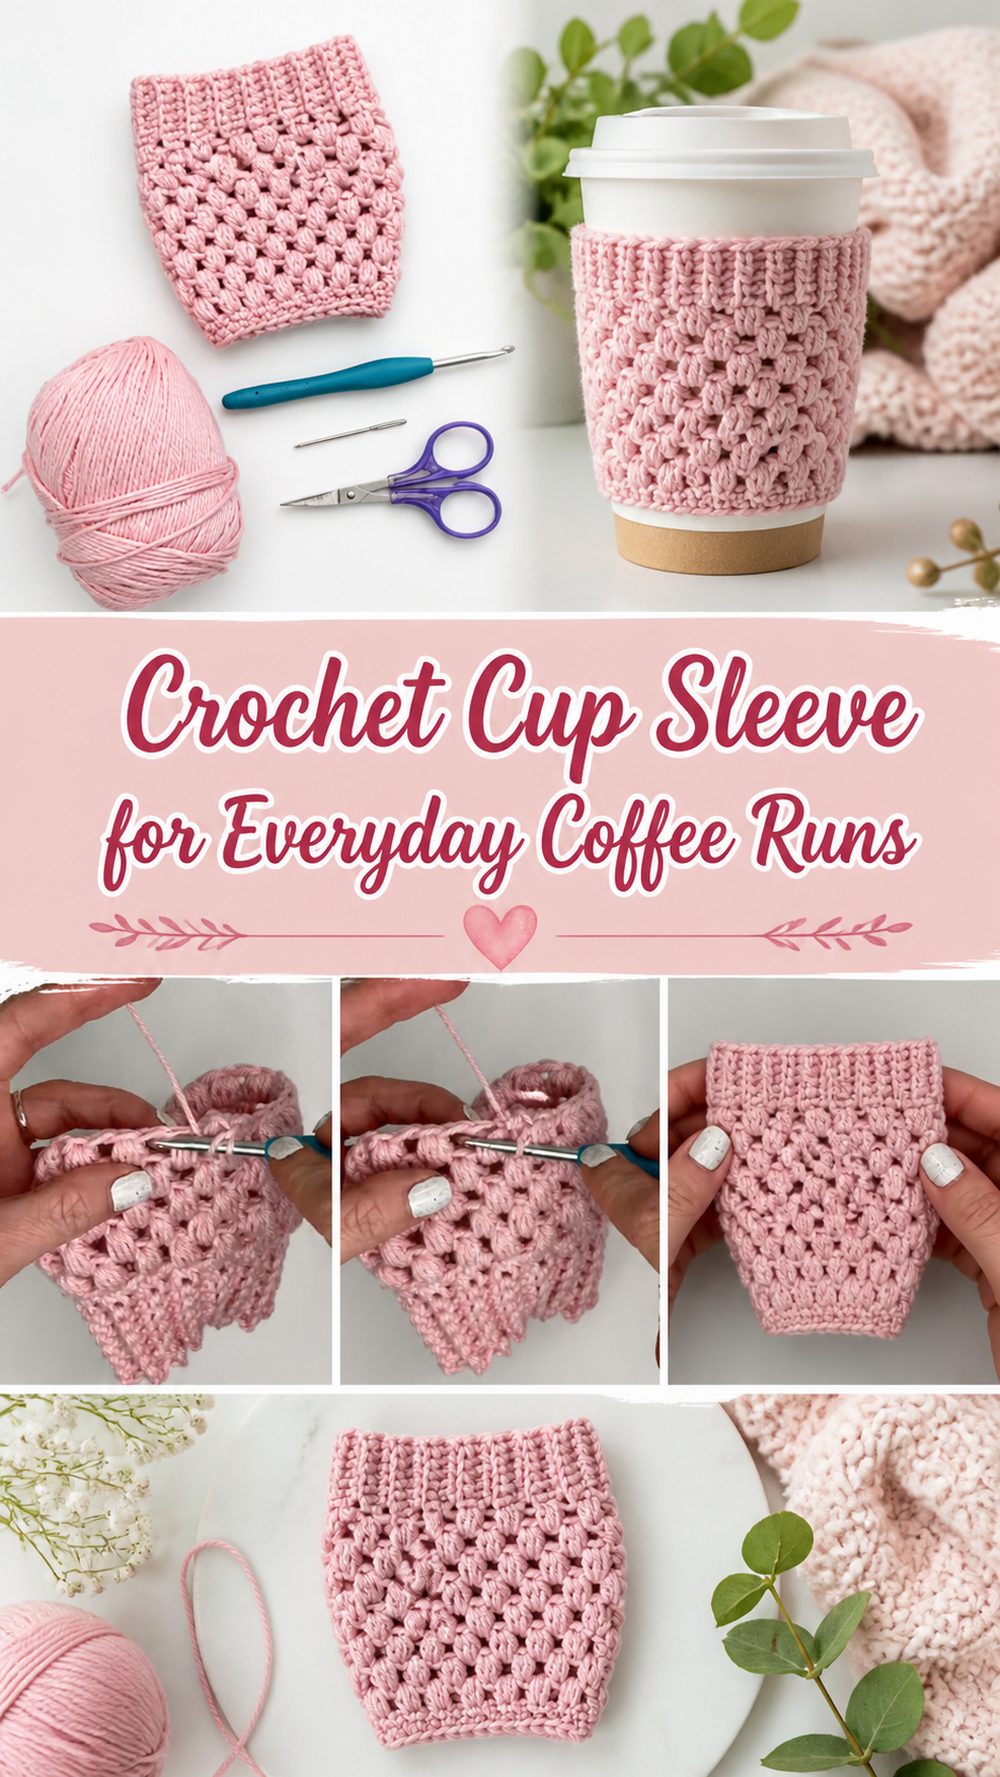
A crochet cup sleeve is one of those small projects that feels instantly useful. It is quick to make, easy to carry in your bag, and such a nice way to add a handmade touch to your daily drink. This kind of project is perfect for using up a bit of yarn while still ending up with something you will actually reach for again and again. The tutorial I selected shows a beginner-friendly coffee cup cozy made with 100% cotton yarn, and it is designed to replace disposable cardboard sleeves in a simple, practical way.
What makes this project especially nice is how approachable it feels. You do not need a huge time commitment, fancy shaping, or lots of supplies. It is a lovely little make for beginners, gift baskets, market prep, or anyone who enjoys quick crochet projects that are both cute and functional. Once you make one, it is very easy to want a few more in different colors for different seasons.
Why You’ll Love This Project
This project is fun because it is quick, practical, and satisfying from start to finish. You get the charm of handmade crochet in a size that feels manageable, and the finished sleeve is something you can use to replace single-use coffee sleeves in a simple everyday way. The selected tutorial also presents it as an easy beginner project, which makes it especially appealing when you want something low-stress and useful.
Materials Needed
- 100% cotton yarn
- Crochet hook
- Scissors
- Yarn needle
- Measuring tape
- Stitch marker if helpful
The tutorial specifically uses 100% cotton yarn, which is a smart choice for a cup sleeve because it gives the cozy a bit of structure and everyday durability.
Best Yarn for This Project
Cotton is the best yarn for a crochet cup sleeve. It has a clean finish, feels sturdy in the hand, and holds its shape better than yarns that stretch too much. Since this project is made to wrap around a drink cup, cotton helps the sleeve feel practical rather than floppy. The selected tutorial uses 100% cotton yarn, and that choice makes a lot of sense for this kind of everyday item.
If you want a sleeve that feels neat and crisp, choose a smooth cotton yarn. If you like a softer finish, a cotton blend can work too, but pure cotton is especially nice when you want a sleeve that stays snug around the cup. It is also a great option if you want to make several as gifts, because they look polished and can handle regular use well.
Skill Level
This project is beginner-friendly. The tutorial is described as an easy crochet coffee cup cozy, so it is a nice fit for someone who already knows the basics and wants a simple project with a useful result.
It is also a great confidence-builder because the shape is small, practical, and forgiving. You can focus on neat stitches and fit without worrying about complicated shaping or advanced techniques.
Size and Fit Guide
Cup sleeves are easy to adjust, which is one of the reasons they are so enjoyable to make. Before you begin, think about the type of cups you use most often. Some people want a sleeve for a standard takeaway coffee cup, while others prefer one that fits reusable cups or slightly larger drinks.
As you crochet, wrap the piece around your cup to check the fit. You want it to sit snugly enough that it stays in place, but not so tight that it pulls or warps the stitches. If it feels too small, add a little extra width or work a few more rows. If it feels too loose, reduce the width slightly or make the join tighter. This is the kind of project that benefits from testing as you go.
Stitches Used
The video is presented as a beginner cup cozy tutorial, so it relies on simple, basic crochet construction rather than anything overly advanced.
Because the available video snippet does not clearly list every stitch by name, it is best to follow the tutorial directly for the exact stitch sequence. In a beginner cup sleeve like this, the stitches are kept simple so the sleeve stays easy to make and practical to use.
How to Make It

Step 1: Start the Foundation
Begin by making the starting chain or foundation section that will determine the width or height of your sleeve, depending on how the piece is constructed. Since this is a small project, it helps to keep your starting tension nice and even. A foundation that is too tight can make the sleeve pull inward, while a very loose foundation can make the edges look uneven.
For a cup sleeve, a clean start makes a big difference. This project is small enough that every row shows, so neat stitches help the finished sleeve look polished.
Step 2: Build the Main Body
Once the foundation is done, continue working the main section of the sleeve in the simple repeat shown in the tutorial. This is the relaxing part where the project starts taking shape quickly. Because the sleeve is small, you will see progress almost right away, which makes it especially satisfying.
The selected tutorial describes the project as easy and beginner-friendly, so the body is designed to be approachable and practical rather than fussy. Keep your rows or rounds even, and pause now and then to hold the piece against your cup. That little habit helps you catch sizing issues before you get too far.
Step 3: Check the Fit Around the Cup
When the body looks close to the right size, wrap it around the cup you plan to use most often. This step matters more than exact numbers, especially since cup sizes can vary a lot. You want the sleeve to feel comfortable and secure.
If the sleeve is worked as a flat piece, this is the perfect point to see whether the width is enough before you join it. If it is worked in the round, check that it slides on comfortably and sits where you want it on the cup. The best fit is snug, tidy, and easy to remove without stretching it out too much.
Step 4: Join the Sleeve
After you are happy with the fit, join the edges neatly if the tutorial uses a flat construction. Try to keep the seam clean and secure, since this little project will be handled often. A neat join helps the sleeve look finished and keeps it from shifting awkwardly around the cup.
If the sleeve is worked in one continuous piece, this stage is more about closing the final row cleanly and making sure the shape stays even. Either way, this is the moment where the project starts to look complete.
Step 5: Add Any Final Edge Work
Some cup sleeves stay very simple, while others include a finishing edge or a little texture detail. For a project like this, a tidy edge can make a small piece look much more refined. Keep the tension steady and do not overwork it. A simple finish is often the prettiest choice for a practical cup cozy.
Because the selected video focuses on an easy coffee cup cozy, the overall result is meant to stay simple, functional, and beginner-friendly.
Step 6: Weave in Ends and Shape the Cozy
Once the crochet is complete, weave in the yarn ends carefully. This part is easy to rush, but it is worth doing well. A cup sleeve gets pulled on and off often, so loose ends can work themselves free over time if they are not secured properly.
After that, slide the sleeve onto your cup and check the finished look. It should sit evenly, feel comfortable in your hand, and give that nice handmade touch to your drink without feeling bulky. The final result is a practical reusable cozy that can take the place of disposable coffee sleeves, which is one of the nicest things about this project.
Helpful Tips
- Use cotton yarn for a cleaner shape and better everyday wear.
- Test the fit on your cup before finishing the sleeve.
- Keep your tension even so the cozy does not become wavy or tight in spots.
- Make a note of your row count if you plan to make a matching set.
- Choose colors that hide coffee drips or everyday wear if you plan to use it often.
- Weave in ends securely because this is a small project that gets handled a lot.
Common Mistakes to Avoid
- Making the sleeve too loose, so it slips around the cup
- Using a yarn that stretches too much
- Forgetting to test the fit before joining
- Pulling the foundation too tight
- Leaving a bulky seam that feels awkward in the hand
- Rushing the finishing and not weaving in ends properly
Customization Ideas
There are so many easy ways to make this project feel personal. You can use a calm neutral color for an everyday minimalist look, or go bright and playful with stripes or seasonal shades. A little textured border can add interest without changing the simple shape too much.
You can also make a few different sizes for takeaway cups, reusable coffee cups, or gifting. If you enjoy simple embellishments, you could add a small button accent, a contrast edge, or a tiny stitched tag. Even a plain cup sleeve looks lovely when the color and texture feel thoughtful.
Style Ideas
A crochet cup sleeve is sweet on its own, but it also pairs nicely with other small handmade pieces. It fits beautifully into a gift set with a coaster, tea sachets, or a little bag of treats. It is also a great market item because it is practical, giftable, and easy to make in different colors.
For a cozy everyday feel, try soft beige, cream, dusty rose, sage, or warm brown. For something more cheerful, make a few in bright summer shades or rich autumn colors.
Care Instructions
Since this project is made with cotton yarn, gentle care is usually the best option. Hand washing is the safest choice, especially if you want the sleeve to keep its shape nicely. Wash it in cool or lukewarm water, reshape it while damp, and lay it flat to dry.
Avoid high heat, because it can affect the look and feel of the yarn over time. If the sleeve starts to stretch a bit with use, a gentle wash and reshape can freshen it up again.
Time Needed
This is a small project, so it can usually be finished in a short crafting session. The selected tutorial presents it as an easy crochet coffee cup cozy, which makes it a nice choice when you want something quick and useful rather than a long multi-day project.
Conclusion
A crochet cup sleeve is such a lovely little project to keep on hand. It is practical, beginner-friendly, and easy to make your own with different colors and simple finishing touches. Whether you want a quick gift, a reusable coffee accessory, or just a small satisfying crochet break, this is the kind of project that feels worth making. It is simple, useful, and easy to enjoy.
FAQs
Is this beginner-friendly?
Yes. The selected tutorial presents it as an easy crochet coffee cup cozy, so it is a very approachable project for beginners.
What yarn is best?
100% cotton is a great choice because it gives the sleeve structure and makes it practical for regular use. The selected tutorial specifically uses 100% cotton yarn.
Can I adjust the size?
Yes. You can wrap the piece around your cup as you work and adjust the width or height for a snug fit.
Can I use this instead of disposable coffee sleeves?
Yes. The selected tutorial specifically frames the cozy as a reusable alternative to one-time-use coffee sleeves.
Can I make several as gifts?
Absolutely. This is a great gift project because it is small, useful, and easy to personalize with color choices.