
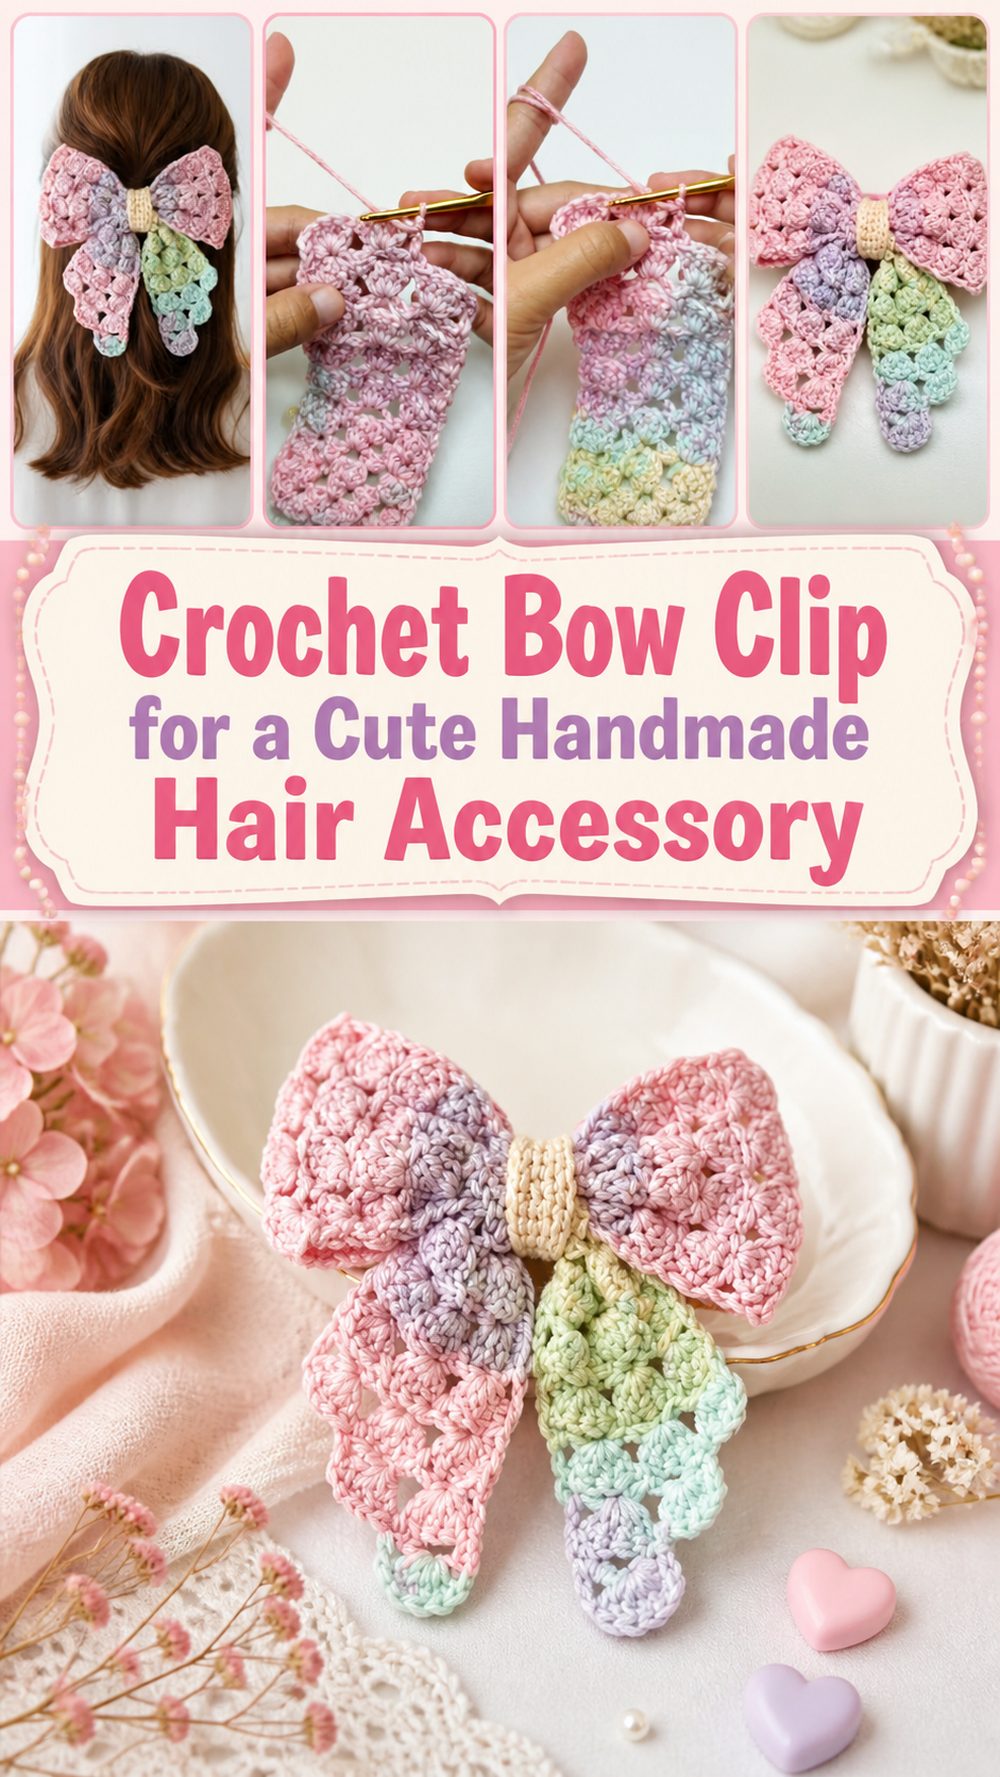
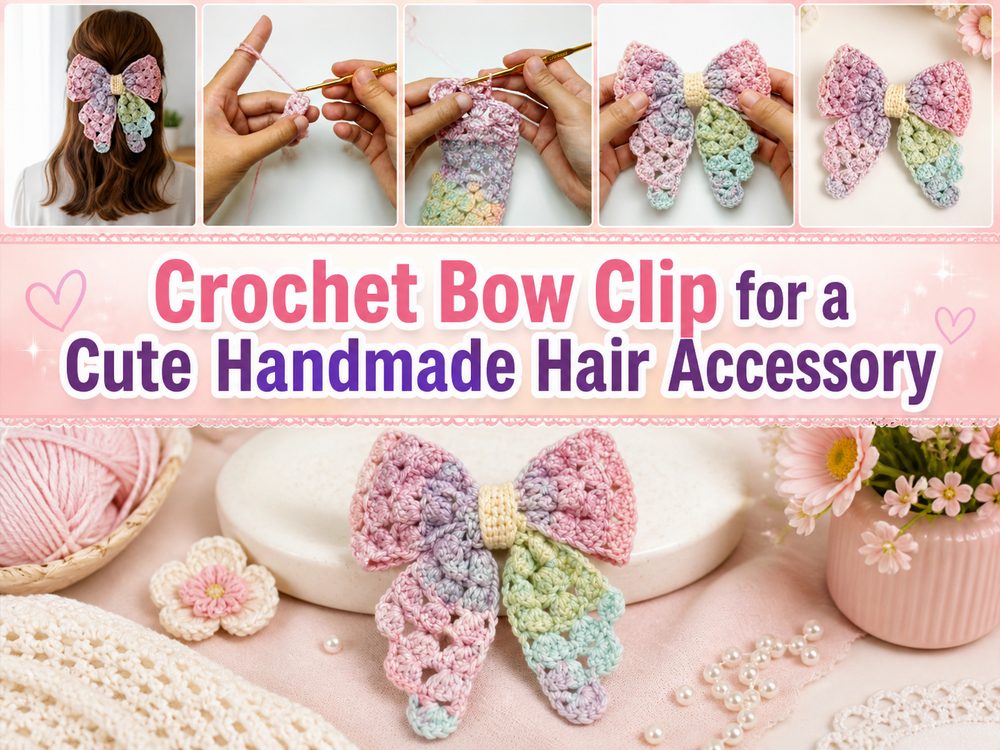
A crochet bow clip is one of those tiny projects that feels instantly rewarding. It is sweet, practical, and easy to wear, so you get something pretty without needing a huge amount of yarn or time. The YouTube tutorial I selected teaches a cute and easy bow hair clip in a step-by-step way and describes it as perfect for beginners. It also says the project takes only a few minutes, which makes it especially lovely when you want a fast crochet win or a quick handmade gift. A bow clip is also very easy to personalize. You can keep it simple for everyday wear, make it playful in bright colors, or choose soft shades for a sweeter look. It is the kind of project that works beautifully for kids, teens, or anyone who loves a small handmade detail in their hair accessories.
Why You’ll Love This Project
This project is easy to love because it is small, useful, and very giftable. The selected tutorial presents it as a quick and easy step-by-step bow hair clip for beginners, so it is the kind of crochet make you can enjoy even when you only have a short bit of time.
Materials Needed
- Yarn
- Crochet hook
- Scissors
- Yarn needle
- Hair clip to attach the bow
Use a yarn and hook size that matches your desired fit and texture.
Best Yarn for This Project
A bow clip usually looks nicest in a yarn that helps the shape stay neat. Cotton is a lovely choice because it can give the bow a crisp look and help the loops hold their form. A soft acrylic can also work if you want the bow to feel gentler and slightly fluffier. Since a bow is a small accessory, smooth yarn often works especially well because it lets the shape show clearly without too much fuzz.
Skill Level
Beginner-friendly.
The selected tutorial clearly says this is a quick and easy step-by-step bow hair clip tutorial that is perfect for beginners, so it should feel approachable for someone who knows the basics and wants to make a simple accessory.
Size and Fit Guide
The finished size of your bow clip will depend on your yarn, hook, and how wide you want the bow to look on the clip. If you want a tiny bow for a child’s clip or a very delicate look, use thinner yarn and keep the bow section compact. If you want a fuller bow that stands out more, use a slightly thicker yarn or crochet the bow a little wider.
For the clip itself, make sure the finished bow feels balanced on the hardware. A bow that is too tiny may look lost on a large clip, while a very full bow may feel bulky on a very small clip. It helps to hold the crocheted bow against the clip before finishing the attachment.
Stitches Used
The visible YouTube result confirms that this is a crochet bow hair clip tutorial taught step by step, and that it is aimed at beginners, but the search snippet does not clearly list every stitch by name. To stay accurate, it is better not to invent exact stitch names, stitch counts, or row totals that are not clearly confirmed in the visible source.
How to Make It
Step 1: Start the Bow Shape
Begin by making the main section that becomes the bow itself. Since the selected tutorial is described as a cute and easy bow hair clip project, the bow is clearly the star of the piece, so this first section should be kept neat and balanced.
At the beginning, focus on making an even foundation and keeping your tension steady. A bow looks best when both sides feel balanced, so a tidy start really helps. Small accessories show every little detail, which is why even tension matters so much in a project like this.
Step 2: Build the Main Bow Panel
As you continue, the bow starts out as a simple crocheted shape before it is gathered into that familiar bow form. This is the part where the project feels very relaxed and beginner-friendly. Because the selected tutorial is presented as step by step, the process should feel manageable rather than confusing.
Keep checking the width as you go. If you want a petite everyday bow, stop sooner. If you want something a little fuller or more playful, continue until the panel feels wide enough to create nice bow loops later. The beauty of a project like this is that you can adjust the look without changing the idea.
Step 3: Form the Bow
Once the main panel is ready, shape it into a bow by gathering or cinching the middle section. This is the moment when the project suddenly becomes recognizable and fun. A simple crocheted strip or panel turns into a cute bow with just a little shaping.
Try to keep both sides looking even as you gather the center. The loops do not have to be perfectly identical, but they should feel balanced enough that the bow sits nicely once attached to the clip. If one side looks too loose, gently adjust it before securing the middle.
Step 4: Add the Center Wrap
A bow usually looks more finished once the middle is wrapped or secured neatly. This center section gives the bow that classic pinched look and also helps hold the shape in place. Keep this part snug enough to define the bow, but not so tight that the loops become crushed or distorted.
This step is small, but it makes a big difference. A neat center wrap can turn a simple bow into something that looks polished and intentionally made.
Step 5: Attach It to the Hair Clip
After the bow is shaped, attach it to the clip hardware. Since the selected tutorial is specifically for a bow hair clip, this finishing step is an important part of the project rather than an optional extra.
Take a little care here so the bow sits centered and feels secure. You want it to stay in place while worn, but you also want the front of the bow to stay pretty and smooth. Once attached, test how it looks on the clip before trimming or fully finishing any remaining yarn.
Step 6: Make More in Different Colors
The selected tutorial says this project takes only a few minutes, which makes it a wonderful one for making several at once. That means you can easily create a little set of bow clips in different shades for everyday outfits, gifts, party favors, or seasonal accessories.
Pastels give a soft sweet feel, bright colors make the clips more playful, and neutrals can look simple and elegant. Once you finish one, it is easy to imagine making a whole handful more.
Helpful Tips
- Use smooth yarn if you want the bow shape to show clearly.
- Keep your tension even so both sides of the bow look balanced.
- Check the bow against the clip before final attachment.
- Do not wrap the center too tightly or the loops can lose shape.
- Make several at once if you are using scrap yarn.
- Choose clip hardware that suits the size of your finished bow.
Common Mistakes to Avoid
- Making the bow too large for the clip
- Making the bow too small to sit nicely on the hardware
- Pulling the center wrap too tightly
- Crocheting too loosely so the bow loses structure
- Forgetting to check that the bow sits centered on the clip
- Using very fuzzy yarn if you want a neat defined shape
Customization Ideas
This bow clip is very easy to personalize. You can make it in soft pastel shades for a sweet everyday look, bright colors for playful accessories, or elegant neutrals for something more understated. You could also make a larger bow for a statement clip or a very tiny one for a delicate finish. If you enjoy embellishments, a bead, pearl, or tiny button at the center could add extra charm.
Style Ideas
A crochet bow clip looks lovely with casual outfits, school looks, party dresses, or soft handmade gift sets. It can be worn by clipping it to the side, using it to decorate a ponytail area, or tucking it into a braid or half-up hairstyle. A matching set in different colors also makes a sweet little handmade present.
Care Instructions
If needed, gently hand wash and lay flat to dry. Shape the bow while damp so the loops dry neatly. Avoid high heat, especially if your yarn is acrylic or a delicate blend. If the bow gets slightly flattened in storage, reshaping it gently with your fingers should help.
Time Needed
The selected tutorial says this bow hair clip project takes only a few minutes, so it is a very quick little crochet make. Your exact time may vary depending on your yarn, hook, and how many clips you decide to make.
Conclusion
A crochet bow clip is such a sweet little project when you want something fast, wearable, and handmade. The selected YouTube tutorial presents it as a quick and easy step-by-step project that is perfect for beginners and takes only a few minutes, which makes it especially appealing for easy gifting, scrap yarn use, and fun accessory making. It is the kind of tiny crochet piece that feels simple to make but very charming to wear.
FAQs
Is this beginner-friendly?
Yes. The selected tutorial specifically says it is perfect for beginners.
Is it a step-by-step tutorial?
Yes. The visible result describes it as a step-by-step tutorial.
How long does it take to make?
The selected tutorial says it takes only a few minutes.
What yarn works best?
A yarn with good stitch definition, such as cotton or soft acrylic, usually works very well.
Can I make several in different sizes?
Yes. You can change the bow size by adjusting your yarn, hook, and the size of the main bow section as you work.