
A small crochet butterfly is useful as an applique because it can decorate a bag, bookmark, gift wrap, garland, wall hanging or handmade card without becoming a large project. The finished shape depends on symmetry, stitch height and a neat centre more than on colour alone. This guide explains how to choose the right scale, keep both wings balanced and attach the motif without distorting it. Use the original creator’s tutorial for exact stitch counts and sequence.
Quick List
- Understanding the Butterfly Shape
- Choosing Yarn for a Clear Motif
- Controlling Size and Proportion
- Keeping Both Wings Balanced
- Creating a Neat Centre
- Blocking and Shaping the Wings
- Attaching the Butterfly Securely
- Useful Ways to Use the Finished Applique
Why This Crochet Butterfly Guide Adds More Value
The old article tries to provide step-by-step instructions even though it does not clearly own or reproduce a complete tested pattern. A more useful page should help readers understand the motif, choose suitable yarn, avoid uneven wings and decide how to use the finished applique. That gives practical value without copying another creator’s exact pattern or inventing missing stitch details.
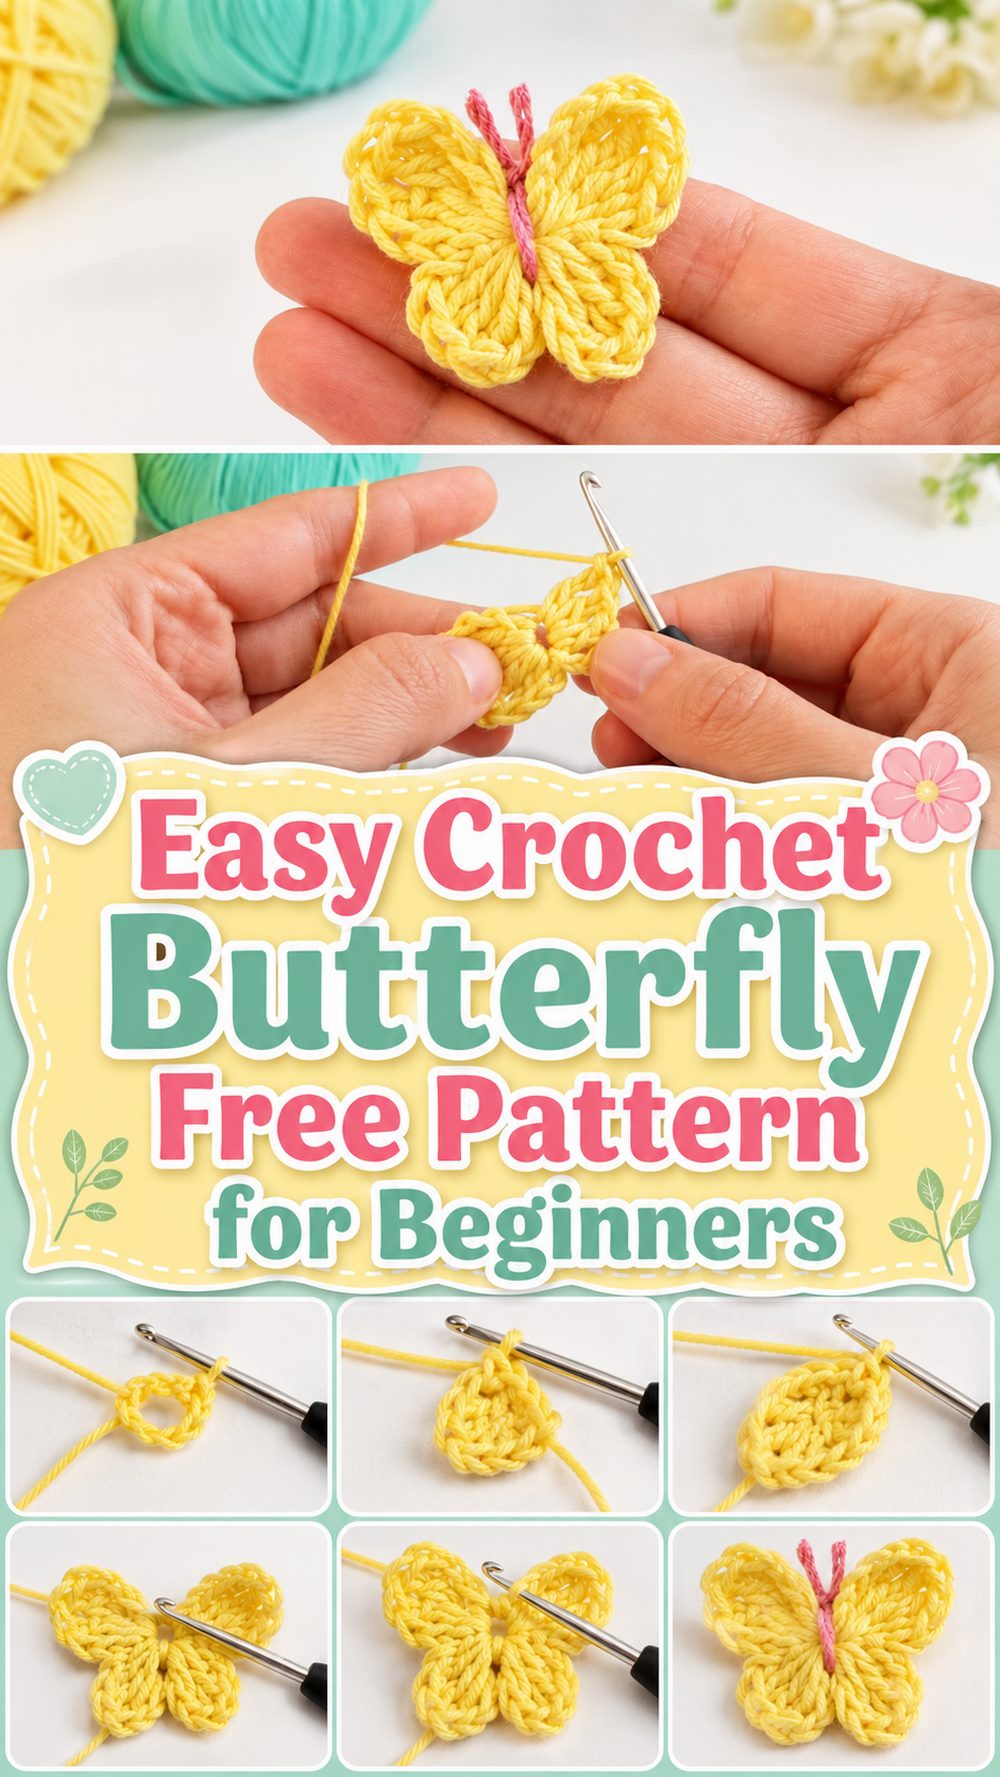
1. Understanding the Crochet Butterfly Shape
A simple butterfly applique is usually formed around one compact centre, with taller stitches creating the upper wings and shorter stitches shaping the lower wings. The contrast in stitch height is what makes the motif read as a butterfly instead of a flower or bow. The wings should spread from the same centre without one side pulling more strongly than the other.
What Makes the Shape Recognisable
The upper wings normally need more height and width, while the lower wings remain smaller. A narrow centre separates the two sides and gives the finished motif a clear body line. Keeping these proportions visible matters more than adding extra decorative stitches.
What to Check While Crocheting
Pause after completing the first side and look at its height, curve and number of visible stitch groups. Use that side as the reference for the second wing. If the motif twists tightly, the centre may be too firm or the taller stitches may need more room to open.
2. Choosing Yarn for a Clear Butterfly Motif
Smooth yarn makes the outline and wing sections easier to see. Cotton and smooth acrylic are common choices for appliques because they show stitch definition and are available in many colours. Very fuzzy yarn can hide the centre and make the two wings appear less balanced, especially in a small motif.
Best Yarn Qualities for This Project
Look for an even strand with enough body to hold the wing outline. The yarn does not need to be stiff, but it should not collapse into an indistinct fuzzy shape. Use the hook size recommended by the original pattern or tutorial rather than guessing from the finished photo.
How Colour Changes the Result
A solid colour keeps the shape easy to read. A short colour-changing yarn can work when each butterfly is large enough to show the transition, but busy colour changes may hide the separation between upper and lower wings. For a matching set, use the same yarn, hook and tension for every motif.
3. Controlling the Finished Butterfly Size
A butterfly used on a card needs a different scale from one placed on a tote bag or wall hanging. Changing yarn and hook size can alter the finished dimensions, but it may also change firmness and stitch definition. A thicker yarn does not simply create a larger copy; it can make the centre bulkier and the wings heavier.
Choose Size from the Final Use
Make a small sample before producing a full set. Place it on the intended bag, garment, card or decor item and check whether the outline remains clear from a normal viewing distance. Tiny butterflies need clean finishing, while larger ones may need light blocking to keep the wings open.
Keep a Set Consistent
Write down the yarn, hook and any changes used for the first acceptable motif. Compare each new butterfly with that sample before fastening off. Small differences in tension become obvious when several appliques are placed side by side.
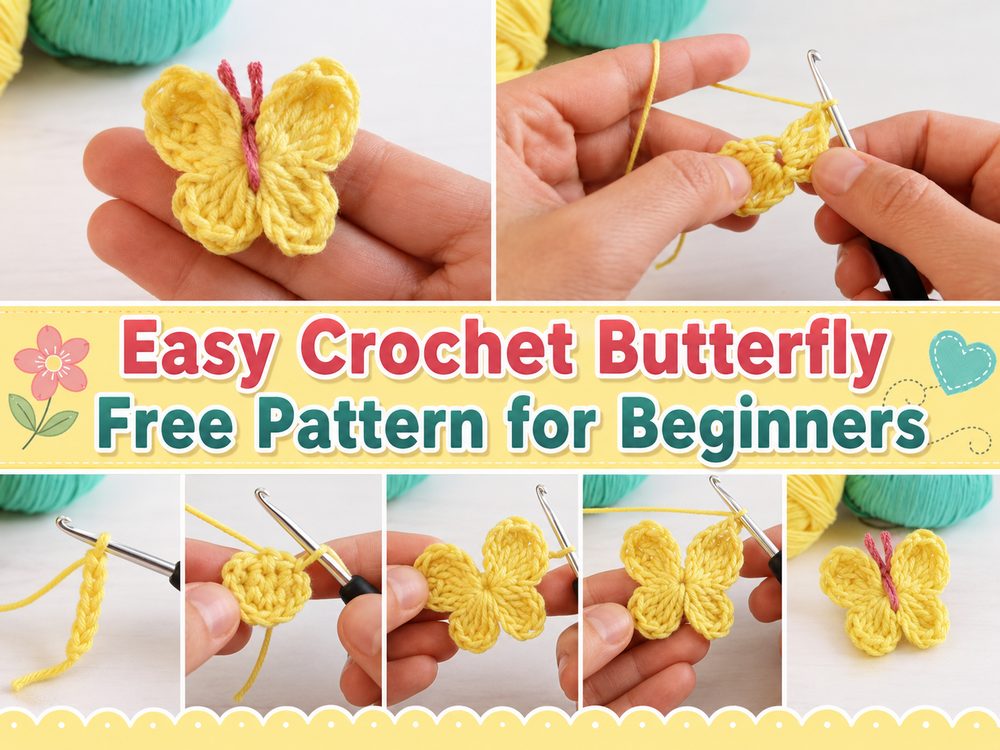
4. Keeping Both Crochet Wings Balanced
The second wing often looks different because hand tension changes or the crocheter loses track of the stitch order. Even when the pattern is correct, one side can sit flatter or narrower. The goal is not mathematical perfection, but the two sides should feel visually related.
Use the First Wing as a Visual Guide
Before starting the second side, identify the tallest point, widest curve and lower-wing shape on the first. Work at a similar tension and avoid pulling the centre tighter when turning or joining. Lay the motif flat after each main stitch group to compare both sides.
Fix Small Differences Before Finishing
A slightly tight wing may relax with gentle shaping or blocking. A missing stitch group usually needs correction rather than stretching. Avoid adding random stitches only to make one side larger, because that can change the edge and make the imbalance more visible.
5. Creating a Neat Butterfly Centre
The centre holds the motif together and visually separates the wings. If it is too loose, the shape may spread like a flower. If it is too bulky, the butterfly can fold sharply and become difficult to attach to another item.
Keep the Centre Compact but Flexible
Follow the original tutorial’s joining method and avoid repeatedly wrapping extra yarn around the middle unless the design calls for it. Ends can sometimes help define the body, but they should be secured so they do not unwind or create a hard knot on the back.
Adding Antennae Carefully
Antennae may be formed from short yarn ends or small chains. Keep them proportionate to the butterfly and secure them firmly. Long loose strands can catch on objects, so decorative butterflies used on frequently handled items benefit from short, simple antennae.
6. Blocking and Shaping the Butterfly
Small motifs may curl because several tall stitches are worked into a compact centre. Gentle blocking can open the wings and improve symmetry, but the method must suit the yarn fibre. Heavy stretching can flatten the stitch texture or make the centre too loose.
Shape the Wings Before Attachment
Arrange the upper and lower wings in the desired position and allow the motif to dry fully before sewing it down. Use the yarn label’s care guidance. For very small appliques, light hand shaping may be enough without a full blocking setup.
Avoid Overstretching
The butterfly should keep a soft curved outline rather than becoming a rigid flat square. Stretch only enough to open the stitch groups and balance the two sides. If the motif repeatedly curls after drying, the original tension or stitch placement may need correction.
7. Attaching the Butterfly Without Distortion
An applique can lose its shape when it is sewn only through the centre or pulled tightly at the wing edges. The attachment method should match the item beneath it and how often that item will be handled or washed.
Secure More Than One Point
For a bag, garment or cushion, use small stitches around the centre and selected outer points so the wings do not curl upward during use. Keep the sewing thread or yarn unobtrusive and avoid pulling hard enough to pucker the base fabric.
Choose Placement Before Sewing
Pin or temporarily tack the butterfly in position, then view the entire item. Check that straps, zippers, seams or folds will not cover the motif. On garments, place it away from areas that stretch heavily unless the applique can move with the fabric.
8. Useful Ways to Use a Crochet Butterfly Applique
The motif works best when its size and attachment suit a real purpose. One butterfly can act as a small accent, while a repeated set can create a border, garland or organised pattern. Using every motif in the same way makes a project look more intentional.
Good Decorative Uses
Butterflies can be added to bookmarks, tote bags, wall hangings, gift tags, hair accessories, cards or nursery decor placed out of reach. Small appliques with loose ends, beads or other detachable details should not be presented as toys for babies or young children.
Build a Coordinated Set
Choose a limited palette and repeat the same scale for a tidy collection. Varying two or three colours usually looks more cohesive than using every leftover yarn. Arrange all motifs before attaching them so spacing and direction feel balanced.
Conclusion
If you want an easy crochet project that is pretty, practical, and fun to repeat, this butterfly is such a nice one to try. It is simple enough for beginners, but still gives you that lovely finished shape that feels special. You can keep it classic, make it colorful, turn it into decor, or stitch it onto your favorite handmade pieces. It is a sweet little pattern to return to whenever you want a quick burst of crochet joy.
FAQs
Is this crochet butterfly beginner-friendly?
Yes. It is a small project with simple shaping, so it is a good practice piece for newer crocheters.
What yarn is best for a crochet butterfly?
Cotton is great for crisp shape, while acrylic works well for a softer decorative look.
Can I change the size?
Yes. Just switch yarn weight and hook size to make it smaller or larger.
What can I do with a finished butterfly?
You can use it as an applique on clothing, accessories, gifts, home decor, or garlands.
How do I make the butterfly look neater?
Keep your tension even, shape the center carefully, and lightly block the finished piece if needed.