
A bucket bag is defined by its round or oval base, upright body and gathered opening. That simple shape makes it attractive for beginners, but the finished bag works well only when the base stays flat, the drawstring moves freely and the strap is attached to a strong section of fabric.
The credited Toh Handmade video demonstrates the construction. This companion guide focuses on practical planning: how to choose the base diameter, how to avoid a rippled circle, how to create a drawstring channel that does not collapse, and when a lining or base insert is worth adding.
The goal is not to add random features. It is to make each decision match what the bag will carry and how it will be worn.
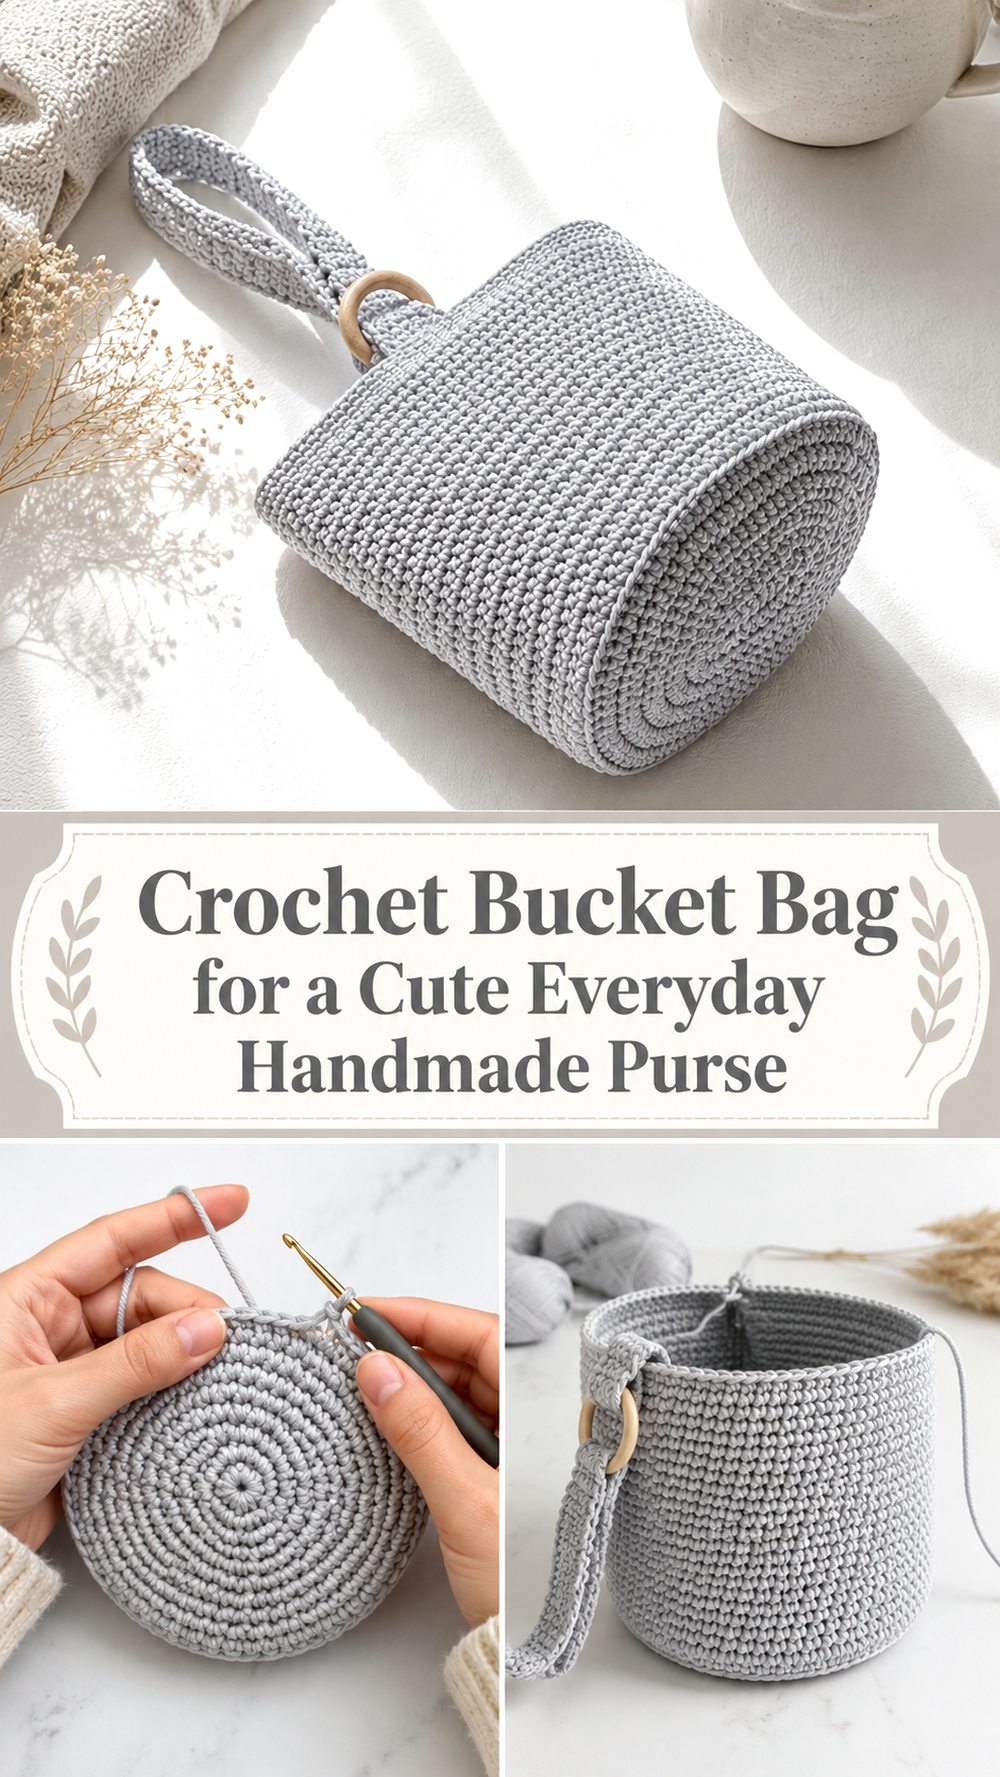
Choose Capacity From the Base Up
A bucket bag can look roomy at the top while offering less useful space at the bottom. Start by measuring the widest everyday item, such as a phone or wallet, and make sure the finished base can hold it flat. Add room for seam thickness and lining rather than matching the object exactly.
A wider base creates more capacity but also more leverage on the strap and sides. If the bag will carry only small essentials, a compact base keeps the shape neat. If it will carry a bottle or book, plan a firmer base and wider strap before increasing the diameter.
Make a Base That Lies Flat
During the increase rounds, place the circle on a table every few rounds. A base that cups upward usually needs more circumference or looser tension. A base that forms waves usually has too much circumference or increases too quickly. Do not assume the body will correct a distorted base later.
Move the positions of increases from round to round when the tutorial allows. Stacking every increase directly above the previous one can produce visible corners instead of a smooth circle. Mark the beginning of the round and count carefully.
Decide Between a Soft and Structured Body
For a structured bucket, choose a smooth yarn, firm gauge and stitch pattern with limited vertical stretch. For a softer fashion bag, allow more drape but expect the body to fold when it is not full. Neither result is wrong; the problem is choosing one material while expecting the other result.
Hold the swatch upright and place a phone against it. If the fabric collapses immediately, a lining or interfaced lining will be useful. If it remains firm but feels difficult to draw closed, the upper section may need a slightly more flexible stitch or hook size.
Build a Drawstring Channel That Works
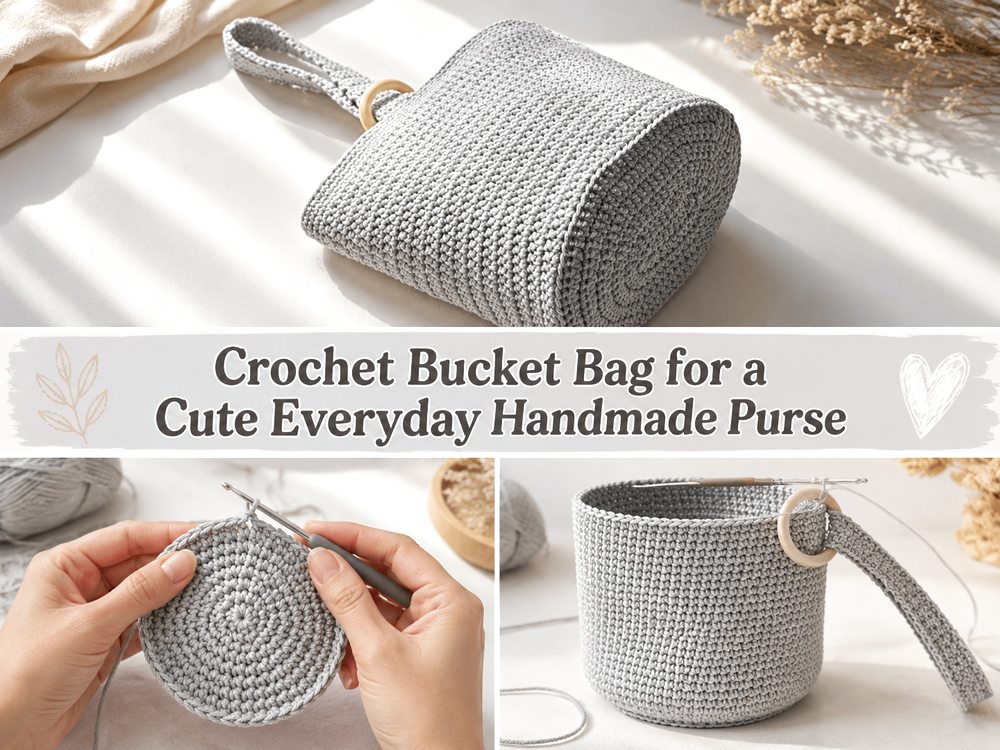
The channel needs enough space for the cord to move without snagging. If the holes are too small, the drawstring will abrade the yarn and the opening may close unevenly. If they are too large, small objects can escape and the top edge may look messy.
Mark quarter points around the opening before placing eyelets or chain spaces. Symmetry matters because the cords pull from opposite directions. Test the cord before weaving in the final ends, and open and close the bag repeatedly to check friction.
Select the Drawstring Material
A crocheted cord matches the bag and is easy to customize, but it can stretch. A woven cotton cord is usually more stable. Ribbon gives a decorative finish but may twist or wear at the eyelets. Whatever you choose, knot or finish the ends so they cannot disappear into the channel.
Do not make the cord only long enough to close the empty bag. Load the bag, gather the opening and confirm there is still enough length to tie or hold comfortably.
Plan Strap Drop and Attachment
Decide whether the bag is shoulder length or crossbody length before crocheting the strap. Pin a piece of ribbon to the intended attachment points and test it while wearing normal clothing. Crossbody straps usually need more length and stronger stretch control than shoulder straps.
Attach the strap over a broad area and reinforce the inside. If using metal rings, make sturdy tabs that distribute the force. A narrow ring connected to one loose stitch can tear the upper edge even when the rest of the bag is strong.
Fit a Lining and Optional Base Insert
A lining prevents small objects from pushing through the stitches and limits stretching. Draft it from the completed crochet bag: trace the base, measure the body height and add seam allowance. The lining should support the bag without pulling the crochet smaller.
A removable plastic canvas or washable base insert can help the bottom stay flat. Round every corner and fully cover the insert so no sharp edge rubs against the yarn. Remove non-washable inserts before cleaning.
Final Function Test
Load the bag with its normal contents. Close and open the drawstring ten times, then wear the bag for several minutes. Check the base, the strap tabs, the eyelets and the top edge. This simple test often reveals problems before the bag is gifted or used outside.
Care should follow the yarn label and any hardware or lining used. Empty the bag, remove inserts and dry it in shape rather than hanging it by the strap.
Common Problems to Avoid
Continuing from a wavy or cupped base instead of correcting the increase rate.
Making a drawstring channel before checking the cord thickness.
Attaching a long strap to a narrow, unsupported section of the top edge.
Adding a lining that is smaller than the crochet shell and pulls it out of shape.
Increasing capacity without considering the extra weight the bag may hold.
Time Needed
This may take a few hours depending on your speed, yarn, size, and stitch pattern.
Final Thoughts
A flat base, workable drawstring channel and reinforced strap turn a simple bucket shape into a practical everyday bag. Test the function before trimming the final yarn tails.
Frequently Asked Questions
Why is my base wavy?
The base may have too many increases for your yarn and tension. Pause, compare with the tutorial and correct the increase rate before building the sides.
Can I use a purchased strap?
Yes. Use strong rings or tabs and reinforce the attachment points inside the bag.
Should the lining be attached at the drawstring channel?
Usually it is cleaner to attach it just below the channel so the cord can move freely and the lining does not bunch.
How can I make the base firmer?
Use a denser gauge, add a second base layer, or insert a covered removable support.
Can the bag be machine washed?
Only when the yarn, lining, cord, hardware and any insert are all suitable. Follow the most delicate care requirement among those materials.