
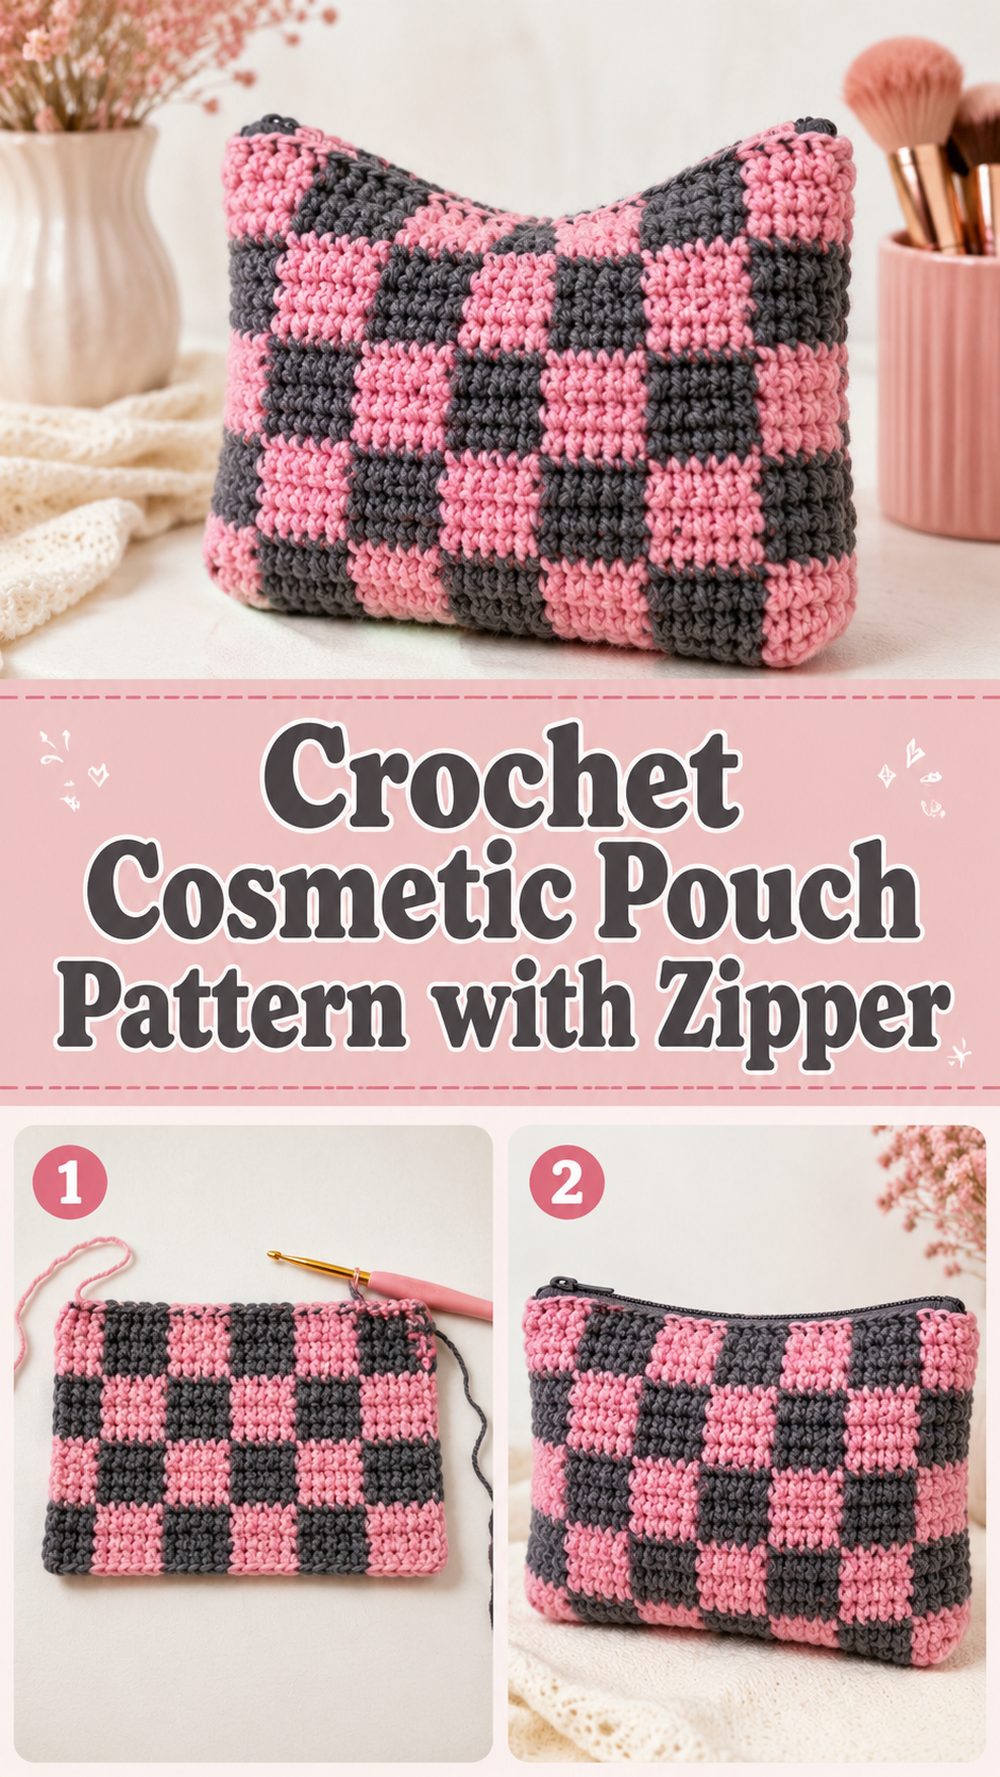
A crochet cosmetic pouch is one of those projects that feels useful immediately. It’s small enough to get through without feeling overwhelmed, but practical enough to use every day for makeup, skincare, pens, hooks or little bits and pieces that always seem to disappear inside a bigger bag. The tutorial I have chosen is a makeup bag zipper pouch and it is presented as a super easy, beginner friendly project, making it a lovely choice if you want something tidy, functional and handmade.
What makes this type of pouch so nice is the clean shape and the secure zip closure. A zip instantly makes the project feel polished and it helps keep your essentials from falling out when you carry it in a handbag or travel tote. If you’re into practical crochet projects that are giftable, customisable, and satisfying to finish, this is a really good fit.
Why You’ll Love This Project
This project is fun because it is easy, useful and easy to personalise. A small zip pouch is always useful and in crochet it has a softer more special look than a regular shop bought one. This tutorial looks like an easy makeup bag zipper pouch for beginners, so it’s a nice project when you want to build something practical and not complicated.
Materials Required
Thread.
Crochet needle
scissors.
Yarn needle
Stitch markers
Zipper
Optional Lining (more structured inside finish)
Choose a yarn and hook size that will give you the fit and texture you want.
Best Yarn for This Pattern:
For a cosmetic pouch, a smooth yarn with a little bit of texture works best. Cotton is a good choice as it lends itself to the shape of the pouch and provides a nice finish around the zipper area. If you want something a little softer, a cotton blend can work well too. If you want a more flexible everyday pouch, a medium weight acrylic yarn can still be a good choice. Avoid anything too fuzzy, as the stitch detail and zip edge tend to look cleaner with smoother fibres.
Skill Level:
Beginner friendly to easy
The tutorial we picked out is described as a super easy, beginner-friendly crochet makeup bag zipper pouch, so it should feel approachable to anyone who already knows the basics and wants to try a useful accessory project.
Size & Fit Guide
A cosmetic pouch is easy to fit. If you want more room for makeup brushes, a compact or skincare, you can make it wider. You can also make it shorter and slimmer, if you want a simple pouch for cards, earbuds, or small notions. Check the size before you finish by laying your everyday items against the crocheted piece.
Used Stitches:
The tutorial is laid out as a simple beginner project so you can expect basic crochet stitches used in a repeating pattern to create the material for the pouch. Follow the stitch flow in the tutorial and keep your rows/rounds even, especially around the top edge where the zip will be installed.
How to Make It
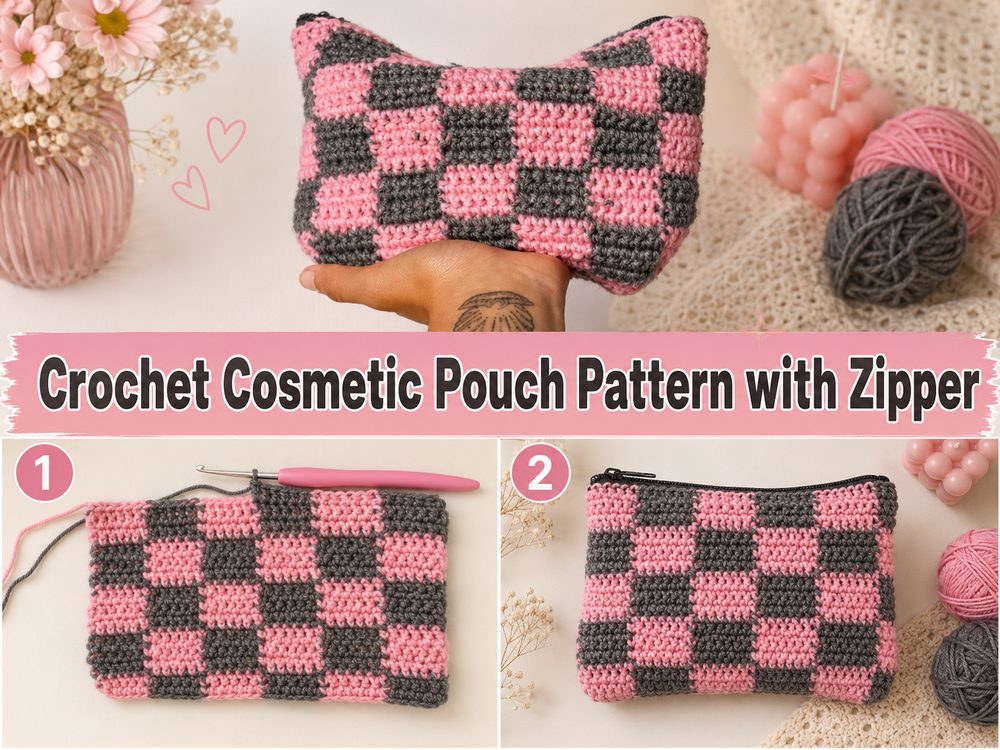
Step 1: Build the Foundation
Start by creating the base which will determine the width of your pouch. This first part is to determine the amount of space your cosmetic bag will have so think about what you want to put in there. If you only need space for a lipstick, compact and a few small things, keep it compact. If you want a larger makeup pouch, make it wide enough for your essentials.
Keep your starting edge neat and even if you can. The shape in pouch projects are generally simple so crisp edges really help the finished piece look polished. If the base is too tight, the pouch may be pulled in. If it is too loose the base can look wavy. Starting off well makes everything easier later on.
Step 2: Construct the Main Body
When the foundation is finished, stitch the body of the pouch in the stitch pattern shown in the tutorial. The video description mentions a beautiful makeup bag zipper pouch, and a beginner friendly project. So the body construction is likely to be simple and repetitive rather than fussy or heavily shaped.
Check the proportions frequently as the fabric grows. A cosmetic pouch looks best if it’s tall enough to hold your stuff comfortably, but not floppy. Compare your work to the items you’re planning to carry and decide if you want a flatter pouch or one that’s a little roomier.
Step 3: Maintain The Form
This step looks easy, but it’s important. Keep your tension on your stitch as even as possible all the way through the pouch. A small accessory really shows every small change in tension, especially on the side edges and top opening.
If you see that one side is taller or wider than the other, place stitch markers at the beginning and end of each row. This makes it much easier to keep the shape balanced. This will give you a cleaner zipper finish later-on for a neat rectangle or pouch panel.
Step 4: Create the Pouch
When the body is big enough, fold or shape into the final pouch shape. In the tutorial, the construction might be folding over one piece or attaching two sides together to form the bag shape. This is a tutorial on making a zip pouch, so the most important thing is to make sure the top opening is straight and even before continuing.
Carefully look at the piece on both sides. Place it flat. Make sure the corners are aligned and the opening looks neat. The finish is often used to judge cosmetic pouches, so it is worth taking your time with this step.
Step 5: Glue The Sides
Seam or join the sides when the shape looks good. Make the joins as neat as possible so the pouch doesn’t feel bulky. Cosmetic pouches get a lot of handling, a lot of opening and closing and are sometimes stuffed into larger bags, so strong finishing is important.
Look at both the outside and the inside. If the seams are too thick, it can interfere with how the pouch sits once the zipper is added. A smooth join makes the whole project feel more polished and professional.
Step 6: Attach the Zipper
The zipper is what takes this project from a basic crochet pouch to a functional cosmetic bag. This particular tutorial is for a crochet makeup bag zipper pouch so this is one of the big final steps.
Before attaching the zip check that the top edge is even. Sew this slowly, making sure both sides are even. You want the zip to zip and unzip smoothly without puckering the fabric. If you are new to adding zippers, be patient with yourself, securing one side, then the other, checking the pouch opening as you go.
A clean zip makes such a difference. It lends the pouch a cleaner everyday look and helps to keep all your items safe inside.
Step 7: Add Optional Lining or Finishing Touches
If you want a more finished pouch, you can add a simple lining to the interior. If you are going to use the pouch for makeup that is especially nice because it helps the bag hold its shape and the inside a cleaner feel. The pouch will still look lovely without a lining with a careful finish.
You can also make the project more personal with colour changes, a label, a charm on the zipper pull or a little tassel. A plain pouch can feel very special because of small details.
Step 8: Weave in Ends & Check Final Shape
Finally, carefully tuck in all the stray ends and use your hands to shape the pouch. Test the finish by opening and closing the zip several times. The end pouch should be compact, functional and easy to use for everyday essentials.
This is a beautiful super easy beginner friendly makeup bag zipper pouch, depending on the tutorial you choose, so the outcome is meant to be functional and approachable for everyday crochet.
Hands-On Tips
Use cotton yarn if you want the pouch to have more shape.
Keep the top edge neat for easier zip application.
Before you finish, check the size of the pouch against your items.
If your row edges tend to drift, use stitch markers.
Sew in the zip slowly for a better result.
Tuck in any loose ends, particularly around the corners.
Typical Mistakes to Avoid
Over-tightening the foundation
Crochet the pouch small for the things you want to store
Adding the zip after allowing the top opening to get all wonky
Sew the zip without first checking the alignment
If you want a firm make-up bag use very elastic yarn
Rushing the side seams and ending up with a bulky finish
Customisation Suggestions
This pouch is so easy to make it personal. You can choose soft neutrals for a clean everyday look, bright colours for a cheerful makeup bag or elegant shades for a gift. Add stripes, a textured stitch pattern, a tassel on the zipper pull or lining fabric inside. Or make it bigger for brushes and tools, or smaller for quick everyday essentials.
Style Hints
Cosmetic pouch crochet. Oh so versatile. It can hold makeup, skincare, travel essentials, pens, crochet supplies, chargers, or small items in your purse. It also makes a great handmade gift as almost everyone can use a neat little zip pouch.
Care Instructions
If necessary wash by hand gently in cool water, especially if the pouch is used often. Shape carefully and lay flat to dry. Don’t apply high heat, especially to the zipper and any lining. If the pouch seems soft after washing, while it’s damp you can smooth it into shape to make it look neat again.
Time Required
Depending on your speed, yarn, size, and stitch pattern this can take a few hours. The tutorial is for a super easy beginner friendly crochet zipper pouch so it looks like a nice smaller project instead of a long complicated make. looks like a nice smaller project rather than a long, complicated make.
Conclusion
A crochet cosmetic pouch is such a good project when you want something useful, giftable, and satisfying to finish. It is small enough to stay enjoyable, but practical enough to become part of your everyday routine. This zipper version is especially nice because it gives your crochet a clean, functional finish. You can keep it simple, change the color, adjust the size, and make it fit your own style and daily needs.
FAQs
Is this beginner-friendly?
Yes. The tutorial is described as a super easy, beginner-friendly crochet makeup bag zipper pouch.
What yarn is best for this project?
Cotton or a cotton blend is a great choice if you want a neat, structured finish.
Can I adjust the size?
Yes. You can change the width and height to suit the items you want to keep inside.
Do I have to add a lining?
No. A lining is optional, but it can help the pouch feel more polished and hold its shape better.
Can I use this for things other than makeup?
Yes. It can also work well for crochet tools, stationery, toiletries, chargers, or other small essentials.