
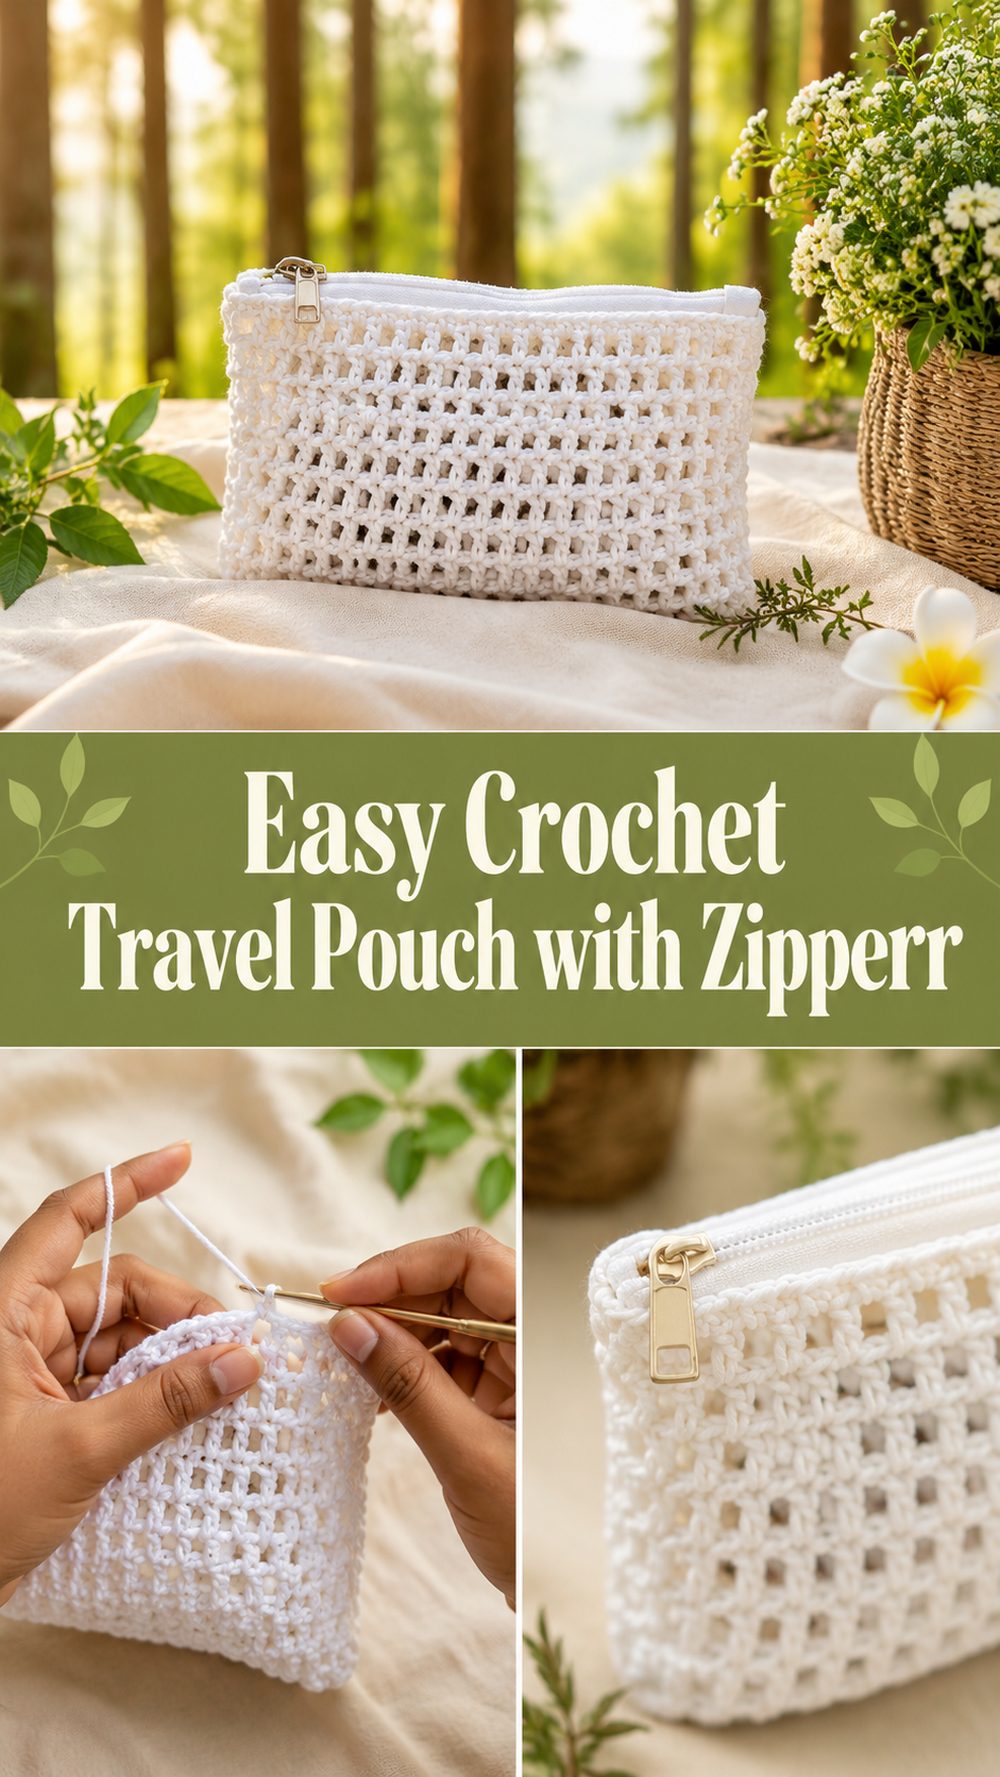
A crochet travel pouch is one of those projects that is immediately useful once it’s finished. It is small, practical and easy to slip into a suitcase, tote, backpack or handbag, and is perfect for organising the little things that tend to get lost when travelling. The tutorial I chose is a zippered crochet travel pouch, and it’s presented as a simple step-by-step project, which makes it a nice choice if you’re looking for something handmade, but still neat and useful.
This type of pouch is perfect for toiletries, makeup, chargers, stationery, crochet notions, small documents or any daily essentials you want to keep together while on the go. And a zip will give a more secure finish, which is great for travel, too. Rather than just a simple pouch to store things in, you’re getting something useful that has a personal and handmade feel to it. This is a nice one to make if you enjoy practical crochet projects that are giftable and easy to customise.
Reasons to Love This Project
It’s satisfying to do because it’s simple enough to feel manageable, but useful enough to become a part of your daily routine immediately. A crochet travel pouch can be personalised with choices of colour, size and yarn, and the zippered finish lends it a polished, reliable feel for everyday packing.
Materials Required
Thread.
Crochet needle
scissors.
Yarn needle
Stitch markers
Zipperly
Optional lining if you want a cleaner inside finish
Pick a yarn and hook size that suits your desired fit and texture.
Best Yarn for This Project:
A good travel pouch alternative is a smooth yarn with a bit of structure. Cotton is great because it holds the shape of the pouch and it creates a crisp finish around the zipper. A cotton blend is also a good choice for a little softness without sacrificing structure too much. If you want a softer pouch medium acrylic yarn can still be a good option but smoother yarns tend to give a neater result than fuzzy yarns.
Level of Skill:
Easy beginner friendly.
The tutorial I chose is for a crochet zip travel pouch. This indicates a simple project with functional construction as opposed to complex shaping. It’s a good project for someone who knows the basics and wants to make a useful accessory.
Size & Fit Guide :
This pouch is easy to size to what you want to carry. Keep it small for lip balm, earbuds, cards or a charger for a smaller travel case. Make it wider or taller to fit makeup, cables, skincare or small toiletries for a more spacious pouch. When you are working, it is a good idea to put your things up against the crocheted piece so you can see if the proportions are okay before you finish.
Stitches Employed:
This tutorial is presented as a complete zippered pouch project so expect a simple repeated stitch pattern that builds the body of the pouch and then shaping and finishing with the zipper. Try to keep the rows or rounds even, especially around the top opening where the zipper will be placed.
How to Prepare

Step 1: Launch the Foundation
Begin by making the base that will dictate the width of your pouch. This first step determines the size of the finished travel pouch, so think about what you want to use it for before you begin. If you want it mostly for small cosmetics or cables a compact width works well. But if you want a wider pouch for travel toiletries or lots of little stuff, start with more width.
Make the starting edge as neat and even as you can. Because the shape of a pouch project is usually clean and simple, the foundation is more important than it may be with a larger crochet piece. If it is too tight the bottom can be pulled in. If it’s too loose, the edge might look wavy.
Step 2: Construct the body
Once the foundation is complete, work the main body in the stitch pattern demonstrated in the tutorial. Since this project is presented specifically as a zippered travel pouch, the body section is really about making a fabric that is balanced, useful and easy to form into a pouch.
As you work the crochet, occasionally check the height. Your travel pouch should be tall enough to comfortably fit your essentials, but not so floppy that it loses its neat shape. Compare your work to the things you plan to store inside it, and decide if you prefer a flatter pouch or one with a bit more room.
Step 3: Maintain a Clean, Even Shape
This stage feels easy but it is a game changer for the end result. Try to keep your tension even as much as possible, especially on the side edges and top opening. Small crochet accessories tend to show uneven rows very quickly and that is even more noticeable when you add a zip.
If you find that your edges are wandering, mark the first and last stitches with stitch markers. A straight, neat top edge will make the zip stage much easier later on.
Step 4: Make the Pouch
When the fabric is big enough, shape into the final shape of the pouch. This could mean folding a section into place, or joining panels together to make the pouch structure, depending on how the tutorial builds the piece. The main thing here is to keep the top opening straight and balanced before moving to finishing stage.
Check the corners, sides and opening and lay the piece down flat. As the travel pouch is often judged on how neat it is, this is a good time to slow down and make sure that everything lines up correctly.
Step 5: Attach Sides
When the shape looks right then sew or join the sides neatly. Keep the side joins firm, but not bulky. Durable finishing really matters because a travel pouch is going to be handled a lot, stuffed into bags, and zipped open and shut many times.
Turn the pouch in your hands when you join, check inside and outside. The seams should be secure and the pouch should lay flat without twisting.
Step 6: Inserting the Zipper
One of the most useful parts of this project is the zipper, which gives the pouch a nice and practical finish. As the tutorial chosen is a crochet zip travel pouch tutorial, this step is a big chunk of the finished design.
Cut the top edge to make it nice and even before you sew in the zip. Sew it in slowly and check the alignment frequently. You want the zipper to move in and out easily without pulling the crochet fabric into gathers or bumps. If you are new to adding a zip, you may find it easier to secure one side first, and then carefully line up the second side before finishing the stitching.
A tidy zip immediately gives the pouch a more refined and travel-ready appearance.
Step 7: Add Optional Lining or Other Details
If you want a cleaner inside finish, then you can add a lining. This is great for a travel pouch, as it can help protect the crochet fabric and keep small things from poking through the stitches. If you’re not using a lining the pouch can still look lovely provided the finishing is neat.
You can add personal details, such as a zipper charm, a tassel, a small label or colour changes. These little touches are a simple way to add a little something special to a simple pouch.
Step 8: Complete and Review the Form
Finally, carefully weave in all loose ends and smooth the pouch into shape by hand. Open and close the zipper a few times to make sure it glides easily, and that the pouch sits evenly when full and when empty.
The finished travel pouch should be compact, practical and packable. The chosen video is a tutorial on how to crochet a zipper travel pouch, so the end result is meant to be useful, tidy and suitable for everyday organization.
Helpful Hints
If you want the pouch to feel more structured, use cotton yarn.
Look early for the width that suits the items you want to carry.
Clean finish the top edge, then attach the zip.
If your end of row stitches tend to shift, use stitch markers.
Zipper. Sew in the zipper slowly for a cleaner finish.
Try the pouch on for size with your travel items before you call it quits.
Frequent Errors to Avoid
Also tightening the foundation
Crocheting the pouch too small for what you want to put inside it
Allow the top opening to be uneven before attaching the zip
Sew in the zip, no need to check alignment
If you want a more solid travel pouch, use a very stretchy yarn
Hurrying the seams and finish with fat sides
Ideas for Customisation
This pouch is easy to customise. Neutral colours give a clean travel look, bright colours are cheerful and soft colours make a great gift. Add some stripes, a textured stitch pattern, a zipper charm or a small lining inside. It can be made narrow for cords and chargers or wider for cosmetics and toiletries.
Fashion Inspirations
A crochet travel pouch is great for so many things. Bring it along for makeup, skincare, cables, pens, documents, first-aid basics, or crochet notions. It’s also a great little organiser inside a bigger tote or suitcase, and a nice handmade gift for someone who loves useful accessories.
How to look after this product
Hand wash if needed in cool water. Do not twist the pouch, but squeeze excess moisture, then reshape and lay flat to dry. Avoid high heat, especially on zipper and any lining. If the pouch softens after washing, smoothing it into shape when damp will help it to look neat again.
Time Required
Depending on your speed, yarn, size and stitch pattern this may take a few hours. The chosen video is a dedicated zipper travel pouch tutorial. So it feels like a small manageable project rather than a large complicated make.manageable small project rather than a large complicated make.
Conclusion
A crochet travel pouch is such a useful project to have in your handmade collection. It is practical, tidy, and small enough to stay enjoyable from start to finish. The zippered style makes it even more useful for everyday organization, and it is easy to adapt by changing the size, color, or yarn. Whether you use it for makeup, chargers, stationery, or little travel essentials, it is the kind of crochet piece you will actually reach for again and again.
FAQs
Is this beginner-friendly?
Yes. It looks suitable for beginners who are comfortable with basic crochet and want to try a practical zippered project.
What yarn is best for a crochet travel pouch?
Cotton or a cotton blend is a great choice if you want a neat and slightly structured finish.
Can I adjust the size?
Yes. You can change the width and height to suit whatever you want to store inside.
Do I need to add a lining?
No. A lining is optional, but it can give the pouch a cleaner inside and extra structure.
What can I keep in this pouch?
You can use it for makeup, toiletries, chargers, stationery, crochet notions, or other small travel essentials.