
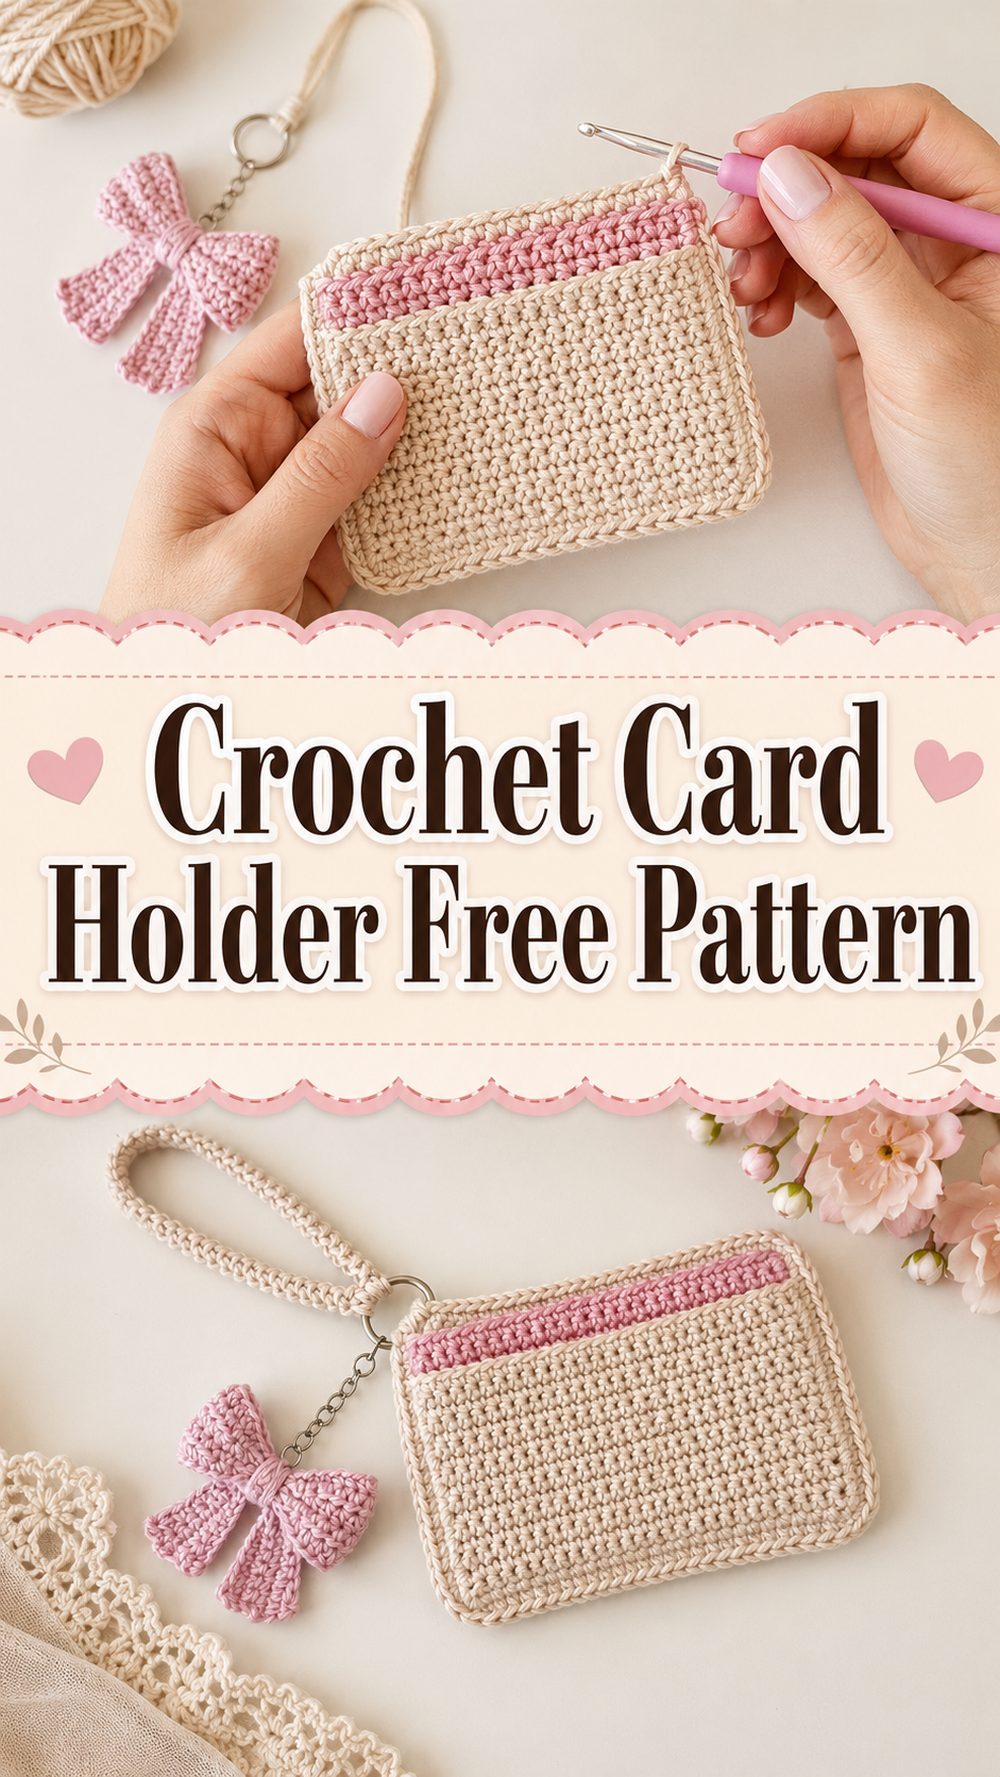
One of those little projects that feel instantly useful is a crochet card holder. It’s slim and practical, great for carrying bank cards, ID, some cash or a few folded notes, without the bulk of a full wallet. The tutorial I chose teaches how to make a simple card holder. It is said to be really easy to make and made only with single crochet which makes it especially appealing for beginners or anyone who wants a quick, relaxing project.
This kind of project is also lovely if you want to make something hand-made that you will actually use. A crochet card holder can be carried in a tote, handbag, coat pocket, or travel pouch, and is also a sweet gift. Since the tutorial uses a simple stitch method, the finished holder has that clean, neat look that works well for everyday use, but still feels warm and homemade.
Why You’ll Love This Project
Doing this project is satisfying because it is small, quick and very practical. It is a nice choice when you want something simple, useful and beginner friendly without any complicated shaping as the tutorial says it is really easy to make and only uses single crochet.
What you’ll need:
Thread.
Crochet needle
scissors.
Yarn needle
Progress markers
Tape measure
Optional button or snap, if you want to add closure
Yarn: Use yarn and hook sizes that give you the fit and texture you want.
Best Yarn For This Pattern:
For a card holder, it’s best to use a smooth yarn that has a bit of structure to it, as it will help the fabric stay nice and hold its shape. Cotton is a great option if you want a crisp finish, with something that feels sturdy in the hand. For a bit more softness, a cotton blend can also be a good choice. Since this project uses basic stitches, a smooth yarn will be able to show the texture clearly and will also give the card holder a neat look.
Level of Skill:
Beginner friendly.
The video selected for this project describes it as super easy to make, and made only with single crochet, making this a very accessible option for newer crocheters who are familiar with the basics.
Size & Fit Guide:
It’s easy to adjust a card holder while you work. Measure the cards or small items you want to keep inside before you begin. Check the width against a card and continue until the holder feels snug but not constricting. If you want to fit a few cards, make it a bit wider or add a bit more depth. If you want a slim holder, keep the form compact.
Stitches Employed:
Chain
single crochets
Joining or seaming for assembly.
It’s explicitly stated that the project is made from single crochets, so the overall stitch pattern is simple and repetitive.
How to Make It
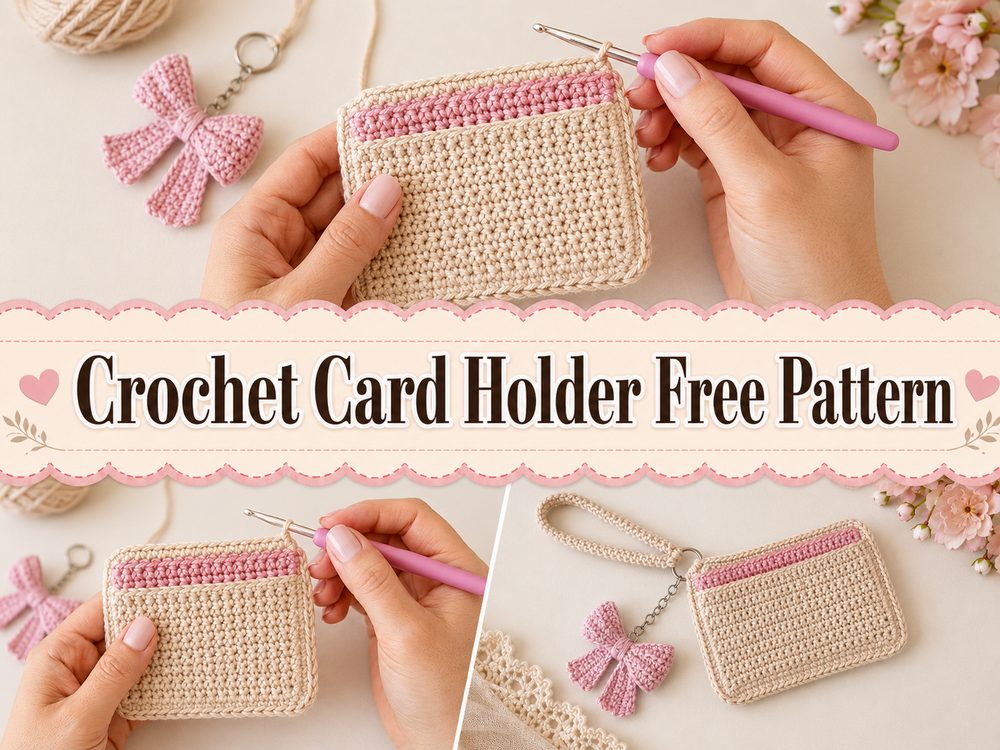
Step 1: Begin the Foundation
Start with the base that determines the width of your card holder. This is important because the width will decide how well your cards are going to fit. You want it large enough for a card to slide in easily, but not so large that everything feels loose.
It’s a good one to take slow in the beginning because the project is constructed from simple stitches. A straight edge on the foundation will make the holder look a lot cleaner when folded or joined into shape.
Step 2: Crochet Single Crochet in MainFabric
The tutorial states that the card holder is made entirely with single crochet, so the main body is built with straightforward, repetitive rows of that stitch.
That’s what makes this project so beginner friendly. The single crochet makes a close, dense fabric, which is good for a card holder because it helps the piece feel solid instead of floppy. Maintain an even tension on your stitches as you work. A good row layout makes a little project like this look way more refined.
For a slim, minimalist holder, stop when the piece is large enough to fold neatly around your cards. If you want it looser, go out a little more, so there is more depth.
Step 3: Track the Size as You Go
Hold a card against your crocheted work before you go on to check the proportions. That’s much better than waiting until the end. You want a card holder that feels secure, but you also want to be able to slide cards in and out without a struggle.
This is also the best time to figure out if you want a flatter holder for just a few cards or a slightly deeper one that can hold several. Sizing is an easy way to personalise the design because it is simple.
Step 4: Shape or Fold the Holder
When the crocheted fabric is large enough, fold or shape into the final card-holder shape. Projects like this are always particularly satisfying in that the flat fabric quickly becomes a useful little accessory.
Lay the piece flat and try to get the edges to match up. If the sides are looking uneven, check your rows before joining. Since the project is small, even small differences will be apparent in the end result.
Step 5: Fold in the Sides
Join the sides neatly to make the pocket. Keep the seams clean and not too thick, as thick edges can make a card holder feel awkward in the hand or pocket. A neat seam also makes the finished piece look cleaner and more professional.
At this point try the fit with an actual card. Slide one in gently and see if it feels snug without pulling the stitches too much. Tweak before finishing if it feels too tight.
Step 6: Add Final Optional Touches
This project lends itself beautifully if you want to keep the card holder plain and simple. For a little more personality, you can also add a button, a snap, a loop or a tiny decorative detail.
The stitch pattern is simple single crochet, so the holder works well in solid colours, stripes or subtle colour changes. Even the smallest details can make a big difference to the overall look.
Step 7: Weave in ends and a final check up
Weave in all loose ends carefully and do one last size check on the holder. The finished piece should feel compact, tidy and sturdy enough to be used daily. The tutorial is described as easy and made with only single crochet, so the overall result is supposed to be simple, practical and approachable.
Helpful Hints
If you want card holder to feel more firm, use cotton yarn.
Check fit with an actual card before seaming.
Maintain an even single crochet tension for a clean finish.
If your row ends tend to drift use stitch markers.
If you want room for several cards, make the holder a little wider.
This is a piece that will be handled a lot so be sure to weave the ends in well.
Common Mistakes to Avoid
Small base for your cards
Crocheting too tightly, making the holder stiff
Not checking the fit before joining the sides
Letting the row edges be uneven
Adding bulk to the stitches
If you want a more structured result use a very elastic yarn
Customisation Suggestions
There are so many easy ways you can customise this card holder. Neutral shades are great for a clean everyday look, bright colours for something playful, or gift colours to match someone’s style. Add a button flap, a snap, stripes, a contrast border or even a little wrist loop. If you want it to hold cards and folded cash together, you can also make it a little bit bigger.
Style Ideas
A crochet card holder is perfect for everyday errands, quick trips, travel or for slipping inside a larger bag. It’s also a great little handmade gift, stocking filler, market item or small project for using up leftover yarn in a practical way.
Caring For
If necessary, hand wash gently in cool water. Squeeze out excess moisture (do not twist), reshape and lay flat to dry. Don’t use high heat to allow the stitches to hold their shape, especially if you’re using cotton blends or acrylic yarn.
Time Required
Depending on your speed, yarn and size this may take a couple hours. The tutorial says it is very easy to make with only single crochet, so it looks like a nice quick project rather than a long complicated one.
Conclusion
A crochet card holder is such a useful little project to keep in your handmade collection. It is simple, practical, and easy to customize, and the single crochet construction makes it especially approachable if you want something relaxing and beginner-friendly. You can keep it plain and minimal or dress it up with color and small details. Either way, it is a small project with a very useful finish.
FAQs
Is this beginner-friendly?
Yes. The tutorial describes it as really easy to make and built with single crochet, which makes it a good beginner project.
What yarn is best for a crochet card holder?
Cotton or a cotton blend is a great choice if you want a neat and slightly structured finish.
Can I adjust the size?
Yes. You can change the width and height to fit one card, several cards, or cards plus folded cash.
Do I need a closure?
No. You can keep it simple, or add a button or snap if you want extra security.
Will single crochet be sturdy enough?
Yes. Single crochet creates a dense, firm fabric that works very well for small holders like this, and the selected tutorial specifically uses only single crochet.