
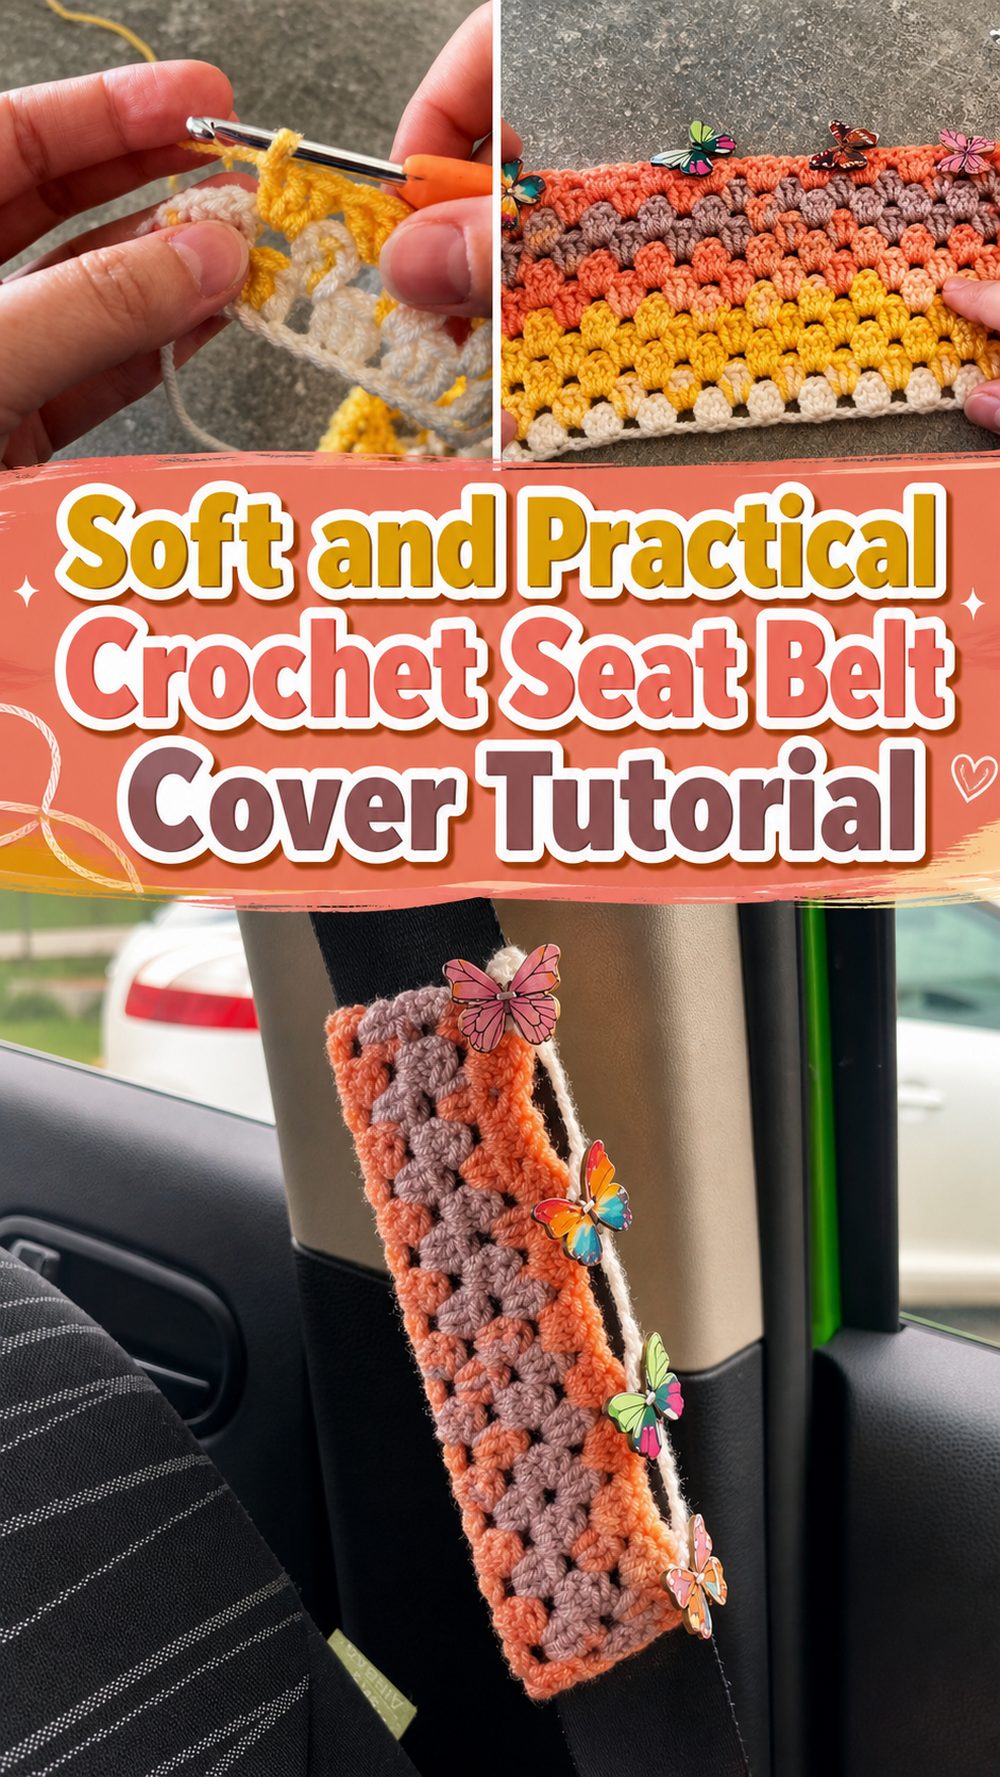
A crochet seat belt cover is one of those small projects that feels surprisingly useful once it is finished. It adds a soft layer between your shoulder and the seat belt, makes long drives more comfortable, and gives your car a little handmade touch at the same time. This kind of project is especially nice if you enjoy quick crochet makes that are practical instead of purely decorative. It is also a lovely option for gift making because it is simple, thoughtful, and easy to personalize with color and texture. The tutorial I selected is a full step-by-step shoulder strap cover lesson, and the video description notes a 4 mm hook, about a 1 hour make, and flexibility in yarn choice depending on the feel you want.
Why You’ll Love This Project
This is the kind of crochet project that feels calm, useful, and easy to enjoy. It does not need a huge time commitment, it works well as a stash-buster, and it gives you a finished piece you can actually use every day. The selected tutorial is presented as a DIY seat belt shoulder strap cover and is shown as a complete tutorial rather than a quick finished-item showcase, which makes it a good choice for learning the process clearly.
Materials Needed
The tutorial indicates a crochet hook and yarn, and one of the video listings specifically mentions a 4 mm hook. It is also a good idea to keep a few basic finishing tools nearby.
You will need:
- Yarn
- 4 mm crochet hook
- Scissors
- Yarn needle
- Stitch markers if you like marking edges
- Measuring tape to check the width around the belt
If exact yarn or hook size is unclear for your preferred version, use a yarn and hook size that matches your desired fit and texture.
Best Yarn for This Project:
A soft yarn that feels comfortable against the skin is the best choice here. For an everyday seat belt cover, a smooth acrylic or cotton blend works nicely because it is easy to handle and comfortable to rest against your shoulder. If you want a cooler, less fuzzy finish, cotton is a great option. If you want something softer and a bit more cushioned, a light acrylic can work very well too. Avoid anything overly scratchy or heavily textured, since the whole point of this project is comfort.
Skill Level:
This project feels beginner-friendly to easy. It suits someone who is comfortable making a foundation, working rows evenly, and finishing a simple rectangular piece. Since it is a practical shape rather than a fitted garment, it is a very approachable project for newer crocheters.
Size and Fit Guide:
The easiest way to size this project is to measure the section of seat belt where you want the cover to sit. As you crochet, keep checking the width by wrapping the fabric gently around the strap. If it feels too tight, add a little more width. If it feels too loose, stop earlier or use a slightly firmer tension. For the length, continue until the cover reaches the amount of padding you want on your shoulder and chest area.
Stitches Used:
The search result confirms a full tutorial and written pattern support, but not every stitch is visible from the snippet alone, so it is best to keep the stitch list flexible and limited to the kinds of stitches clearly expected in a simple shoulder strap cover tutorial.
Likely stitches and techniques include:
- Chain
- Slip stitch
- Basic row stitches such as single crochet or double crochet
- Turning and repeating rows
- Seaming or joining to finish
How to Make It
Step 1: Start the Foundation
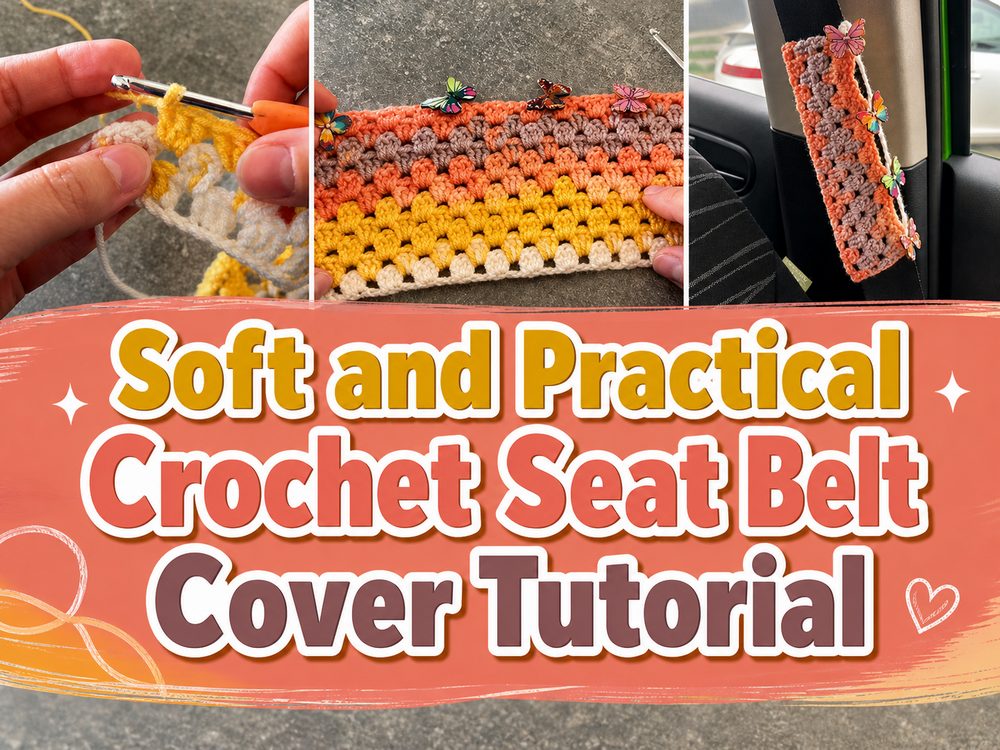
Begin by making your starting chain. Since seat belts can vary a little, think of this first section as the width of your finished cover rather than a fixed number you must copy exactly. You want the piece wide enough to wrap around the seat belt comfortably without feeling stiff or bulky. A good approach is to chain, lay it against the strap, and picture how the finished fabric will fold around it.
Once the chain looks right, work your first row into that foundation. Take your time here and keep the tension even, because the first few rows will set the shape for the whole project. If the edges start pulling, the width may be a little too tight. If the fabric looks floppy and oversized, you may want to reduce the width slightly.
Step 2: Build the Main Body
From there, continue crocheting back and forth in rows to create a long rectangular panel. This is the heart of the project. A seat belt cover does not need complicated shaping, so the main job here is simply to keep your rows neat and your edges as straight as possible. The selected video is a full tutorial for a shoulder strap cover, so the focus is on building a usable padded panel rather than an overly decorative piece.
As the rectangle grows, pause every so often to check the feel of the fabric. You want enough body to make the cover comfortable, but not so much thickness that it feels awkward on the strap. If your yarn is very soft and light, the cover may drape more. If your yarn is denser, it may feel more structured. Both can work, as long as the finished piece wraps the seat belt in a comfortable way.
Step 3: Keep Checking the Fit
This part matters more than exact stitch counts. Wrap the crocheted fabric around the seat belt to see how it sits. A good fit should feel snug enough to stay in place, but not so tight that it twists the belt or makes it hard to move. Continue adding rows until the length looks right for where the seat belt usually rests against your body.
For some people, a shorter cover is enough just where the belt rubs the shoulder. Others may prefer a longer pad that softens a bigger section. That is why this project is best worked with regular fit checks instead of strict measurements.
Step 4: Shape the Cover for Use
Once the rectangle is long enough, the next step is turning it into a functional cover. For a project like this, that usually means folding or wrapping the piece so it can sit around the seat belt strap. Keep testing it with the belt itself while you work out the final shape. The main goal is simple: the crocheted panel should protect the shoulder area while staying tidy and secure.
Depending on the finishing style shown in the tutorial, the cover may be joined along the edge to create a wrapped sleeve effect, or finished in a way that lets it sit neatly around the strap. Since the exact closure details are not fully visible in the search snippet, the safest approach is to follow the video’s finishing method closely while using the piece’s fit around the actual seat belt as your guide.
Step 5: Join the Piece
When you are happy with the width and length, join the edges as shown in the tutorial. Keep the joining neat and not overly tight. A tight seam can make the cover bunch up, while a loose seam can make it shift too much. This is where stitch markers can help, especially if you want the ends and edges to line up cleanly before you seam.
If you are making more than one cover for a matching set, compare the first and second piece before finishing the ends. Even a small difference in length can show once they are both in the car.
Step 6: Finish the Edges
After joining, weave in the ends carefully so nothing scratches or catches during use. Smooth out the stitches with your hands and check the cover again on the seat belt. The final piece should look like a neat padded wrap that softens the contact point of the strap and gives it a cozy handmade finish.
Because one listing describes this as about a 1 hour project, it fits nicely into an afternoon crafting session or a quick practical gift idea.
Helpful Tips
Use a yarn that feels nice against bare skin, especially if the cover will be used in warm weather.
Check the width around the actual seat belt before the piece gets too long.
Keep your edges even so the finished wrap looks tidy.
Do not make the fabric too stiff, or it may feel bulky in the car.
Use stitch markers at the ends of rows if you often lose your edge stitches.
Make a second one in the same size if you want a matching pair for another seat.
Common Mistakes to Avoid
One common mistake is making the cover too narrow, which can make it pull awkwardly around the belt. Another is choosing a rough yarn that defeats the whole purpose of adding comfort. Uneven row edges can also make the cover look twisted once it is wrapped. Some crocheters rush the fit checks, but this project really depends on testing it against the strap as you go. It is also easy to make the cover too thick, especially with heavier yarn, so keep comfort in mind. Finally, do not forget to weave in the ends neatly, since loose tails can rub or snag during use.
Customization Ideas
You can make this project plain and minimal or give it more personality. Try a soft neutral for a clean car accessory look, or use bright colors for something cheerful. A striped version is a fun way to use leftover yarn. You can also make it longer for extra padding or slightly slimmer for a sleeker look. If you enjoy decorative touches, you could add a simple edging once the main cover is complete, as long as it still feels comfortable against the shoulder.
Style Ideas
This is a practical little accessory, but it can still feel stylish. A soft beige, gray, cream, or muted pastel can look lovely in a modern car interior. It also makes a sweet handmade gift for a new driver, a busy parent, or anyone who spends a lot of time on the road. You can pair it with other small car-friendly crochet projects for a thoughtful handmade set.
Care Instructions
Because this item will be handled often, gentle care is a smart idea. Hand washing is the safest choice, especially if you used a soft yarn that could stretch. Lay it flat to dry so it keeps its shape. Avoid high heat, and make sure it is fully dry before putting it back on the belt.
Time Needed
This may take a few hours depending on your speed, yarn, size, and stitch pattern. One of the video listings describes it as about a 1 hour project, so it is a nice quick make once you get going.
Conclusion
A crochet seat belt cover is a simple project, but it is one of those makes that feels genuinely useful when it is done. It is soft, practical, easy to personalize, and great for using up yarn without starting something too big. You can keep it plain, make it colorful, adjust the size to your own car, and turn a basic everyday item into something warmer and more comfortable. It is a lovely little project for beginners and a satisfying quick win for more experienced crocheters too.
FAQs
Is this project beginner-friendly?
Yes, it is a good beginner project because it is small, practical, and usually worked in simple rows.
What yarn is best for a crochet seat belt cover?
A soft acrylic, cotton, or cotton blend works well. Choose something comfortable against the skin.
Can I adjust the size easily?
Yes. You can change the width and length by checking the fit against your seat belt as you work.
How do I make it more comfortable?
Use a soft yarn, keep the fabric flexible, and avoid making the cover too tight or too bulky.
Can I make more than one?
Absolutely. It is a great project for making matching covers or gifting to friends and family.