
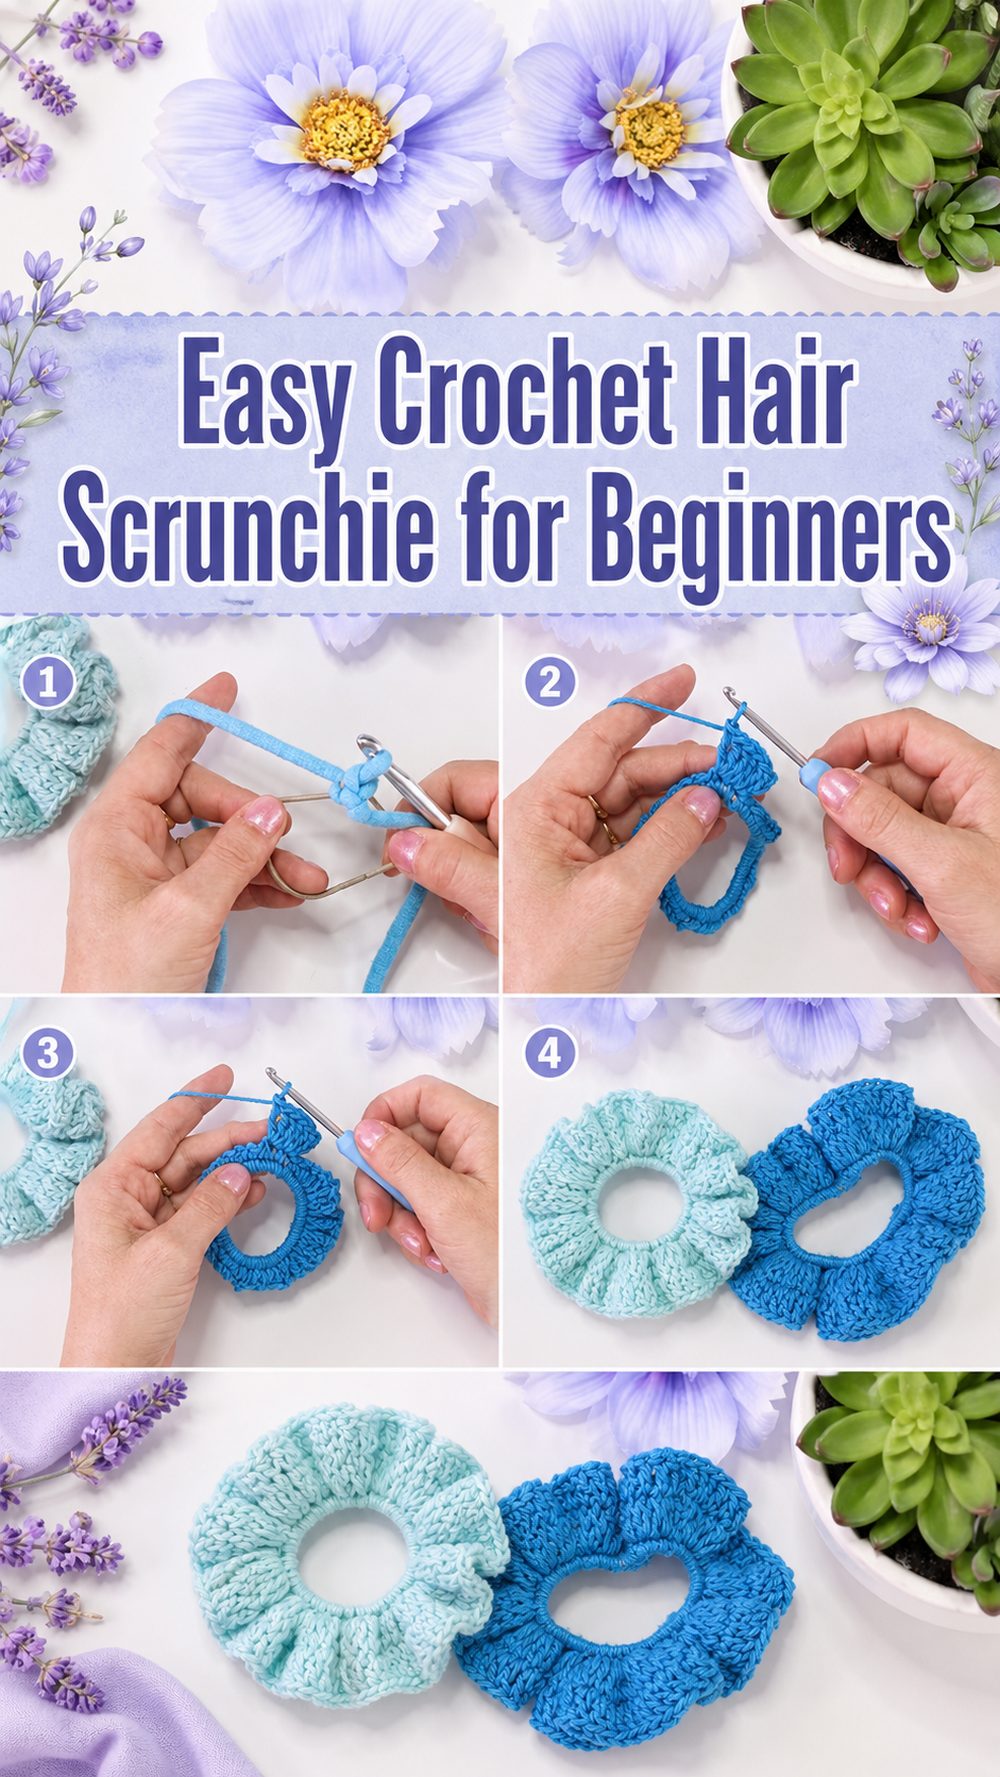
A crochet hair scrunchie is one of those small projects that feels quick, cute, and useful all at once. It is perfect for using leftover yarn, making handmade gifts, or adding a soft handmade touch to your everyday hairstyles. This project wraps crochet stitches around a regular hair elastic, turning it into a pretty textured scrunchie with gentle ruffles. It is a lovely beginner-friendly make because the shape is simple, the project works up quickly, and you do not need complicated shaping. You can make one in a solid color for everyday wear, use bright yarn for a fun playful look, or choose soft cotton for a lighter summer accessory. Once you understand the basic method, it is easy to make a whole set in different colors.
Why You’ll Love This Project:
This crochet hair scrunchie is simple, fast, and very satisfying. It does not need a lot of yarn, so it is a great scrap-yarn project. The finished scrunchie is soft enough for daily use and pretty enough to wear with ponytails, buns, braids, or half-up hairstyles.
Materials Needed:
- Yarn of your choice
- Crochet hook suitable for your yarn
- Regular hair elastic or hair tie
- Scissors
- Yarn needle for weaving in ends
Use a yarn and hook size that matches your desired fit and texture.
Best Yarn for This Project:
For a light everyday scrunchie, cotton yarn is a lovely choice because it gives a clean stitch look and feels breathable. Acrylic yarn also works well if you want something soft, easy-care, and colorful. If you want a fluffy or cozy scrunchie, you can try a soft velvet-style or chenille-style yarn, but beginners may find smooth cotton or acrylic easier to control.
Try not to use yarn that is too stiff, because the scrunchie should still stretch comfortably around the hair elastic. A medium or lightweight yarn usually gives a nice balance of softness and shape.
Skill Level:
This project is beginner-friendly. You only need to be comfortable making basic crochet stitches around a hair elastic. It is also a good practice project for keeping your tension even and learning how extra stitches create a ruffled look.
Size and Fit Guide:
The size of the scrunchie depends on your hair elastic, yarn thickness, hook size, and how many stitches you work around the elastic. For a fuller scrunchie, add more stitches around the elastic so the fabric gathers and ruffles. For a flatter, simpler scrunchie, use fewer stitches.
The elastic should still stretch after the crochet is added, so avoid pulling your stitches too tight. As you work, gently stretch the hair tie now and then to make sure it still moves easily.
Stitches Used:
- Slip knot
- Chain
- Single crochet
- Double crochet
- Slip stitch
How to Make It:
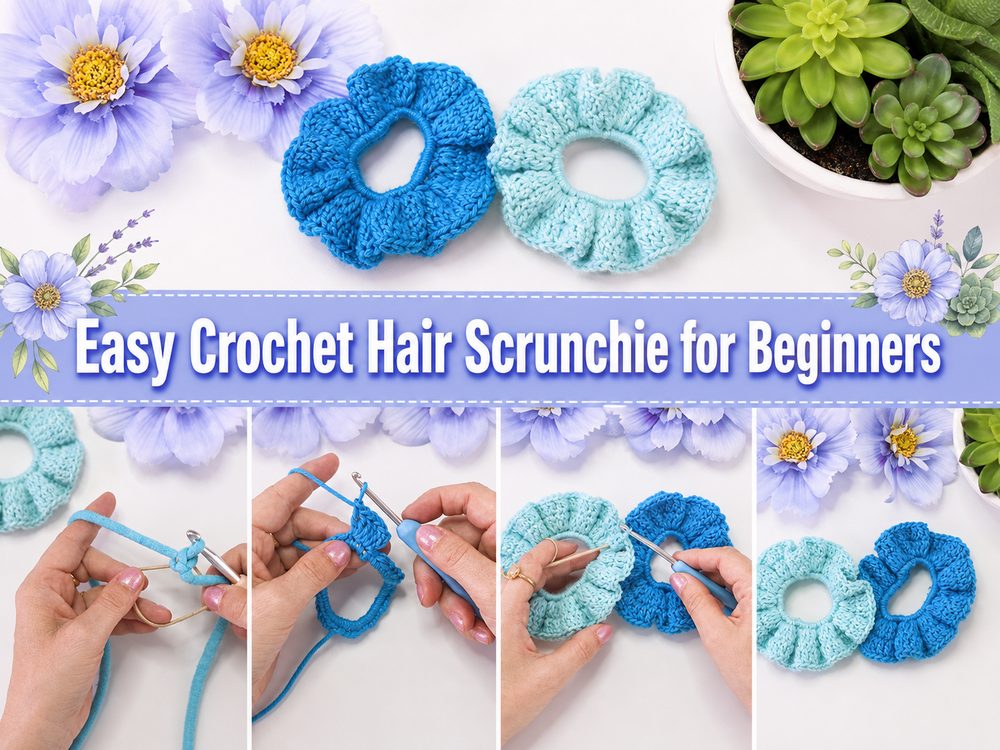
Step 1: Start Around the Hair Elastic
Begin by making a slip knot on your hook. Hold the hair elastic in one hand and place your hook so you can crochet directly around the elastic. The elastic works like the center base of the project, and your stitches will cover it as you go.
Attach your yarn to the hair tie with a starting stitch. Keep the beginning secure, but do not pull so tightly that the elastic becomes stiff. The goal is to cover the elastic while still letting it stretch.
Step 2: Cover the Elastic with Single Crochet
Work single crochet stitches all the way around the hair elastic. Each stitch should wrap around the elastic, hiding it under the crochet fabric. Push the stitches close together as you work so the elastic becomes nicely covered.
You do not need to worry about an exact stitch count unless you are following a specific size. Instead, keep adding single crochet stitches until the elastic is full and the stitches sit neatly around it. The more stitches you add, the more gathered the scrunchie will become.
This first round creates the base. It gives the scrunchie structure and makes a clean place to build the fuller ruffled edge.
Step 3: Join the First Round
Once the elastic is fully covered, join the round with a slip stitch. Take a moment to check that the stitches are spread evenly around the hair tie. If one area looks too loose or too crowded, gently slide the stitches around the elastic to balance them.
At this stage, the scrunchie should already look like a simple crocheted ring. The next part adds the soft decorative volume.
Step 4: Build the Ruffle with Taller Stitches
For the ruffled part, work taller stitches into the base round. Double crochet stitches are commonly used because they add height, softness, and movement. As you work around the scrunchie, the extra height and fullness help the fabric wave outward.
You may work multiple stitches into the stitches from the first round to create a fuller ruffle. Keep the stitches relaxed and even. If the fabric starts to curl and gather, that is exactly what helps create the scrunchie shape.
Do not worry if it looks a little wavy while you are working. Crochet scrunchies are meant to have texture and movement, and the ruffles settle nicely once the round is complete.
Step 5: Keep the Scrunchie Flexible
As you crochet, gently stretch the hair elastic from time to time. This helps you check that the crochet is not too tight. A scrunchie needs to open and stretch easily so it can wrap around the hair.
If your stitches feel tight, loosen your tension slightly or use a larger hook next time. If the scrunchie feels too floppy, you can use a smaller hook or a yarn with a bit more structure.
Step 6: Finish the Round
Continue working around the scrunchie until you return to the beginning. Join with a slip stitch to close the round neatly. Cut the yarn, leaving a small tail for weaving in.
Use a yarn needle to hide the yarn ends inside the crochet stitches. Make sure the ends are secure, especially because scrunchies get stretched during use. Trim any extra yarn once the ends are woven in.
Step 7: Shape the Finished Scrunchie
After the ends are hidden, gently fluff and adjust the ruffles with your fingers. Spread the crochet evenly around the elastic so the scrunchie looks balanced from every side.
The finished scrunchie should look soft, gathered, and full, with the hair elastic hidden inside the crochet stitches. It should stretch comfortably and spring back into shape after being used.
Helpful Tips:
Use smooth yarn if this is your first scrunchie, because it makes the stitches easier to see. Cotton and acrylic are both good choices.
Do not crochet too tightly around the elastic. The scrunchie needs stretch, and tight stitches can make it harder to use.
Push your stitches together as you cover the elastic. This helps hide the hair tie and gives the scrunchie a fuller look.
Make several scrunchies using the same method if you want a matching set. They are great for gifts, craft fairs, or quick handmade accessories.
Use a stitch marker if you have trouble finding where the round begins. This keeps your join cleaner.
Common Mistakes to Avoid:
Crocheting too tightly around the hair elastic can stop it from stretching properly.
Using too few stitches may leave parts of the elastic showing.
Using yarn that is too rough can make the scrunchie uncomfortable in the hair.
Forgetting to weave in the ends securely may cause the scrunchie to loosen after use.
Not spreading the stitches evenly can make one side look fuller than the other.
Choosing a very slippery yarn may make the scrunchie harder to control while crocheting.
Customization Ideas:
You can make this scrunchie in almost any color. Try soft neutrals for everyday wear, bright shades for summer outfits, or sparkly yarn for a party look.
For a fuller scrunchie, add more stitches around the elastic or use a slightly thicker yarn. For a smaller and simpler scrunchie, use lighter yarn and keep the ruffle less full.
You can also add a small bow, a tiny crochet flower, or a decorative edge if you want something extra sweet. Another pretty idea is to use variegated yarn so the color changes naturally as you work.
Style Ideas:
Wear your crochet scrunchie around a ponytail for a soft handmade look. It also looks lovely around a messy bun, especially if you make it a little fuller.
You can match the scrunchie to your outfit, make seasonal colors, or create a set for gifting. A few scrunchies tied together with ribbon make a simple and thoughtful handmade present.
For summer, use cotton yarn in light colors. For cozy seasons, try warmer shades like cream, rust, brown, burgundy, or forest green.
Care Instructions:
Hand wash the scrunchie gently in cool water when needed. Avoid twisting it too hard, because that can stretch the elastic inside. Press out extra water with a towel and lay it flat to dry.
Avoid high heat, especially if your yarn or elastic may shrink or lose shape. If the scrunchie gets flattened, gently fluff the ruffles back into place with your fingers.
Time Needed:
This project may take a short amount of time depending on your crochet speed, yarn, hook size, and how full you want the scrunchie to be. Once you understand the method, it becomes a quick project you can make again and again.
Conclusion:
A crochet hair scrunchie is a sweet little project that is easy to enjoy and easy to personalize. It is beginner-friendly, practical, and perfect for using yarn you already have at home. You can keep it simple, make it extra ruffled, or play with colors and textures until it matches your style. Once you make one, you may find yourself making a whole basket of them.
FAQs:
Is this crochet scrunchie beginner-friendly?
Yes. It is a good beginner project because it uses simple stitches and works directly around a hair elastic.
What yarn is best for a hair scrunchie?
Cotton and acrylic yarn both work well. Choose soft yarn that feels comfortable and does not make the scrunchie too stiff.
Can I adjust the fullness?
Yes. Add more stitches for a fuller ruffle, or use fewer stitches for a flatter scrunchie.
Can I make this for summer?
Yes. Lightweight cotton or bamboo-blend yarn is a good choice for a breathable summer scrunchie.
Can I sell finished crochet scrunchies?
Yes, handmade scrunchies are popular small items for gifts, markets, and personal shops. Use your own photos and descriptions when selling them.