
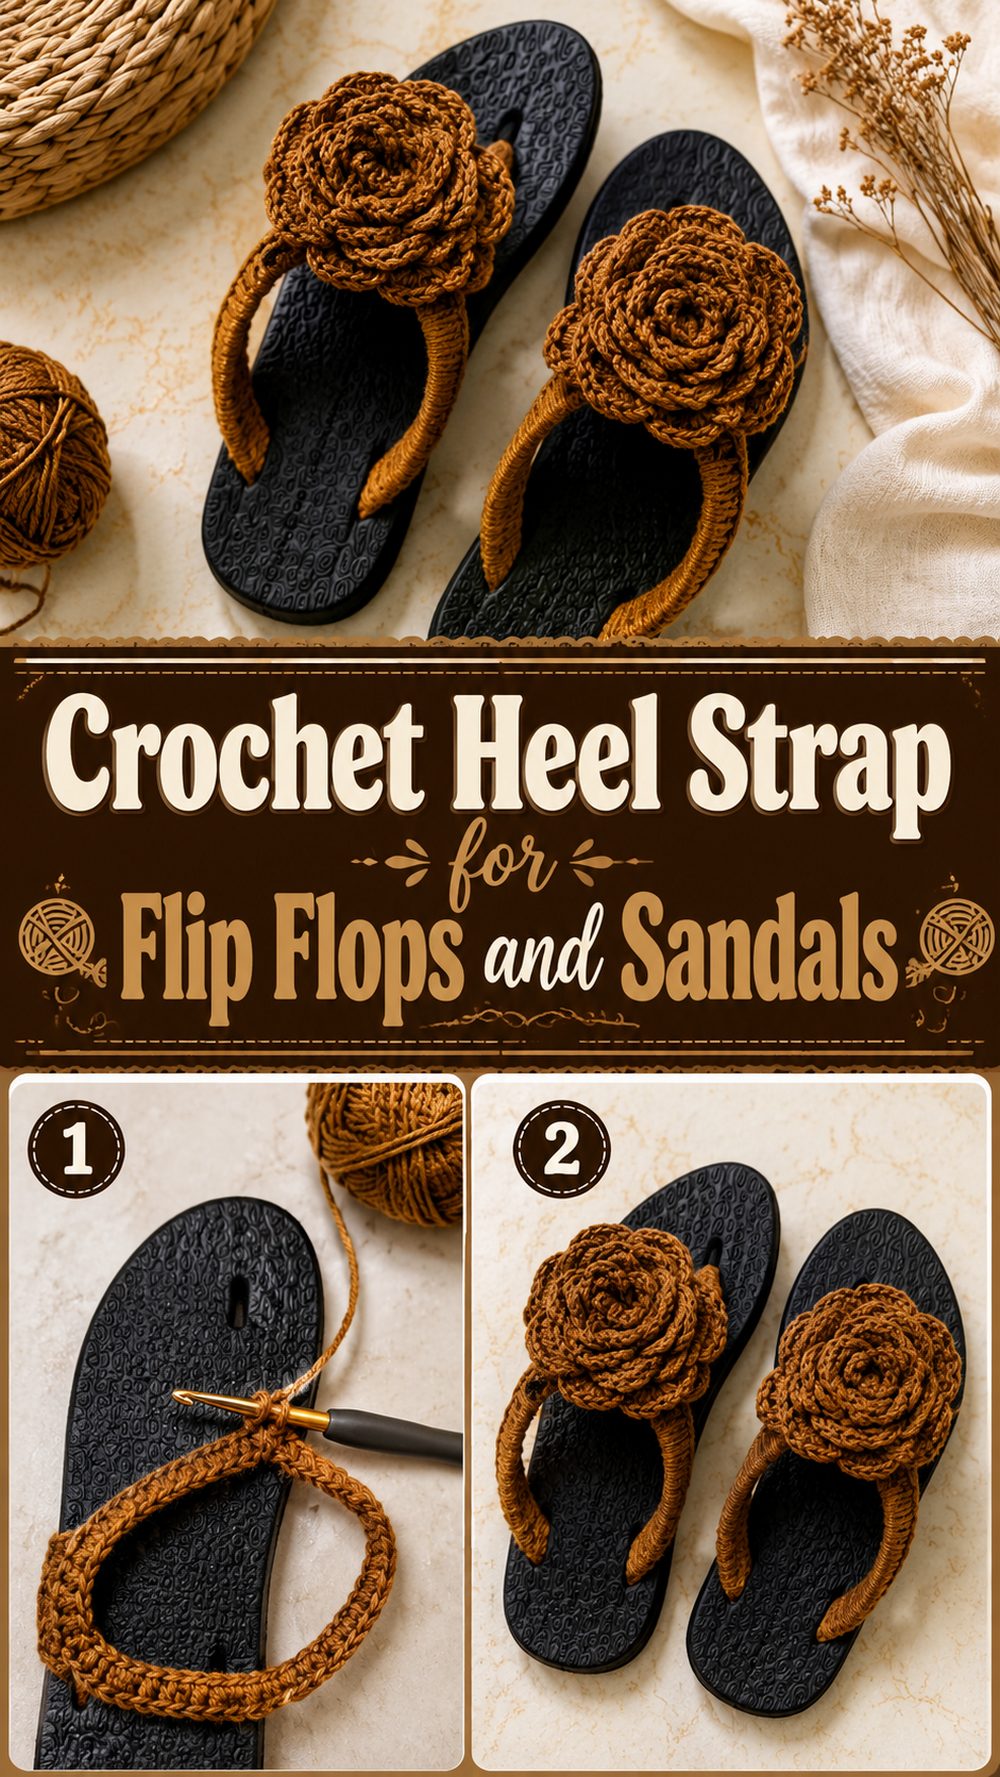
A crochet heel strap is such a clever little project when you want your sandals or flip flops to feel more secure and a little bit more handmade at the same time. The back is supportive, making the footwear harder to kick off, and giving a simple pair of sandals a more finished look. I picked a tutorial that shows how to crochet right along the flip flop straps so it’s a good option if you want to add a crocheted strap section but don’t want to start a whole shoe from scratch.
The beauty of this project is that it’s small, useful and easy to customise. You can go plain for everyday wear, or dress it up with a textured stitch, a decorative edge or a colour to match your summer wardrobe. It is also a great project to use up leftover yarn and make something wearable.
Why You Will Love This Project
This project is quick, practical and rewarding. This isn’t about making a full pair of crochet shoes, but about upgrading a pair of sandals or flip flops with a strap that adds comfort, support and a handmade touch.
Required Materials
A pair of sandals or flip-flops
Yarn
Crochet needle
Scissors – Cutting Tools
A yarn needle.
Marking Stitch
Tape measure
- Use a yarn size and hook size that will give you your desired fit and texture.
Top Yarn For This Project
A crochet heel strap is best made from cotton or a cotton blend. It gives a neater shape, feels airy in warmer weather and is less likely to stretch out too much with wear. The strap needs to be comfortable but also hold its shape, so smooth yarn is better than fuzzy or extremely soft yarn.
For a light and tidy feeling strap, do not use very thick yarn. A medium or lighter weight yarn is often easier for this kind of wearable detail, because it won’t make the strap area feel too thick against the foot.
Skill Level
It’s an easy project to get going with. The tutorial chosen is a crochet flip flop straps tutorial and the process shown is a simple, straightforward way of working along the straps.
It is a good choice for anyone who knows the basics of chaining, holding tension and working simple stitches. As a small project, it is also a good practice piece.
Size & Fit Guide
The size will depend most on what kind of shoes you start with. Start with flip flops or sandals that already fit well, since the crochet strap is meant to add support and style, not to dramatically change the size.
Keep checking the strap against your foot as you work. The heel strap should fit snugly enough to keep the sandal on, but not pull tight or chafe the back of the heel. If it feels a little loose, trim the strap part a little. If it’s too tight, extend it before you secure it in place.
Used Stitches
I found a tutorial that shows working the stitches along the straps, so they are simple and practical and not too decorative.
Some common stitches for a project like this are:
Chain
Slip stitch
sc (single crochet)
Or double crochet for decorative bits
Simple repeats for length and texture
How to Make It
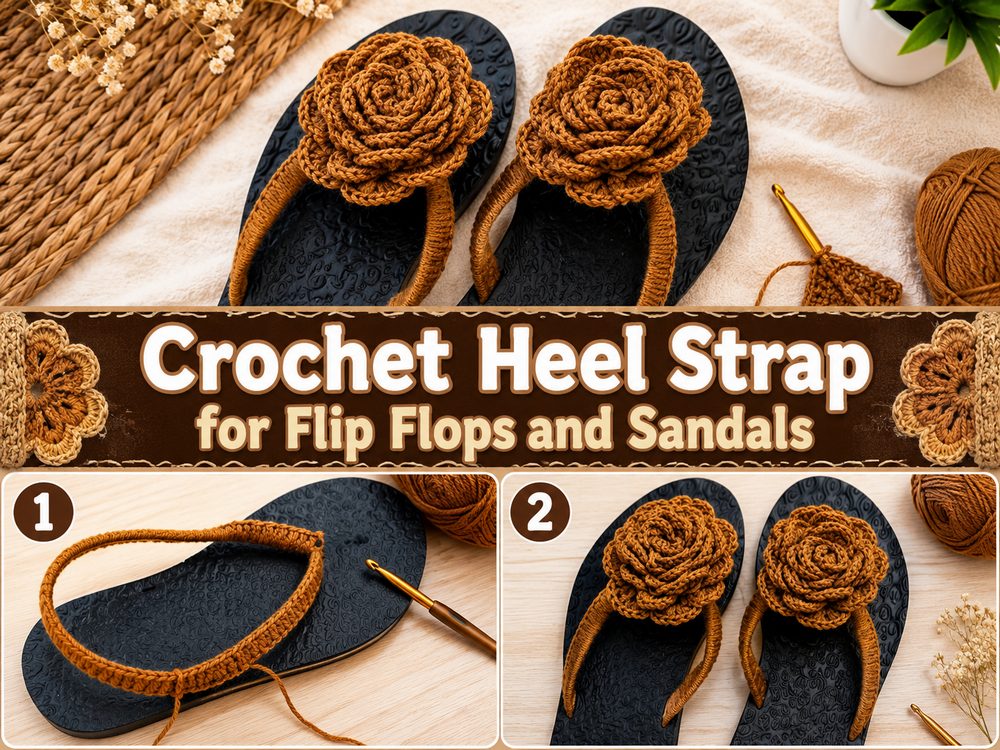
Step 1: Begin With the Sandal Base
Get the pair of flip flops or sandals you want to upgrade. As this project uses the existing strap area, first ensure the base sandal fits your foot comfortably. If the flip flop is already loose or tight enough, the crochet heel strap will not necessarily fix that completely.
Check out the side straps and imagine the heel strap connection. The idea is to make a back section that helps the sandal stay on more comfortably and yet feels easy to wear. A simple clean sandal base is usually best.
Step 2: Attach Yarn to Strap Area
The tutorial chosen shows the yarn being worked up and down the straps, which gives you the base to build the crochet strap neatly around the existing sandal frame.
At this point, concentrate on keeping the stitches even and secure. You want the crochet to hold the strap well without bunching. If your stitches are too tight the strap might pull wonky. If they are too loose, the crochet will slide and look messy.
Step 3: Construct the Heel Strap Portion
When the yarn is secured, begin creating the strap that will go around the back of the heel. Depending on the look you are going for this can be kept simple and practical or it can have a bit of texture. The most important thing is that it feels nice on the skin.
Check the length regularly and work steadily. The strap should reach across the other side without having to pull hard. This is much easier to adjust while you are still crocheting than when you have finished so stop often and try it against the sandal.
Step 4: Adjust the fit
This is the most important part of the entire project. Put on the sandal and mark where the strap rests on the heel. If it slides too low it may come off. If it’s too high and tight it could be uncomfortable.
A good heel strap should feel subtly supportive. This is designed to keep the sandal in place while allowing you to walk normally. Make slight adjustments as needed by adding or removing rows, shortening the connecting point, or changing your tension slightly on the second sandal to match the first.
Step 5: Finish Off and Tidy Both Ends
When the strap is the right length , attach securely to the other side . Make sure both connection points are even and strong as this is the area that will get the most movement during wear. It also gives the finished sandal a more polished look, due to a neat attachment.
After you have made one sandal, make the second and compare carefully. Check the strap height, the length and how the crochet sits along the side straps. Getting both sandals to match well makes the whole project look so much more intentional.
Step 6: Complete the Edges
If you want a cleaner finish, just add a simple edging around or smoothing row where needed. This can make the strap appear more complete and can help tidy up any places where the stitches don’t look even.
Weave in all ends very well. Footwear moves a lot so loose ends are more prone to work free over time When finished, the sandals should feel light, clean and more secure with a crocheted heel strap for both function and fashion.
Helpful Hints
Use cotton yarn for a tidy breathable strap.
Test it out before committing to the other side permanently.
Make sure the sandals are equal in length and height in the straps.
Keep your tension even so that strap does not twist.
Weave ends especially well, as sandals get a lot of movement.
Take a few steps and call the sandals done.
Typical Pitfalls to Avoid
Strapping the heel too tight
Leaving the strap too loose and it falls off.
Using very bulky yarn that feels uncomfortable
Uneven one-way attachment
No comparison between the second and the first sandal
No fit checks until the very end
Options for Customisation
For a casual look, you can leave the heel strap plain, or dress it up with a scalloped edge, a small bow, a shell detail, or a contrasting colour. Soft neutrals look clean and simple, but bright colours give the sandals a more playful and summery vibe. If you want a little more support and coverage, you can also make the strap a little bit wider.
Creative Styles
These crochet heel straps are perfect for casual summer sandals, beach flip flops, shoes by the pool, or simple house shoes on a sandal base. They’re also a nice way to make cheap shoes feel more personal and handmade. Pair with a matching crochet tote or sun hat for a cute warm weather set to gift.
How to Care for
If needed, hand wash carefully and let the sandals air dry completely. Do not soak them for too long especially if the base of the sandal is a light foam or glued. Keep them away from high heat to preserve the yarn and the shape of the sandal.
Time Required
Depending on your speed, strap length, yarn choice and how much adjusting you do while fitting the sandals, this could take a couple of hours.
Conclusion
A crochet heel strap is a simple but really useful way to upgrade plain sandals or flip flops. It adds a little handmade beauty, makes the footwear feel more secure, and gives you lots of room to personalize the final look. Take your time with the fit, keep the stitches neat, and enjoy turning an ordinary pair into something more comfortable and special.
FAQs
1. Is this beginner-friendly?
Yes. The selected tutorial is a crochet flip flop straps tutorial and shows a simple working method along the straps.
2. What yarn is best for a crochet heel strap?
Cotton or a cotton blend is a great option because it holds shape well and feels comfortable in warm weather.
3. Can I adjust the strap length?
Yes. You should test the fit while working and add or reduce length until it feels snug and comfortable around the heel.
4. Will this work on any flip flops?
It works best on flip flops or sandals with a strap structure that gives you a place to crochet around or attach to securely.
5. How do I make the strap more comfortable?
Use smooth yarn, avoid bulky stitches, and check that the strap sits gently against the heel without rubbing.