
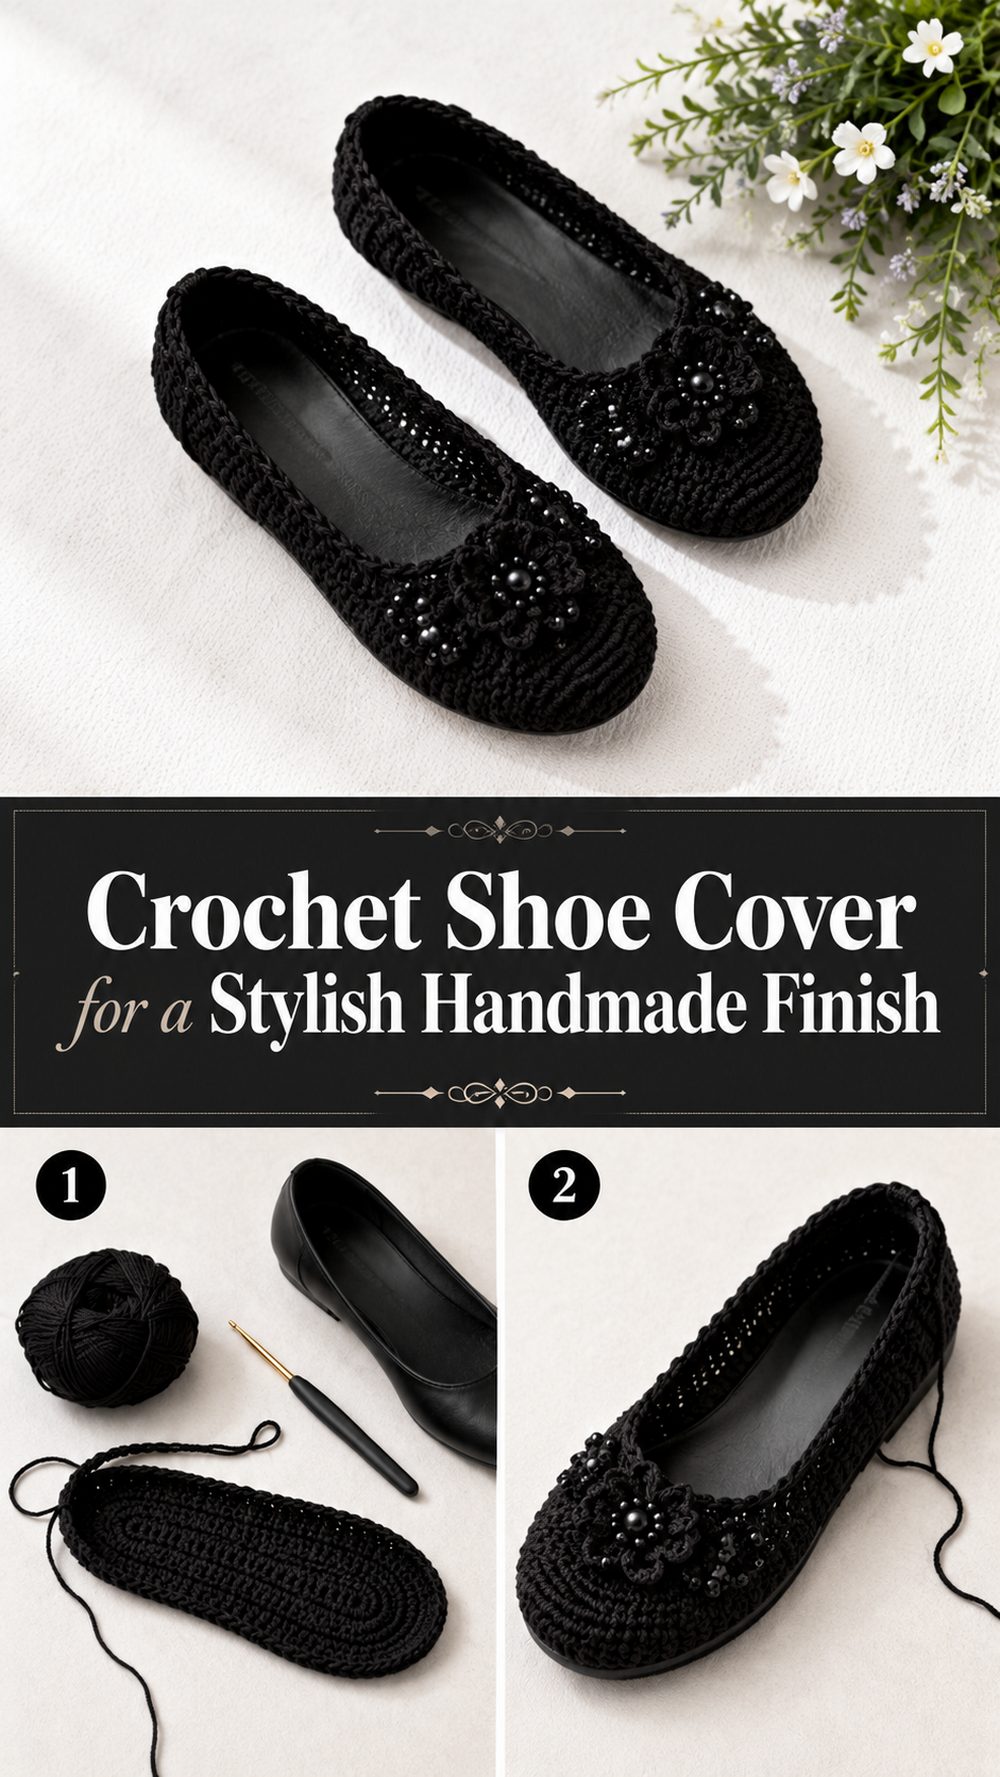
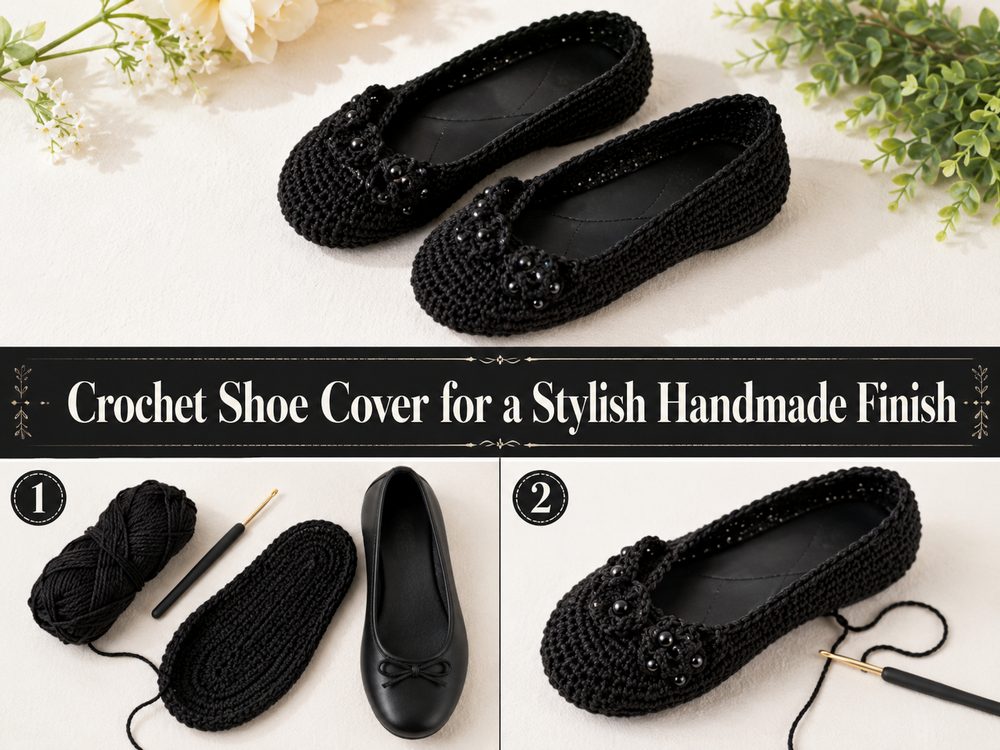
Crochet shoe covers are such a smart project for those times when you want to give plain shoes a softer, more handmade look without having to make full footwear from scratch. You can dress up a simple pair, add texture and charm, and get the chance to play with colour in a way that feels creative yet practical at the same time. The tutorial that I chose is a complete YouTube lesson on how to make crochet cover shoes and it is a project that can also be modified for sizes, which is especially helpful for wearable crochet.
If you like a bit of different crochet to the usual scarves & hats then this kind of project is lovely. And instead of just creating something decorative, you have something that you can wear and also personalise. It’s a fun choice for confident beginners wanting to give shoe-related crochet a shot in a simple practical way.
Reasons You Will Love This Project
This project is so fun because it makes a plain shoe something more personal and eye-catching. It also provides you the satisfaction of creating a wearable accessory without having to construct the entire sole and structure from scratch.
Required Materials
A pair of shoes to conceal or to build upon
Thread
Crochet needle
scissors.
Yarn needle
Progress markers
Measuring tape.
Pick a yarn and hook size that will give you the fit and texture you want.
Best Yarn For This Pattern
For crochet shoe covers, a yarn with a bit of body is usually best. Cotton or a cotton blend is a lovely choice, giving you nice stitch definition and helping the cover stay in shape. If you want something softer, you can also use a smooth acrylic, but it can’t be too stretchy or fuzzy.
Because shoe covers need to fit snugly over shoes, using yarn that is too bulky can be bulky, and using yarn that is too floppy might not give a neat finish. A medium-weight yarn usually works well, as it’s a nice balance between coverage and flexibility.
Level of expertise
This pattern works best for a confident beginner or easy intermediate crocheter.
The video chosen is a full tutorial focusing only on crochet cover shoes and stressing that this technique can help make the shoe in different sizes. This makes it approachable, but as fit is important it helps if you are already comfortable with basic stitches and checking your work as you go along.
Size & Fit Guide
This project is all about fit, so start by measuring the shoe you want to cover. Check length and width and how high you want the crochet to sit over the foot. The tutorial is meant to be helpful for making the shoe in different sizes so the method given is generally adjustable instead of just one measurement.
As you work, keep checking the crochet against the shoe to be sure it lies flat. You can add rows, rounds or width as needed to make the cover bigger and keep it snug by checking tension and fit often.
Used Stitches
The stitches used for this type of project are usually basic and practical, such as:
Chain
Slip stitch (sl st)
sc single crochet
Half double crochet or double crochet.
Basic shaping as required.
Preparation It
Step 1: Start with the Base of the Shoe
Before you crochet anything, take a good look at the shoe you want to cover. The shape of the shoe will determine the whole project especially around the toe, sides and opening. The cleaner and simpler the shoe base, the easier to work with as the crochet can sit over it more smoothly.
This is also a great time to decide how much of the shoe you want to cover. Some covers sit low and decorative, some come higher over the foot. If you want a more fitted and secure look expect more coverage around the sides and top.
Step 2: Building the Foundation Section
The majority of patterns for crocheted shoe covers begin with a base section to help the rest of the stitches sit where they are supposed to. The foundation should be as close to the shoe’s shape as possible. Work carefully, making sure that the piece is neither too tight nor too loose.
If it pulls tight across the shoe, the shape of the cover can be distorted and it will feel uncomfortable. If it is too loose it may slip or wrinkle. This part is all about creating a nice snug fit to make the rest of the design look clean.
Step 3: Construct the Body
After you have finished with the foundation, you can go on creating the body of the shoe cover. This is where the project starts to look like a finished wearable piece, not a flat crochet panel. Gradually work over the top and sides, shaping the stitches so that the cover follows the shoe nicely.
This part usually works best by stopping often and holding the work up to the shoe. This allows you to see if the toe box needs more room, if the sides are high enough and if the opening still looks balanced. A little bit of checking here can make a big difference in the final look.
Step 4: Size Adjustments
This is the step where you should make your minor adjustments. Shoe covers need to sit nicely. If the cover seems too shallow continue a little longer. If it appears too roomy, tighten the shaping a little or reduce the width in the next section.
Don’t wait until the last minute to check the fit. Testing the size as you go makes a wearable crochet project always better. Crochet evenly and smoothly so the finished cover feels as though it was made with intention and care.
Step 5: Edge Sharpening
Once the main shape is done you need to clean up the edges. A simple finishing round will give the opening some definition and make the cover look more polished. This is only a small stage, but often gives the finished handmade look to the project.
A tighter last round will help an opening that feels loose on the edge settle better. If it feels stiff try to keep your tension relaxed. The aim is a clean edge that looks tidy and feels good around the foot.
Step 6: Complete and Secure
When it looks right, fasten off and carefully weave in all ends. It is something to wear so neat finishing is important Loose ends of yarn can be uncomfortable on the inside or make the outside look messy when used.
If you are making a pair, finish the second the same way and compare them often. Make sure the toe coverage, side height and opening are a close match. Matching pairs always look more polished and more wearable.
The finished shoe covers should look snug, tidy and softly shaped over the shoe, giving it a handmade upgrade without making it heavy or bulky.
Helpful Hints
Choose a yarn with good structure so the cover will keep its shape.
While you work, frequently check the fit against the shoe.
Use stitch markers to keep both sides even.
Keep your tension consistent for a cleaner finish.
Put the 2nd cover right after the 1st cover so they look good as a pair.
Make sure all ends are woven in securely as wearable projects get more movement.
Typical Mistakes to Avoid
Making the cover tight and pushing it over the shoe
It’s too loose so it wrinkles or slides off
Shaping Forgetting to compare both sides
the use of very bulky yarn that makes the shoe uncomfortably
Skipping edge finishing and ending up with a messy opening
Not checking the fit until the very last minute
Customisation Suggestions
There are so many easy ways to make this project feel personal. For an everyday look, use a single neutral colour, or opt for bright colours if you want something playful. The contrast edge can beautifully highlight the shape. You could also add a flower, bow, button detail or textured stitch pattern if you want the cover to feel more decorative.
Soft beige, cream, grey or muted rose can look lovely if you want something a little more elegant. If you want something a bit more daring, stripes or colour blocking can help the shoe cover stand out.
Style Concepts
Crochet shoe covers are a fun way to update plain flats or simple shoes. They work well for casual outfits, handmade fashion looks or even indoor wear depending on the base shoe. These also make a thoughtful gift for someone who loves creative accessories and handmade touches.
Caring Instructions
Wash carefully by hand if the yarn and shoe base permit. Don’t scrub too hard, and let the covers air dry. Keep away from high heat so the yarn retains its shape and fit stays comfortable.
Time Required
This may take a few hoursours depending on your speed, shoe size, yarn choice, and how much shaping or adjustment you want to do.
Conclusion
Crochet shoe covers are a lovely project when you want to turn something plain into something handmade and stylish. They give you room to be creative, they are practical to wear, and they can be adjusted to suit different sizes and personal tastes. Take your time with the fit, keep checking the shape as you go, and enjoy the process of making a simple pair of shoes feel completely your own.
FAQs
1. Is this beginner-friendly?
Yes, for a confident beginner. The tutorial is a full crochet cover shoe lesson and is described as helpful for making the shoe in different sizes.
2. What yarn is best for crochet shoe covers?
A cotton or cotton-blend yarn is usually a great choice because it gives structure and a neat finish.
3. Can I adjust the size?
Yes. The selected tutorial specifically notes that it helps in making the shoe in different sizes.
4. How do I make the cover more comfortable?
Use a smooth yarn, avoid bulky stitches, and keep testing the fit over the shoe while you work.
5. Can I decorate the finished cover?
Yes. You can add trim, bows, flowers, edging, or color changes to suit your style.