
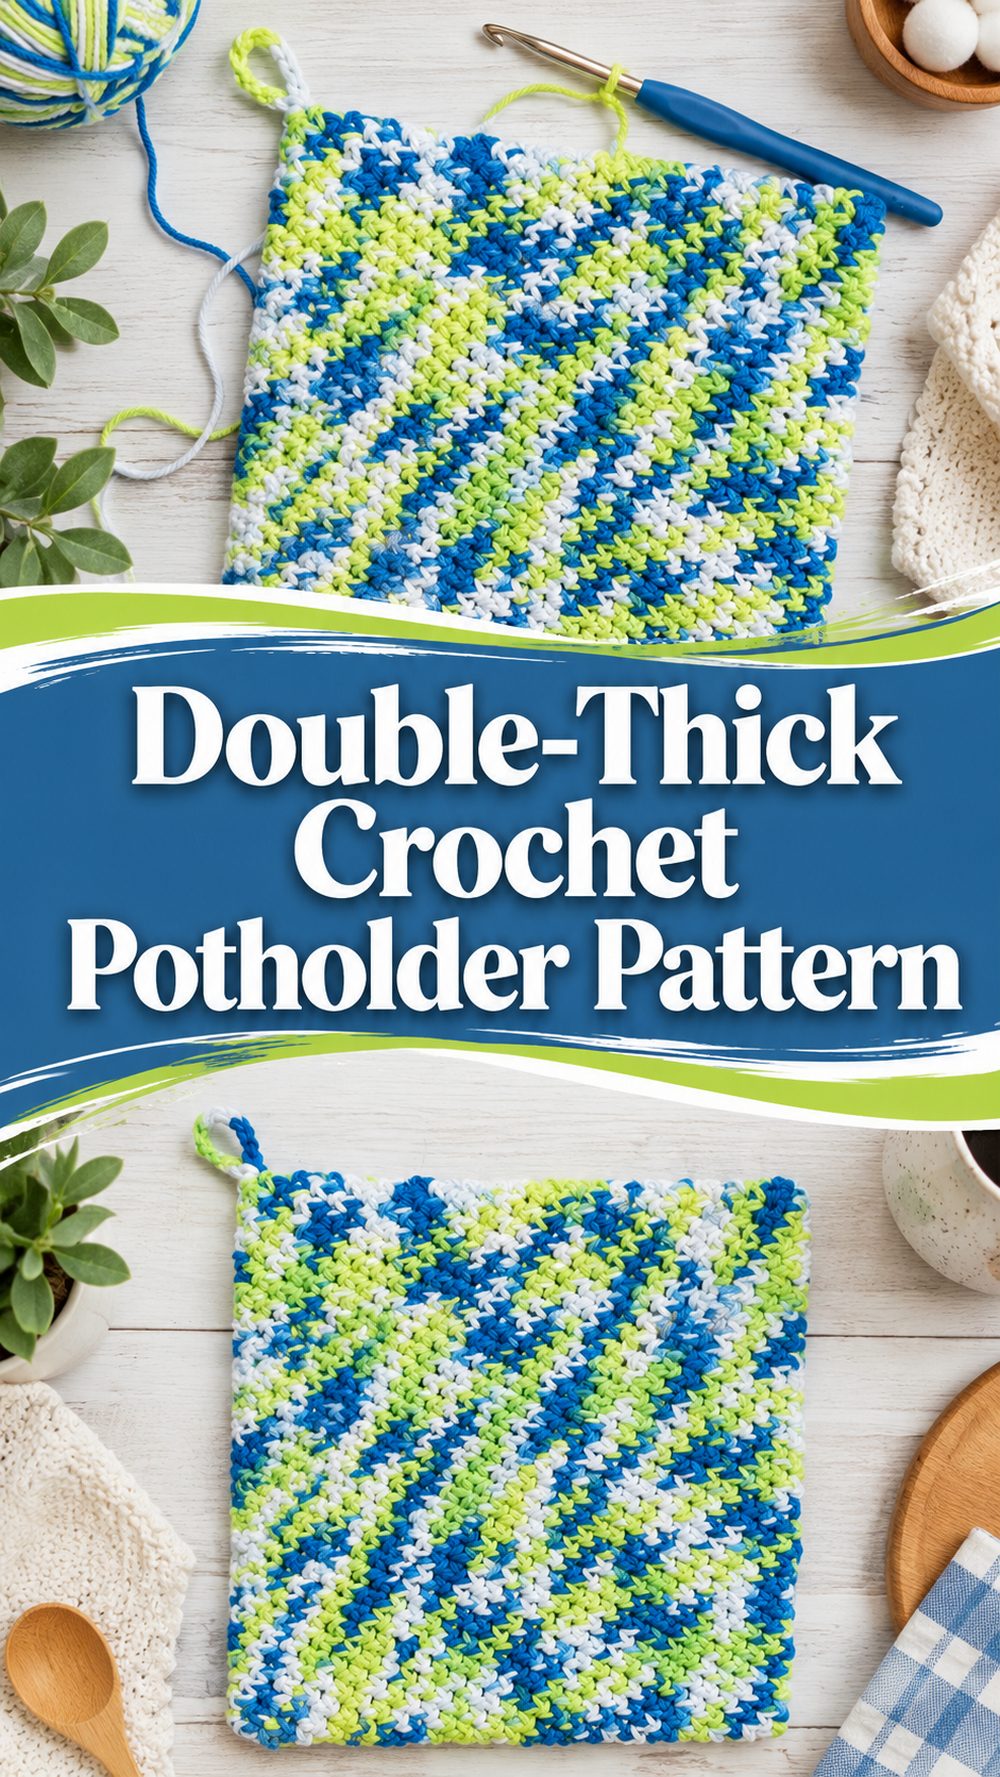
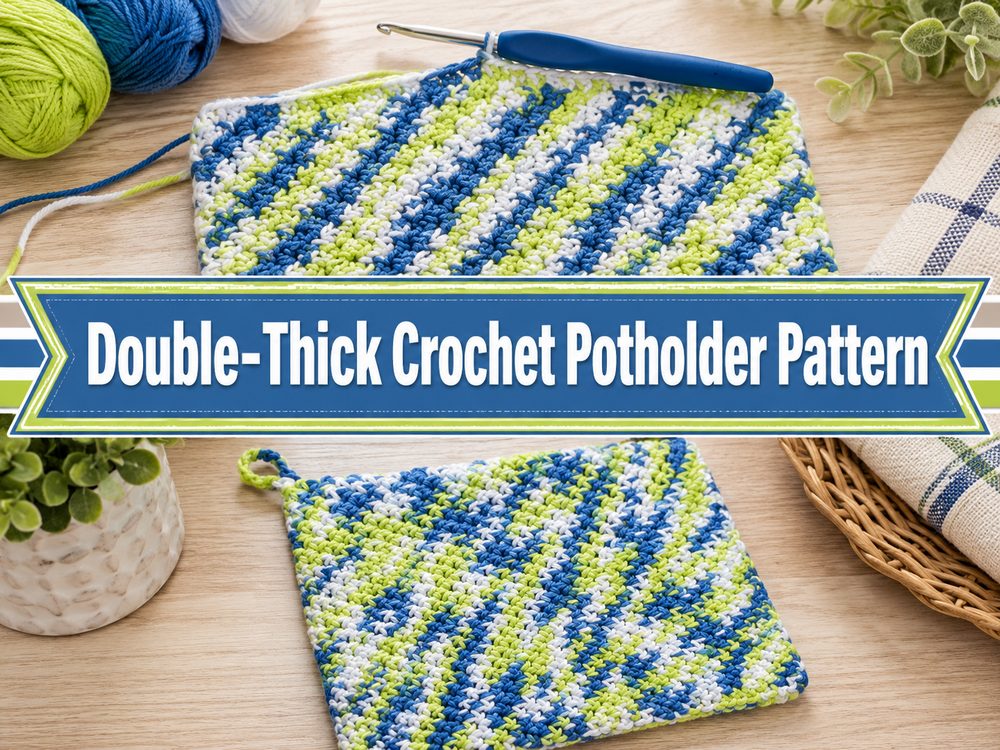
A crochet potholder is one of those satisfying little projects that feels useful the second you finish it. It works up into something practical, sturdy, and handmade, and it is also a lovely way to enjoy simple stitches without getting overwhelmed. This style of potholder is especially nice because it turns into a thick, protective kitchen piece instead of a flimsy square that looks cute but cannot handle heat well. If you enjoy making gifts, stocking your kitchen with handmade basics, or practicing neat, even stitches, this is a really good project to try. It is also a comforting make for quiet afternoons because the shape is straightforward and the results are so rewarding. By the end, you have a solid potholder that looks tidy, feels substantial, and is ready to use. The selected tutorial teaches a double-thick potholder worked mainly in single crochet, with a small hanging loop added at the end.
Why You’ll Love This Project
This potholder is useful, sturdy, and beginner-friendly in the best way. You get to practice basic crochet skills while making something that can actually live in your kitchen and get used often. The double-thick construction makes it feel more protective and dependable than a thin decorative hot pad.
Materials Needed
- 100% cotton yarn or another heat-safe cotton kitchen yarn
- Crochet hook
- Scissors
- Yarn needle
- Stitch marker if helpful
- Measuring tape if you want to check the size as you go
If the exact yarn weight or hook size is unclear, use a yarn and hook size that matches your desired fit and texture.
Best Yarn for This Project
For a potholder, cotton is the best choice. It handles heat better than many synthetic fibers and gives the fabric a firmer, more practical feel. A sturdy worsted or slightly heavier cotton yarn is especially nice if you want the finished piece to feel thick and durable. Try to avoid yarn that feels too stretchy, fuzzy, or delicate. Kitchen projects usually work best when the stitches are firm and the fabric feels dense.
Skill Level
Easy and beginner-friendly.
This is a great project for someone who already knows the basics of chaining and single crochet, or for a newer crocheter who wants a practical item instead of a scarf or dishcloth. The shape is simple, and the goal is more about building a thick fabric than memorizing complicated stitch patterns. The selected tutorial describes it as quick, easy, and beginner friendly.
Size and Fit Guide
Potholders do not need body sizing, but size still matters. You want yours large enough to protect your hand and give you a comfortable grip on hot dishes. As you work, compare the piece to your palm or to a potholder you already like using. If you want a larger version, keep adding rows or rounds until it feels right. If you prefer a smaller one for quick kitchen tasks, stop a little earlier. What matters most is that the final fabric feels thick and covers enough space to be useful.
Stitches Used
- Chain
- Single crochet
- Slip stitch
- Simple loop finishing
The selected tutorial specifically notes that the main body is done in single crochet and includes a small chain loop.
How to Make It
Step 1: Start the Foundation
Begin by making your starting chain. The length of this first chain will help shape the size of your potholder, so keep it practical rather than decorative. You want something that gives you a comfortable kitchen square once the fabric builds up. Work your foundation neatly, and try not to make the chains too tight, because that can pull the edge inward.
Step 2: Build the First Layer
Once your foundation is ready, start working in single crochet. This stitch is perfect for a potholder because it creates a close, tight fabric without large gaps. Since potholders need structure, this is exactly the kind of stitch you want. Continue working in a simple, steady rhythm, keeping your tension as even as possible. The first layer forms the base and gives the project its shape.
As the fabric grows, pause now and then to make sure the piece is staying square or evenly shaped. If one side starts to pull, your stitches may be too tight. If the work feels floppy, try relaxing less and making your stitches a little firmer.
Step 3: Create the Double Thickness
The real beauty of this project is that it becomes double thick. Instead of ending with one flat layer, you continue in a way that gives the potholder more body and protection. That extra thickness is what makes it useful near hot cookware. The tutorial focuses on a double-thick result rather than a thin decorative square.
As you crochet, think about function. A potholder should feel solid in the hand. If your stitches are loose enough to leave visible openings, consider tightening your tension slightly or choosing a firmer cotton yarn. You want heat protection and structure, not drape.
Step 4: Keep the Shape Even
Continue crocheting until the piece feels balanced and the thickness is well established. If your potholder is made as a folded or layered piece, take a moment to line everything up before finishing. Corners should look neat, and the edges should sit flat without twisting. If needed, gently smooth the piece with your hands as you work so you can catch any unevenness early.
This is also a good stage to decide whether you want the potholder slightly larger. Some people like a compact square, while others prefer a roomier one for casserole dishes or larger pans. Adjust while you still can.
Step 5: Join and Finish the Shape
Once the body is complete, close or finish the potholder according to the structure of the piece. Since this style is meant to be practical and durable, the finishing should feel secure. A tidy edge makes a big difference here. Take your time with the last section so the potholder looks polished rather than rushed.
If you are joining edges, make sure both layers are sitting evenly before you complete the final stitches. A crooked finish can make the whole piece look off, even when the stitching itself is fine.
Step 6: Add the Hanging Loop
To make the potholder easier to store, finish with a small chain loop. This gives you a simple way to hang it from a kitchen hook. It is a tiny detail, but it makes the finished piece feel complete and useful. The chosen tutorial specifically includes a little chain loop as part of the finishing.
Fasten off, weave in the ends carefully, and make sure no loose yarn tails are left where they might work free later.
Step 7: Final Look
When finished, your potholder should feel thick, sturdy, and comfortable in the hand. It should not be floppy or overly stretchy. The texture should be simple and neat, with a practical kitchen look that suits everyday use. The finished piece works well as both a potholder and a hot pad.
Helpful Tips
- Always use cotton yarn for potholders instead of acrylic for better heat safety.
- Keep your single crochet stitches even so the fabric stays neat and dense.
- Check the thickness with your hand as you go. It should feel protective.
- Add the hanging loop at the end if you want easy kitchen storage.
- Weave in the yarn tails extra well because kitchen items get used often.
- Make a second one in the same size if you want a matching set for gifting.
Common Mistakes to Avoid
- Using yarn that is too soft, slippery, or heat-sensitive
- Making the stitches too loose and leaving gaps in the fabric
- Forgetting to check that the shape is staying even
- Finishing too early before the potholder feels thick enough
- Rushing the edge or join so the final shape looks uneven
- Leaving ends only half woven in, which can come loose with use
Customization Ideas
You can make this potholder in classic kitchen neutrals, farmhouse shades, bright fruit colors, or seasonal tones. Add a contrasting edge for a clean finished look. Make it larger for bigger cookware or smaller for quick everyday use. You can also create a matching kitchen set with a few coordinating potholders in different colors. A striped version would look cheerful, while a solid color gives it a clean and timeless feel.
Style Ideas
These potholders look lovely hanging from a kitchen hook, folded in a bread basket, or stacked beside the stove. They also make sweet handmade gifts for housewarmings, holiday baskets, teacher presents, or Mother’s Day sets. Pair one with a dishcloth, mug rug, or towel for a simple handmade kitchen bundle.
Care Instructions
Hand wash or machine wash gently if your cotton yarn allows it. Lay flat to dry so the shape stays neat. Avoid high heat if you are unsure how your yarn behaves. Since kitchen items pick up everyday wear, it helps to wash them regularly and smooth them back into shape after drying.
Time Needed
This may take a few hours depending on your speed, yarn, size, and stitch pattern. It is the kind of project that feels very manageable in one relaxed crafting session or over a couple of shorter sittings.
Conclusion
A crochet potholder is such a satisfying project because it gives you something sturdy, useful, and handmade without needing complicated techniques. This double-thick style is especially nice if you want a potholder that feels dependable in the kitchen and still looks charming when it is hanging up or folded nearby. You can keep it simple, change the color to match your space, or make a whole set for gifts. It is a wonderful little project to enjoy when you want something practical and comforting on your hook.
FAQs
Is this beginner-friendly?
Yes. It uses simple stitches and focuses more on consistency than complexity.
What yarn is best for a crochet potholder?
100% cotton is the safest and most practical choice for kitchen use.
Can I make it bigger or smaller?
Yes. You can adjust the size by changing the starting length and continuing until it reaches the size you want.
Why should a potholder be double thick?
A thicker potholder gives better protection and feels more secure when handling hot dishes.
Can I sell the finished potholders?
Usually people do sell handmade finished items, but it is still wise to respect the original designer’s preferences for pattern credit where appropriate.