
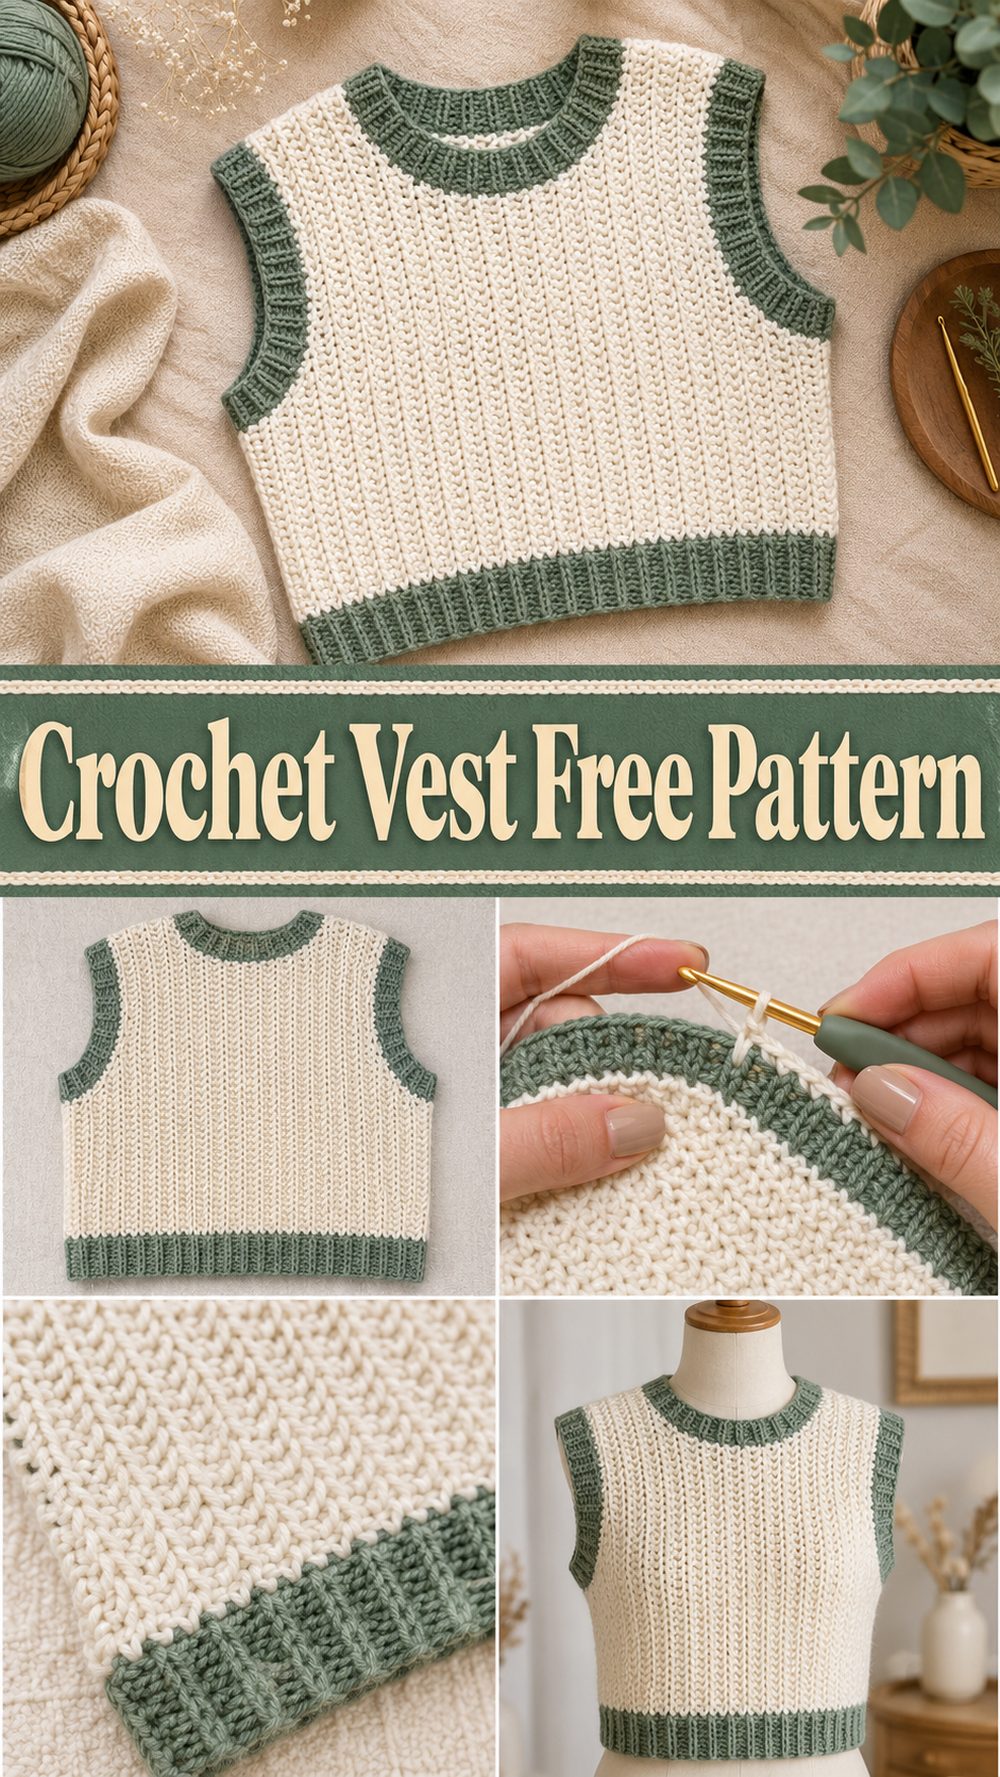
A crochet vest is one of those projects that feels especially rewarding because it is both wearable and versatile. It can be layered over tops, dresses, long sleeves, or simple tees, and it adds that lovely handmade touch without feeling as big or time-heavy as a full cardigan or sweater. The tutorial I selected teaches a crochet sweater vest from start to finish, and it is presented as a layering piece, which makes it a great choice for anyone who wants something practical as well as pretty. A vest like this works nicely across seasons too. You can wear it over lighter clothes when the weather is mild, or layer it more warmly when it turns cooler. It is also the kind of project that feels satisfying to make because you can really watch it take shape panel by panel and turn into a finished garment you will actually use.
Why You’ll Love This Project:
This project is fun because it gives you the satisfaction of making a real garment without the heaviness of a full sweater. A crochet vest is easier to layer, easier to style, and often easier to fit than larger clothing pieces. The selected tutorial clearly presents the project as a crochet sweater vest that is perfect for layering, which makes it especially wearable.
Materials Needed:
- Yarn
- Crochet hook
- Scissors
- Yarn needle
- Stitch markers
- Measuring tape
If the exact yarn weight or hook size is unclear, use a yarn and hook size that matches your desired fit and texture.
Best Yarn for This Project:
The best yarn for a crochet vest depends on how you want it to feel and when you plan to wear it. For an everyday sweater vest, a soft acrylic or acrylic blend can work very well because it is comfortable, easy to care for, and often gives nice stitch definition. If you want a lighter vest for layering in milder weather, a cotton blend can feel more breathable. If you want a cozier version, especially for cooler seasons, a yarn with a little more warmth and body can be a lovely choice.
A vest should feel comfortable over clothing, so it helps to choose a yarn that drapes well enough to wear easily but still has enough structure to hold the shape of the neckline and armholes.
Skill Level:
This project is beginner-friendly to easy intermediate.
The selected tutorial is presented as a full crochet vest walkthrough, which makes it approachable, but wearable garments always ask for a bit more attention to shape, sizing, and finishing than a simple scarf or accessory. It is a nice project for someone ready to move into clothing.
Size and Fit Guide:
To size a crochet vest, begin by measuring around the bust or chest and deciding how fitted or relaxed you want the finished piece to be. Some people like a vest to sit close to the body for neat layering, while others prefer a little more room so it feels comfortable over shirts or dresses.
As you work, hold the pieces against your body or compare them to a vest or top that already fits the way you like. Pay close attention to the width across the front and back, the depth of the armholes, and how high or low you want the neckline to sit. Since exact written counts are not clearly available from the accessible source snippet, checking fit as you go is the safest and most practical way to get a result that feels right.
Stitches Used:
Follow the video directly for the exact stitch sequence and row structure. The selected YouTube source clearly tells us it is a tutorial that walks you through crocheting a sweater vest from start to finish and that the vest is intended for layering, but the search snippet does not expose a full stitch list or written row breakdown. It is best not to invent those details.
How to Make It:
Step 1: Start the First Panel
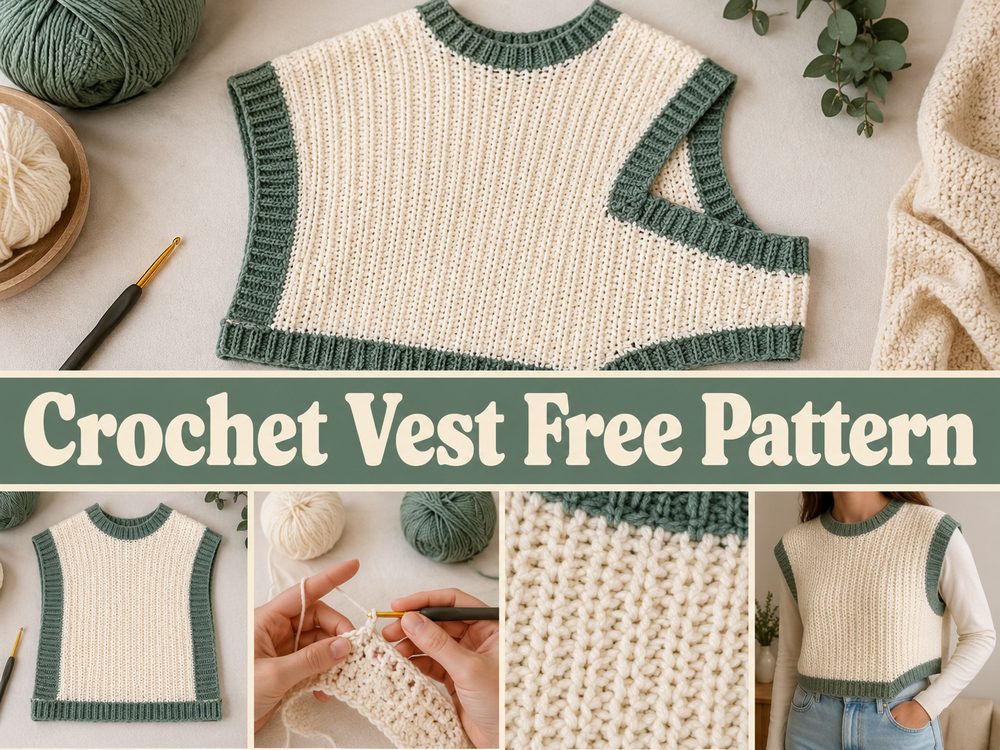
Begin by making the first main section of the vest. In many crochet vest projects, that means starting with either the front or the back panel and building the shape row by row. This first piece sets the width and overall feel of the garment, so it is worth taking your time with the foundation.
Keep your tension even and make sure the edges stay neat. A vest looks much more polished when the first panel starts cleanly and keeps a balanced shape.
Step 2: Build the Main Body
Once the foundation is ready, continue working the body of the panel in the stitch pattern shown in the tutorial. This is where the fabric starts to grow into something that actually looks like clothing rather than just a swatch. Since the selected tutorial is described as a sweater vest project, this stage is all about creating the base fabric that will later shape into the armholes and neckline.
Work steadily and lay the panel flat often. If the edges begin to pull in or widen too much, checking early makes it easier to keep the shape tidy.
Step 3: Check the Width and Length
As the panel grows, compare it to your body or to a garment with a similar fit. This is one of the most helpful habits in crochet clothing. A vest does not need to be complicated to fit nicely, but it does need regular checks so the width and length do not drift away from what you want.
If you want a shorter vest, stop the body section earlier. If you prefer more coverage, continue until the length feels right.
Step 4: Shape the Armholes or Upper Section
Once the body reaches the point where the upper part of the vest begins, the shape usually starts changing. This is where armholes, neckline shaping, or shoulder sections may begin. Follow the tutorial carefully here, because this stage has the biggest effect on how wearable the finished vest feels.
Take your time and compare both sides as you go. Keeping the shaping even is what helps the garment look balanced once it is assembled.
Step 5: Make the Matching Piece
After finishing the first main section, crochet the second section to match if the construction uses separate front and back pieces. This is one of the most important moments in the project, because a vest looks best when both panels have similar size, shape, and tension.
Lay the first and second pieces side by side while you work. That makes it much easier to catch small differences before assembly.
Step 6: Join the Pieces
Once the main sections are complete, join them according to the method shown in the tutorial. This may include shoulder joins, side seams, or another simple assembly process. Make sure the pieces are lined up properly before finishing the joins, and check that the armholes and neckline still look balanced.
A neat join can make even a simple vest look polished and comfortable.
Step 7: Refine the Neckline and Armholes
After the main vest shape is assembled, the next step is often tidying the edges. The neckline and armholes are especially visible, so clean finishing here can really improve the whole look of the garment. Keep your tension relaxed so these edges do not become too tight.
A vest should sit comfortably over other clothing, so the finishing should help the shape feel smooth rather than stiff.
Step 8: Weave In Ends and Check the Fit
Before calling it done, weave in all ends securely and try the vest on. Check how it feels across the chest, shoulders, and armholes. Since the selected tutorial presents it as a layering piece, make sure it also sits comfortably over the kind of top or dress you want to wear underneath.
If something feels slightly off, this is the best time to make a small adjustment before final shaping.
Step 9: Shape the Finished Vest
Lay the vest flat and smooth it into shape. If needed, light blocking can help the stitches settle, the edges look cleaner, and the armholes and neckline feel more finished. The final result should look like a practical, easy-to-layer crochet sweater vest, which is exactly how the selected tutorial presents it.
Helpful Tips:
- Check the fit regularly instead of waiting until the end.
- Keep both main panels the same size and tension.
- Use stitch markers if they help with shaping points.
- Choose yarn that feels comfortable over clothing.
- Do not rush the neckline and armhole finishing.
- Light blocking can help the vest look more polished.
Common Mistakes to Avoid:
- Making the foundation too tight
- Forgetting to compare the front and back pieces
- Letting one armhole become deeper than the other
- Choosing yarn that feels too stiff or heavy for layering
- Pulling the finishing edges too tightly
- Skipping fit checks until after assembly
Customization Ideas:
You can make your vest in a neutral shade for a timeless everyday layer, or choose a bolder color if you want it to stand out more. A cropped version can feel modern and playful, while a slightly longer version feels cozy and classic. You can also keep the design simple or make it feel more special with textured yarn, a slightly deeper neckline, or a softer relaxed fit.
Style Ideas:
Wear it over a plain shirt, fitted long sleeve top, blouse, or dress for an easy layered look. A crochet vest can also work beautifully over a lightweight turtleneck in cooler weather or over a simple tee when the weather is mild. It is one of those handmade pieces that can look casual or a little dressed up depending on the yarn and color you choose.
Care Instructions:
Wash it according to the yarn label, or hand wash gently if you want to be extra careful. Lay it flat to dry so the shape stays even. Avoid high heat, especially if you use acrylic or blended yarns. If needed, reshape the vest while damp so the armholes, neckline, and hem dry neatly.
Time Needed:
This may take several hours or more depending on your speed, yarn, size, and stitch pattern.
Conclusion:
A crochet vest is a lovely project when you want to move into wearable crochet without jumping straight into a full sweater. It gives you the fun of making a garment, the flexibility to adjust the fit as you go, and a finished piece you can layer in lots of different ways. Whether you keep it simple and classic or make it more personal with color and fit changes, it is the kind of project that feels satisfying from beginning to end.
FAQs:
1. Is this vest beginner-friendly?
It looks suitable for beginners who are ready to try a simple garment and pay attention to fit, shaping, and finishing. The selected source presents it as a full tutorial walkthrough.
2. What yarn is best for a crochet vest?
Soft acrylic, acrylic blends, and cotton blends can all work well. The best choice depends on whether you want a warmer layering vest or a lighter one.
3. Can I adjust the size?
Yes. Check your fit as you go by measuring against your body or a garment you already like, then add or reduce rows as needed.
4. How do I make it more comfortable to wear?
Choose a soft yarn, keep the armholes and neckline from getting too tight, and try it on before final finishing.
5. Can I wear this in different seasons?
Yes. A crochet vest is a very flexible layering piece, especially when styled over lighter or warmer clothing depending on the season.