
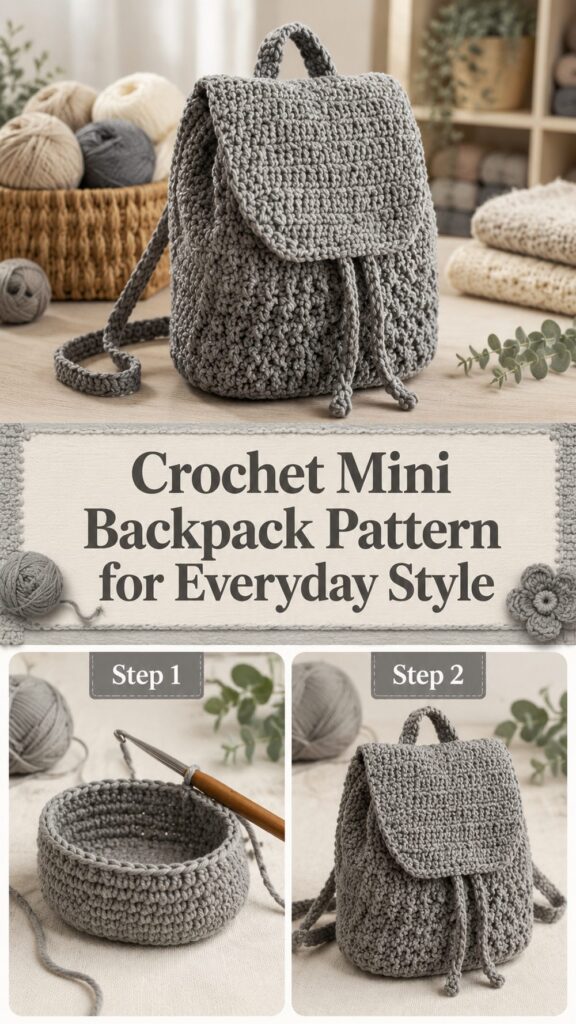
Make a cute little crochet backpack that is practical, textured and fun to carry. This project is a pretty option if you like handmade bags with a neat shape, flap closure, straps and a drawstring top.
WHY YOU’LL LOVE THIS PROJECT
This mini backpack is cute, functional, and stylish without being fussy. The body is worked mostly flat, then folded and joined, which makes it easier to understand than a fully shaped bag.
MATERIALS REQUIRED
- Heavy-duty yarn or corded yarn
- Crochet hook suitable for your yarn
- Needle for yarn
- Scissors
- Stitch markers (optional)
Use any yarn and hook size you desire for the fit and texture.
BEST YARN FOR THIS PROJECT
A firm cotton, cord yarn, or low-stretch yarn is best because it helps the bag hold its shape. Avoid very soft or stretchy yarn if you want a sturdier everyday bag.
SKILL LEVEL
Best for confident beginners.
FIT & SIZE GUIDE
Resize the backpack by making the main body wider or taller before joining. Try the length with the straps before sewing them in place to ensure it sits comfortably.
STITCHES USED
- Chain (ch)
- Slip stitch (sl st)
- Double crochet (dc)
- Half double crochet (hdc)
- Back post and front post stitches
HOW TO MAKE IT
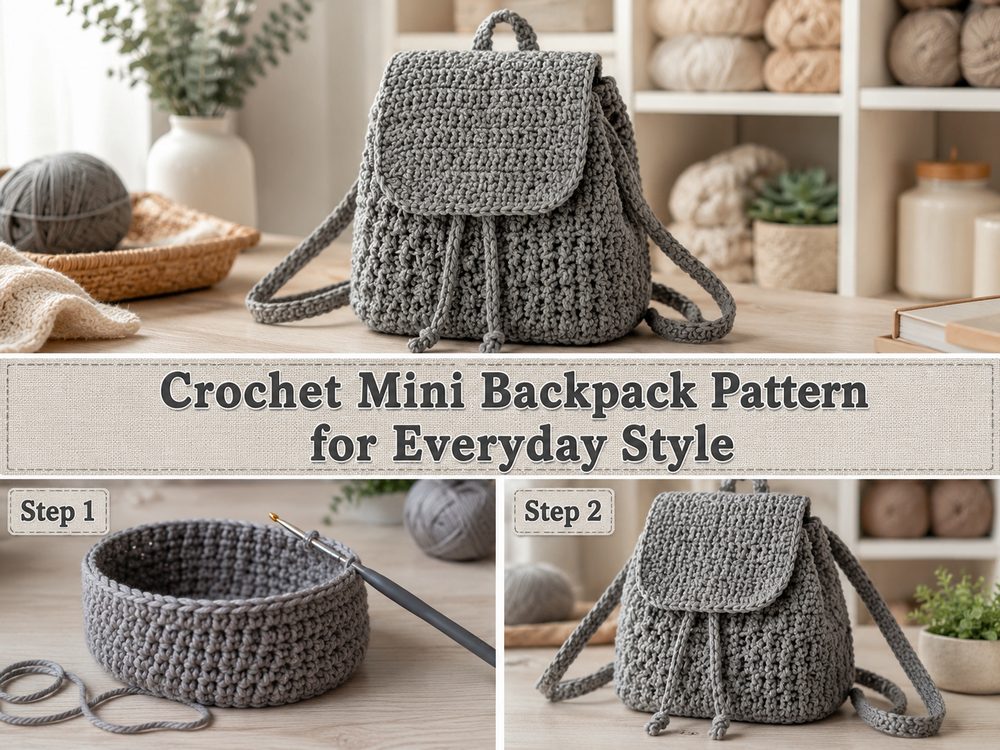
Launch the Foundation
Begin with the back panel, worked in rows. Keep your tension even so panels lie flat and neat.
Work the Main Section
Build the body in one long piece. Follow the tutorial for textured stitch sections on front and back.
Form the Bottom and Sides
Work the bottom section after the back panel, then go into front and side areas. This avoids having many separate pieces.
Join the Bag
Crease the work to shape the backpack and join side edges. Take your time so both sides line up evenly.
Straps, Flap & Top Additions
Work around the top edge for a neat finish. Add the flap, straps, drawstring, and handle. Sew everything securely.
USEFUL TIPS
- Place stitch markers to mark side folds and strap placement.
- Keep joining seams snug but not too tight.
- Finish ends neatly, especially around straps and handles.
COMMON MISTAKES TO AVOID
- Using yarn that stretches too much
- Connecting the sides unevenly
- Making the straps too long before fitting
- Not using stitch markers in shaped areas
- Loose weaving at the tips of handles
TIPS & IDEAS FOR CUSTOMIZATION
- Use a solid neutral for everyday wear or bright colors for a playful look
- Add a button, tassel, bow, charm, lining, or contrast-colored flap
STYLING TIPS
This mini backpack is perfect with casual outfits, at craft fairs, school-inspired looks, or as a handmade gift. It’s also a handy little project bag for light essentials.
CARE INSTRUCTIONS
Wash gently in cool water on a delicate cycle (if yarn permits). Lay flat to dry and reshape while damp. Avoid hanging wet, as straps may stretch.
TIME REQUIRED
Depending on your speed, yarn, size, and stitch pattern, this could take a few hours.
CONCLUSION
This mini backpack is a fun, handmade crochet accessory with a polished look and cozy texture. It’s perfect for making something useful, wearable, and giftable.
FREQUENTLY ASKED QUESTIONS
Is this a crochet mini backpack for beginners?
Yes, confident beginners can make this, especially if comfortable with rows and joining pieces.
Can I make it larger?
Yes, adjust the height or width of the main body and then adjust the straps.
What yarn do I need?
Choose a sturdy yarn with little stretch to retain shape.
Do I need a lining?
Optional, but a lining can make it stronger and protect the inside.
Can I use this every day?
Yes, for light items. For heavier use, pick strong yarn and secure the straps well.