
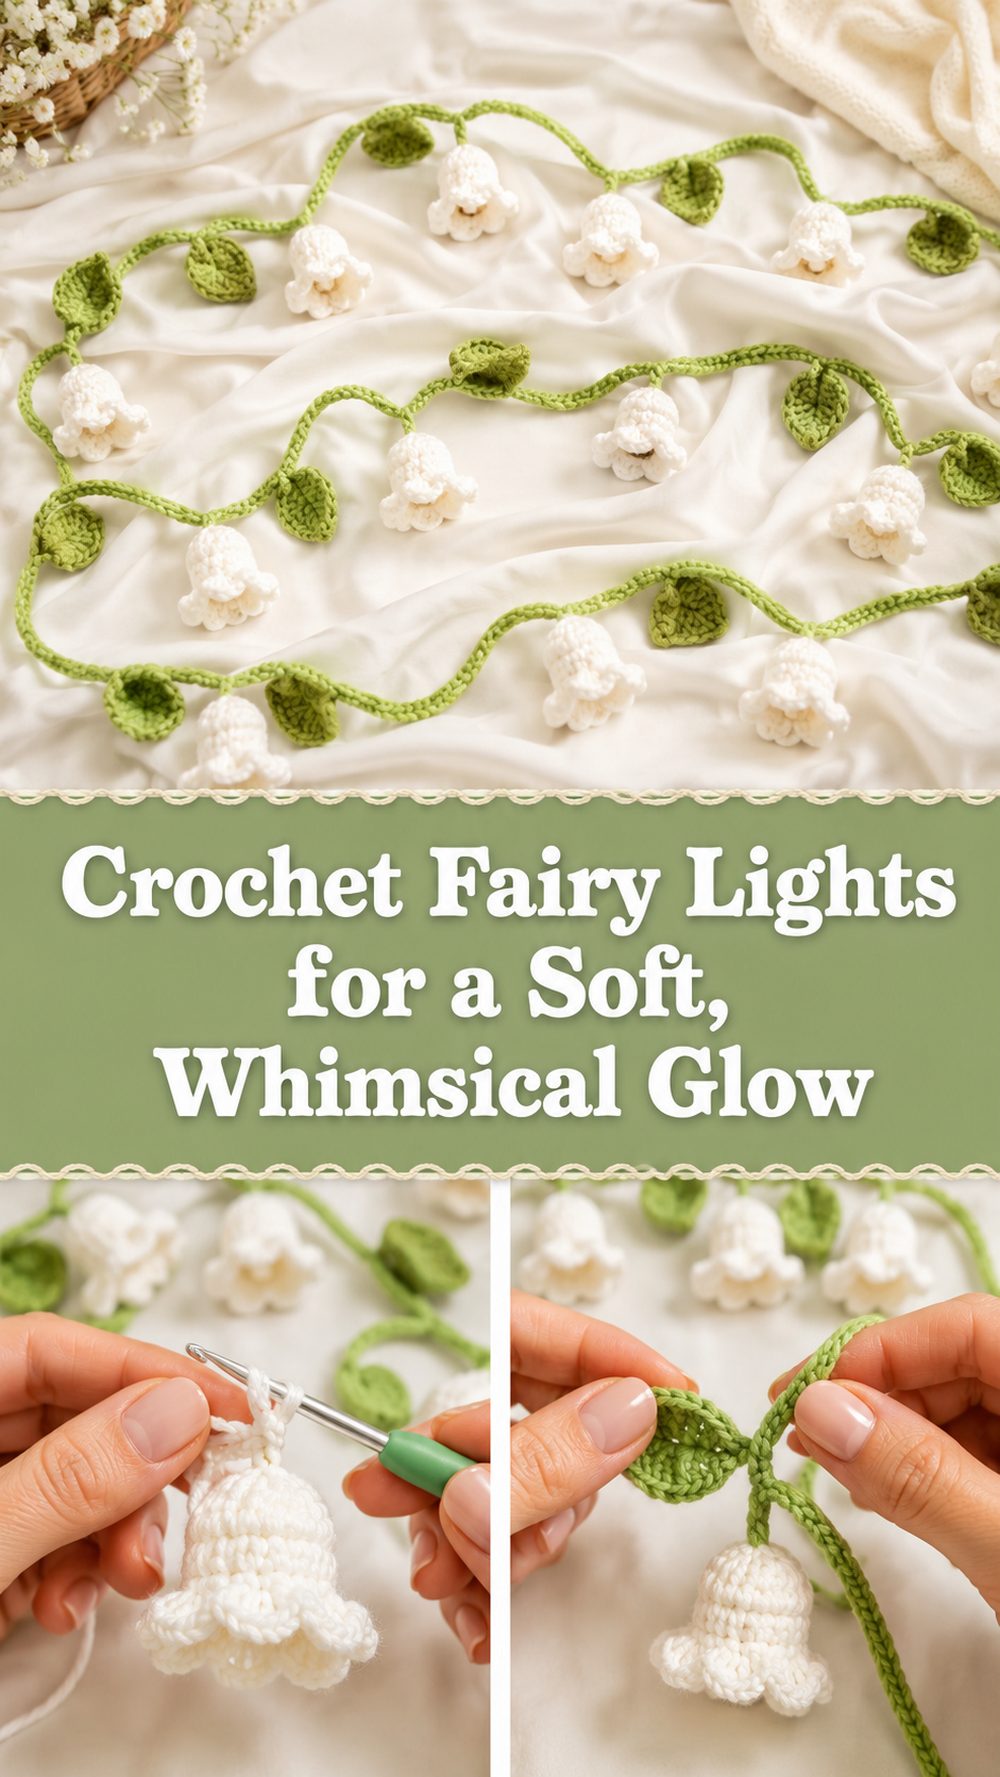
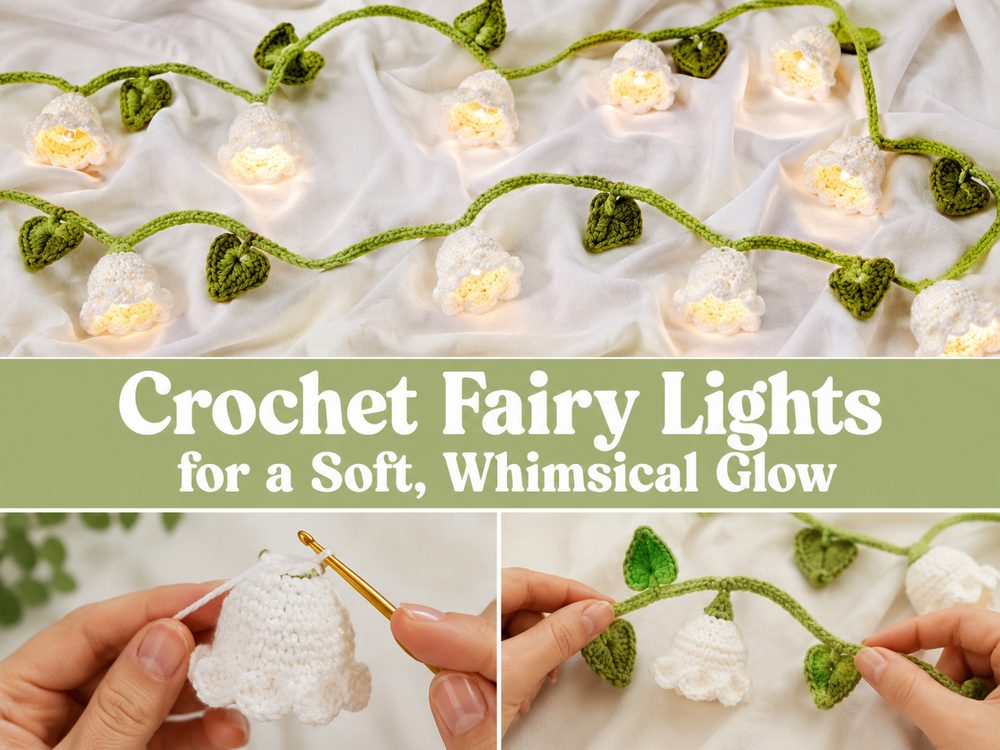
There is something extra charming about turning a plain strand of fairy lights into a handmade crochet decoration. This project has that sweet, cozy look that instantly makes a room feel warmer, softer, and more personal.
The tutorial I selected shows how to dress up LED fairy lights with small crochet flowers, creating a glowing garland that feels dreamy without being complicated. It is the kind of project that works beautifully in a bedroom, craft corner, reading nook, or as a thoughtful handmade gift.
It is also a lovely way to use small amounts of yarn and make something that looks much more special than the materials suggest. If you enjoy easy decorative crochet with a cute finished result, this is the kind of project that is hard to resist.
Why You’ll Love This Project
This is such a fun project because it mixes simple crochet with home decor. You are not making a big garment or counting endless rows. Instead, you are creating small floral covers that transform ordinary lights into something magical. It is satisfying, giftable, and easy to personalize with color.
Materials Needed
- LED fairy lights
- Yarn
- Crochet hook
- Scissors
- Yarn needle
- Stitch markers if helpful
Use a yarn and hook size that matches your desired fit and texture.
The chosen tutorial is built around a strand of LED lights, and the maker mentions using a 25-light set so there are more flowers along the strand.
Best Yarn for This Project
A lightweight yarn works especially well here because the flowers need to sit nicely around each light without looking bulky or heavy. Cotton gives the petals a crisp shape, while a soft acrylic can create a gentler, fluffier finish. If you want the lights to still shine clearly through the flower shape, avoid yarn that feels too thick or dense.
Skill Level
Easy and beginner-friendly.
This project suits confident beginners very well because it uses small repeated pieces instead of one large complicated item. If you already know how to chain, join, and work basic stitches into a small shape, you should be able to enjoy this project comfortably.
Size and Fit Guide
Instead of fitting a body measurement, this project is adjusted to fit your light strand. The main thing is making each crochet flower large enough to sit around the bulb or light point without stretching too tightly. Test one flower on your lights before making the full set. If it feels snug, loosen your tension or use a slightly bigger hook. If it slides too much, tighten your stitches or size down a little.
Stitches Used
- Chain
- Slip stitch
- Basic flower-building stitches
- Repeated stitches to shape petals
The tutorial presents this as an easy flower-based fairy light project rather than a highly technical pattern, so the focus is more on repeating simple steps than on advanced shaping.
How to Make It
Step 1: Start the Foundation
Begin by preparing your light strand and deciding on your yarn colors. This project works especially well when you choose flower shades that look pretty both with the lights on and off. Before crocheting everything, make one test flower first. That little sample will show you whether your yarn, hook, and tension give the right amount of openness around the light.
The basic idea in the selected tutorial is to crochet small flower pieces that go onto the fairy lights, turning each point of light into a decorative bloom.
Step 2: Make the First Flower
Start with a small center ring or beginning chain setup, then work outward into petal sections. Keep the middle neat and not too tight, because this area needs to sit nicely around the light. As you build the petals, try to keep them even so the flower looks balanced once the bulb is inside or behind it.
This is a great type of project for relaxed repetition. Once you finish one flower and like the look, the rest become much easier. You are really making the same little decorative unit again and again until the whole strand is covered.
Step 3: Build the Main Set
Continue crocheting flower covers for the rest of the light strand. This is where your rhythm starts to kick in. Make each flower the same general size so the finished lights look tidy together. You do not need to chase absolute perfection, but consistency makes a big difference.
If your fairy lights are closely spaced, keep your flowers light and airy so they do not crowd each other. If the lights are farther apart, you can let the petals look a little fuller. Since the tutorial creator used a longer strand with more lights, the overall look becomes fuller and more decorative across the whole string.
Step 4: Check the Fit as You Go
This is the most important part. Every few flowers, place them onto the lights and see how they sit. You want the flower to frame the glow, not hide it completely. If the opening is too small, the flower may bunch up. If it is too loose, it may droop and twist.
Try hanging a few completed lights up before you finish the entire set. That gives you a much better idea of the final effect than checking them flat on a table. A flower that looks a little plain by itself often becomes beautiful once it is lit and hanging in place.
Step 5: Join or Attach the Flowers
Depending on how you prefer to work, you can slide the flowers onto the lights as you make them or add them after you have crocheted several pieces. The goal is to secure each flower neatly around its light point while keeping the wire flexible enough to drape naturally.
Take your time here. A careful attachment makes the whole project look polished. Make sure the flower sits facing outward rather than turning sideways. If needed, use a little extra yarn to anchor it more neatly.
Step 6: Finish the Edges and Arrange the Strand
Once all the flowers are attached, weave in the yarn ends well. This matters because the strand will be moved, hung, and adjusted. Loose ends can catch easily on wires or décor.
Now shape the strand where you want to display it. Drape it around a mirror, shelf, headboard, photo wall, or window area. When the lights are turned on, the petals soften the glow and give the whole piece a fairy-tale feel. The finished result should look delicate, cozy, and decorative without feeling heavy.
Helpful Tips
- Make one test flower before starting the full strand.
- Use lightweight yarn so the lights do not get visually buried.
- Check the fit on the actual bulbs as you go.
- Keep your tension even for flowers that match nicely.
- Weave in ends securely since the strand may be moved often.
- Warm LED lights usually give the softest, prettiest final look.
Common Mistakes to Avoid
- Making the flower center too tight to fit the light properly
- Using yarn that is too bulky for small fairy lights
- Forgetting to test the fit before making the whole set
- Making each flower a different size by accident
- Covering too much of the light so the glow gets lost
- Leaving ends loose, which can make the strand look messy
Customization Ideas
You can make this project look very different just by changing the yarn colors. Soft cream, blush, and pale green give it a romantic cottage feel. Bright mixed colors make it playful and cheerful. You could also alternate two shades, add tiny leaf details, or keep the flowers all one color for a cleaner look. For a sweeter bedroom style, pastel yarns work beautifully. For seasonal décor, try soft white, icy blue, or festive colors.
Style Ideas
These crochet fairy lights look lovely around a mirror, across a bed frame, over a bookshelf, or tucked into a reading corner. They also make a sweet gift for someone who loves handmade room décor. In a craft room, they add personality without taking up space. In a bedroom, they create a gentle cozy glow.
Care Instructions
Keep them away from moisture and use LED lights rather than hot bulbs. Dust gently when needed. If the crochet flowers need freshening up, remove them carefully only if your setup allows it, then hand wash gently and lay flat to dry before placing them back on the strand.
Time Needed
This may take a few hours depending on your speed, yarn, number of lights, and how many flower covers you want to make.
Conclusion
If you want a crochet project that is cute, practical, and a little bit magical, fairy lights are a lovely choice. They are simple enough to enjoy without stress, but the finished result still feels special and creative. You can keep them soft and minimal or make them colorful and playful. Either way, this is the kind of project that brings a handmade glow into your space.
FAQs
Is this beginner-friendly?
Yes, especially if you are comfortable with basic crochet stitches and repeating small shapes.
What yarn works best?
Lightweight cotton or soft acrylic works well because it keeps the flowers neat without making them too heavy.
Can I adjust it for any light strand?
Yes. Just test one flower first and adjust your hook size or tension so it fits your lights properly.
Do I need exact stitch counts?
Not really for this style of project. The main thing is getting a flower shape that sits nicely around the bulb.
Can I make it as a gift?
Yes, it is a lovely handmade gift for someone who enjoys cozy room décor or cute crochet accessories.