
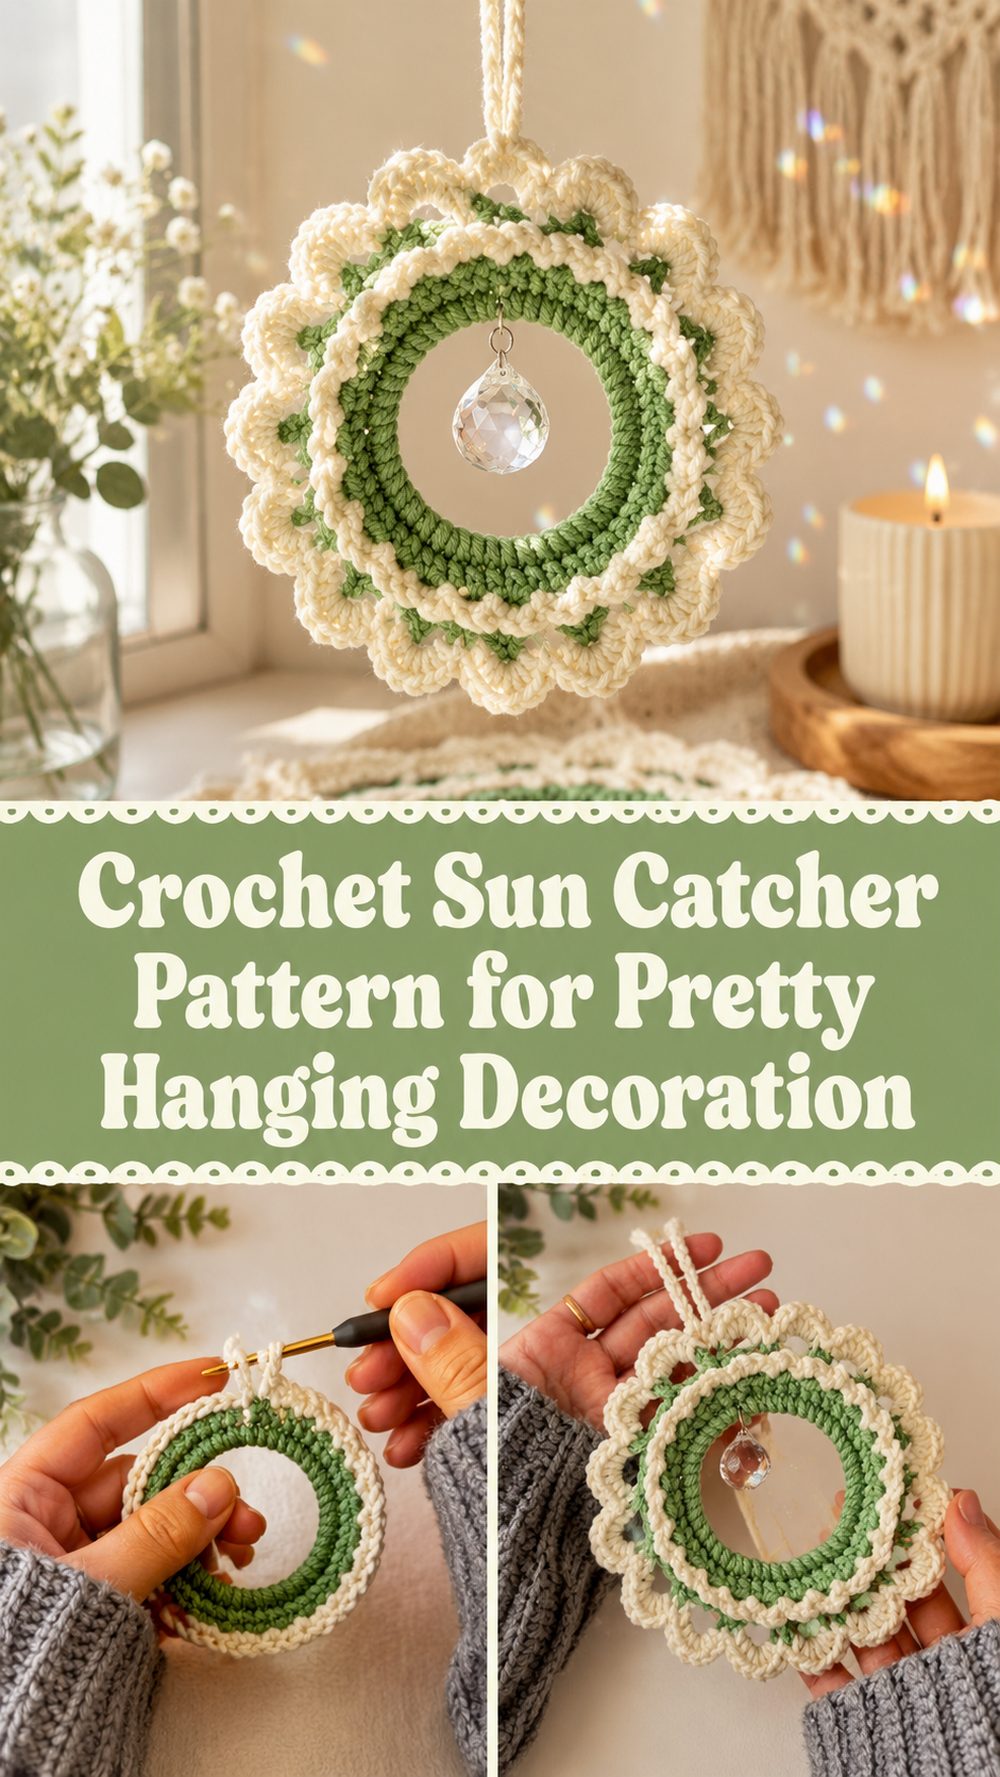
A crochet sun catcher is such a cheerful little project to make when you want something light, decorative, and full of handmade charm. It brings together soft crochet texture with a simple hanging design that looks lovely in a sunny window, on a covered porch, or in a cozy little corner of your home. What makes this kind of project extra special is the way it mixes yarn and sparkle, so the finished piece feels both delicate and eye-catching.
This is the kind of crochet project that is fun to make when you want a break from big wearables or long blankets. It is creative, relaxing, and a nice way to make something beautiful for your space without needing a lot of yarn. If you enjoy decorative crochet, easy weekend crafts, or handmade gifts with a bright and happy feel, this sun catcher is a lovely one to try.
Why You’ll Love This Project:
This project is quick, decorative, and really satisfying to watch come together. It gives you the fun of making a small crochet motif and turning it into a finished hanging piece that adds warmth, texture, and a little sparkle to your home.
Materials Needed:
- Yarn
- Crochet hook
- Scissors
- Yarn needle
- A ring or bangle to crochet around
- Crystal bead or hanging bead detail
- Jump ring or similar joining piece if needed
- Measuring tape, if helpful for spacing and hanging length
Use a yarn and hook size that matches your desired fit and texture.
Best Yarn for This Project:
A smooth cotton yarn works especially well for a crochet sun catcher because it helps the stitches look clean and defined around the ring. It also gives the finished design a nice structure, which is helpful when you want the piece to hang neatly and hold its shape. If you want a softer look, a light acrylic or cotton blend can also work, but a yarn with good stitch definition is still the best choice. Since this is a decorative piece, you do not need anything too bulky. A lighter yarn often gives the prettiest and most delicate result.
Skill Level:
This project is beginner-friendly to easy. It suits someone who already knows basic crochet stitches and wants to try a small decorative make. Because it is worked as a compact hanging design instead of a large shaped item, it feels very manageable and enjoyable even if you are still building confidence.
Size and Fit Guide:
The size of your sun catcher can be adjusted in a few simple ways. The easiest is by changing the size of the ring or bangle you crochet around. A larger ring gives you a bigger finished piece, while a smaller one creates a more delicate decoration. You can also change the look by choosing thicker or thinner yarn. If your design includes a bead or hanging tail, you can shorten or lengthen that section depending on where you plan to display it. Before finishing, hold it up in the place you want to hang it so you can check the scale and overall look.
Stitches Used:
- Chain
- Slip stitch
- Single crochet
- Half double crochet
- Double crochet
A project like this may also include simple stitch groupings worked around the ring to build shape and texture.
How to Make It:
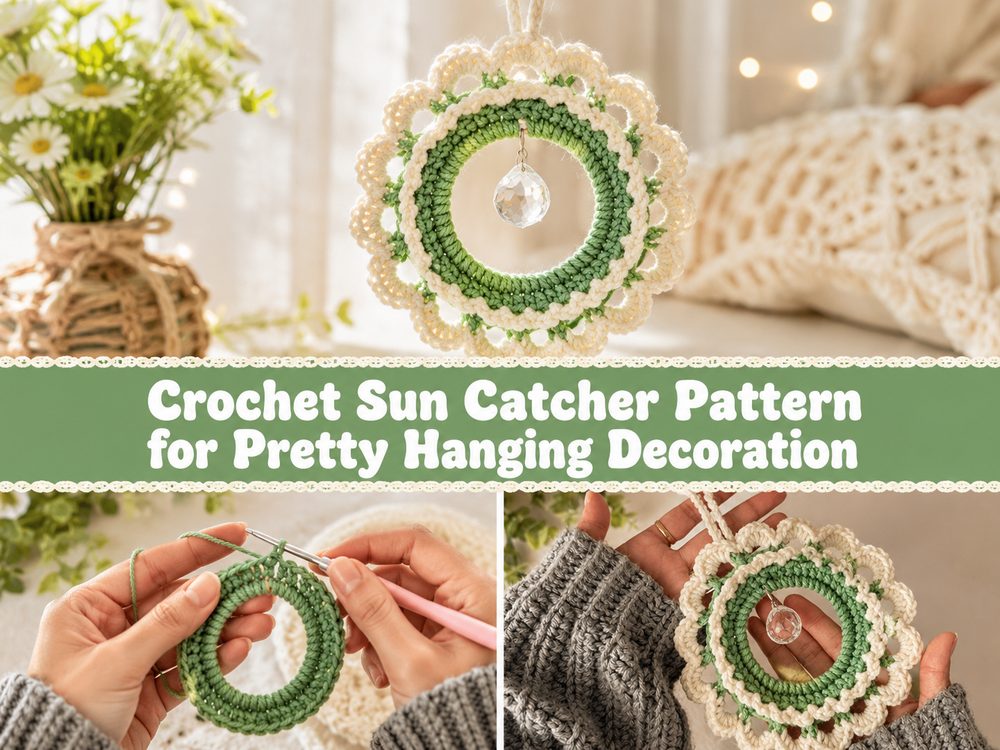
Step 1: Prepare the Ring
This project starts with the ring or bangle that forms the frame of the sun catcher. This part gives the piece its structure and helps everything stay neat once it is hanging up. Before you begin crocheting, make sure the ring is clean, smooth, and comfortable to work around.
If the ring is lightweight and sturdy, it will make the finished sun catcher easier to hang and display. A simple craft ring or bangle works well for this kind of project because it gives the crochet a nice clear outline.
Step 2: Crochet Around the Ring
The first main step is covering or working around the ring with crochet stitches. This creates the base for the decorative center. Work evenly around the ring so the stitches sit close together without bunching too tightly. A neat foundation around the ring makes the whole project look cleaner and more polished.
Take your time here, especially if crocheting around an object feels new to you. Once you find a comfortable rhythm, this part becomes very relaxing. Try to keep the stitches consistent so the circle looks balanced all the way around.
Step 3: Build the Decorative Center
After the ring is prepared, the inside design is built with simple crochet stitches that stretch across and around the center. This is the part that gives the sun catcher its pretty lacy or open decorative look. The pattern may create a floral, circular, or lightly webbed effect, depending on how the stitches are arranged.
This stage usually involves working in sections and connecting them neatly, so the center starts to look more detailed row by row. Keep an eye on your tension here. You want the shape to stay open and attractive, but not so loose that it sags. The goal is a center that looks decorative and airy while still feeling secure.
Step 4: Shape the Design
As you continue, the sun catcher begins to take on its finished appearance. The stitches spread across the ring and build a balanced design that looks pretty from every angle. This is where careful spacing really matters. Even if the stitch pattern is simple, a neatly arranged layout gives the whole project that lovely handmade finish.
If your stitches seem uneven at first, do not worry. Small decorative pieces often look much better once the full round or section is completed. Keep checking that the work lies neatly inside the ring and does not pull too much to one side.
Step 5: Add the Hanging Detail
One of the prettiest parts of a crochet sun catcher is the hanging section. In the tutorial version, a crystal bead is included, which adds a bright decorative finish and gives the piece that true sun-catching look. This detail can be added below the crochet circle or as part of the center, depending on the design.
Attach the bead securely so it hangs straight and does not swing awkwardly. If a jump ring or joining piece is used, make sure it is fastened well. This step adds movement, sparkle, and a more finished decorative feel.
Step 6: Make the Top Loop
To turn the crochet piece into a display-ready sun catcher, add a top loop for hanging. This can be a simple chain loop or another secure hanging method. Keep it centered so the finished piece hangs evenly in a window or on a hook.
Before fastening off, lift the project by the loop and check how it falls. This is the easiest way to see whether the bead, ring, and crochet center all hang in balance.
Step 7: Finish and Tidy the Piece
Once the crochet and hanging details are complete, weave in all the loose ends carefully. Since this is a decorative project, tidy finishing makes a big difference. Any visible ends can distract from the delicate design, so it is worth taking a few extra minutes here.
If needed, gently shape the sun catcher with your hands. You can lightly block it if the center needs a little help lying neatly. The finished piece should look clean, balanced, and decorative, with the crochet framed nicely by the ring and the bead adding that final touch of shine.
Step 8: Display Your Sun Catcher
Hang your finished piece in a bright window, near a sunny wall, on a covered balcony, or anywhere that catches light nicely. The combination of crochet texture and the crystal detail gives it a sweet handmade style that feels both cozy and decorative. It is a lovely way to brighten a small space without making anything too large or complicated.
Helpful Tips:
- Use cotton yarn for a crisp and tidy finish
- Keep your stitches even while working around the ring
- Check that the center stays balanced as you build the design
- Secure the crystal bead carefully so it hangs straight
- Test the hanging loop before trimming the yarn
- Lightly block the finished piece if the center needs shaping
Common Mistakes to Avoid:
- Pulling the stitches too tight around the ring
- Leaving large uneven gaps in the center design
- Using a very bulky yarn that hides the delicate look
- Attaching the bead loosely
- Making the top loop off-center
- Skipping the final shaping and finishing touches
Customization Ideas:
You can easily personalize this project by changing the ring size, yarn color, or bead style. Soft neutrals create a calm and elegant look, while bright shades make the sun catcher feel playful and cheerful. You can use a clear crystal for a classic light-catching finish or try colored beads for something more decorative. You could also make several in different sizes and hang them together for a pretty layered window display.
Style Ideas:
This crochet sun catcher looks beautiful in a craft room, bedroom window, reading nook, covered porch, or cozy kitchen corner. It also makes a thoughtful handmade gift for someone who loves simple home decor, handmade ornaments, or little cheerful pieces that brighten a space.
Care Instructions:
Dust it gently from time to time, and if needed, hand wash it carefully in cool water. Reshape the crochet while damp and let it dry naturally. Be gentle around any bead or hanging hardware so the finished piece stays secure and neat.
Time Needed:
This may take a few hours depending on your speed, materials, and how detailed your center design is.
Conclusion:
A crochet sun catcher is such a pretty project when you want something small, decorative, and satisfying to make. It gives you the joy of working simple stitches while creating a finished piece that looks bright, delicate, and handmade. You can keep it classic and elegant or play with colors and bead details to match your own style. It is a lovely little crochet project for your home, and it also makes a sweet gift for someone who enjoys handmade decor.
FAQs:
1. Is this beginner-friendly?
Yes, it is a good project for beginners who know basic stitches and want to try a decorative crochet piece.
2. What yarn works best for a crochet sun catcher?
Cotton is one of the best choices because it gives nice stitch definition and helps the piece hold its shape.
3. Do I need a ring or hoop?
Yes, a ring or bangle helps form the structure of this style of sun catcher and gives it a neat finished frame.
4. Can I use different beads?
Yes, you can use different bead shapes or colors as long as they are not too heavy for the crochet piece.
5. Where should I hang it?
It looks best in a bright window, near natural light, or in any cozy space where the hanging detail can be seen clearly.