
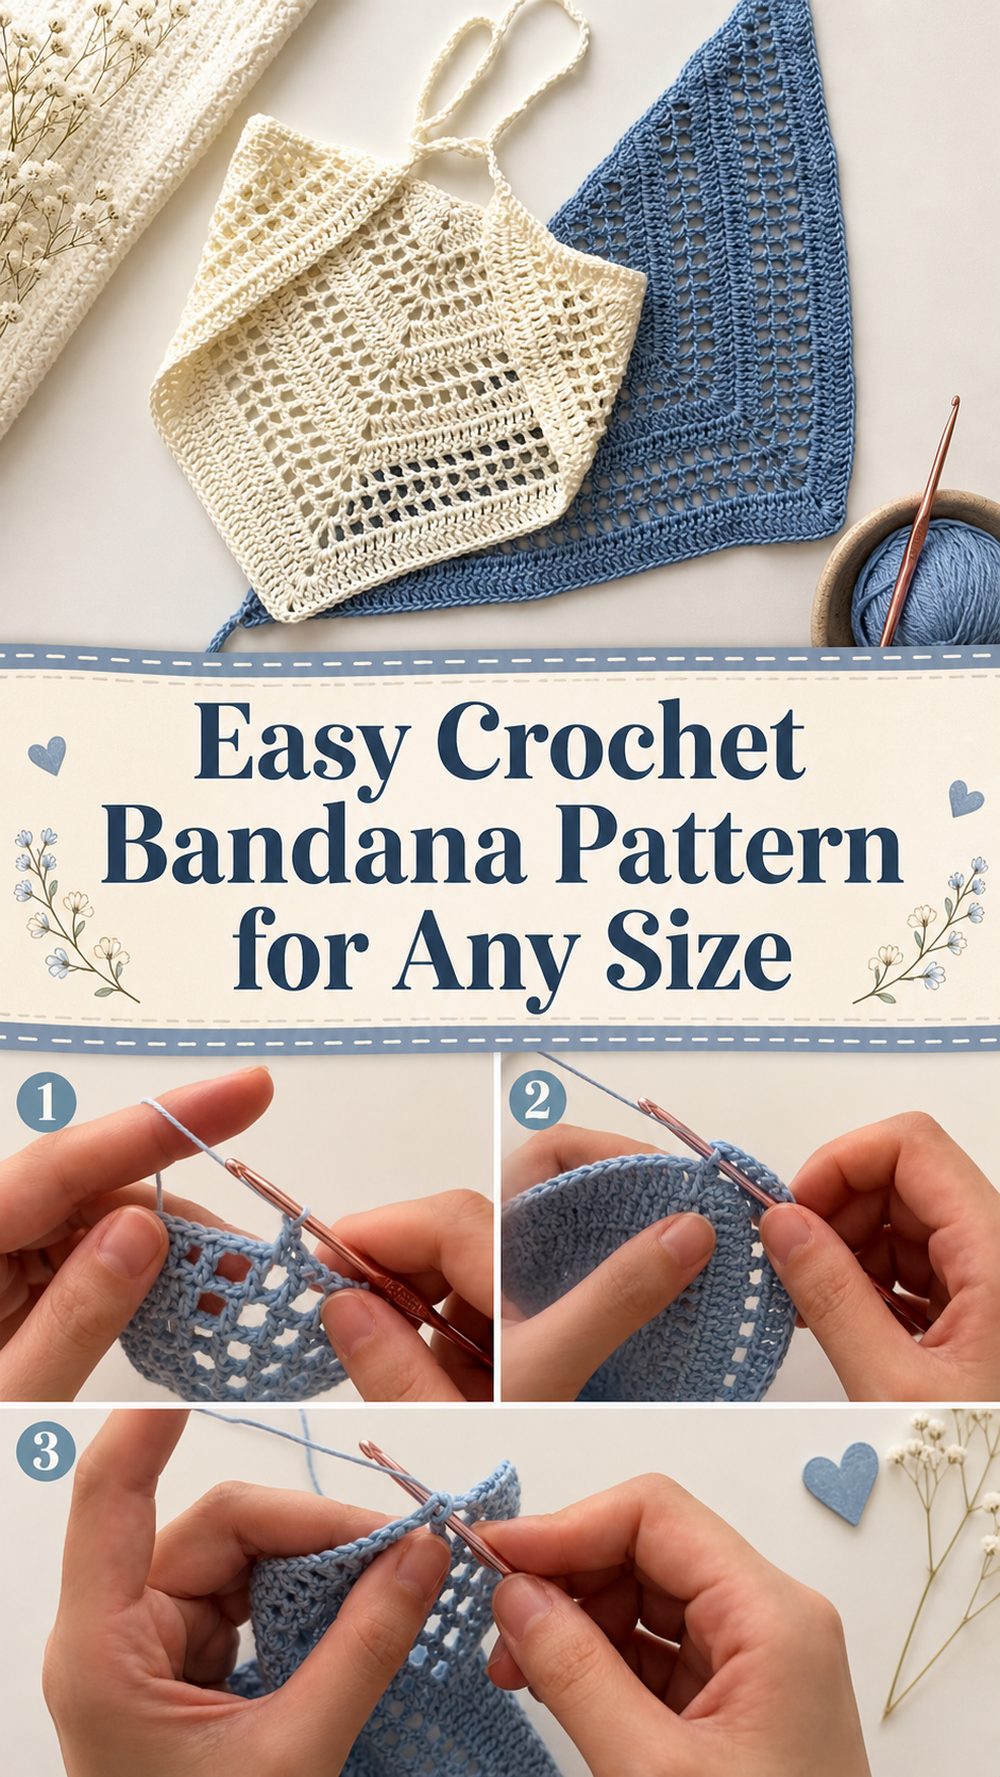
A crochet bandana is one of those small projects that feels instantly rewarding. You get something cute, wearable, and useful without committing to a huge amount of yarn or a long, complicated pattern. The tutorial I selected shows an easy triangular headscarf that is beginner-friendly, adjustable to any size, and built around a simple repeat, which makes it a lovely choice for relaxed weekend crocheting. It is the kind of project that works beautifully as an everyday hair accessory, a handmade gift, or a quick way to add a soft homemade touch to your outfit. Because the shape is easy to grow row by row, it is also a nice project for anyone who wants to practice keeping edges neat while making something they can actually wear.
Why You’ll Love This Project
This bandana is easy to settle into because the shape grows naturally as you work, and the tutorial is designed for beginners with a simple structure based mostly on two row styles. It is flexible, wearable, and easy to personalize with your favorite yarn color or finish.
Materials Needed
- Yarn
- Crochet hook
- Scissors
- Yarn needle
- Stitch markers, if you like marking the turning point or row ends
- Measuring tape
Use a yarn and hook size that matches your desired fit and texture. Since the tutorial is presented as an any-size pattern, it is easy to adapt the finished bandana by checking the size as you go rather than relying on one fixed measurement.
Best Yarn for This Project:
A soft yarn with a nice drape works especially well for a bandana like this. If you want a light everyday headscarf, cotton or a cotton blend is a great choice because it holds the shape nicely and feels comfortable to wear. If you want a softer, slightly cozier finish, a smooth acrylic or blended yarn can work too. Try to avoid anything too stiff or too fuzzy, since that can hide the stitch pattern and make the shape feel bulky.
Skill Level:
Beginner-friendly. The selected tutorial is described as beginner friendly and uses a simple repeat structure, so this is a good project for someone who already knows the basics and wants a wearable item that still feels easy and approachable.
Size and Fit Guide:
This bandana is meant to be made to size, so the easiest way to adjust it is by measuring as you crochet. Keep checking the triangle against your head or against a bandana you already like. Work more rows for extra coverage, or stop earlier for a smaller, lighter fit. If you prefer a snug style, keep the finished width a little more fitted. If you like a looser tied look, let the triangle grow a bit more before finishing. The selected tutorial specifically presents the design as an any-size pattern.
Stitches Used:
- Chain
- Granny-style stitch pattern / repeated cluster-style rows
- Turning rows
The tutorial is described as a triangular headscarf built mainly from two types of rows, and it is also presented as a granny-style easy bandana tutorial in search results.
How to Make It
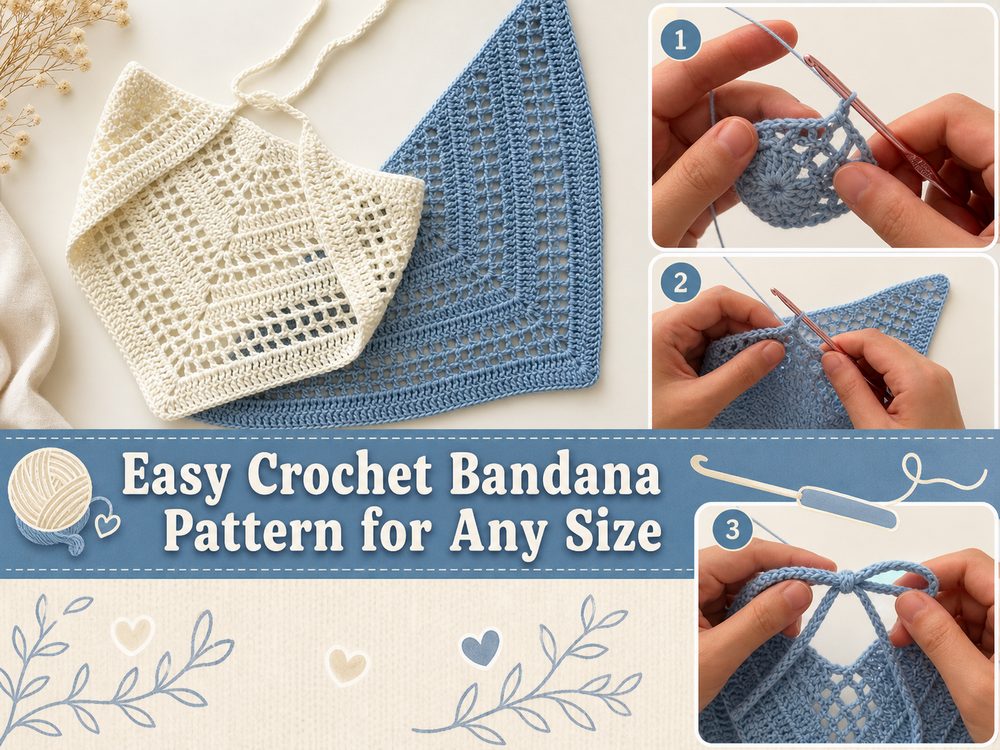
Step 1: Start the Foundation
This bandana begins at a narrow starting point and grows outward into a triangle. That kind of construction is great for beginners because you can clearly see the shape forming as each row gets wider. Start by making the small opening or beginning point shown in the tutorial, then work your first row carefully so your center stays neat. Since the project is taught row by row, it helps to pause now and then and make sure your stitches are sitting evenly before moving on.
Step 2: Build the Triangle
The main body is made by repeating a simple pattern that creates the triangular headscarf shape. Because the tutorial is based mostly on two row types, the rhythm becomes easy once you have worked the first few rows. Keep your turning routine consistent and pay attention to the edges so both sides grow evenly. This is the part that makes the project relaxing: after a little setup, you can simply keep repeating the same idea while the bandana gets wider and more wearable.
Step 3: Let the Stitch Pattern Open Up
Since this is a granny-style bandana, the fabric has a lighter, more open look than a dense solid scarf. That gives it a soft drape and helps it sit nicely as a headscarf instead of feeling heavy. As you continue, check whether you like the coverage. A smaller triangle gives a sweet simple bandana look, while extra rows create more of a fuller kerchief style. The nice part of a made-to-size pattern is that you are not locked into one exact finish.
Step 4: Adjust the Size as You Go
This is where the project becomes especially beginner-friendly. Rather than chasing strict counts, you can hold the growing triangle up and decide when it feels right. If you want it to sit higher on the head, stop a bit sooner. If you want more coverage around the crown or a slightly more dramatic drape at the back, continue adding rows. Keep both edges balanced and watch your tension so the triangle stays neat instead of rippling or pulling inward.
Step 5: Add the Finishing Length
Once the triangle is the size you want, finish it the way the tutorial demonstrates so it can be worn comfortably. For a headscarf, the finishing stage usually needs to feel secure and tidy, since this is the part that helps the bandana sit well when tied or positioned. Work evenly across the edge and keep the finish consistent with the light style of the project. If you want the softest result, do not crochet too tightly here. A tight finish can make an otherwise pretty bandana feel stiff around the head.
Step 6: Clean Up and Shape It
After the crocheting is done, weave in the yarn ends carefully so the bandana looks polished from both sides. Lay it flat and shape the triangle gently with your hands. If your yarn responds well to blocking, a light block can help even out the stitches and make the edges look cleaner. The finished piece should look like a simple triangular crochet headscarf with an easy, wearable feel. That matches the selected tutorial’s any-size triangular bandana style.
Helpful Tips
Use a yarn with good drape so the bandana sits softly instead of standing stiffly. Keep checking the size before you call it finished. Count carefully at the row edges if one side starts growing differently from the other. If you are new to granny-style shaping, a stitch marker at the row start can help keep everything tidy. A gentle block at the end can make the finished shape look much cleaner.
Common Mistakes to Avoid
Starting too tightly, which makes the tip of the triangle bunch up.
Forgetting the turning routine and accidentally changing the shape.
Letting one edge grow faster than the other.
Using a yarn that is too heavy for the airy look you want.
Stopping too early without checking the fit.
Pulling the finishing edge too tight, which can make the bandana less comfortable to wear.
Customization Ideas
Try a soft neutral shade for an everyday piece, or go with a bright summery color for a playful look. You can make a smaller version for a neat minimalist bandana or keep adding rows for more coverage. A striped yarn can make the rows stand out beautifully without changing the stitch pattern. You can also add a simple edging if you want a more decorative finish.
Style Ideas
Wear it with loose hair for a soft casual look, tie it over a bun on warm days, or pair it with a simple dress, jeans, or a light cardigan. A crochet bandana also makes a sweet handmade gift because it is useful, easy to size, and simple to personalize with color.
Care Instructions
Hand wash gently when possible, especially if you used a softer yarn that could stretch. Reshape it while damp and lay it flat to dry. Avoid high heat, and do not hang it to dry if the yarn tends to lengthen.
Time Needed
This may take a few hours depending on your speed, yarn, size, and stitch pattern.
Credit By: Cloud Pusher
https://www.youtube.com/watch?v=vziqN8kQCNs
Conclusion
This easy crochet bandana is a lovely project when you want something practical, pretty, and not too complicated. The made-to-size triangle design gives you a lot of freedom, so you can keep it small and sweet or make it with a little more coverage. Pick a yarn you enjoy wearing, take your time with the edges, and enjoy turning a simple repeat into something you will actually use.
FAQs
1. Is this bandana beginner-friendly?
Yes. The selected tutorial is presented as beginner friendly and uses a simple repeated structure.
2. Can I adjust the size?
Yes. This pattern is described as an any-size bandana, so you can stop when the triangle fits the way you like.
3. What yarn works best?
A soft yarn with good drape works best. Cotton is great for a lighter feel, while smooth acrylic blends can also work well.
4. Is it worked in complicated stitches?
No. It is mainly based on two row types, which helps keep the project simple and repetitive.
5. Can I make it as a gift?
Yes. Since the pattern is adjustable, it is a nice gift project and easier to size than many other wearables.