
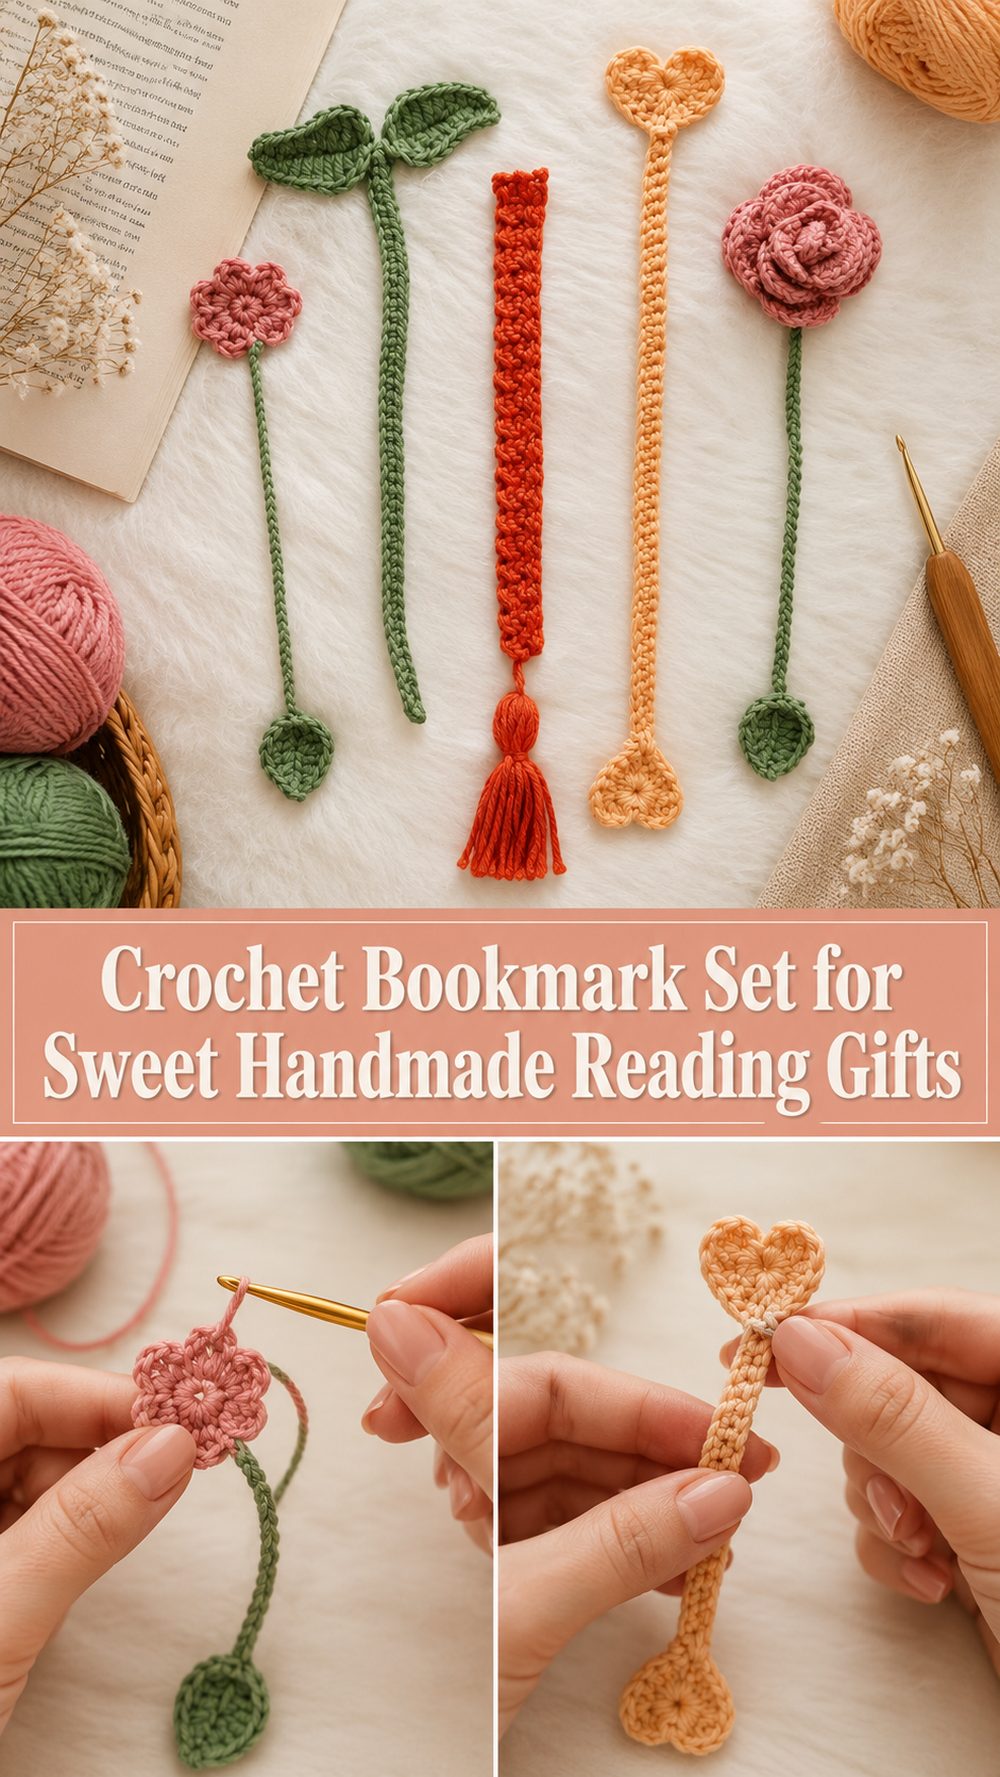
A crochet bookmark set is such a satisfying little project to make. It is practical, quick to finish, and perfect when you want something handmade that still feels useful every single day. The YouTube tutorial I selected teaches five easy crochet bookmarks in one video, which makes it a lovely choice if you want variety without having to search through lots of separate patterns. That kind of set is especially nice for gift-making, because you can crochet a few different styles, keep some for yourself, and tuck the rest into cards, journals, or books for friends. It is also a great in-between project when you want a break from larger crochet makes but still want that relaxing feeling of yarn and hook in your hands. The selected video describes the bookmarks as easy, beginner-friendly, fun to make, and useful as gifts or for personal use.
Why You’ll Love This Project
This project is easy to enjoy because it gives you quick progress and a finished result you can use right away. A bookmark is small enough to complete without feeling overwhelming, and making a set means you can play with different looks while still keeping the project simple. The selected tutorial specifically teaches five easy crochet bookmarks, which makes it feel perfect for anyone who wants a small collection rather than just one design.
Materials Needed
- Yarn or crochet thread
- Crochet hook
- Scissors
- Yarn needle
- Stitch markers if you like using them for cleaner edges
- Measuring tape if you want to keep the bookmarks close in length
If the exact yarn weight or hook size is unclear, use a yarn and hook size that matches your desired fit and texture.
Best Yarn for This Project:
A lightweight yarn or crochet thread works beautifully for bookmarks because you want the finished piece to sit neatly inside a book without feeling bulky. Cotton is especially nice because it gives good stitch definition and helps the bookmark lie flatter. A soft cotton blend can also work well if you want something gentle and flexible. If you prefer a slightly more textured handmade look, a smooth light acrylic can still work, but thinner yarns usually suit bookmarks best.
Skill Level:
Beginner-friendly. The selected tutorial is described as teaching five easy crochet bookmarks for beginners, so this set is a very good choice for newer crocheters who want to practice neat edges, small shapes, and consistent tension without committing to a large project.
Size and Fit Guide:
Bookmarks are wonderfully flexible. The easiest way to size them is to think about the kinds of books you use most. A slimmer bookmark is lovely for novels and journals, while a slightly longer one can feel nice in larger hardbacks or planners. If one style in your set turns out shorter or longer than the others, that is not really a problem. Bookmark sets often look charming when the pieces are similar in spirit rather than perfectly identical in size.
Stitches Used:
Since the selected video teaches a set of five bookmarks rather than one single shape, the stitches may vary a little between designs. Most easy bookmark tutorials like this usually rely on a simple mix of:
- Chain
- Slip stitch
- Single crochet
- Double crochet or other easy height-building stitches
- Simple edging or decorative repeats
Follow the exact stitch flow shown in the selected video for each design. The key point from the video listing is that all five bookmarks are presented as easy and beginner-friendly.
How to Make It
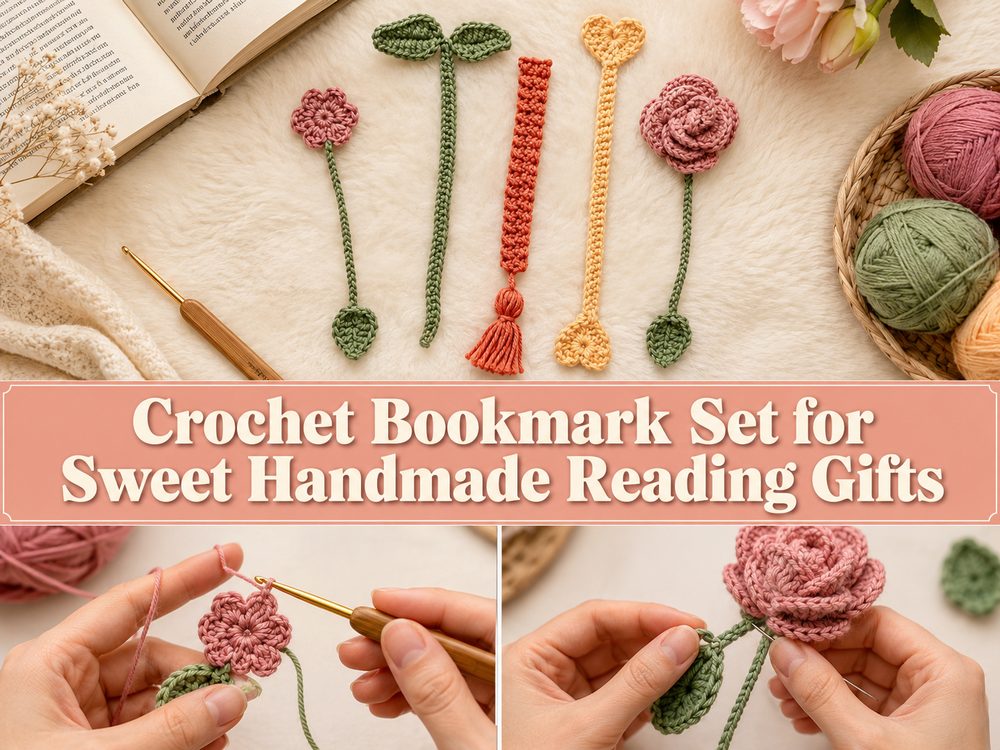
Step 1: Choose Your First Bookmark Style
Since this project is a set, begin by picking one bookmark design from the video and treating it as your warm-up piece. That is one of the nicest things about a bookmark collection. You do not have to make the whole set in one sitting, and you do not have to feel locked into one look. Start with the shape that feels simplest to you, then move on to the others once your hands settle into a comfortable rhythm.
This is also a good moment to think about color. A bookmark set can look beautiful when all the pieces are made in the same palette, but it can also be charming when each one has its own little personality. Soft neutrals feel elegant, bright shades feel cheerful, and gentle pastels make the set feel sweet and giftable.
Step 2: Start with a Clean Foundation
Most bookmarks begin with a starting chain or another simple narrow foundation. Because bookmarks are long and slim, neat tension matters a lot right from the start. If the foundation is too tight, the bookmark may curl or feel stiff. If it is too loose, it may look floppy and uneven.
Try to keep the opening section smooth and relaxed. Small projects show tension changes more clearly than larger ones, so this is a nice chance to practice even stitches. Do not rush. A bookmark works up quickly anyway, so taking an extra minute at the beginning is worth it.
Step 3: Build the Body of the Bookmark
Once the foundation is in place, continue into the main body of the bookmark. In a set like this, some designs may be plain and minimal while others may have a more decorative look. That variety is part of the appeal. One bookmark might feel classic and simple for everyday reading, while another may feel a little more delicate and gift-worthy.
As you crochet, pay attention to the width. Bookmarks usually look nicest when they stay comfortably narrow, especially if they are going into paperbacks or journals. If the design includes repeated sections, keep those repeats even and gentle. The selected tutorial is centered on easy bookmarks, so the overall construction stays approachable rather than overly fussy.
Step 4: Keep the Edges Neat
A bookmark may be small, but neat edges make a huge difference. Since the piece is so visible against book pages, uneven sides are easier to notice than they might be on a bigger project. If the pattern includes turning rows, take a little care at the beginning and end of each row so the shape stays tidy.
This is also where stitch markers can help if you like using them. They are not always necessary, but for beginners they can make edge stitches easier to spot. Even one or two small markers can help you keep the bookmark straight and neat from start to finish.
Step 5: Finish One Bookmark Before Moving to the Next
Once your first bookmark is done, weave in the ends and lay it flat. This finished piece becomes a nice little reference point for the rest of the set. You can compare the next bookmarks to it and decide whether you want the whole collection to feel coordinated or more mixed and playful.
Making one bookmark all the way to the end before starting the next also helps you build confidence. You get that satisfying finished-project feeling early, and that often makes it more fun to continue with the rest of the set.
Step 6: Repeat with the Other Designs in the Set
Now move through the remaining bookmark styles from the tutorial one by one. Because the selected video teaches five easy bookmarks, this is where the project becomes especially enjoyable. You are not just repeating one piece over and over. You are building a small collection, and each bookmark can bring a slightly different mood to the set.
You might choose to make all five designs once, or you might find one favorite and crochet that style more than once in different colors. Both approaches work beautifully. A full five-piece set makes a lovely gift bundle, while repeated favorites can become a matching set for your own books, planners, and journals.
Step 7: Check the Feel and Flexibility
Before calling the set finished, slide one or two bookmarks inside an actual book. This is such a helpful little test. It tells you whether the yarn feels too bulky, whether the bookmark lies flat enough, and whether the length feels comfortable for the books you read most often.
If a bookmark curls a bit, do not worry too much. Small crochet pieces often look much neater after light shaping or blocking. A gentle press and reshape can make the whole set feel more polished.
Step 8: Finish and Present the Set
Once all the bookmarks are finished, weave in the ends carefully and straighten each one. If needed, lightly block them so they lie flatter. This step is especially worth doing if you plan to gift the set. Neatly finished bookmarks feel thoughtful and special, even though they are quick little projects.
To make the set feel extra lovely, tie the bookmarks together with ribbon, tuck them into a small notebook, or place one inside a favorite book as part of a gift. Since the selected tutorial describes them as great gifts as well as useful for yourself, a finished bookmark set really suits both purposes.
Helpful Tips
- Use smooth cotton yarn or thread for flatter bookmarks
- Keep the starting chain relaxed so the bookmark does not pull in
- Finish one bookmark first and use it as your guide for the rest
- Weave in ends neatly because small projects show finishing details clearly
- Test one inside a real book before making the whole set
- Block lightly if the bookmarks curl
Common Mistakes to Avoid
- Using yarn that is too bulky for a bookmark
- Pulling the foundation too tightly
- Letting the edges become uneven
- Making decorative repeats inconsistently
- Forgetting to check how the bookmark sits inside a book
- Skipping finishing on a gift project
Customization Ideas
A bookmark set is very easy to personalize. You can make each bookmark in a different color, keep them all in one calm palette, or choose shades that match a favorite book cover or reading corner. Small tassels at the top can add a classic bookmark feel. Tiny flowers, hearts, or simple edging details can also make the set feel more decorative. If you are making gifts, matching the colors to the season can be really sweet too.
Style Ideas
These bookmarks make lovely little extras for book lovers, teachers, journal keepers, students, and anyone who enjoys handmade gifts. You can pair them with a novel, a devotional, a planner, or a notebook. A crochet bookmark set also works beautifully for market makes, party favors, reading club gifts, or small holiday presents because it feels thoughtful without being complicated.
Care Instructions
If needed, hand wash gently and lay flat to dry. Reshape the bookmarks while they are damp so they dry smoothly. Avoid high heat, especially if you used acrylic yarn. To store them neatly, keep them flat inside a drawer, notebook, or gift envelope.
Time Needed
This may take a few hours depending on your speed, yarn, hook size, and how many bookmarks from the set you decide to make. Since the selected tutorial teaches five easy bookmarks, it is the kind of project you can spread across a few relaxed crochet sessions or finish in a day if you feel like making the full collection.
Conclusion
A crochet bookmark set is such a lovely project when you want something small, useful, and genuinely enjoyable to make. It gives you variety, quick progress, and a finished result you can keep, gift, or tuck into your favorite books. Because the selected tutorial teaches five easy bookmarks in one place, it feels especially nice for building a sweet little handmade collection without overcomplicating the process.
FAQs
Is this beginner-friendly?
Yes. The selected tutorial specifically presents the project as five easy crochet bookmarks for beginners.
What yarn is best for crochet bookmarks?
Lightweight cotton or crochet thread is usually best because it helps bookmarks stay neat, slim, and practical inside a book.
Can I make just one bookmark instead of the full set?
Yes. Since the selected video teaches five bookmark options, you can crochet just one style or make several for a full set.
Are crochet bookmarks good for gifts?
Yes. The selected tutorial specifically says they would be great gifts or useful for yourself.
How do I make the bookmarks lie flat?
Use a lighter yarn, keep your tension even, and block them lightly at the end if they curl.