
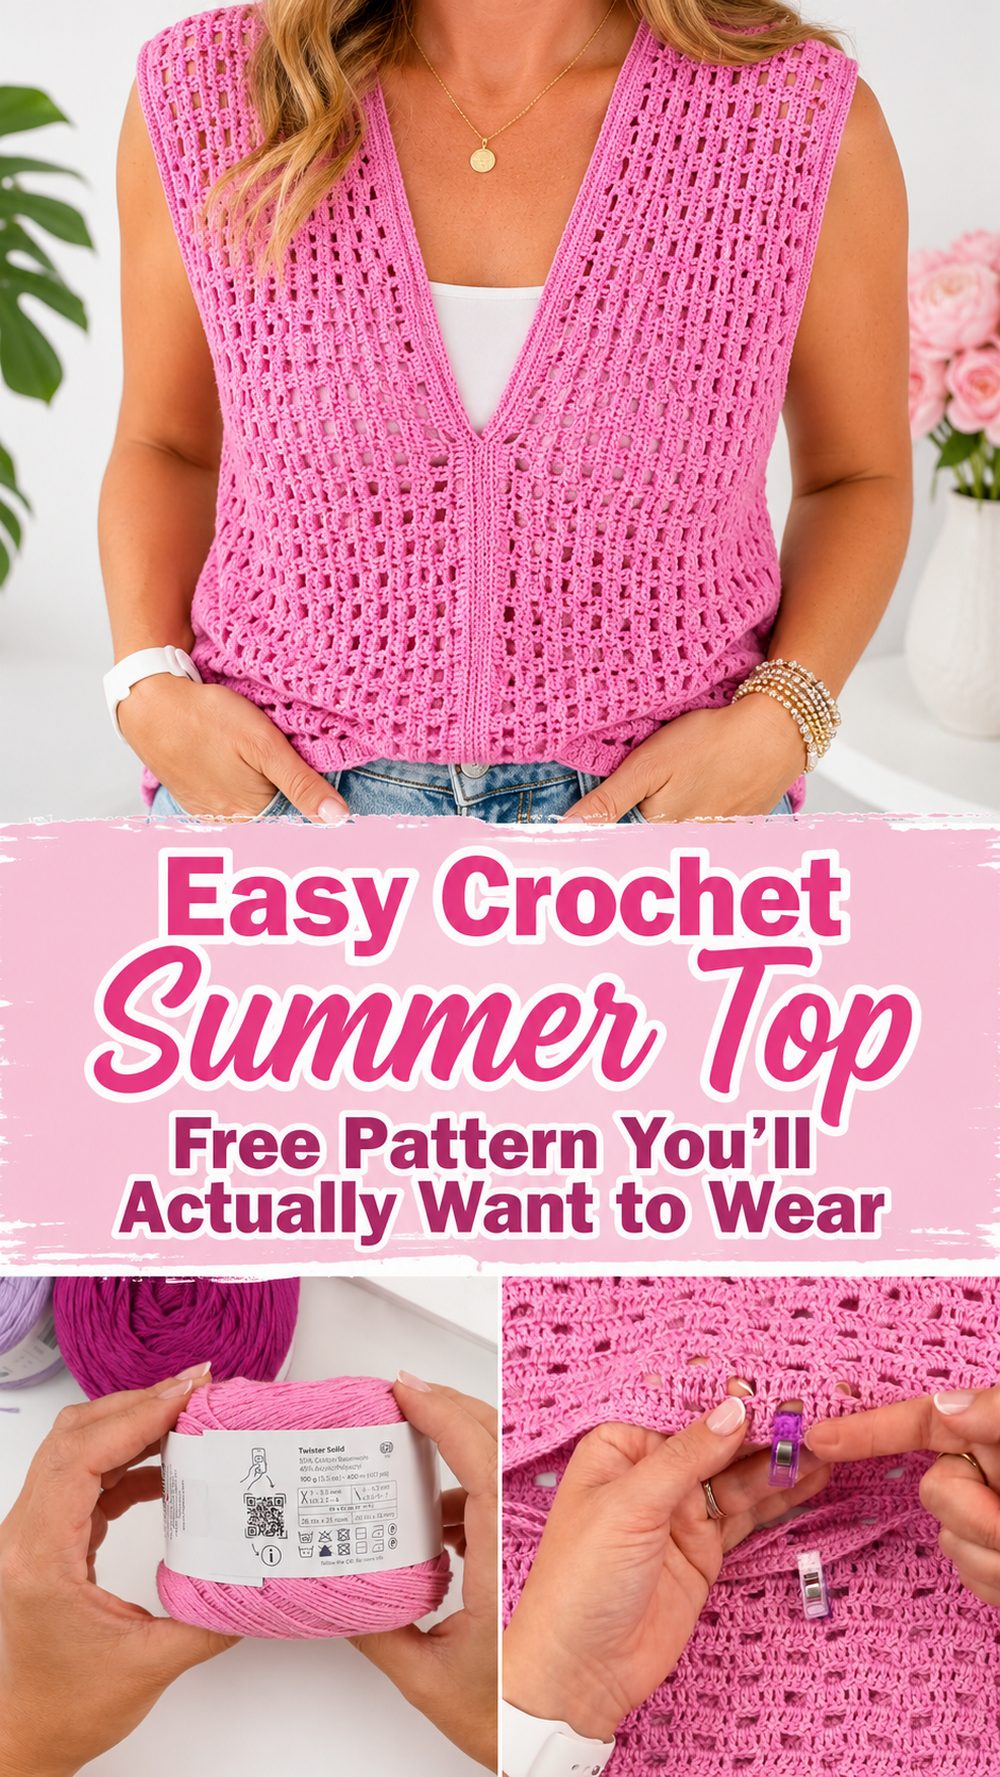
If you have been looking for a crochet top that feels easy, wearable, and beginner-friendly, this one is a lovely choice. The design creates a soft, breezy summer tee with a relaxed fit, and it is the kind of handmade piece that works with jeans, shorts, or a simple skirt. What makes it especially nice is that it is built in a very approachable way, so it does not feel overly complicated or intimidating. The tutorial shows a top made from simple panels with easy seaming, which makes it a great first garment for many crocheters. It is light, comfortable, and easy to adjust as you go, so you can make it suit your own style and fit preferences.
Why You’ll Love This Project:
This crochet top is satisfying because it looks polished without needing tricky shaping. It has that easy summer feel many people want in a handmade garment, and the simple construction makes it much less stressful than more fitted tops.
Materials Needed:
- Yarn
- Crochet hook
- Scissors
- Yarn needle
- Stitch markers or clips
- Measuring tape
Use a yarn and hook size that matches your desired fit and texture.
Best Yarn for This Project:
A lightweight yarn works best for this kind of top, especially if you want it to feel breathable and comfortable in warm weather. Cotton is a great choice because it gives a crisp stitch definition and helps the fabric stay cool. A cotton blend can also work beautifully if you want a little more softness and drape. Bamboo blends are another nice option for a smoother, lighter feel. Since this project is meant to be easy and wearable, look for a yarn that feels soft against the skin and does not become too heavy once the top is finished.
Skill Level:
This project is best for beginners or confident beginners.
The shape is simple, and the top is made in an approachable way with easy panels and basic joining, so it is a good first crochet garment for someone ready to move beyond scarves and dishcloths.
Size and Fit Guide:
This top is easy to adjust because the overall shape is simple. Start by measuring around the fullest part of the bust, then decide how loose or close you want the top to feel. Since this style is worked in straight sections, you can usually change the width by adding or reducing stitches at the beginning, and you can change the length by working more or fewer rows.
It helps to hold the panel against yourself as you go. Check the width across the body, then check the length from shoulder area to where you want the hem to fall. For the neckline and arm openings, mark the areas before seaming and try it on if possible. This is one of the easiest ways to make a handmade top feel comfortable and custom.
Stitches Used:
- Chain
- Slip stitch
- Double crochet or the equivalent basic tall stitch shown in the tutorial
- Simple openwork stitch pattern
- Seaming stitches
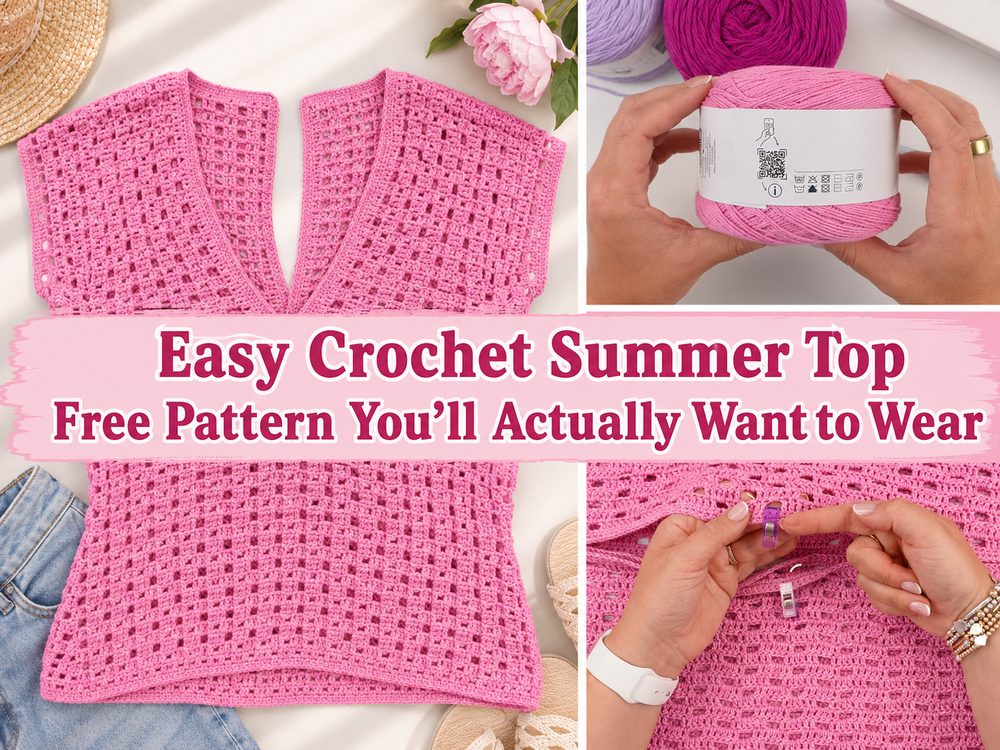
The tutorial shows a very approachable construction with two oblong panels and easy seaming, so the stitch work stays manageable even if you are still building confidence.
How to Make It:
Step 1: Start the Foundation
This top begins with a long foundation for the first panel. Because the design is built from simple shaped pieces rather than complicated curves, the beginning is very beginner-friendly. You make a starting chain that matches the width or length needed for the panel, depending on how the tutorial is worked, and then begin building the fabric in rows.
Take your time on the first row. This is the row that often determines whether the edge stays neat and whether the panel keeps its shape. If your chain tends to be tight, try relaxing your hands a little so the edge does not pull inward later.
Step 2: Build the First Panel
The body of the top is formed by working a repeated stitch pattern that keeps the fabric light. This is one of the nicest things about the design because it gives the top a breezy look without being too fussy. The rows are repeated until the panel reaches the size needed for your chosen fit.
As you crochet, lay the piece flat every so often. Check that the edges are staying even and that the fabric has a nice drape. Since this is a summer-style top, you want the stitches to feel open enough to breathe while still giving the garment a nice finished look.
Step 3: Make the Second Panel
Once the first panel is finished, you make another one to match it. Try to keep your stitch tension similar so both pieces come out the same size. This matters more than people sometimes expect. Even a small difference can show up once the top is joined.
A good habit is to count rows often and compare the two panels side by side before moving on. That makes the finishing part much easier and neater.
Step 4: Check the Size Before Joining
Before seaming, place the two pieces together and check the overall width and length. This is the moment to decide whether you want the top a little longer, a little looser, or slightly more fitted. Because the construction is so straightforward, making adjustments at this point is much easier than trying to fix things after everything is sewn together.
If you prefer a roomy summer tee, keep a relaxed fit. If you want something more shaped, reduce the width slightly or make the arm opening a bit smaller. Always check the fit with the yarn’s natural stretch in mind.
Step 5: Seam the Shoulders and Shape the Neckline
The tutorial’s top is constructed from two oblong panels with easy joining, which keeps the assembly simple.
To begin the construction, fold or place the panels together with the correct sides aligned, then seam the top edges while leaving an opening in the center for the neckline. The size of that opening will affect how the top sits on the body, so it is worth marking the area first before stitching it closed.
This part is easier than it sounds. Use stitch markers to hold everything in place, then seam slowly and evenly. If you want a slightly wider neckline, leave a larger center opening. If you want more coverage, keep the opening narrower. A soft V-neck or open neck effect can come from the way the front sits after seaming, so trying it on before final finishing is very helpful.
Step 6: Create the Armholes and Side Seams
After the shoulder area is joined, seam the sides while leaving space for the arm openings. This is where the tee shape really starts to appear. The top becomes much easier to visualize once the side seams are in place.
Mark the armhole depth first, then stitch from the lower edge upward, stopping where you want the arm opening to begin. Make sure both sides match. If the armholes feel too snug, you can leave a little more space. If they feel too open, seam a bit farther upward. The simple panel construction makes this stage very adjustable, which is one reason this kind of crochet top is so beginner-friendly.
Step 7: Try It On and Fine-Tune
Before weaving in all your ends, try the top on. Check the neckline, side seams, and arm openings. Lift your arms, move around a little, and see how the fabric feels. A handmade top should feel comfortable, not stiff or awkward.
If the fit looks right, finish your seams and tidy the edges. If needed, you can lightly block the top to help the stitches settle and smooth out the fabric. This can make a simple garment look much more polished.
Step 8: Finish the Top
Weave in all loose ends carefully so they stay hidden and secure. Then lay the top flat and shape it gently with your hands. The finished piece should look light, soft, and easy to wear, with a simple handmade charm that works beautifully for everyday outfits.
Because the design is airy and built for warm-weather wear, it is especially nice in breathable yarns and soft shades. It is the sort of project that feels useful the moment you finish it.
Helpful Tips:
- Use a breathable yarn if you want the top to feel cool and comfortable.
- Keep your tension even so both panels match well.
- Compare the second panel to the first as you work.
- Use markers before seaming the neckline and armholes.
- Try the top on before weaving in the final ends.
- Block the finished top lightly for a smoother look.
Common Mistakes to Avoid:
- Making the starting chain too tight
- Letting one panel grow longer than the other
- Seaming before checking the neckline opening
- Making the armholes too small for comfort
- Forgetting to check the drape of the yarn as you work
- Weaving in ends before you are fully happy with the fit
Customization Ideas:
You can easily make this top feel more personal. Try a cropped version for hot weather, or make it longer for a tunic-style look. Use soft neutrals for an everyday wardrobe piece, or choose bright summer colors for something more playful. You could also add a simple edging around the neckline or sleeves for a cleaner finish. If you like a more open look, use a lighter yarn and keep the fabric airy. If you want more coverage, choose a slightly denser stitch pattern or wear it over a camisole.
Style Ideas:
This crochet top looks lovely with denim shorts, relaxed jeans, linen trousers, or a flowing skirt. You can wear it casually during the day, layer it over a simple tank, or dress it up with jewelry and a nice bag. It also makes a sweet handmade gift for someone who loves soft, wearable crochet pieces.
Care Instructions:
Hand wash gently if possible, especially if you use delicate summer yarn. Lay it flat to dry so the shape stays nice and even. Avoid high heat, and do not hang it while wet because that can stretch the fabric.
Time Needed:
This may take a few hours depending on your speed, yarn, size, and stitch pattern.
Conclusion:
If you want a crochet top that feels approachable and truly wearable, this is a great one to try. The simple panel construction makes it much less intimidating than many garment patterns, and it gives you plenty of room to adjust the fit, length, and overall style. Pick a yarn you love, keep checking the fit as you go, and enjoy making something handmade that you will actually want to wear.
FAQs:
1. Is this crochet top beginner-friendly?
Yes, it is a good beginner garment because the construction is simple and the seaming is straightforward.
2. What yarn is best for this project?
Lightweight cotton or a soft cotton blend is a great choice for a breathable summer top.
3. Can I adjust the size?
Yes. You can change the width and length of the panels and also adjust the neckline and arm openings before final seaming.
4. Can I make it for summer?
Yes, this style is especially nice for summer because it has a light, airy feel.
5. How do I make it more comfortable?
Use a soft breathable yarn, check the fit while working, and make sure the armholes and neckline are not too tight.