
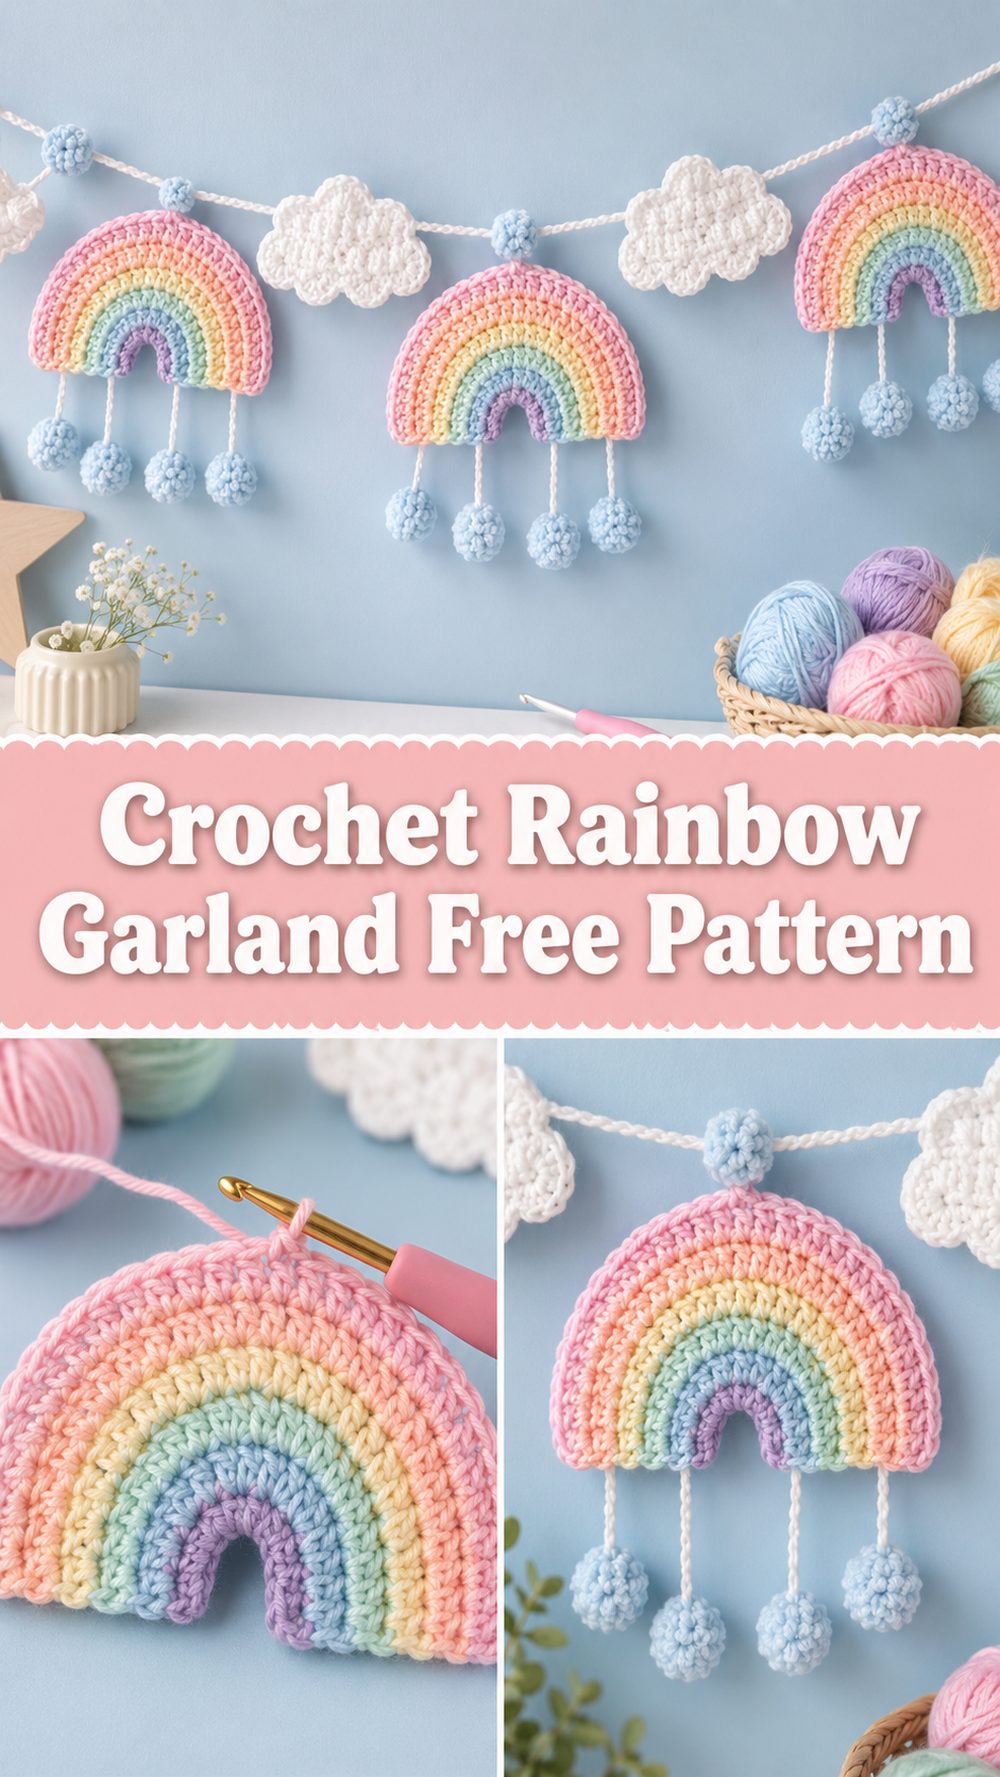
A crochet rainbow garland is one of those projects that instantly makes a space feel softer, brighter, and more personal. The YouTube tutorial I selected shows how to crochet small rainbow motifs and string them together into a pastel rainbow garland, which makes it a lovely choice for a nursery, playroom, party setup, or cozy craft corner. The design feels cheerful without being too fussy, and because it is made from repeated small pieces, it is also a very manageable project to pick up in little pockets of time. It is especially nice if you enjoy working with color, since each rainbow gives you a chance to play with soft stripes and gentle combinations. The selected video describes the project as a crochet rainbow garland tutorial and shows the rainbows being strung together into one finished decoration.
Why You’ll Love This Project
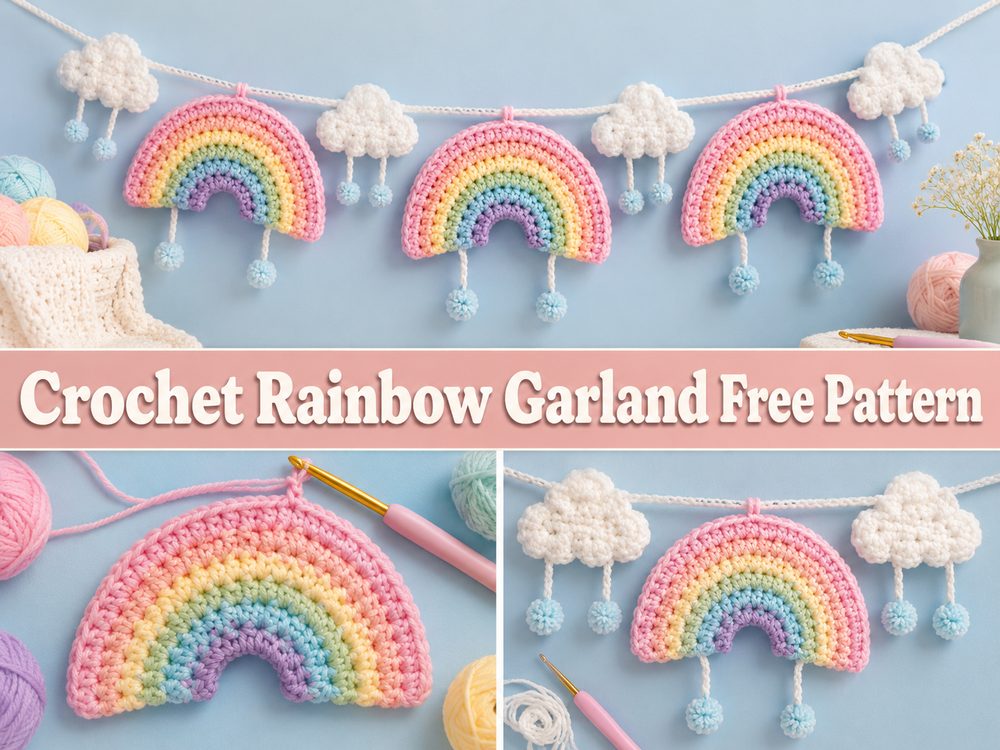
This project is fun because each rainbow is small enough to feel satisfying on its own, but when you join several together, the full garland looks polished and special. It is also a great decorative project when you want something playful, soft, and easy to customize with color. The chosen tutorial specifically shows “super cute little rainbows” that are joined to make a pastel rainbow garland.
Materials Needed
- Yarn in rainbow shades or soft pastel colors
- Crochet hook
- Scissors
- Yarn needle
- Stitch markers if you like marking sections while shaping
- Measuring tape to help plan the finished garland length
If the exact yarn weight or hook size is unclear, use a yarn and hook size that matches your desired fit and texture.
Best Yarn for This Project:
A smooth yarn with clear stitch definition works best for rainbow motifs like these. Cotton or cotton-blend yarn is a lovely option if you want the rainbows to hold their shape neatly. Soft acrylic also works well if you want something lightweight, budget-friendly, and easy to find in lots of colors. Since the selected tutorial creates small decorative rainbows for garland use, yarn that is soft but not too floppy usually gives the nicest finish.
Skill Level:
Beginner-friendly to easy. This project is a nice fit for confident beginners because it focuses on making the same small motif again and again. Once you understand the first rainbow, the rest of the garland becomes much more relaxed and enjoyable.
Size and Fit Guide:
The easiest way to size this project is to measure the space where you want the garland to hang, then make enough rainbow motifs to reach that length. You can place the rainbows close together for a fuller look or leave small gaps between them for something lighter and more airy. If you want a short accent garland, make just a few. If you want it to stretch across a wall, shelf, or party table, keep going until the length feels balanced.
Stitches Used:
- Chain
- Slip stitch
- Basic stitches used to build the rainbow shape in colored sections
- Joining stitches for assembling the garland
The selected video clearly presents the project as crocheted little rainbows that are then strung together, so the construction centers on repeated rainbow motifs rather than one long continuous banner.
How to Make It
Step 1: Start the First Rainbow
Begin by making the starting section of your first rainbow motif. Since this design is built around little rainbows, the first piece is really your guide for the whole project. Take your time with it. Focus on getting a shape that looks soft and rounded rather than rushing through the early steps.
This is also where you can choose your color order. You might want a classic rainbow look, soft pastels, or even muted nursery shades. Because the chosen tutorial shows a pastel rainbow garland, gentle color combinations work especially beautifully here.
Step 2: Build the Rainbow Shape in Color Sections
As you continue, work the rainbow in separate color bands so the curved motif starts to appear. This is the part that gives the project its charm. Each stripe adds a little more shape and color, and before long the small rainbow begins to look complete.
Try to keep your stitches even from one color section to the next. If one band is much tighter than another, the rainbow can pull out of shape. A steady tension helps the finished motifs look smoother and more balanced when they are hanging together.
Step 3: Finish One Motif and Use It as a Guide
Once the first rainbow is finished, lay it flat and check the overall shape. This first motif becomes your sample for the rest. If it looks neat and well-balanced, use it as your size guide while making the next rainbows.
That simple step makes a big difference. Garland projects always look more polished when the pieces are similar in size. Even if your tension changes a little as you work, comparing each new motif to the first good one helps keep the set consistent.
Step 4: Make More Rainbows
Continue making rainbow motifs until you have enough for your desired garland length. This part is wonderfully relaxing because each piece is small and satisfying to finish. It is also a great way to use small amounts of yarn, especially if you have leftovers in several pretty shades.
You can repeat the same rainbow palette every time, or gently vary the shades while keeping the overall look soft and cohesive. Because the selected tutorial focuses on little rainbows joined into one garland, repeating the motif is the heart of the project.
Step 5: Plan the Layout
Before joining the motifs, spread them out on a table or floor and test the color order and spacing. This is one of the nicest parts because you get to see the whole garland coming together before it is attached. Rearrange the rainbows until the overall look feels balanced.
Think about where it will hang. A shorter garland is lovely over a shelf or crib wall, while a longer one works beautifully across a mantel, party table, or nursery wall. Leaving a little space between each rainbow often gives the garland a softer and lighter feel.
Step 6: String the Rainbows Together
Once you are happy with the order, attach the rainbow motifs to a long crochet chain or joining strand. The selected tutorial specifically says the little rainbows are strung together to make a pastel rainbow garland, so this joining step is what turns the separate pieces into the finished decoration.
Leave enough extra length at both ends for easy hanging. As you attach each rainbow, check that they are all facing the same direction and sitting evenly. Small adjustments here can make the final garland look much neater.
Step 7: Finish the Garland
After all the rainbows are attached, fasten off and weave in the ends carefully. Since this is a decorative piece, neat finishing matters a lot. Straighten the motifs gently with your hands and hold the garland up once before calling it done.
If the rainbows curl a little, light blocking can help them sit flatter. The finished garland should look soft, colorful, and tidy, with each little rainbow clearly visible along the strand.
Helpful Tips
- Make one rainbow first and use it as your guide for the rest
- Keep your tension even so the color bands stay balanced
- Choose soft yarn shades for a calm pastel look
- Lay all the motifs out before joining to check the order
- Leave extra length at both ends for hanging
- Block lightly if the motifs need help sitting flat
Common Mistakes to Avoid
- Making the rainbow motifs noticeably different in size
- Pulling some color bands tighter than others
- Joining the garland before checking the arrangement
- Using yarn that is too fluffy if you want clear rainbow stripes
- Forgetting to leave hanging length at both ends
- Skipping neat finishing on a display piece
Customization Ideas
This project is very easy to personalize. You can use classic rainbow shades, soft pastels, earthy muted tones, or even a single-color gradient for a modern look. Tiny clouds, tassels, or pom-poms between the rainbows could add extra charm. You can also make the motifs slightly smaller for a delicate garland or larger for a bolder wall decoration.
Style Ideas
A crochet rainbow garland looks lovely in a nursery, playroom, reading nook, craft room, or party setup. It can hang across a shelf, above a changing table, along a wall, or behind a dessert table. It also makes a sweet handmade gift for a baby shower or birthday room setup because it feels decorative but still personal.
Care Instructions
Gently hand wash if needed and lay flat to dry. Reshape each rainbow while it is damp so the curves stay neat. Avoid high heat, especially if you used acrylic yarn. Store the garland flat or loosely wrapped so the motifs keep their shape between uses.
Time Needed
This may take a few hours depending on your speed, yarn, size, and how many rainbow motifs you want to make. Because the project is made from small repeated pieces, it is easy to work on a little at a time.
Conclusion
A crochet rainbow garland is such a cheerful little make. It is soft, colorful, and full of handmade charm, and it gives you plenty of room to play with color without becoming overwhelming. Once you make the first rainbow, the rest becomes wonderfully repetitive and relaxing. Whether you hang it in a nursery, use it for a party, or brighten up a quiet corner of your home, it is the kind of project that feels sweet from the first stitch to the final strand.
FAQs
Is this beginner-friendly?
Yes. It is a nice project for beginners because the same small motif is repeated throughout.
What yarn works best?
Cotton, cotton blends, or soft acrylic all work well, as long as the stitches stay clear enough to show the rainbow shape.
Can I adjust the length?
Yes. Just make more or fewer rainbow motifs and change the spacing when you join them.
Do all the rainbows need to be the same colors?
No. You can repeat one color order or mix shades for a softer, more playful look.
How do I make it look neater?
Use one finished rainbow as your sample, keep the tension even, and block lightly if the motifs need shaping.