
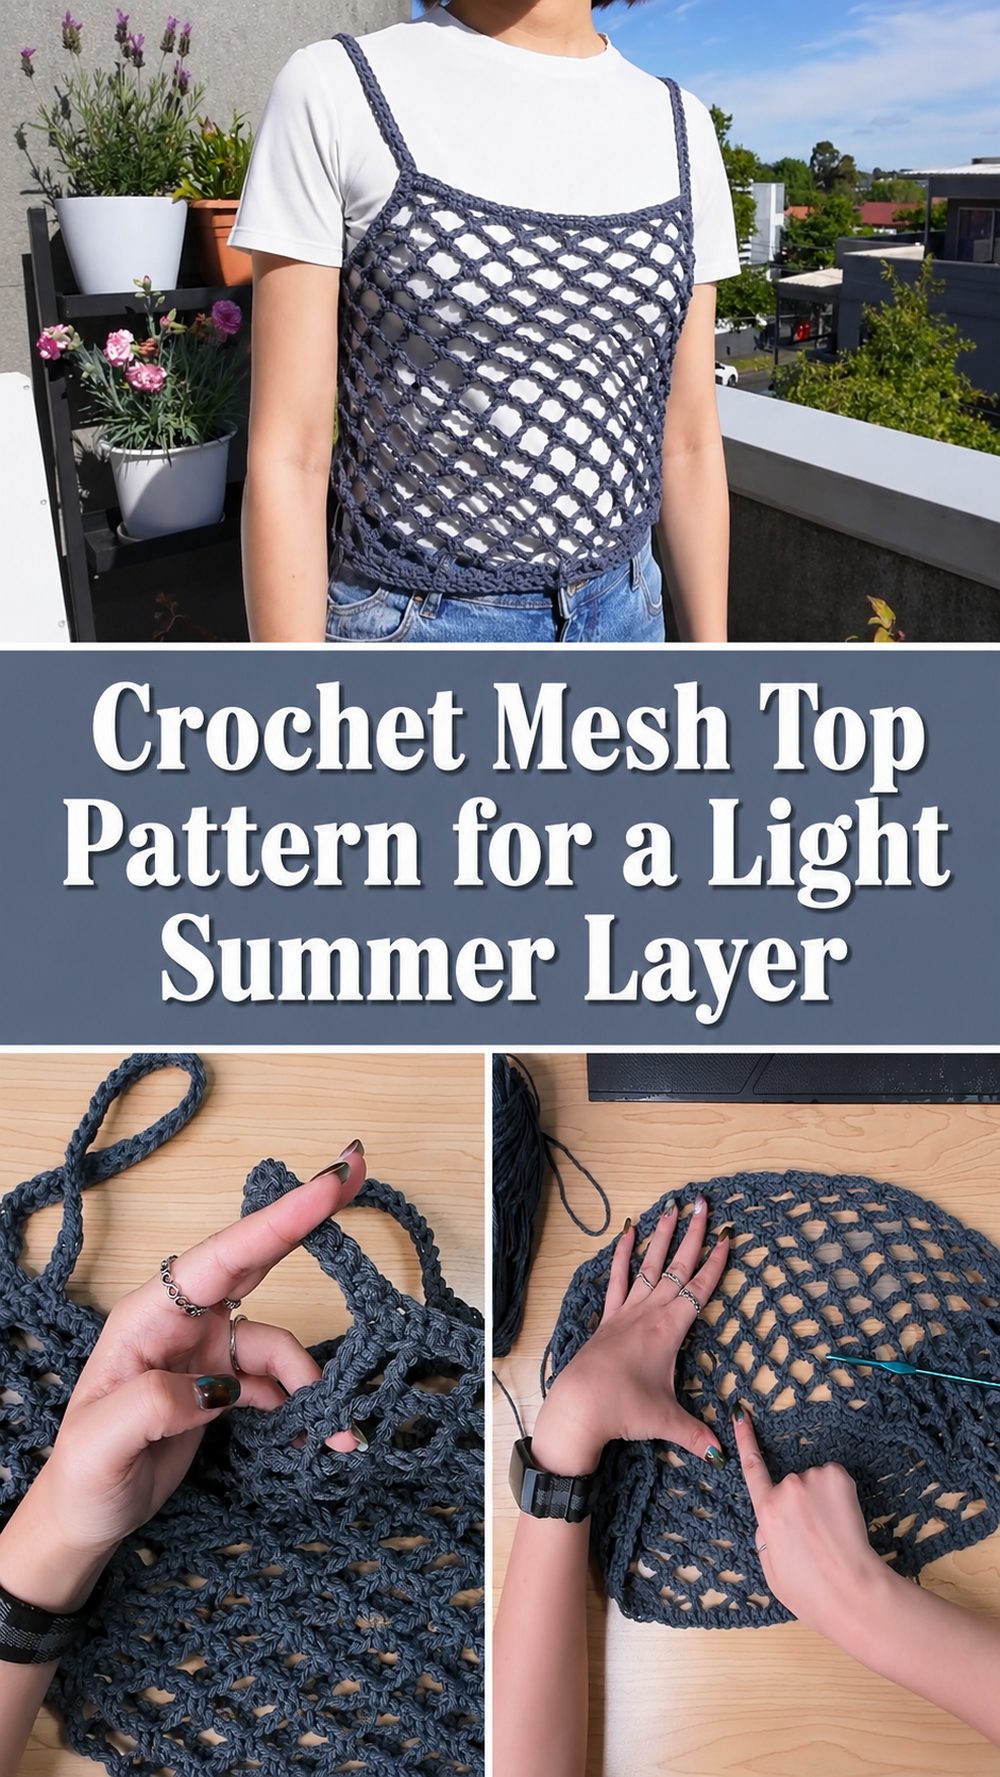
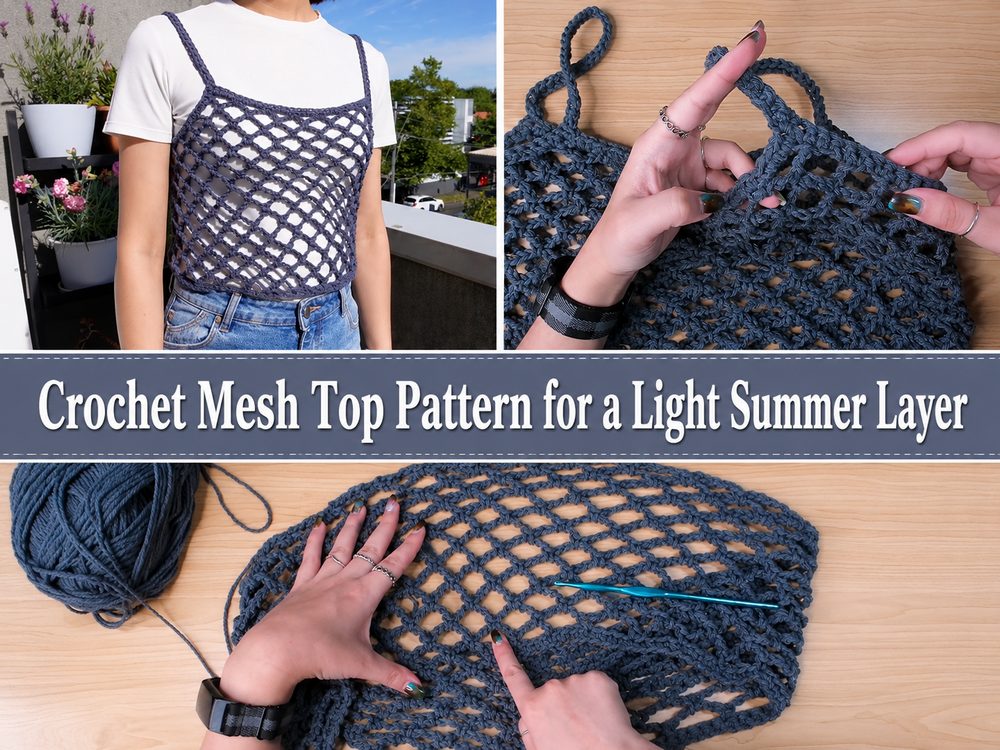
The AA crocheted mesh top is one of those no fuss, chic feeling handmade items. It’s light and airy, easy to throw over a tank, bralette, swimsuit or fitted tee. This pattern is especially nice for warm weather, the open chain spaces allow the fabric to breathe, and the simple border gives the top a nice finished shape. This is a great project for anyone who wants to do wearable crochet but doesn’t want to get tied up in complicated shaping. It’s relaxed, contemporary and has a little bit of a beachy vibe but you can easily dress it up with the right colour and styling. It’s also a nice confidence-builder for newer crocheters ready to try clothing as the design is made primarily of chains and simple edging.
What You’ll Love About This Project:
This crochet mesh top is fun because it comes together in a simple open pattern and doesn’t need a lot of shaping to look good. The final piece is relaxed fitting so it is forgiving comfortable and easy to adjust on the go. This is the kind of project you can whip up in a weekend and wear right away.
Materials Needed:
Light to medium weight yarn depending on the look you want
A crochet hook that matches your yarn. This will result in a soft, conforming mesh.
Scissors
Needle for yarn
tape
Stitch markers, for marking edges and joining points
Choose a yarn and hook size that will give you the fit and texture you want.
Best yarn for this project:
A summer mesh top in a cotton/bamboo blend, cotton/acrylic blend or other breathable yarn will look gorgeous. The cotton makes the top feel crisp cool and retains the definition of the mesh stitches. Bamboo blends have a nice soft hand and drape, which is nice if you want the top to fall a little more loosely over the body. No stiff or scratchy yarns, this top is meant to be light, comfortable and easy to wear over skin or thin layers.
Skill Level:
This is a beginner to easy friendly project. You should be happy to make chains, work simple crochet stitches and keep edges even. The body is open mesh for the most part so the main skill is to learn to keep your tension steady so the holes look nice and even.
Size & Fit:
The best way to size this mesh top is to measure across your chest and compare the crochet piece to your body as you make it. Don’t just look at the flat measurement. Mesh stretches and relaxes. Hold it up to yourself a lot or wear it over a top that you already fit well. Add more rows/rounds to make it wider or stop early for a snug fit. If you want a longer top just keep on going on the body till it is the length you want. Wear it above your waist for a cropped look.
Stitches used:
Chain
Slip stitch (sl st)
sc = single crochet
Chain complexes
Fundamental mesh architecture
Border Edging
To Prepare:
Step 1: Create the setting
Start by chaining a foundation long enough for the width of your top. The chain should sit across the front of your body, not too tight. With a mesh design, you know the fabric will expand as you crochet, so the base should be loose, not stretched.
Put the chain around your chest or hold it up to a tank top you like. This helps you decide whether the piece will be fitted, loose or oversized. It can also be worn for a beach cover-up look. If you want a neater everyday layering top, size it closer to your size.
Step 2: Prepare the Mesh Fabric
The main body is a simple chain constructed mesh. You will be working open chain spaces along the row and not making a dense fabric. This creates a light and breathable appearance for the top. And it’s the open texture which makes it quick and airy and comfortable for warmer days.
Mind your tension when building the mesh. But don’t crank your chains too tight, tight chains can make the top stiff and uneven. Even chains, when loose, have a softer hang and a prettier mesh. If your mesh looks too small or tight, go up a hook. If the holes look too big or the fabric too loose, try a smaller hook.
Step 3: Work until the piece fits
Keep going in the mesh pattern until you have the length of panel you want to make. It can be short, up to the waist, or slightly longer. Sizes will vary depending on your body, yarn, hook and tension so it is best to check the fit as you go.
As you work on a few rows, hold the panel to your body. Ensure the width still feels right and the length is going where you want it to. Remember that mesh can stretch downward once it is worn, especially with softer yarns, so think twice before making it very long.
Step 4 Make the corresponding side or back piece
Depending on the shape you are following the top can be made as front and back sections or as a joined body section. If you are doing two panels, crochet the second one like the first. Count or measure your rows to make sure each piece is the same width and length.
This is especially important for a wearable project. Even forgiving mesh can make the neckline, armholes or hem sit strangely if the panels are uneven. Check the pieces and place both flat on a table before fitting them.
Step 5: Attach Shoulders & Sides.
When the body pieces are done, sew them at the shoulders and sides, leaving openings for the neck and arms. Before you sew or crochet in the seams, place stitch markers so you can try on the top and adjust the placement.
Leave enough room around the neckline so the top can easily slip over your head. Make sure the armholes are comfortable and not too tight under the arm. Since it is a mesh top, a slightly looser fit looks better and is more comfortable to wear.
You can join with slip stitches, single crochet or a yarn needle. The crochet join is a little more visible, but using a yarn needle and sewing gives a softer, flatter finish. Pick the one you like the most.
Step 6: Bordering
Then join to the main shape and work a simple border round the neckline, armholes and bottom edge. Here in the tutorial we use a simple edging to clean up the mesh and help the top keep its shape. The single crochet stitch is a good choice here, since it provides a good frame, but is not too heavy on the garment.
Space evenly with stitches when working around chain spaces. Don’t make too many stitches in one place or the edge may ripple. Also don’t use too few stitches or the edge may be pulled in. This is the idea of a level border, which looks finished on top.
Step 7: Check the Final Fit
Weave in all ends, but try the top on first. Neckline, side seams and armholes and length. Check. if things feel a little loose you might be able to tighten the sides up a bit. If it looks too short, add in more rows of mesh or a deeper border on the bottom.
The finished top should be light and airy, with open mesh over the body and a clean, simple edge. It should be easy to layer, and comfortable enough to move around in.
Step 8: Finish the Ends
Weave in all the loose yarn ends with a yarn needle. The mesh fabric is open so be a little extra careful hiding the ends through the thicker border or seam areas. Trim away the excess neatly and then smooth out the top flat with your hands.
Blocking helps the mesh open evenly and gives a neater overall look to the top. Gentle blocking makes a real difference with cotton or bamboo yarn. Let it dry fully before wearing, and shape it softly. Place the top flat.
Tips: Useful
If you want this top for summer use a breatheable yarn. Cotton and bamboo blends are especially nice because they are cool and comfortable.
Try the fitting before joining sides. It is much easier to change the armholes and the width of the body before the seams are properly sewn up.
Keep your chains level. Since the mesh is the primary feature, uneven chain tension will be more visible than it would be in a dense stitch pattern.
If your top has a front and back, make both panels the same size. Compare the rows and often put them side by side.
Side seam and shoulder stitch markers. This evens out the top so one armhole is not bigger than the other.
End with a block for refinement and smoothness.
What to avoid:
Foundation over tightening. If the starting chain is too tight, it can pull the bottom edge and be uncomfortable to wear.
No fit checks. Keep checking on your wearable crochet, especially if you are working off your own body measurements.
Using yarn that is too heavy. The heavy yarn will make the mesh top look bulky instead of light and airy.
Over the flanks. If the armholes are too small the top can feel tight even if the body fits well.
Never mind this mesh pulling. Don’t make the top too big—the loose stitches will relax as you wear.
Adding too many border stitches. This could cause the hem or neckline to ripple instead of laying flat.
Tips for Customising:
You can make this mesh top in a soft neutral for an everyday layering piece, or a bright summer colour for a fun beachy look. Add length for added coverage or let it be cropped for high-waisted jeans and skirts. Or work the border in a heavier yarn for a bolder frame, add ties at the sides, or work a contrast colour around the neckline and hem. For a more delicate look, use a finer yarn and a slightly looser hook. Use a cotton yarn with a little more texture for a bolder, more festive top.
Suggestions for Style:
Finish off the mesh top with a fitted tank layered underneath for a casual, handmade look. It also looks pretty as a light cover up over swim suit. Layer over a bralette with jeans or skirt for those summer evenings. It can be easily made a staple in black, cream, brown or olive. A pastel colour is soft and playful, while a bold colour makes the mesh pattern pop.
Care Instructions: –
If you wear cotton, bamboo, or a soft blend, hand wash the top in cool water. Do not wring it hard, as the open mesh can stretch out of shape. Press excess water out with a towel, reshape garment and lay flat to dry. Do not use high heat, as this can shrink or damage some yarn fibres.
Time Required:
Depending on your speed, your yarn, the size and the stitch pattern, this could take a couple of hours to complete. Since the body is mostly open mesh, it works up faster than many solid crochet tops.
Conclusion:
This crochet mesh top is a lovely project when you want something wearable, stylish, and not too complicated. The open chain texture keeps it light, while the simple edging gives it a neat handmade finish. Take your time checking the fit, choose a yarn that feels good on your skin, and adjust the length and width to match your own style. Once you make one, it is the kind of pattern you may want to repeat in several colors.
FAQs:
Is this crochet mesh top beginner-friendly?
Yes, it is beginner-friendly if you are comfortable with chains, simple stitches, and basic joining.
What yarn is best for a mesh top?
Cotton, bamboo blend, or lightweight breathable yarn is best for a cool and comfortable summer top.
Can I adjust the size?
Yes. Measure your body, compare the piece as you work, and add or reduce rows to change the width or length.
Can I make this as a beach cover-up?
Yes. Make it a little looser and longer, and use breathable cotton or bamboo yarn for a relaxed cover-up style.
How do I make it more comfortable?
Keep the fit relaxed, avoid scratchy yarn, make the armholes roomy, and use a soft border around the neckline and edges.