
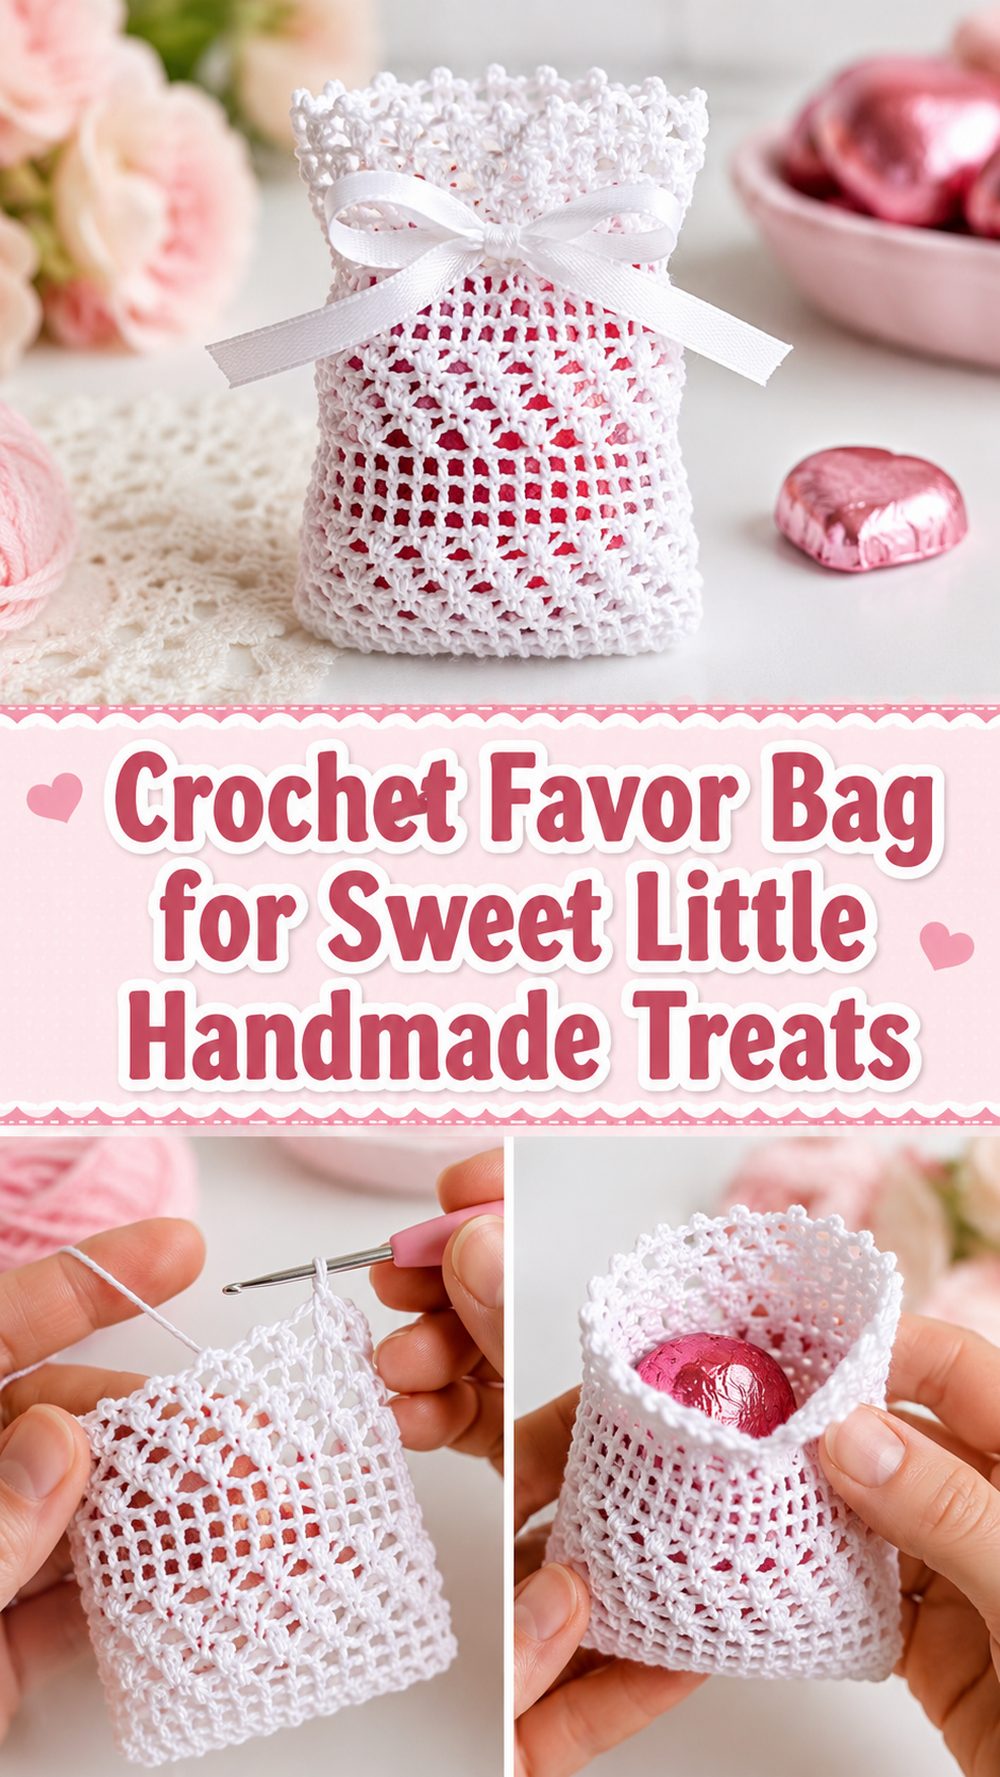
A crochet favor bag is such a lovely project when you want a small handmade way to package treats, tiny gifts, or party favors. It feels special right away, but it is still practical and quick enough to make for a celebration, shower, wedding table, or holiday setup. The YouTube tutorial I selected is a true crochet favor bag tutorial, and the video description gives a few really helpful details: it uses size 16 cotton yarn with a size 1 crochet hook, and the finished bag measures about 9 by 8 cm, so it is clearly designed as a petite favor-size pouch rather than a full gift bag. That makes it a sweet choice for almonds, candies, charms, jewelry, or other tiny keepsakes.
Why You’ll Love This Project
This project is easy to love because it is tiny, useful, and full of handmade charm. Small favor bags feel thoughtful in a way that plain packaging never quite does, and they are especially nice when you want your party details to feel personal. The selected YouTube tutorial is specifically for a crochet favor bag, not just a general pouch, and the listed finished size shows it is meant for little treats and keepsakes.
Materials Needed
- Size 16 cotton yarn
- Size 1 crochet hook
- Scissors
- Yarn needle
- Stitch markers if you like using them for small projects
- Ribbon, cord, or crocheted tie if your finishing style includes a closure
The selected tutorial specifically says it uses size 16 cotton yarn and a size 1 crochet hook.
Best Yarn for This Project:
Fine cotton yarn is a very good fit for a small favor bag like this because it helps the stitches look crisp and decorative. Since the selected tutorial uses size 16 cotton yarn, the finished bag is likely meant to feel neat, lightweight, and slightly delicate rather than chunky or heavy. Cotton also works beautifully for party favors because it keeps the shape tidy and gives the pouch a polished handmade look.
Skill Level:
Easy to confident beginner. The bag is small, which keeps it manageable, but fine yarn and a smaller hook can ask for a little patience. Based on the materials listed in the selected tutorial, this is a nice project for someone comfortable with basic crochet who wants to make a neat decorative pouch.
Size and Fit Guide:
The selected tutorial says the finished favor bag measures approximately 9 x 8 cm, so this is best suited to very small items. It should work nicely for wrapped candies, sugared almonds, jewelry, a tiny soap, or a miniature keepsake. If you want to adapt the idea, you can use the same general construction and continue a little more for extra height or width, but the chosen tutorial itself is clearly focused on a petite favor size.
Stitches Used:
Follow the exact stitch flow shown in the video, but a small cotton favor bag like this typically uses:
- Chain
- Slip stitch
- Basic body stitches
- Decorative repeat sections
- Finishing or joining stitches
The exact counts are best taken directly from the tutorial, while the material, size, and finished purpose are clearly stated in the video listing.
How to Make It
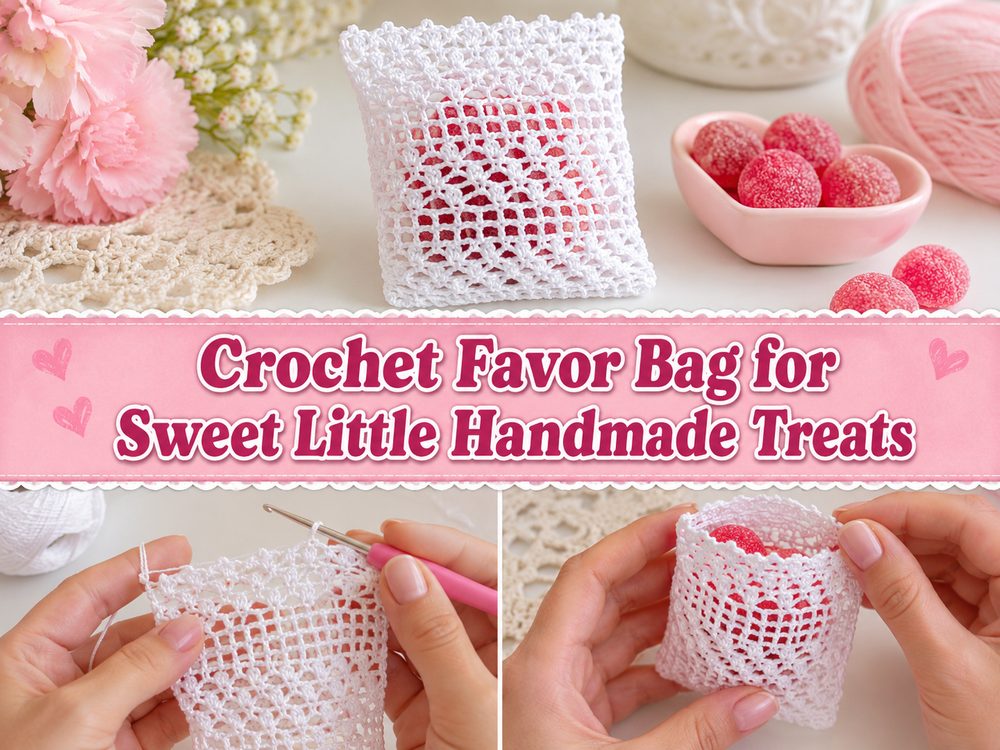
Step 1: Start the Foundation
Begin with your starting loop and the small foundation that forms the base of the favor bag. Because this is a petite project worked in fine cotton, it helps to slow down at the beginning and keep your stitches even. Tiny projects show every little tension change, so a calm start makes the whole pouch look neater later on.
Since the selected tutorial is for a small favor bag, you are not building a large base here. The goal is to create a neat little start that suits the finished size of about 9 by 8 cm.
Step 2: Build the Base and Lower Body
Once the foundation is ready, begin working upward into the bag shape. This is where the project starts to feel satisfying, because even a few rounds or rows can make a tiny pouch appear quickly. Focus on keeping the shape even and balanced. A favor bag should feel light and decorative, but it still needs enough structure to hold little treats or keepsakes comfortably.
Because the selected tutorial uses fine cotton yarn with a small hook, the fabric likely comes out neat and tidy with good stitch definition. That makes this a lovely project for elegant event favors.
Step 3: Continue Until the Pouch Looks Balanced
Keep building the body of the bag until it reaches the intended small favor size. Since the listed measurement is approximately 9 x 8 cm, the finished pouch is meant to stay compact. This small size is part of its charm. It gives the bag that delicate party-favor feel instead of turning it into a larger gift pouch.
At this stage, it helps to lay the work flat every now and then and check the proportions. You want the pouch to look neat and evenly shaped rather than stretched or pulled on one side.
Step 4: Form the Upper Edge
As you move into the top section, keep your stitches especially even. The upper part of a favor bag is one of the most visible areas, and it is often what gives the pouch its decorative finish. Depending on the tutorial style, this may include a neat edge, a decorative repeat, or a space for threading a tie or ribbon.
This is also the point where the project starts looking truly giftable. A tiny cotton bag with a finished top edge instantly feels more polished and special.
Step 5: Add the Closure or Finishing Detail
A favor bag often needs a simple way to close or gather the top. That may be a crocheted cord, a ribbon, or another small finishing detail. Keep it light and neat so it suits the delicate scale of the pouch. Since the selected project weighs only about 6 grams, it is clearly designed to stay lightweight and petite. A bulky tie would feel too heavy for this size, so a soft narrow closure usually works best.
Step 6: Weave in Ends and Shape the Bag
Once the bag is finished, weave in the ends carefully. Small decorative projects always look better when the finishing is tidy. Straighten the pouch gently with your fingers and check that the opening sits nicely. If the shape needs a little help, a light block can make the stitches look smoother and the bag look more polished.
Because this is a favor bag rather than everyday storage, presentation matters a lot. A neat finish is what turns a small crochet piece into a beautiful little gift holder.
Step 7: Fill and Style the Favor Bag
Now comes the fun part. Fill the finished bag with something small and sweet. Since the selected tutorial gives a finished size of about 9 by 8 cm, think in terms of petite favors rather than large gifts. Wrapped sweets, sugared almonds, a tiny piece of jewelry, or a miniature keepsake would all suit this style nicely. That usage is an inference from the listed dimensions and the fact that the project is presented as a favor bag.
Helpful Tips
- Use fine cotton yarn for a neat, elegant finish
- Keep your tension even because small projects show every detail
- Check the width and height as you go so the bag stays balanced
- Choose a narrow ribbon or cord if you want a delicate closure
- Weave in ends carefully for a polished party-ready result
- Block lightly if the pouch needs help settling into shape
Common Mistakes to Avoid
- Using yarn that is too thick for a tiny favor bag
- Pulling the opening stitches too tightly
- Making the bag larger than intended if you want a true favor size
- Choosing a heavy tie that overwhelms the pouch
- Forgetting to test whether your favor fits inside
- Skipping neat finishing on a display project
Customization Ideas
This little project is easy to personalize. You can use white or cream for weddings, pastels for baby showers, bright shades for birthdays, or metallic thread accents for festive occasions. A satin ribbon tie can make it feel more elegant, while a crocheted cord keeps the whole piece fully handmade. You could also make several in matching colors for a coordinated event table.
Style Ideas
A crochet favor bag works beautifully for weddings, bridal showers, baby showers, birthdays, holiday tables, and thank-you gifts. It can hold candies, sugared almonds, tiny soaps, jewelry, or other miniature keepsakes. The selected tutorial’s listed size makes it especially suited to small elegant favors rather than larger gift packaging.
Care Instructions
Hand wash gently if needed and lay flat to dry. Reshape the pouch while damp so it dries neatly. Since the selected tutorial uses cotton yarn, the bag should hold its shape nicely after careful drying.
Time Needed
This may take a short amount of time depending on your speed and comfort with fine yarn. Since the finished bag is only about 9 x 8 cm and weighs around 6 grams, it is a very small project. The finer yarn and small hook may slow things down a little, but the overall piece is still nicely sized for a quick decorative make.
Conclusion
A crochet favor bag is such a sweet little project. It is small, elegant, and full of handmade charm, and it gives even the tiniest treat a more thoughtful presentation. The selected tutorial is especially nice because it is a true favor bag project, with clear materials and a clearly listed petite finished size. That makes it a lovely choice when you want something dainty, practical, and special for a celebration.
FAQs
Is this beginner-friendly?
Yes, for a confident beginner. It is a small project, but the selected tutorial uses size 16 cotton yarn and a size 1 hook, so a little patience helps.
What size is the finished bag?
The selected tutorial says it measures approximately 9 x 8 cm.
What yarn and hook does the tutorial use?
It uses size 16 cotton yarn with a size 1 crochet hook.
What can I put inside a crochet favor bag?
Small treats or keepsakes work best. Based on the listed size, wrapped candies, tiny jewelry, or miniature favors are the most suitable options.
How do I make it look neater?
Use fine smooth yarn, keep your tension even, and finish the edges and ends carefully.