
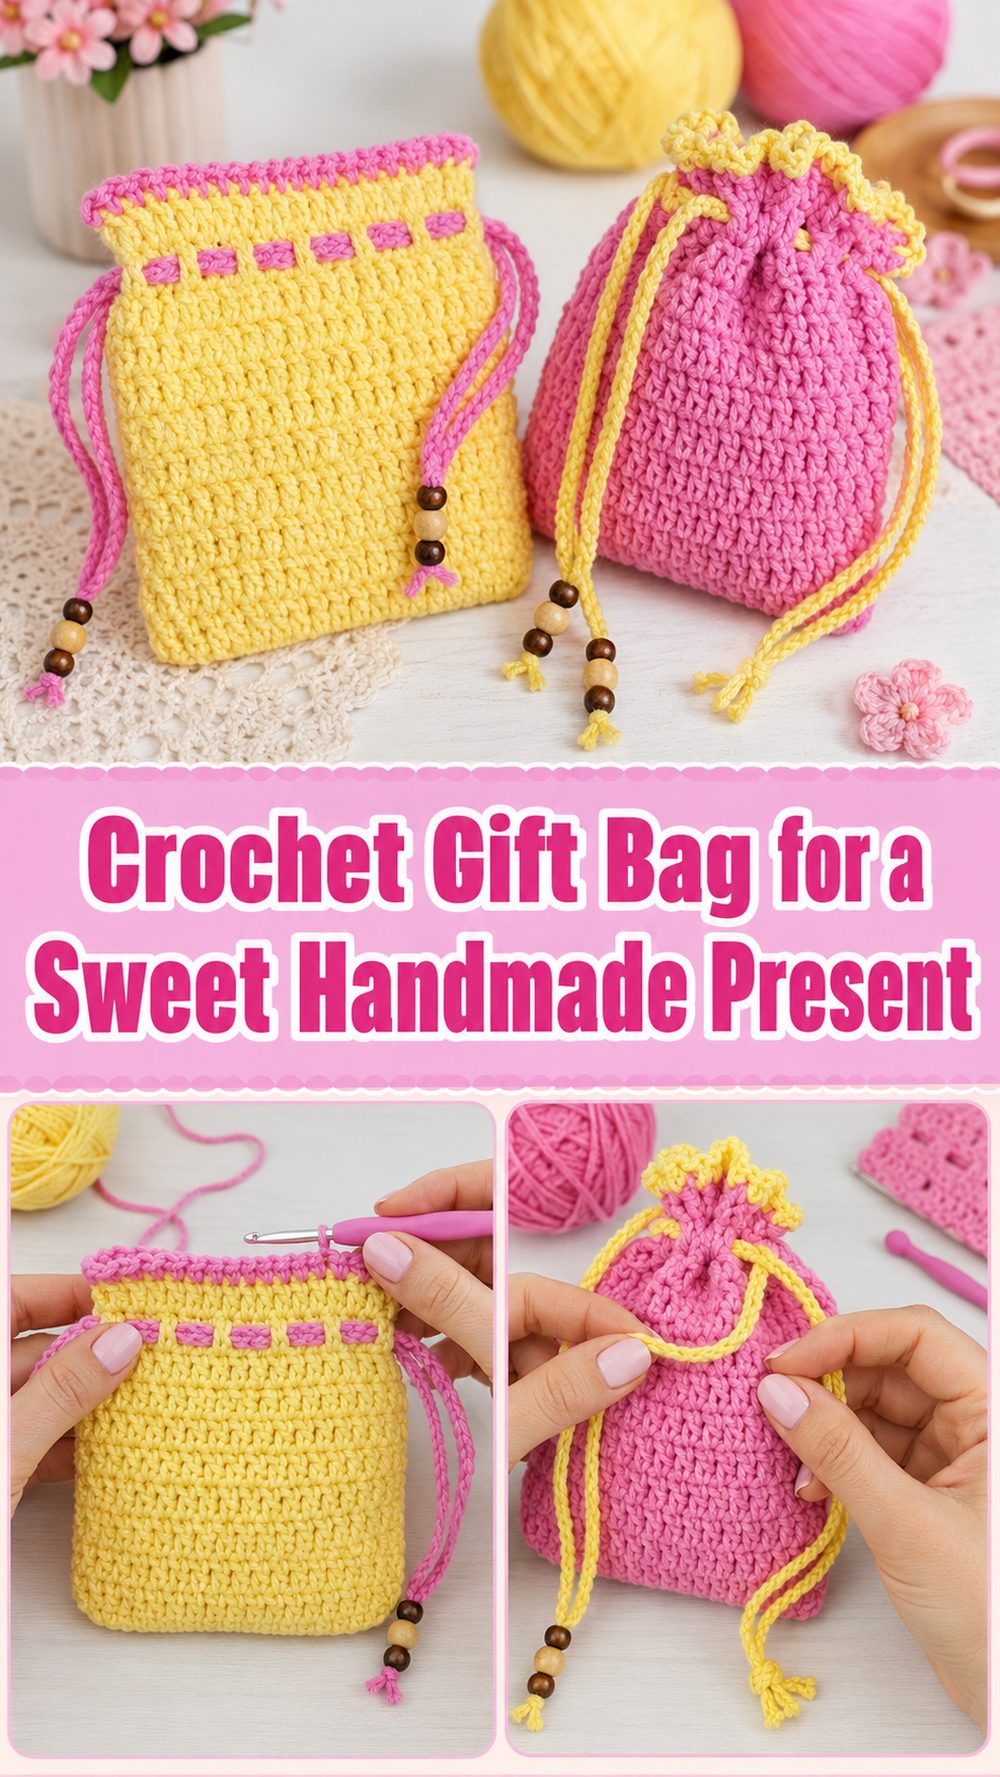
A crochet gift bag is one of those projects that feels useful and special at the same time. It gives a gift that extra handmade touch, but it is also practical because the bag itself becomes part of the present. The YouTube tutorial I selected teaches a beginner-friendly drawstring pouch that works beautifully as a crochet gift bag, and one of the nicest things about it is how customizable it is. The video description makes it clear that you can make it bigger or smaller, which is perfect when you want to wrap anything from little treats and jewelry to soaps, gift cards, or tiny keepsakes. That flexibility makes it a lovely stash-busting project too, since you can use what you already have and adjust the size as needed.
Why You’ll Love This Project
This project is easy to love because it is quick, useful, and feels very thoughtful. Instead of just wrapping a gift, you are making part of the gift itself. The selected tutorial specifically presents the pouch as a very simple beginner-friendly pattern and says it is completely customizable, which makes it especially nice for gift-making.
Materials Needed
- Yarn
- Crochet hook
- Scissors
- Yarn needle
- Stitch markers if you like using them
- Measuring tape if you want to check the size as you go
If the exact yarn or hook size is unclear, use a yarn and hook size that matches your desired fit and texture.
Best Yarn for This Project:
A smooth yarn works especially well for a crochet gift bag because it helps the stitches show clearly and gives the pouch a neat shape. Cotton or a cotton blend is a lovely choice if you want the bag to feel tidy and sturdy. Soft acrylic can also work well if you want something light, colorful, and easy to cinch with a drawstring. Since this is a small gift bag, yarn that is not too fuzzy usually gives the cleanest finish.
Skill Level:
Beginner-friendly. The selected YouTube tutorial specifically describes the pattern as very simple and beginner friendly, which makes it a nice choice if you want a useful project without complicated shaping. It is also a good practice piece for working in a small bag shape and learning how a drawstring closure comes together.
Size and Fit Guide:
This is one of the best parts of the project. The selected tutorial says the pouch is completely customizable and can be made bigger or smaller, so you can adjust it to fit your gift. Measure the item you want to place inside, then crochet until the width and height feel right. For chocolates, jewelry, or little soaps, a small pouch works beautifully. For candles, baby socks, or several treats together, keep going until you have the room you need.
Stitches Used:
The exact stitch counts are best followed from the selected video, but a simple drawstring pouch like this usually uses:
- Slip knot
- Chain
- Basic body stitches
- Joining stitches
- Drawstring spaces or openings
The key thing we know from the selected tutorial is that it is a simple crochet drawstring pouch for beginners and that the size can be adjusted easily.
How to Make It
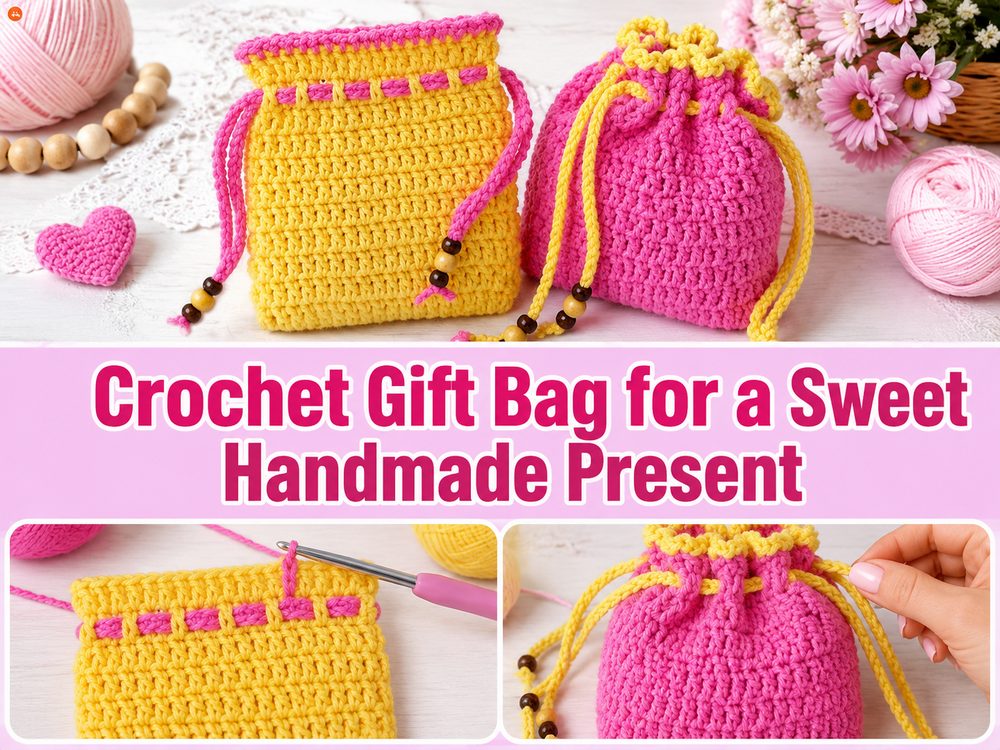
Step 1: Start the Foundation
Begin by making your starting loop and creating the foundation for the bag. Since this is a small gift pouch, it helps to think first about what will go inside. That makes it easier to decide whether you want a slimmer little pouch or something slightly roomier. Keep your starting stitches relaxed so the base does not pull in too tightly.
This first section matters because it sets the width of the bag. If you know your gift is a little wider, give yourself enough room right from the beginning. Since the selected tutorial says the pouch can be made bigger or smaller, this project naturally lends itself to adjusting the foundation to suit your gift.
Step 2: Build the Base and Lower Body
Once the foundation is ready, begin working the body of the pouch. This is where the project starts to feel satisfying, because a little bag grows quite quickly. Focus on keeping your stitches even so the sides look neat. A crochet gift bag does not need to be stiff, but it should feel balanced enough to hold its shape when something is tucked inside.
As you work upward, lay the piece flat every now and then and check that it still looks even. Small projects show tension changes quickly, so this simple habit helps a lot. If the pouch starts to lean or pull, easing your tension a bit can make the fabric look smoother.
Step 3: Continue Until the Height Feels Right
Keep building the main body until the bag feels tall enough for your gift. This is where the project becomes especially practical. Instead of forcing one exact size, you can stop when it suits what you want to wrap. For a gift card, tea sachets, or a tiny bar of soap, a shorter pouch may be enough. For a small candle, hair accessory, or several treats together, add more height.
The selected tutorial specifically notes that the pouch is customizable, which makes this kind of flexible sizing a natural part of the project rather than an afterthought.
Step 4: Create the Drawstring Section
Once the body is tall enough, work the upper part of the pouch where the drawstring will go. This section is what turns a simple little bag into a gift bag that can close neatly. The top should feel easy to gather without becoming too tight. You want enough movement for the drawstring to slide through comfortably.
This is also the point where the project starts to look finished. A little pouch on its own is sweet, but once the drawstring area is added, it becomes much more polished and useful. If you want the top edge to feel extra pretty, keep your stitches especially even here because this section stays visible when the bag is closed.
Step 5: Add the Drawstring
Now make or thread the drawstring through the openings near the top. This can be a crocheted cord, a chain, or another simple tie depending on the style you prefer. Pull it gently to gather the top and check how the pouch closes.
A drawstring gift bag is especially nice because it feels soft and reusable. Instead of tearing wrapping paper, the recipient can untie the pouch and keep it afterward. That makes the project feel extra thoughtful, even though it is still simple enough for beginners.
Step 6: Finish the Bag Neatly
Once the shape and closure feel right, fasten off and weave in the ends carefully. Since this is a gift project, neat finishing matters more than usual. A tidy bag instantly looks more polished, even if the stitches are simple.
At this point, it helps to place your gift inside and test the fit. The pouch should close comfortably without straining too much at the top. If it feels a little snug, you already know for next time to add a bit more width or height. Since the selected tutorial is fully customizable, this kind of adjustment is part of what makes the pattern so useful.
Step 7: Make More for a Matching Gift Set
One of the nicest things about a crochet gift bag is how easy it is to repeat once you have made the first one. You can make several in matching colors for party favors, holiday gifting, teacher presents, or small handmade market items. You can also use the same basic idea in different sizes so all your gifts coordinate without looking exactly the same.
Because the selected tutorial specifically says the pouch can be made bigger or smaller, it works beautifully as a base idea for a whole little collection of gift bags.
Helpful Tips
- Keep the starting stitches relaxed so the bag does not pull in
- Measure your gift before you begin if you want a closer fit
- Use smooth yarn for a neat finish
- Test the drawstring before weaving in ends
- Finish one bag first and use it as your guide for more
- Block lightly if the pouch needs help settling into shape
Common Mistakes to Avoid
- Making the base too small for the gift
- Pulling the foundation too tightly
- Forgetting to allow enough height for the drawstring closure
- Using very fuzzy yarn if you want clear stitch definition
- Weaving in ends too late and losing track of them
- Not testing the fit with the actual gift before finishing
Customization Ideas
This project is so easy to personalize. You can make a tiny pouch for jewelry, a medium one for sweets or bath items, or a larger one for several little gifts together. Soft neutrals feel elegant, bright colors feel playful, and holiday shades can turn it into seasonal wrapping. You could also add a tassel to the drawstring, a small crochet flower, or a gift tag for an extra handmade finish.
Style Ideas
A crochet gift bag works beautifully for jewelry, chocolates, tea sachets, soaps, candles, baby accessories, party favors, and tiny keepsakes. It also makes a sweet reusable wrapping option for birthdays, holidays, baby showers, and thank-you gifts. Because it is soft and handmade, it feels more personal than ordinary wrapping.
Care Instructions
If needed, hand wash gently and lay flat to dry. Reshape the pouch while damp so it dries neatly. Avoid high heat, especially if you used acrylic yarn. Store finished gift bags flat or lightly stuffed so they keep their shape until you are ready to use them.
Time Needed
This may take a short amount of time depending on your speed, yarn, hook size, and the size of the bag you choose to make. Since the selected tutorial presents it as a very simple beginner-friendly pouch, it works well as a quick gift project.
Conclusion
A crochet gift bag is such a sweet little project. It is practical, reusable, and full of handmade charm, and the fact that the selected tutorial is customizable makes it even more useful. Once you make the first one, it is easy to imagine making more in different sizes and colors for all kinds of gifts. It is one of those small crochet projects that feels simple while still making a big impression.
FAQs
Is this beginner-friendly?
Yes. The selected tutorial specifically describes it as a very simple beginner-friendly pattern.
Can I make it bigger or smaller?
Yes. The selected tutorial says the pouch is completely customizable and can be made bigger or smaller.
What kind of gifts fit inside?
Small gifts like jewelry, treats, soaps, gift cards, and little keepsakes work especially well. This is an inference based on the selected tutorial being a customizable drawstring pouch.
What yarn works best?
Smooth cotton, cotton blends, or soft acrylic are all good choices depending on whether you want a crisper or softer finish.
How do I make it look neater?
Keep your tension even, test the fit as you go, and finish the drawstring and ends carefully.