
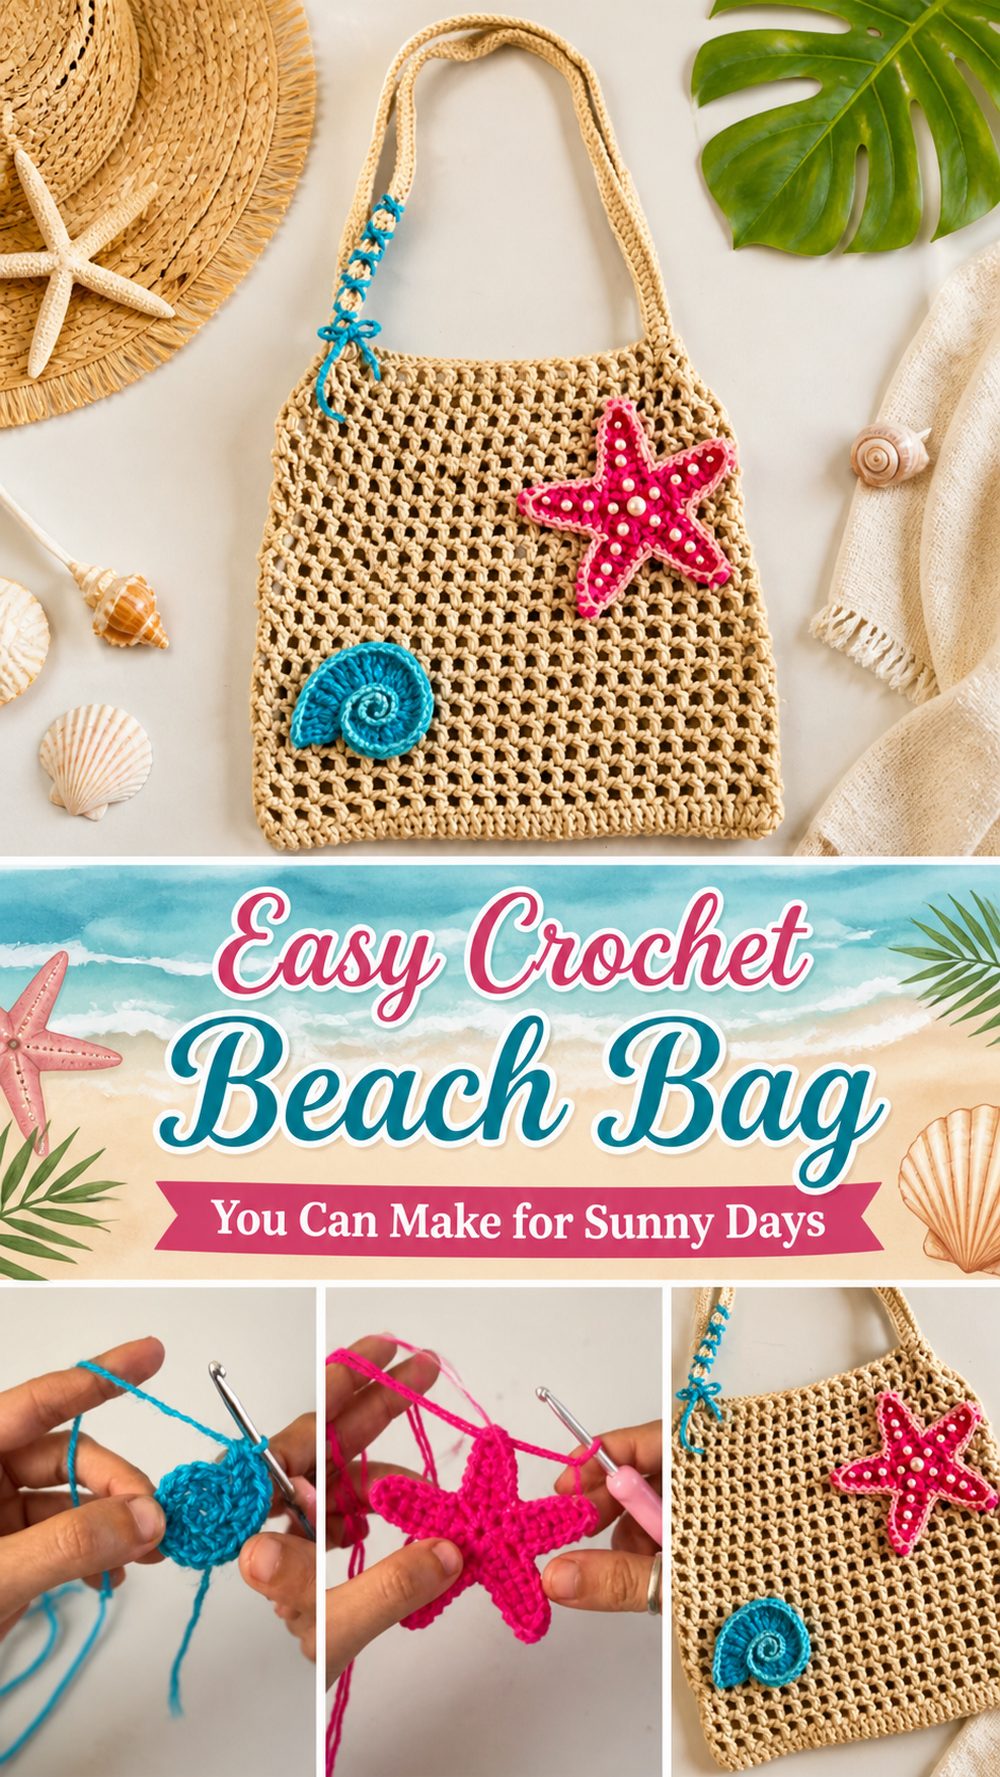
A crochet beach bag is one of those projects that feels useful right away. It is light, roomy, and perfect for carrying all the little extras that come with a beach day, like a towel, sunscreen, a water bottle, sunglasses, and a good book. The tutorial I chose teaches a beginner-friendly mesh tote with a solid oval base, an airy body, and matching mesh straps, which makes it a lovely choice for warm-weather use. The mesh helps keep the bag feeling breezy and summery, while the sturdier base gives it more shape than a floppy net bag. This is the kind of crochet project that is fun to make, easy to personalize, and practical enough to use again and again through spring and summer.
Why You’ll Love This Project
This beach bag is a great mix of pretty and practical. It has that open, lightweight summer look, but it is still structured enough to carry your everyday beach essentials. The mesh texture gives it a relaxed handmade style, and the simple construction makes it satisfying to build step by step.
Materials Needed
- Cotton yarn
- Crochet hook
- Scissors
- Yarn needle
- Stitch markers
Use a yarn and hook size that matches your desired fit and texture.
Best Yarn for This Project
For a beach bag like this, cotton is one of the nicest choices. It feels fresh, holds its shape better than many soft stretchy fibers, and suits summer projects really well. A mercerized cotton or another smooth cotton yarn can give the bag a cleaner finish and a bit more strength. If you want something softer and more relaxed, you can still use another yarn, but cotton is especially nice when you want the bag to stay practical and less droopy.
Skill Level
This project is best for confident beginners or easy-going intermediate beginners. It uses simple stitches, but you do need to feel comfortable working in rounds, keeping your shape even, and building a mesh pattern neatly.
Size and Fit Guide
You can easily adjust the size of this bag as you work. Start by thinking about how wide and deep you want the base to be, because that affects the overall shape. Then add more or fewer body rounds to make it taller or shorter. For the straps, check the drop on your shoulder before finishing them so the bag sits where you like. A beach bag usually looks best when it is roomy without feeling too long or overly stretched.
Stitches Used
- Chain
- Slip stitch
- Single crochet
- Double crochet
- Increases
- Decreases
- Mesh stitch
How to Make It
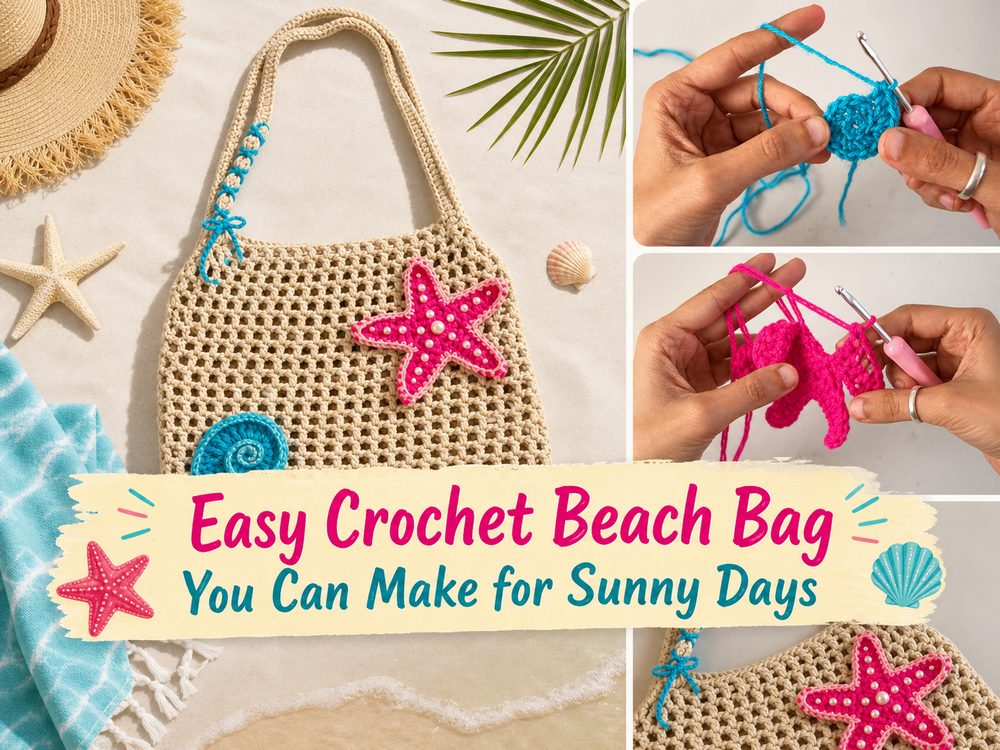
Step 1: Start the Foundation
This bag begins with a foundation chain that becomes the center of the base. Instead of making two flat panels and sewing them together later, the tutorial builds the bag as one piece. That gives the finished bag a cleaner shape and makes it feel more polished.
You begin by crocheting around the foundation chain to form an oval base. Extra stitches are placed at each end so the shape curves smoothly rather than turning into a rectangle. This is what helps the bottom of the bag look soft and rounded while still giving it enough structure to hold beach essentials.
Step 2: Build the Solid Oval Base
The base is worked in rounds using solid stitches, which gives the bag a sturdier bottom than a fully open mesh design. This part matters because a beach bag needs a little support for heavier items like sunscreen, flip-flops, or a rolled towel.
As you continue around the base, keep your increases even so the oval stays flat. If it starts to ripple, your tension may be a little loose or you may have added too many stitches. If it starts to cup upward too soon, you may need a bit more ease. A smooth flat base will make the rest of the bag easier to build and help the final shape look balanced.
Step 3: Make the Mesh Body
Once the base is the size you want, the project moves into the mesh body. This is where the bag starts to get that breezy beachy look. The mesh keeps the fabric lighter and gives the bag a relaxed summer style without making the project feel too heavy or dense.
The body is worked upward in joined rounds. You repeat the mesh pattern around and around, letting the sides rise naturally from the base. This is a nice section to settle into because the repeat becomes very rhythmic. Keep your chain spaces and stitch placement consistent so the mesh looks even all the way around. A tidy repeat gives the bag a much cleaner finish.
Step 4: Adjust the Height
This style is easy to customize. If you want a smaller tote for just a few essentials, stop earlier. If you want a larger beach bag that can carry more, keep adding rounds until the height feels right for you.
It helps to hold the bag up every so often and imagine what you plan to carry inside. Because mesh can relax a little with use, it is smart not to make it excessively tall unless that is the look you want. For a beach bag, a balanced medium-to-large size often works best: spacious, but still easy to carry.
Step 5: Crochet the Straps
After the body is finished, the tutorial moves on to the straps. These are made as part of the overall design rather than added as bulky separate handles, so the finished bag keeps a nice cohesive look.
The straps continue the airy, simple style of the body. When placing them, make sure they sit evenly on both sides so the bag hangs straight. Before finishing, test the strap length over your shoulder. A beach bag usually feels most comfortable when the straps are long enough to carry easily but not so long that the bag swings too low.
Step 6: Finish the Edges
Once the bag and straps are complete, weave in all ends carefully. Take a moment to look over the top edge, the strap joins, and the base. Clean finishing makes a big difference on a simple project like this because the stitches are open and easy to see.
If your bag looks a little wavy after finishing, gentle shaping can help. Cotton projects often look even better after light blocking. This can smooth the mesh, settle the base, and help the bag show off its final shape more clearly.
What the Finished Bag Should Look Like
The final bag has a solid oval bottom, a lightweight mesh body, and long crochet straps. It looks airy and relaxed, but still useful enough for everyday summer outings. The overall style is clean, simple, and easy to match with beachwear, casual outfits, or vacation pieces.
Helpful Tips
- Cotton yarn is especially nice for a beach bag because it helps the shape stay neater.
- Use stitch markers to keep track of the beginning of rounds.
- Check the height before making the straps so the bag does not end up too deep.
- Keep your mesh tension even for a cleaner, more polished look.
- Test the strap length on your shoulder before fully finishing.
- Light blocking can help the bag sit better and smooth out the stitches.
Common Mistakes to Avoid
- Making the base uneven by missing or adding stitches at the curved ends
- Pulling the mesh stitches too tight, which can make the bag lose its airy look
- Making the bag body too tall before remembering that mesh can stretch a bit with use
- Placing the straps unevenly so the bag hangs crooked
- Using a very stretchy yarn if you want the bag to feel sturdy
- Forgetting to weave in ends securely, especially near the straps
Customization Ideas
You can make this beach bag feel more personal in lots of easy ways. Try a natural cotton shade for a classic coastal look, or go brighter with coral, turquoise, yellow, or striped summer colors. You can make the body taller for a roomy vacation tote or keep it shorter for a casual everyday bag. A simple lining can make it hold smaller items more securely. You could also add a tassel, a shell charm, or a small inner pocket if you want a little extra detail.
Style Ideas
This bag looks lovely with swimwear, a sundress, loose linen pieces, or simple denim and sandals. It also works nicely as a farmers market tote, picnic bag, or light vacation carryall. Because the style is open and summery, it feels right at home anywhere warm and casual.
Care Instructions
Hand wash gently when needed and avoid rough heat. Reshape the bag and lay it flat to dry. If you use cotton yarn, it may soften a little after washing, so smoothing it back into shape while damp is helpful.
Time Needed
This may take a few hours depending on your speed, yarn, size, and stitch pattern.
Conclusion
A crochet beach bag is such a satisfying project because it is pretty, useful, and easy to make your own. This style works especially well for summer thanks to the solid base, breathable mesh body, and practical shoulder straps. You can keep it simple or personalize it with color, size, and finishing details that match your own style. Once you make one, it is easy to imagine making another in a different shade for the next sunny season.
FAQs
Is this beginner-friendly?
Yes, it suits confident beginners well, especially if you already know the basic stitches and can work in rounds.
What yarn is best?
Cotton is one of the best choices because it is durable, breathable, and less stretchy than many other fibers.
Can I adjust the size?
Yes. You can change the base size, add or reduce rounds in the body, and adjust the straps to suit your needs.
Can I use it for more than the beach?
Definitely. It also works well as a market tote, picnic bag, or casual everyday summer bag.
How do I make it more comfortable?
Check the strap length before finishing, keep the bag balanced, and avoid overloading it so it stays comfortable on your shoulder.