
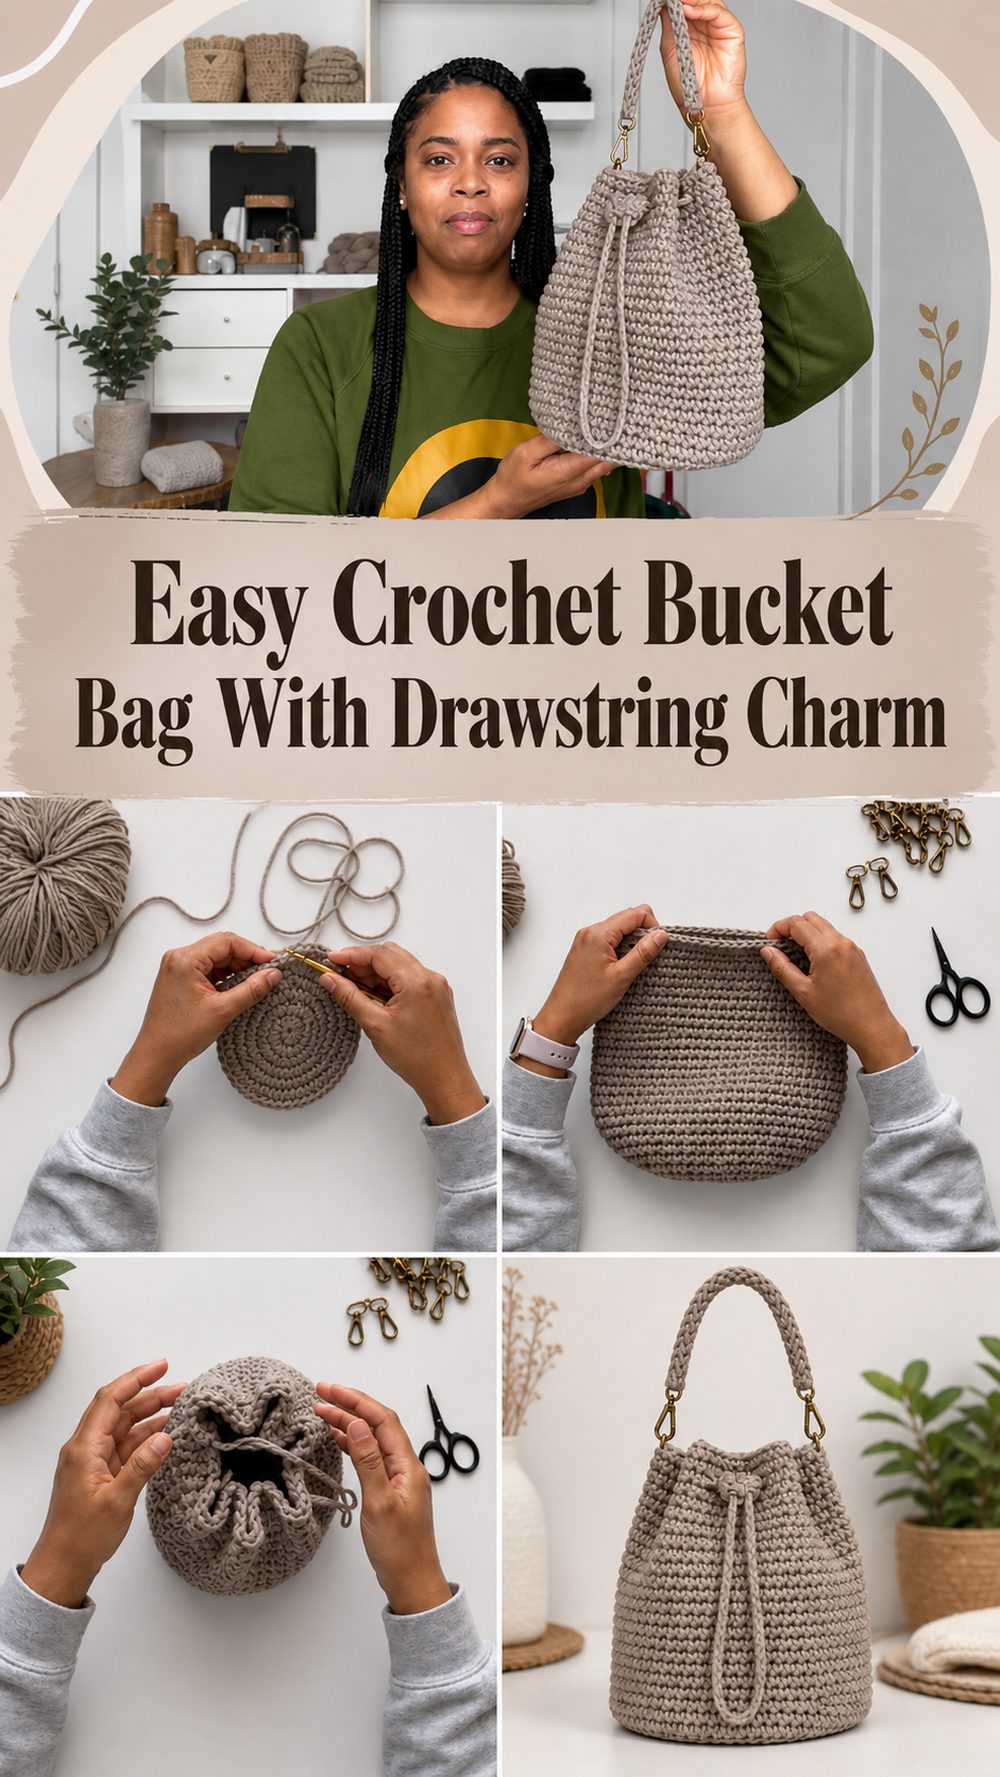
A crochet bucket bag is one of those projects that feels both practical and fun from the very beginning. It gives you that neat structured shape, but it still has a soft handmade look that makes it feel relaxed and stylish. This version has a simple body, a round base, and a drawstring top, so it is great for everyday use when you want something roomy without making a huge tote. It also has a lovely modern look that works well with casual outfits, summer clothes, and even simple weekend basics. If you enjoy making useful accessories that you can actually wear right away, this is such a satisfying project to try. The tutorial I selected shows a bucket bag with a drawstring closure and a straightforward construction, which makes it especially appealing for confident beginners.
Why You’ll Love This Project
This bucket bag is the kind of crochet project that feels useful the moment you finish it. It has a clean shape, a polished look, and enough structure to feel like a real everyday bag while still keeping that warm handmade charm.
Materials Needed
- Yarn or cord suitable for bags
- Crochet hook
- Scissors
- Yarn needle or tapestry needle
- Stitch marker
- Measuring tape
- Drawstring cord or crochet cord
- Bag hardware such as rings or strap findings if you want a removable strap
Use a yarn and hook size that matches your desired fit and texture.
Best Yarn for This Project:
A sturdy yarn works best here because a bucket bag looks nicest when it can hold its shape. Cotton yarn, macramé cord, braided cotton cord, or another firm non-stretch fiber is a lovely choice. If you want a crisp bag with more structure, go for cotton cord. If you want something a little softer and lighter, a thick cotton yarn can also work well.
Skill Level:
This is best for confident beginners or easy intermediate crocheters. The stitches themselves are not complicated, but you do need to feel comfortable working in the round, keeping your shape even, and assembling parts like the strap or drawstring neatly.
Size and Fit Guide:
This style is easy to adjust. You can make the bag wider by adding more increase rounds to the base, or taller by continuing the body for more rounds. Check the size as you go and think about how you want to use it, whether for daily essentials, a small outing bag, or a roomy casual purse.
Stitches Used:
- Magic ring
- Chain
- Slip stitch
- Single crochet
- Back loop only
- Basic increases
- I-cord or cord-making technique for the strap or finishing details
How to Make It

Step 1: Start the Foundation
The bag begins at the bottom with a round base. You start with a magic ring, then work single crochet stitches into the center to create the first small circle. After that, you keep building the base by increasing evenly in rounds. This gradual widening is what gives the bag its flat bottom and balanced bucket shape.
As you work, it helps to place a stitch marker at the beginning of each round so you do not lose your place. Keep your tension steady here, because a smooth base makes the whole bag look cleaner later on. If you want a larger bucket bag, this is the section where you simply add more increase rounds before moving upward.
Step 2: Shape the Bottom Edge
Once the base is as wide as you want, the tutorial shifts the work so the sides can start rising. This is usually done by working into a different loop, which creates a subtle turning edge between the base and the body. That little detail helps the bag stand up better and gives it a more defined shape.
This is an important moment in the project because it turns a flat circle into an actual bag. After that round, you stop increasing and begin working evenly.
Step 3: Build the Main Body
The body is the easiest and most relaxing part. You continue crocheting around without adding extra stitches, letting the sides grow upward round by round. Because the stitch pattern stays simple, this part has a nice rhythm and is easy to enjoy while watching the shape develop.
The finished look is clean and modern rather than overly decorative, which is part of what makes this bag feel versatile. A simple body also means you can dress it up later with your yarn choice, a chain strap, beads, tassels, or a bold color.
If you like a shorter bag, stop earlier. If you want more room inside, just keep going until the height feels right for you.
Step 4: Add the Open Top and Hardware Areas
Near the top, the bag is prepared for the finishing pieces. In the tutorial, hardware is attached near the upper section so a strap can be added. This makes the bag more functional and also gives it a polished boutique-style look.
Take your time here and make sure both sides are placed evenly. If anything sits unevenly at the top edge, the finished bag can look twisted once the strap is attached.
Step 5: Make the Drawstring Closure
One of the nicest parts of this bucket bag is the drawstring top. The closure gives the bag that classic bucket silhouette and helps keep the contents secure at the same time. The tutorial uses a simple corded closure, and the overall design is meant to stay easy to customize.
You can make your drawstring from braided strands, a crocheted cord, or another sturdy tie that slides well. Feed it neatly through the upper opening so it cinches the top without bunching awkwardly. When you pull it closed, the bag should gather softly and keep that relaxed rounded shape.
Step 6: Create the Strap
The tutorial also includes a strap component, giving the bag a finished wearable form. A corded or I-cord style strap suits this design especially well because it keeps the overall look simple and tidy.
Make the strap as short or long as you like depending on whether you want a handbag, shoulder bag, or casual crossbody feel. If you are adding clips or rings, test the length before fastening everything permanently.
Step 7: Finish and Refine
Once all the pieces are attached, weave in the ends carefully and check the shape of the bag. The final result should have a round base, straight sides, and a gathered drawstring top. If your bag looks slightly soft at first, that is normal. Many bag yarns settle nicely once handled, and a little shaping by hand can help everything sit neatly.
Helpful Tips
- Use a firm cotton yarn or cord if you want the bag to hold its shape well.
- Keep your stitches even so the sides do not lean.
- Mark the beginning of each round to avoid losing track.
- Check that both strap attachment points are placed evenly.
- Test the drawstring before finishing off to make sure it slides smoothly.
- Weave in ends securely since bags get more wear than decorative projects.
Common Mistakes to Avoid
- Making the base too loose, which can cause the bag to sag
- Increasing unevenly so the bottom ripples or curls
- Pulling the body stitches too tight, making the sides stiff and distorted
- Placing strap hardware unevenly
- Making the drawstring too short to gather comfortably
- Forgetting to check the size before finishing the body
Customization Ideas
This pattern is very easy to personalize. You can make it in neutral shades for an everyday bag or try brighter colors for a fun statement piece. Add a wooden bead, tassel, chain detail, lining, or decorative strap for a more dressed-up finish. You could also make the bag taller for extra storage or keep it smaller for a cute essentials-only purse.
Style Ideas
A crochet bucket bag looks lovely with simple dresses, jeans and a tee, sandals, or easy summer outfits. It also makes a thoughtful handmade gift because it feels useful and special at the same time. For a more polished look, use a structured cord and metal hardware. For something softer and more relaxed, choose smooth cotton yarn in a gentle color.
Care Instructions
Hand wash gently if needed and avoid rough twisting. Reshape the bag while damp and lay it flat to dry. Try not to use high heat, especially if your yarn contains synthetic fibers or if your bag includes hardware.
Time Needed
This may take a few hours depending on your speed, yarn, size, and stitch pattern.
Conclusion
This crochet bucket bag is a lovely mix of simple stitches and stylish finishing. It is practical, modern, and easy to adapt to your own taste. You can change the size, color, strap style, and overall feel without losing that classic bucket bag shape. If you want a crochet project that is useful and satisfying, this is a really nice one to make.
FAQs
Is this beginner-friendly?
Yes, for a confident beginner who is comfortable working in the round and keeping track of simple shaping.
What yarn is best for a crochet bucket bag?
Firm cotton yarn or cotton cord is usually the best choice because it gives the bag better structure.
Can I adjust the size?
Yes. Make the base larger for more width or continue the body longer for extra height.
Do I need to add hardware?
Not always. Hardware gives a polished finish, but you can also make a fully crocheted strap if you prefer.
How can I make the bag more sturdy?
Use a firmer yarn, keep your stitches even, and consider adding a lining if you want extra support.