
Crochet baby flower sandals are soft decorative foot coverings, not supportive footwear. A good pair needs matching soles, gentle straps and a smooth inner surface. The flower should remain flat and securely attached rather than becoming a bulky small part. This guide focuses on fit, symmetry, finishing and realistic use. Follow the original creator’s tutorial for exact stitch counts and size instructions.
Quick List
- Understanding the Sandal Construction
- Choosing Yarn for Soft Structure
- Sizing the Sole
- Matching the Two Sandals
- Fitting the Toe and Ankle Straps
- Adding the Flower Detail
- Keeping the Inside Smooth
- Using the Sandals Safely and Realistically
Why This Baby Sandal Article Needs More Careful Value
The current page includes guessed construction and broad instructions to alter the sole without a tested sizing method. Baby footwear needs accurate pattern measurements and cautious claims. The useful replacement is a guide that helps readers recognise fit problems, match both sandals, avoid tight straps and understand that crochet soles provide no walking support or reliable traction.
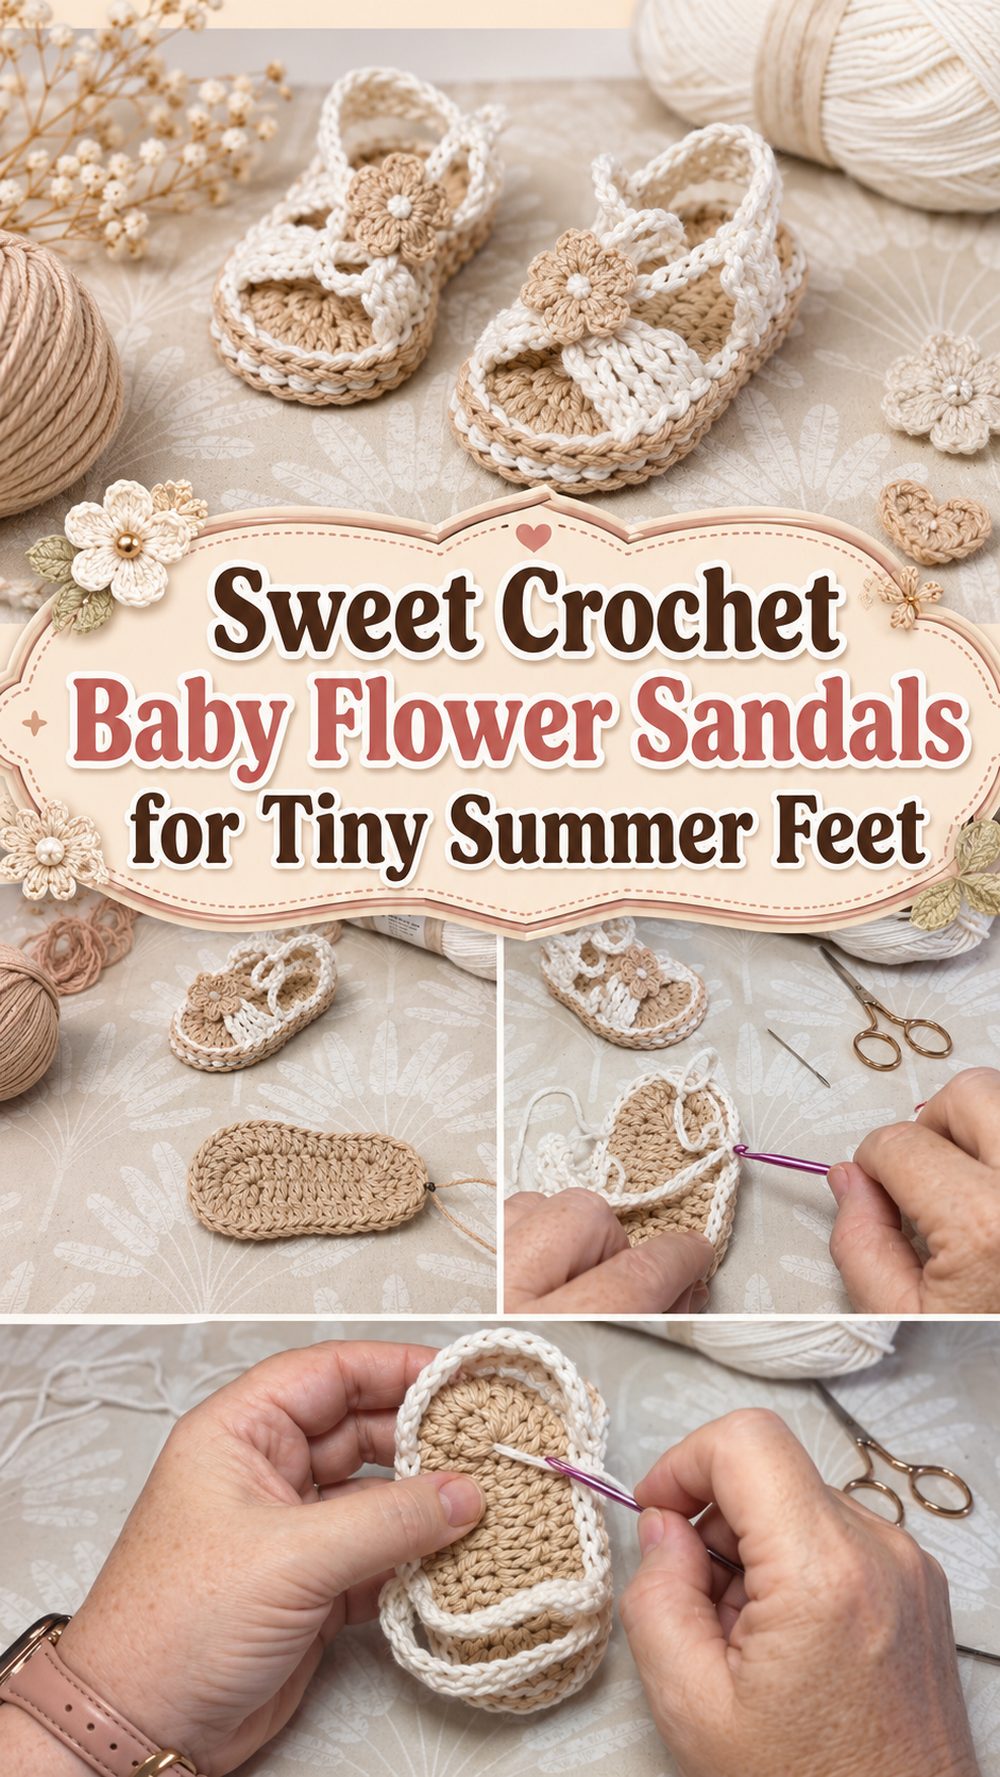
1. Understanding the Crochet Baby Sandal Construction
Most crochet baby sandals combine a shaped sole with toe and ankle sections attached at specific points. The sole sets the length and width, while the straps control how the sandal sits on the foot. Decorative flowers are added only after the functional parts fit correctly.
Build Fit from the Sole Up
Do not treat the sole as a decorative oval. Its length, width and toe shape determine whether the upper sections align. Follow the original pattern’s size and stitch placement. Adding random rounds can change both dimensions and move the strap attachment points.
Keep the Construction Soft
The sandal should bend easily and have no hard knots, thick seam ridges or rough ends against the foot. A double sole may look firmer, but extra thickness is not the same as supportive footwear.
2. Choosing Yarn for Baby Sandals
Smooth yarn gives clear stitches and makes the inside easier to inspect. Many designs use cotton or a soft blend, but the original pattern’s fibre and weight should guide the choice. Coarse, fuzzy or heavily textured yarn may hide joins and feel uncomfortable against bare skin.
Prioritise Skin Comfort
Make a small swatch and rub both sides gently against the inside of the wrist after washing and drying. Check for rough fibres, stiff colour changes and hard woven-in ends. Avoid adding metallic thread or scratchy decorative yarn around the straps.
Do Not Substitute by Appearance Alone
A thicker cotton can make the sole larger and the straps heavier even when the colour looks similar. Match yarn weight and gauge to the pattern. If a substitution changes the finished measurement, use a different size plan rather than forcing the sandal to fit.
3. Sizing the Crochet Sole
The sole should be based on the designer’s finished measurements and the baby’s current foot length where possible. Age labels are approximate. The toes and heel need comfortable space, but an oversized sole can twist or slide.
Measure Both Feet
Feet can differ slightly, so use the larger measurement and follow the pattern’s ease guidance. Measure gently from heel to longest toe. Do not pull a tape around the foot tightly or add large amounts of room for future growth.
Check the Sole Before Adding Straps
Make one complete sole, compare it with the intended measurement and note any gauge difference. Correct the size before building the upper. Once straps and flowers are attached, changing the sole is much harder.
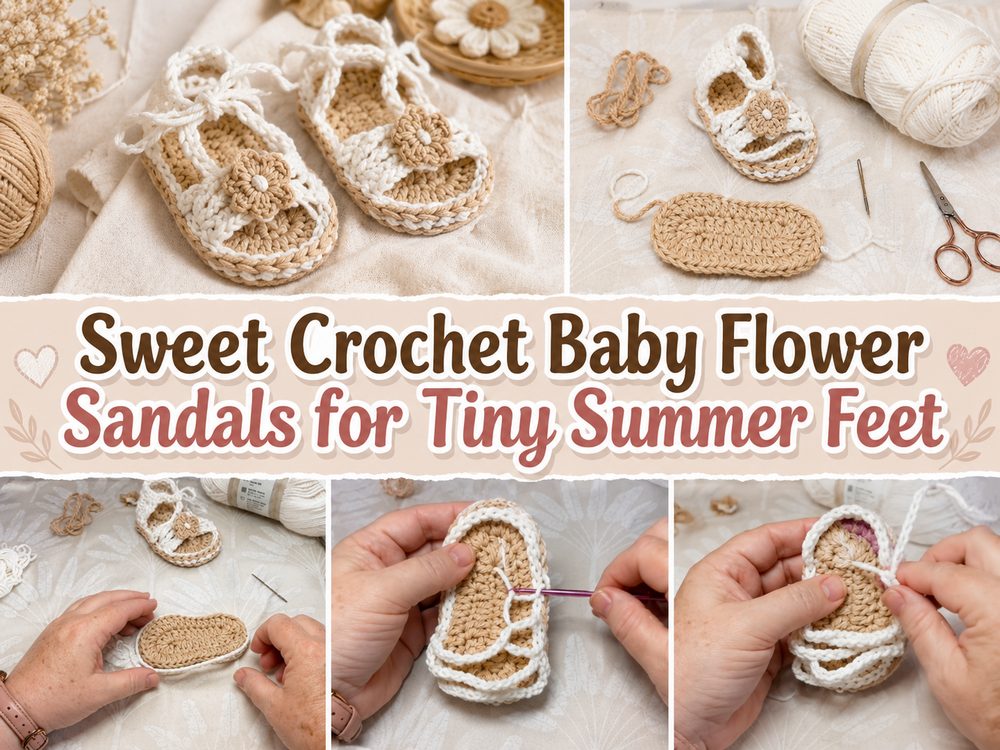
4. Making Two Matching Baby Sandals
Small projects show differences quickly. One sandal can become longer, tighter or more curved because the second is worked at a different tension. Matching the pair requires comparison throughout the project rather than only at the end.
Use the First Sandal as a Reference
Record row or round counts, attachment positions and any pattern adjustments. Lay the second sole over the first before continuing. Compare strap length and flower placement at the same stage.
Correct Differences Early
Do not stretch a smaller sandal to match a larger one. Recheck gauge and stitch count. Minor shaping may settle with gentle blocking, but a clear size difference usually needs the incorrect section to be remade.
5. Fitting the Toe and Ankle Straps
Straps should help the sandal sit in place without pressing into the top of the foot or ankle. Because crochet stretches, a strap that seems correct when empty may behave differently when worn.
Check Placement as Well as Length
A well-sized strap can still feel uncomfortable when attached too far forward or at an angle. Follow the pattern’s marked positions. Both sides should pull evenly so the foot does not turn inside the sandal.
Avoid Tight or Long Loose Ties
The upper should not leave a mark or restrict movement. Long cords and loose loops can create an entanglement risk and should not be added casually. Use the intended fastening method and current child-safety guidance.
6. Adding the Crochet Flower Detail
The flower is decorative and should not be used to hide a weak strap join. A flat applique is easier to secure and less likely to catch than a heavily layered flower with beads or buttons.
Attach the Flower at Several Points
Use small secure stitches around the centre and selected petal areas so the applique cannot rotate or lift. Keep all knots and ends away from the inside surface. Check the flower before every use.
Avoid Small Added Centres
Buttons, beads, pearls and charms can detach. A stitched or crocheted centre is a cleaner option, though the finished sandals should still be treated as supervised accessories rather than toys.
7. Keeping the Inside of the Sandals Smooth
The inside is more important than the visible outer decoration. Bulky joins, knots and yarn tails can press against delicate skin. Every attachment should be inspected by touch before the pair is used.
Weave Ends Away from Pressure Points
Avoid leaving thick woven sections beneath the heel, toes or straps. Spread the yarn tail through several stitches without creating a hard lump. Trim only after the end is secure.
Check After Washing
Washing can tighten knots, loosen ends or change the sole shape. Follow the yarn label, reshape gently and dry fully. Reinspect the inner surface and fit before the sandals are worn again.
8. Using Crochet Baby Sandals Realistically
Crochet soles do not provide the traction, protection or structure of properly fitted footwear. These sandals are best treated as soft decorative foot coverings for supervised use, photographs or short periods when the baby is not walking.
Do Not Present Them as Walking Shoes
A crocheted sole can be slippery and offers little protection from rough, hot, cold or sharp surfaces. Babies who are standing or walking need footwear appropriate to their development and environment.
Use with Attentive Supervision
Check that the sandals remain in place and do not create loose loops. Remove them during sleep and whenever they are no longer appropriate. Stop using the pair when the foot reaches the edge, straps become tight or any decoration loosens.
Conclusion:
These crochet baby sandals are such a sweet little project to keep in your pattern list. They are cute, practical, and full of handmade charm, and the flower detail makes them feel extra special. You can keep them simple, change the colors, or adjust the fit to suit the baby you are making them for. Once you finish the first pair, it is easy to imagine making more in different shades for gifts and special outfits.
FAQs:
1. Is this project beginner-friendly?
Yes, it suits confident beginners who already know basic crochet stitches and want to try a small wearable project.
2. What yarn works best for baby sandals?
Soft cotton is one of the best choices because it is breathable, neat-looking, and comfortable for warm weather.
3. Can I adjust the size?
Yes. You can adjust the sole length and the upper sections as you work, checking the fit before finishing.
4. Are these good for summer?
Yes. The open sandal style and cotton yarn make them a nice choice for spring and summer wear.
5. How do I make both sandals the same?
Measure often, count carefully, and compare the second sandal to the first at every main stage.