
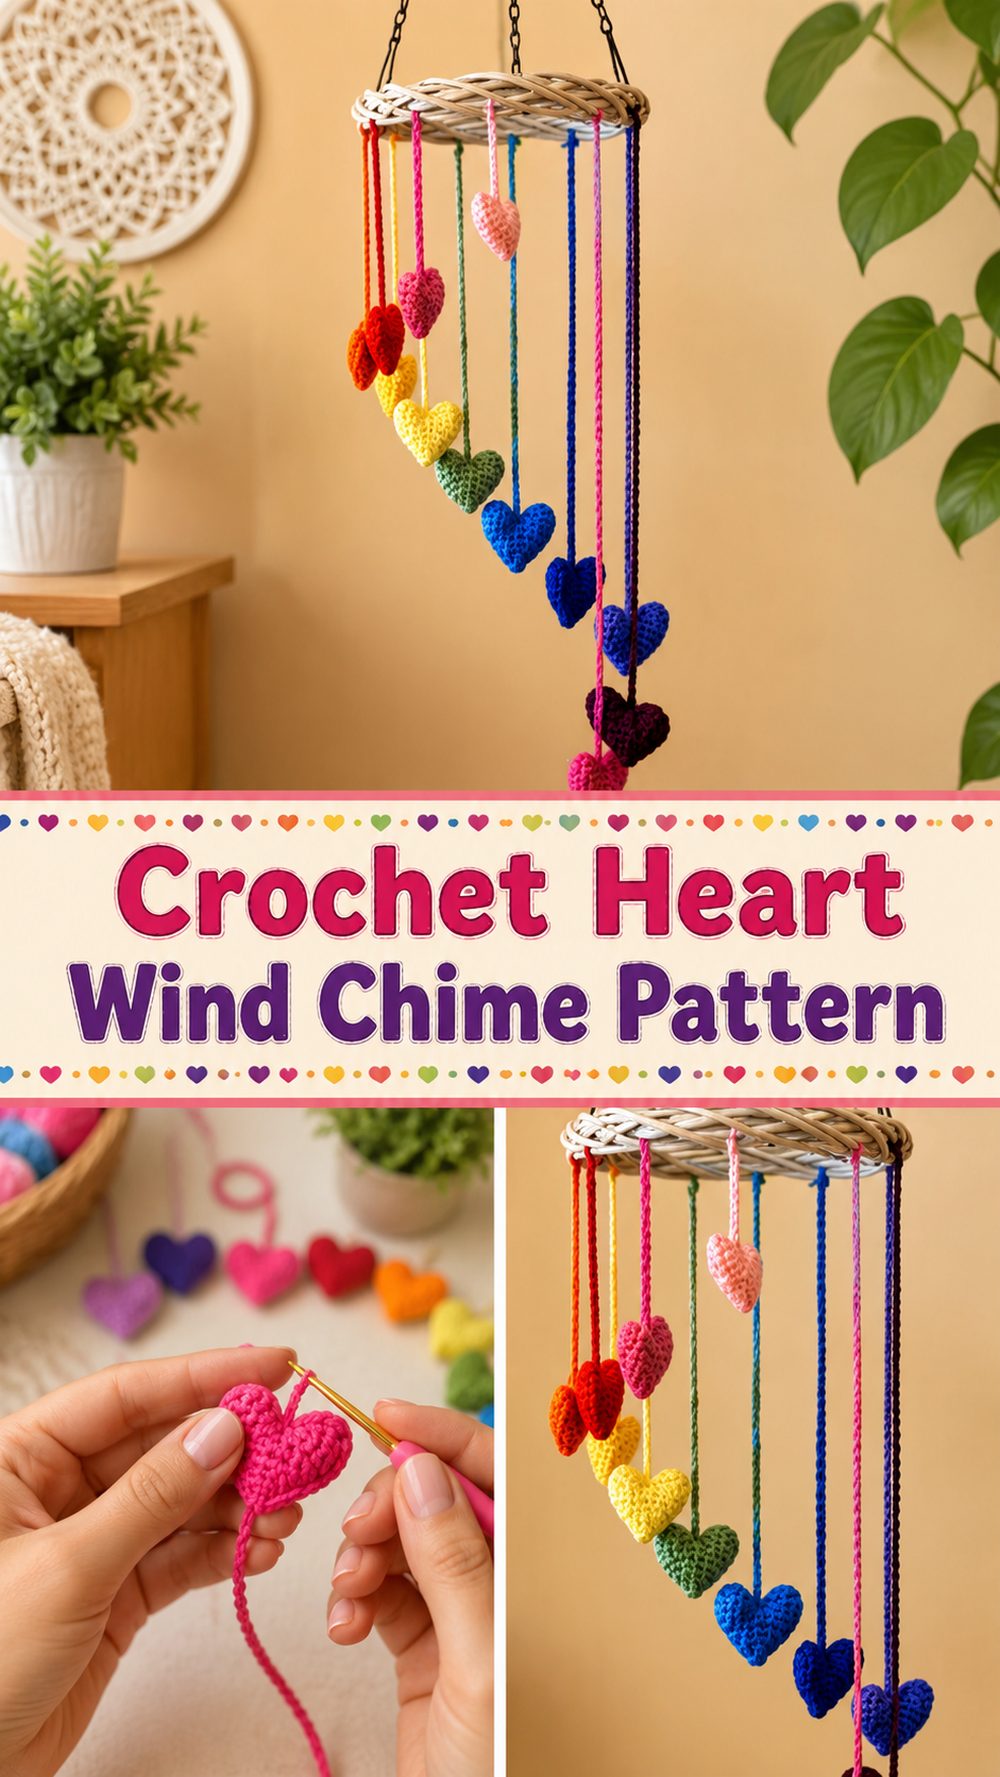
A crochet heart wind chime is such a lovely way to add a soft handmade touch to your home. It blends the sweetness of heart motifs with the playful hanging look of a wind chime, so the finished piece feels decorative, charming, and full of personality. This kind of project works beautifully for Valentine’s decor, a cozy craft room, a nursery corner, or even as a thoughtful handmade gift.
What makes it especially fun is that it is more than just one little motif. You get to build a hanging piece that has shape, movement, and a pretty finished look when displayed on a wall, near a window, or on a covered porch. If you enjoy small crochet motifs and simple assembly projects, this is a satisfying make that lets you play with color, spacing, and style without feeling overwhelming.
Why You’ll Love This Project:
This project is sweet, decorative, and easy to personalize. It gives you the fun of making small crochet pieces and turning them into one finished hanging decoration that looks thoughtful, handmade, and perfect for gifting or seasonal decor.
Materials Needed:
- Yarn in one or more colors
- Crochet hook
- Scissors
- Yarn needle
- Stitch marker, if needed
- Measuring tape
- A ring, stick, or top hanger piece if your version uses one
- Beads, tassels, bells, or decorative add-ons if desired
Use a yarn and hook size that matches your desired fit and texture.
Best Yarn for This Project:
A smooth yarn with clear stitch definition works best for a crochet heart wind chime because it helps the heart shapes look neat and easy to see. Cotton is a great option if you want the motifs to hold their shape well and have a clean decorative finish. Soft acrylic can also work nicely, especially if you want brighter colors or a gentler drape. If you want the hanging piece to feel light and delicate, choose a yarn that is not too bulky.
Skill Level:
This project is beginner-friendly to easy, especially for crocheters who already know basic stitches and are comfortable working small shapes. The heart motifs may take a little attention at first, but the overall project is very manageable because it is built in parts and then assembled.
Size and Fit Guide:
You can adjust the size of the wind chime by changing the yarn weight, hook size, or the number of hearts you make. For a longer hanging piece, add more motifs or leave a little more space between each section. For a fuller look, make several strands instead of just one. Before tying or joining everything permanently, lay the pieces out first so you can check the spacing and final length.
Stitches Used:
- Chain
- Slip stitch
- Single crochet
- Half double crochet
- Double crochet
Small decorative motif projects like this often rely on simple stitches worked into a compact shape, then joined or hung together for the final piece.
How to Make It:
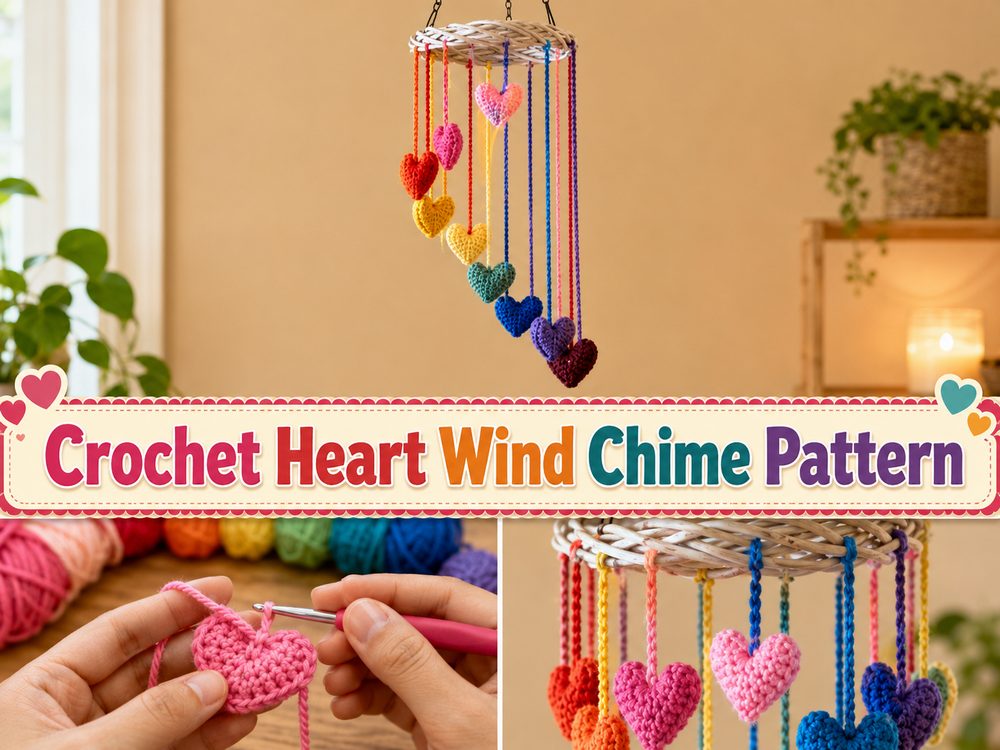
Step 1: Crochet the Heart Motifs
The project begins by making the individual hearts. Each heart is worked as its own small motif, which means you can focus on one piece at a time without feeling rushed. This is also the fun part for color play. You can make all the hearts in one shade for a soft, clean look, or mix colors for something brighter and more playful.
As you make each heart, pay attention to keeping both sides even. Small motifs always look better when your tension stays steady and the top curves feel balanced. If one heart comes out a little different, do not worry too much. After a couple of repeats, the shape usually becomes much more natural in your hands.
Step 2: Make Enough Pieces for the Hanging Design
Once you have the first heart finished, continue making more until you have enough for your wind chime layout. Some versions look lovely with just a few hearts in a single vertical strand, while others feel fuller with multiple strands hanging side by side.
This is a good stage to place the hearts on a table and decide how you want the finished piece to look. You might prefer evenly spaced hearts, a layered arrangement, or a central hanging strand with simple decorative accents around it.
Step 3: Prepare the Top Hanging Section
A crochet wind chime usually needs a top support area so the motifs can hang neatly. This can be a crochet loop, a small ring, or another simple top piece that gives structure to the design. The top should be firm enough to support the hanging strands without twisting awkwardly.
If your version uses a ring or a small straight support piece, attach the yarn securely and plan the placement before tying on all the strands. This helps the finished project hang more evenly.
Step 4: Join or Suspend the Hearts
Now the separate heart motifs are connected into a wind chime arrangement. This can be done by attaching them vertically with chains, lengths of yarn, or crocheted connecting sections. Leave enough space between the hearts so each one can be seen clearly and the whole project has a light decorative feel.
As you build the hanging strands, keep checking that the hearts face the right direction and sit nicely when lifted. It is easier to adjust spacing now than after everything is fully secured.
Step 5: Add Decorative Details
This is the stage where the project really starts to feel like a wind chime rather than just a set of crochet hearts. Depending on the tutorial style, you might add tassels, hanging tails, small bells, beads, or extra strands below the hearts. These finishing details bring movement and a more polished decorative look.
If you want the piece to stay soft and lightweight, keep the extras simple. If you want more sound and movement, small bells or bead accents can give it a more traditional wind-chime feel.
Step 6: Check the Balance and Length
Before weaving in every end, lift the project and see how it hangs. Make sure the strands are similar in length unless you intentionally want a staggered look. Check that the hearts are centered and not pulled too tightly by the hanging cords.
This is also the best time to decide whether you want to add another heart, shorten a strand, or give the bottom more decorative detail. Small changes here can make the finished project look much neater.
Step 7: Finish and Tidy Everything
Once you are happy with the layout, secure all knots or joins and weave in the loose ends neatly. Give the hearts a gentle shape with your fingers so the curves sit nicely. If needed, a light blocking can help the motifs look smoother and more defined.
The final wind chime should look soft, charming, and balanced, with the hearts hanging clearly and the whole piece moving gently when placed near a light breeze.
Helpful Tips:
- Make all the hearts before assembling so you can plan the layout easily
- Use cotton yarn if you want sharper heart shapes
- Keep your tension even so the motifs match well
- Lay out the full design before attaching everything permanently
- Add a bell or bead only if you want extra movement or sound
- Block the hearts lightly for a cleaner decorative finish
Common Mistakes to Avoid:
- Making the hearts in noticeably different sizes
- Pulling the joining strands too tight
- Spacing the motifs unevenly without checking the layout first
- Using very heavy yarn that makes the hanging piece droop
- Forgetting to secure the top support well
- Leaving ends loose where they may show in the final display
Customization Ideas:
You can make this project feel romantic, playful, or seasonal depending on your colors and finishing details. Soft pinks, reds, and creams give it a sweet heart-themed look, while white and pastels make it feel gentle and pretty for year-round decor. You can add tassels, tiny bells, wooden beads, bows, or extra chains between the hearts. You could also create multiple hanging strands for a fuller wall piece or keep it simple with one elegant vertical line of hearts.
Style Ideas:
This wind chime looks lovely near a sunny window, on a bedroom wall, in a nursery, in a craft room, or as part of Valentine’s decor. It also makes a sweet handmade gift for someone who loves cozy home decorations, hearts, and soft crochet details.
Care Instructions:
To keep it looking nice, dust it gently from time to time or hand wash carefully if needed. Reshape the hearts while damp and let the piece dry flat or hanging naturally. Avoid strong heat, especially if you used acrylic yarn or glued decorative pieces.
Time Needed:
This may take a few hours depending on your speed, yarn, number of hearts, and how detailed you make the final hanging design.
Credit By:
https://www.youtube.com/watch?v=LFEWkK4yVfA
Conclusion:
A crochet heart wind chime is a simple but really charming project that turns small crochet motifs into something decorative and giftable. It is easy to personalize with color, spacing, and embellishments, and it brings a soft handmade feeling to any room. Whether you keep it sweet and simple or dress it up with tassels and bells, it is a lovely project to make when you want something cheerful, creative, and full of heart.
FAQs:
1. Is this beginner-friendly?
Yes, it is a good project for beginners who know basic stitches and want to practice making small motifs.
2. What yarn works best for a crochet wind chime?
Cotton is great for structure, but soft acrylic also works nicely for a lighter decorative finish.
3. Can I change the size?
Yes. You can make larger or smaller hearts by changing the yarn and hook, and you can adjust the overall length by adding more motifs.
4. Do I need to add bells?
No. Bells are optional. The project still looks pretty as a hanging decoration even without sound.
5. Can I use this as a gift?
Yes, it makes a sweet handmade gift for birthdays, Valentine’s Day, room decor, or a thoughtful craft present.