
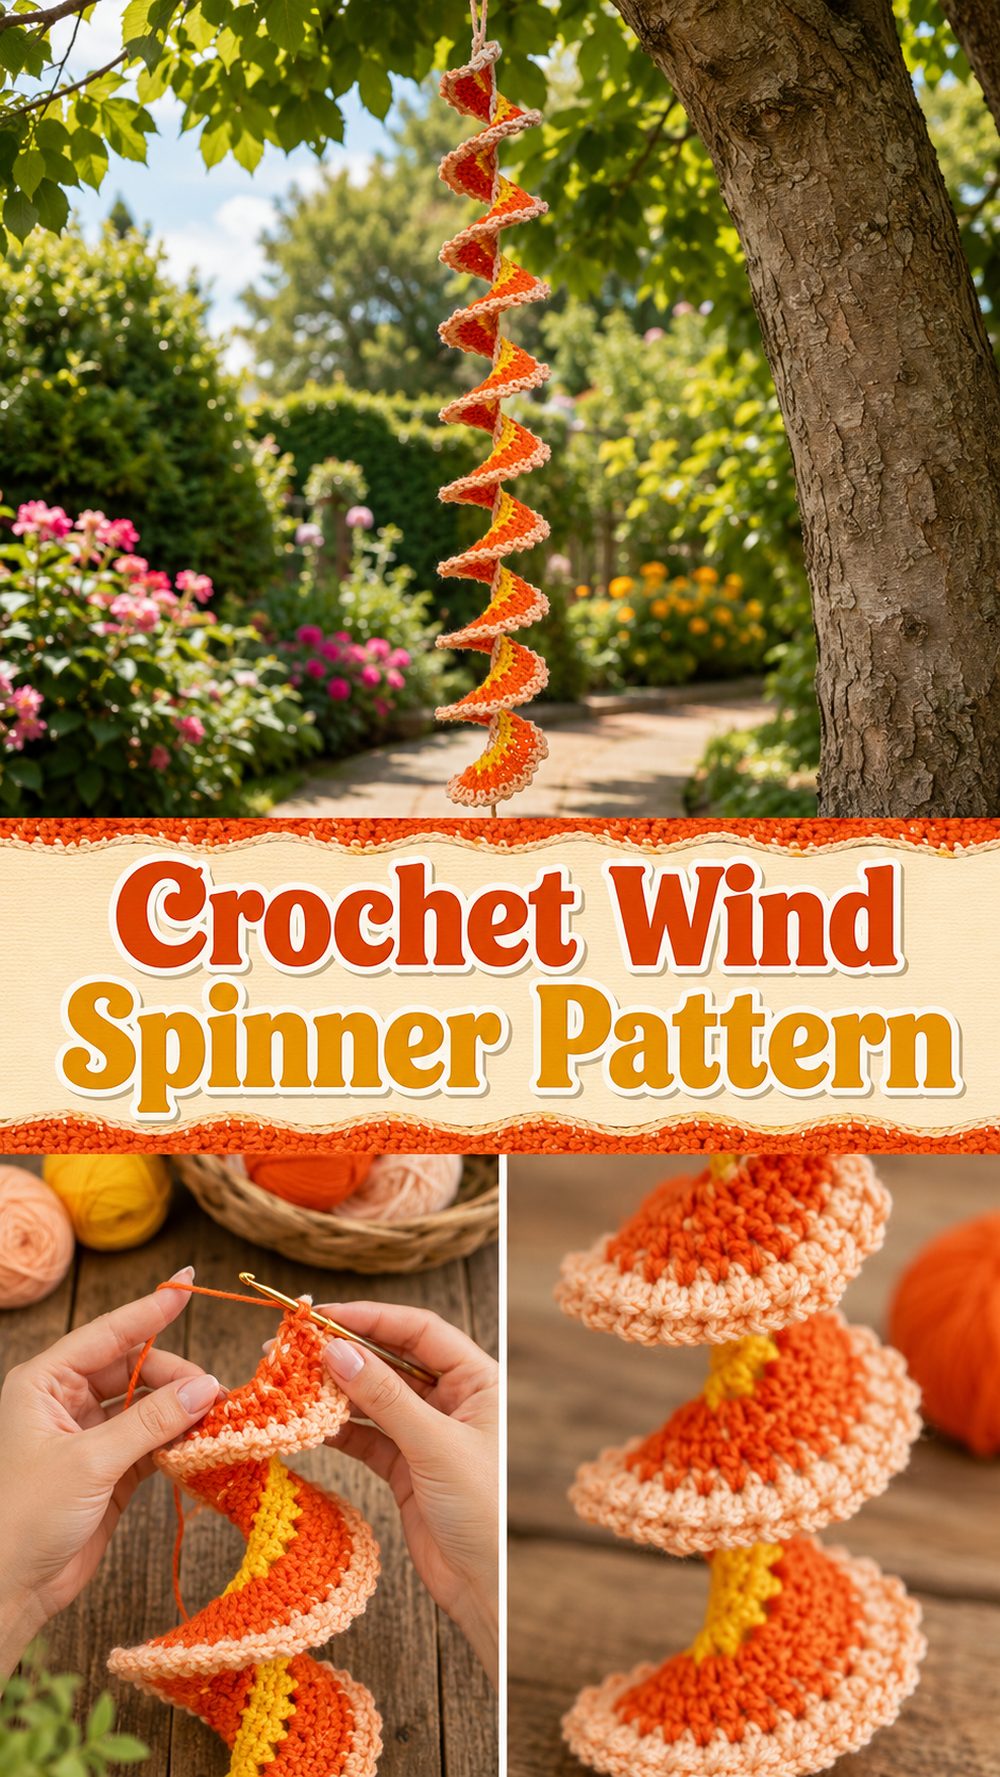
A crochet wind spinner is one of those little projects that feels fun from the very first chain. It is bright, lightweight, easy to hang, and such a nice way to turn leftover yarn into something cheerful for your porch, balcony, garden, craft room, or even a sunny window indoors. What makes this kind of project so appealing is the movement. Once it hangs up and starts to twist, the finished piece really comes to life.
This is also a great crochet project when you want something quick and satisfying without committing to a huge make. It works especially well for stash yarn, playful color combinations, and simple stitches. If you enjoy easy decor projects, beginner-friendly crochet, or handmade gifts with a bit of charm, this wind spinner is a lovely one to try.
Why You’ll Love This Project:
This project is quick, relaxing, and surprisingly pretty for such a simple build. It is a lovely way to use scrap yarn, practice basic stitches, and make something decorative that adds movement and color to any space.
Materials Needed:
- Yarn in one or more colors
- Crochet hook
- Scissors
- Yarn needle
- Stitch markers, if helpful
- Measuring tape, if you want to control the finished length
Use a yarn and hook size that matches your desired fit and texture.
Best Yarn for This Project:
A smooth yarn with a little structure works really well for a wind spinner because it helps the spirals hold their shape nicely. Cotton is a great choice if you want a crisp finish and plan to hang it outside in a sheltered area. Acrylic can also work well if you want to use scrap yarn and enjoy brighter color options. Medium-weight yarn is a comfortable choice for this kind of project because it gives the spinner enough body without making it too heavy.
Skill Level:
This is beginner-friendly and feels very manageable if you already know how to make a chain and work basic stitches. It is a nice project for newer crocheters because the shaping happens naturally as the stitch pattern builds, so you get that exciting curled look without complicated construction.
Size and Fit Guide:
You can easily change the size by making your starting chain longer or shorter. A longer foundation gives you a longer spinner, while a shorter one creates a smaller decoration. If you want a fuller look, you can also use a stitch pattern that adds more height and stretch into the strip. For decorating windows, balconies, or garden hooks, it helps to hold the piece up as you work so you can decide when the length looks right.
Stitches Used:
- Chain
- Slip stitch
- Single crochet
- Half double crochet
- Double crochet
The exact combination may vary by design, but the spinner is built from simple stitches that gradually create the curled spiral shape.
How to Make It:
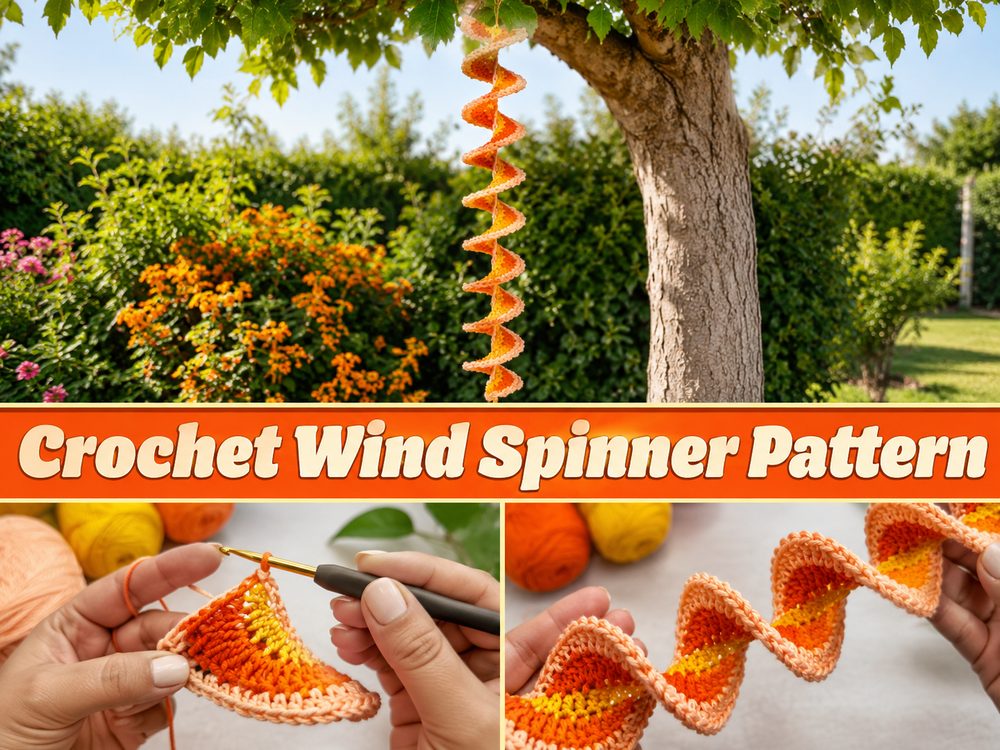
Step 1: Start the Foundation
The project begins with a long foundation chain. This chain forms the length of your wind spinner, so this is the best time to decide whether you want a short, cute piece or a longer spiral that really hangs down and catches the breeze. Keep your chain tension relaxed so the base stays smooth and easy to work into.
Step 2: Work the First Row
Once the chain is finished, work a simple row back across it. This first row creates structure and gives the spinner a stable base before the shaping begins. The stitches here are usually easy and even, so it is a nice stage to settle into the rhythm of the project.
Try to keep your edges neat and your tension steady. A smooth first row makes the next stage curl more evenly.
Step 3: Build the Spiral Shape
This is where the magic happens. In the next row, multiple stitches are worked into the same spaces to create extra fullness. That extra fabric forces the strip to twist and curl into a spiral. As you continue, you will start seeing the wind spinner coil on its own.
This part is very satisfying because the shape develops quickly. You do not have to force the curl or sew anything into shape. The spiral effect comes naturally from the increase in stitches across the row.
If your tutorial version uses different stitch heights in sections, that can add even more texture and movement. Some designs also play with color changes, which makes each spiral section stand out beautifully once the piece is hanging.
Step 4: Adjust the Length and Fullness
As the strip begins to curl, hold it up from one end and look at the overall effect. If you want a longer spinner, start with a longer chain next time or make a second one in a different size. If you want a fuller or more dramatic twist, using taller stitches or generous increases helps create that effect.
This is a very forgiving project. You can keep it simple and minimal or make it bold and colorful. It is especially good for using leftover yarn because the stripes and changes only make the finished spinner look more playful.
Step 5: Add the Hanging Section
Once the spiral portion is complete, make a loop at the top for hanging. This can be a simple chain loop attached securely so the spinner is ready to hang from a hook, branch, nail, or curtain rod. Make sure this top loop feels sturdy, especially if your spinner is longer or made with heavier yarn.
If you want, you can add extra length above the spinner so it hangs a little lower and moves more freely in the breeze.
Step 6: Finish the Bottom
The bottom can be left simple, or you can decorate it with a tassel, bead, or small crochet detail depending on the style you like. Even without extra embellishment, the spiral itself already gives plenty of movement and charm.
Weave in all ends carefully, especially around color changes. Once the ends are tucked in, gently shape the spiral with your hands so it hangs neatly.
Step 7: Check the Final Look
The finished crochet wind spinner should look like a long twisting spiral with a soft, bouncy shape. It should hang easily, spin lightly, and show off the colors beautifully as it moves. When displayed outdoors in a gentle breeze or near an open window, it has a cheerful, handmade look that feels both playful and decorative.
Helpful Tips:
- Use scrap yarn in coordinated colors for a striped effect
- Keep your starting chain loose so the first row is easier to work
- Check the length before finishing the hanging loop
- Use cotton if you want a crisper, more structured spiral
- Weave in ends securely so the piece stays tidy while hanging
- Make a few in different lengths for a pretty grouped display
Common Mistakes to Avoid:
- Making the foundation chain too tight
- Using inconsistent tension across the rows
- Forgetting that the spiral shortens visually once it curls
- Adding too much weight at the bottom if the yarn is already heavy
- Skipping the final shaping and hanging check
- Not securing the hanging loop firmly enough
Customization Ideas:
You can have a lot of fun with this project. Try rainbow scraps for a bright garden look, soft neutrals for a calmer home decor style, or seasonal shades for holiday decorating. You could also add a tassel at the bottom, small beads for extra movement, or make several spinners in different sizes to hang together. A thinner yarn will give you a lighter, more delicate spinner, while a thicker yarn creates a bolder decorative piece.
Style Ideas:
These look lovely hanging on a porch, from a balcony hook, in a child’s room, near a craft corner, or beside a sunny window. They also make sweet little handmade gifts for people who enjoy colorful home decor. A matching set in different lengths can create a really eye-catching display.
Care Instructions:
If your wind spinner gets dusty, give it a gentle hand wash and reshape it while damp. Lay it flat or hang it to dry naturally. Avoid high heat, especially if you used acrylic yarn, since that can affect the texture and shape.
Time Needed:
This may take a few hours depending on your speed, yarn, size, and stitch pattern.
Conclusion:
This crochet wind spinner is such a fun project when you want something easy, colorful, and satisfying. It does not need a lot of yarn, it works up quickly, and you can adjust the length, colors, and overall look to suit your own style. Whether you hang one by a window or make a whole set for outdoor decor, it is a cheerful little project that brings a lot of personality to a small amount of crochet.
FAQs:
1. Is this beginner-friendly?
Yes, it is a very approachable project for beginners who know basic stitches and want an easy decorative make.
2. What yarn is best for a crochet wind spinner?
Cotton is great for structure, while acrylic is handy for colorful scrap yarn projects.
3. Can I adjust the size?
Yes. You can make the spinner longer or shorter by changing the starting chain length.
4. Can I use leftover yarn for this?
Absolutely. This is one of the nicest kinds of projects for using small yarn leftovers.
5. How do I make it curl more?
The spiral effect comes from adding more stitches into the row, so fuller stitch sections create a stronger curl.