
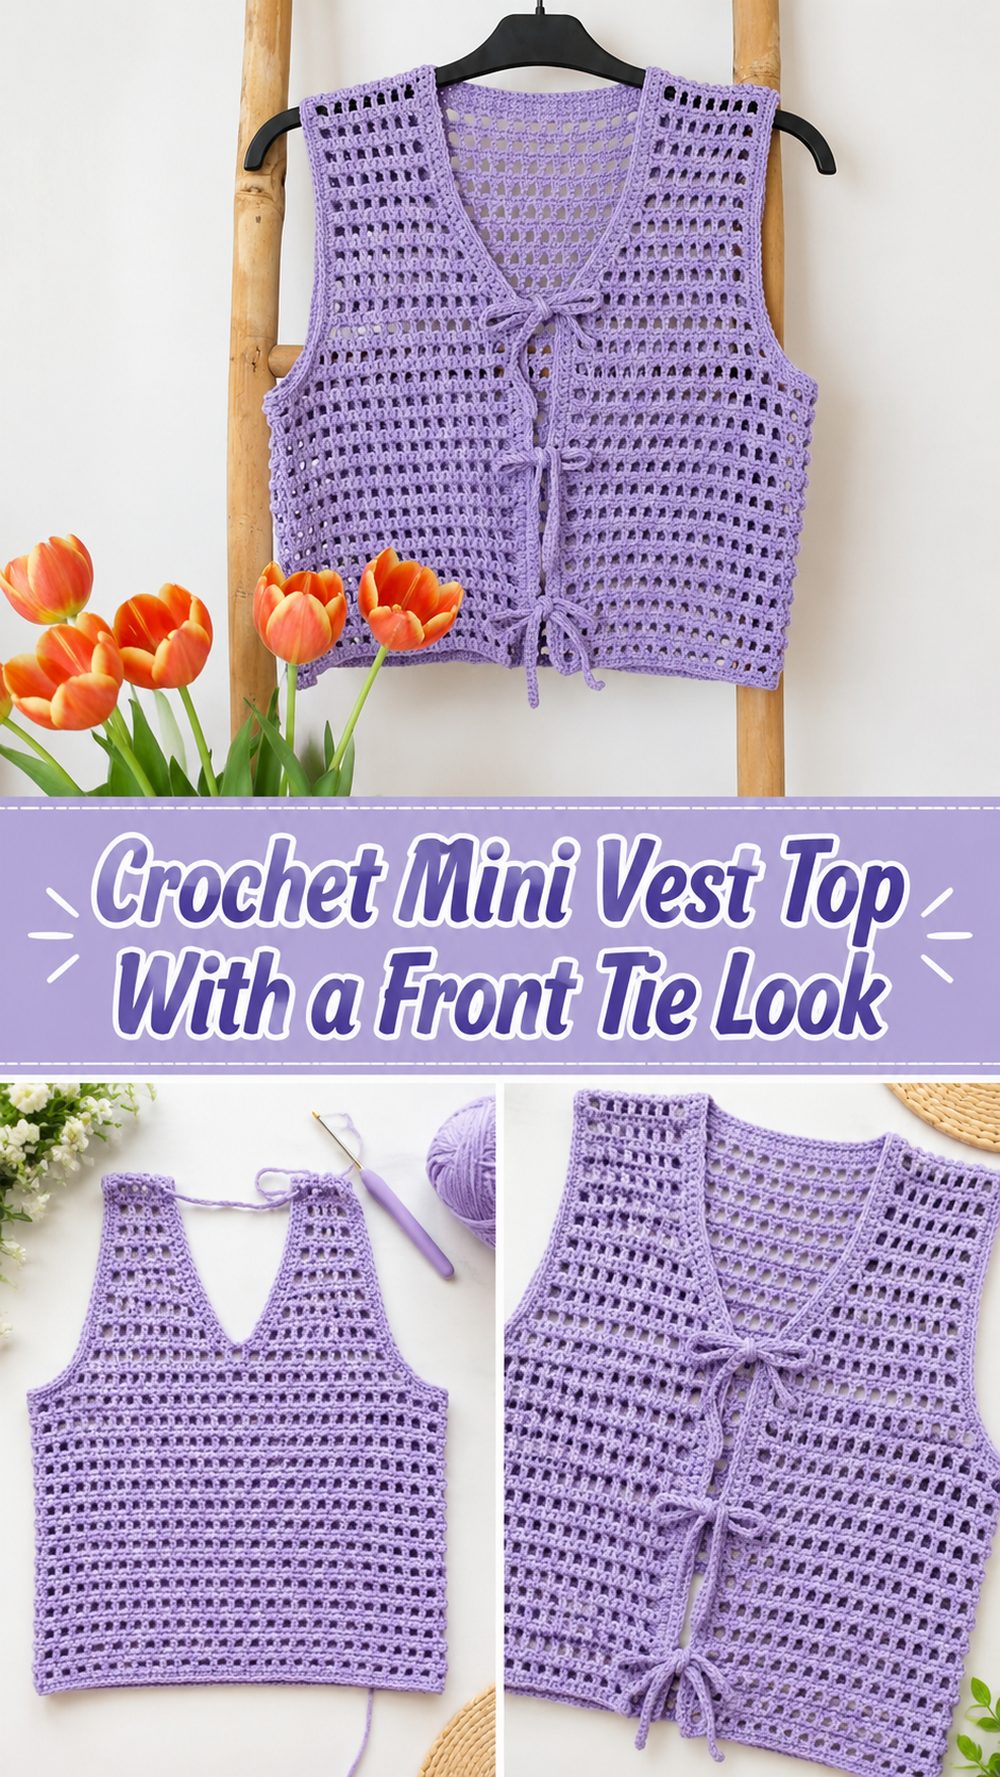
A crocheted mini vest is one of those pieces that can take a simple outfit to the next level, without weighing it down or making it fussy. This look works great if you want something light, a bit playful and easy to layer over a tank, a dress or a fitted top. I chose a tutorial for a short, open-mesh front-tie vest top. It has a relaxed handmade look, but is still easy to wear. It is also a beginner-friendly project using simple stitches, so it is a lovely option for anyone wanting to move into wearable crochet without taking on something too complicated. The finished piece looks light, casual and very simple to customise with your own choice of yarn colour and length.
Why we should do this project
This mini vest is a fun one, because it’s not hard, but it looks stylish. The short shape keeps it modern, while the front tie gives it a soft, flattering finish. It’s a lightweight, mesh-y design, so it’s a perfect project to make for warm weather or for layering through spring and summer.
Materials Required
Yarn suitable for a light, wear-able top
Crochet hook
scissors.
Yarn needle
Measuring tape
Stitch markers if you like to mark edges or placement of ties
Choose a yarn and hook size that will give you the size and feel you want.
Recommended Yarn for this Pattern
Because this mini vest has a light, open look, soft, breathable yarn is the best choice. Cotton is a good choice if you want crisp stitch definition and a cooler feel against the skin. If you want something with more drape and softness, a cotton-bamboo blend is also a nice option. If you want the vest to feel a little more relaxed and fluid, choose a smooth lightweight yarn rather than anything too thick or fuzzy. This type of project looks best when the stitches remain open and the fabric isn’t stiff.
Skill Level
Easy, suitable for beginners.
The tutorial I’ve selected says the vest is “very easy and perfect for beginners” and “no difficult stitches”. So it makes a nice first garment project for someone who already knows how to handle basic crochet, and would like to try a simple wearable.
Size & Fit Guide
Sizing this kind of mini vest is easiest if you measure yourself as you go. Measure the bust area across for width and then hold the garment against your body now and then to see if you prefer a more fitted or relaxed shape. The vest is cut short so you get to decide just where you want it to end. Go a little further for a little more coverage, or stop short for a true cropped mini vest look. The front tie detail lets you adjust the fit, which is awesome if you like adjustable wearables.
Stitches Used
According to the tutorial description, this project uses simple beginner-friendly stitch work and an easy mesh-style construction. The clearest things are:
Chainstitches
Basic stitches worked simply to create an open mesh fabric
Joining and finishing stitches as required for edges and ties
How to prepare it
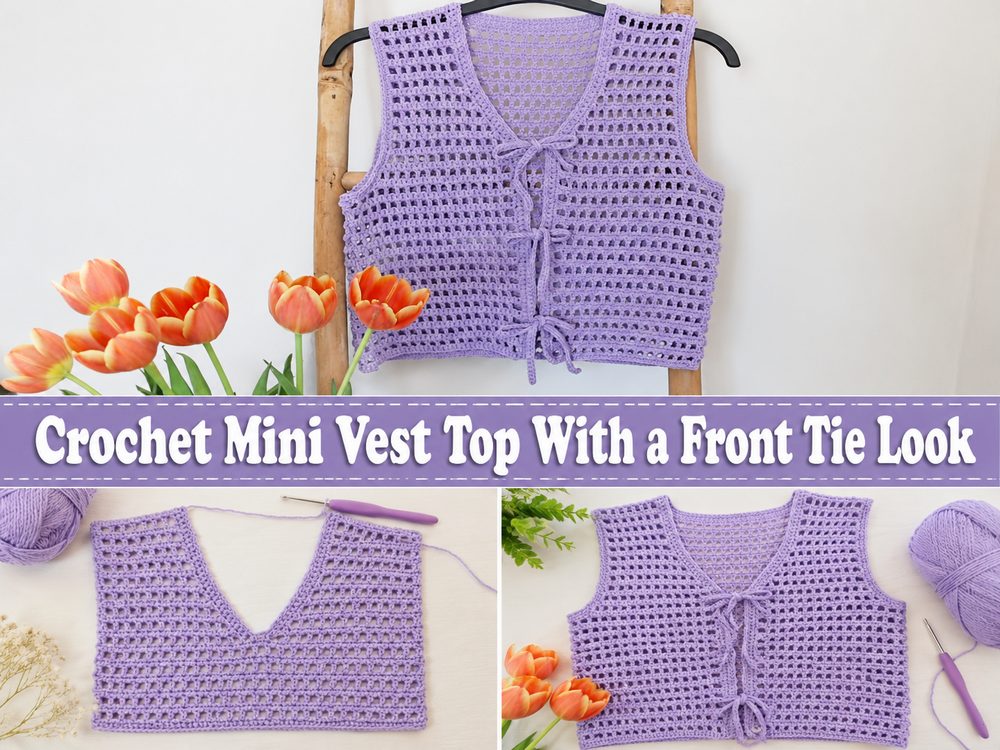
Step 1: Lay the Groundwork
Begin with the beginning chain for one panel or the base section of the vest, whichever way you want to build your garments. Because this is a short front-tie design, the beginning should be measured with your body in mind rather than being taken as a fixed-size pattern. The simplest way is to compare the foundation to your bust width or the area you want the vest to cover.
Do not tighten the beginning of the chain too much. The flexible base makes the vest fit better and prevents the lower edge from pulling up after wearing.
Step 2: Construct the Open Fabric
The tutorial is based on a very easy mesh-like structure so that the body of the vest is worked in a simple repeating pattern that creates a light and breathable fabric. This is what gives the piece that laid back summer look. The next time you go around, keep your tension even so the spaces between are the same from top to bottom.
This is the fun part, because the fabric grows fast. Open stitch patterns often seem faster than dense crochet, and it’s easier to check shaping and fit as you work. To create a particularly airy vest, use a soft lightweight yarn and don’t pull your stitches too tight.
Step 3: Create the Mini Vest
As the piece grows pay attention to where you want the arm opening and how deep you want the front to sit. Generally, a mini vest will look best when it feels crisp through the shoulders but still has enough ease to comfortably layer.
For a simple shape, work the front sections evenly and be sure both sides match. If you’re doing your tutorial piece in separate front sections, count your visual repeats or measure carefully so that one side doesn’t end up longer than the other. If it is worked more continuously, set markers in where the openings or front edges are to stay clean.
Step 4: Make the Front Tie Area
One of the best parts of this project is the front tie off. The front is left open and tied instead of closing the vest completely for shape and style. This gives the finished vest a softer look and makes it easy to layer over another garment.
The ties can be chains or narrow crocheted strips, depending on how the tutorial makes them. Keep same length so vest will look balanced when tied. Try the tie on once or twice before you fasten off to make sure it sits where you want it on the front.
Step 5: Change width and length
Before putting on or taking off, hold the vest close to your body and check the overall size. This is the time to decide if you want more coverage, a more open front or just a longer body. Since this is a mini vest, even a slight change in the number of rows will affect the look.
Keep going a bit longer if you want it more modest. If you want a fun cropped style, stop cutting when it gets to the point that feels right on you. Same with width. If you like your layers a little looser, just add a little more before you finish.
Step 6: Assemble the piece
Join as needed when front and back pieces are complete to form the vest shape. Don’t pull the seams in too tightly (especially shoulders or sides) and keep them even. A heavy seam can make a light garment feel heavy.
Try on the vest again after you join.
This will help you see if the arm openings are comfortable and the front hangs evenly.
Step 7: Complete the Edges
If the tutorial requires it, work a simple finishing edge around any raw sides, arm openings or neckline areas to neaten up the piece. A very simple edge can make the whole vest look polished. If the fabric is open and meshy, finishing will help it to hold its shape better.
Weave in all ends neatly, especially around the tie area. This style will shift when worn and tied, so be sure to tie the ends tight so they don’t come undone later.
Step 8: Checking the Final Look
The finished mini vest should be light, soft and easy to throw on. It should be easy to slip over the shoulders, sit comfortably at the armholes and tie naturally at the front without strain. The open texture is part of the charm, so the best result is one that feels breathable and relaxed as opposed to overly tight.
Helpful Hints
Choose cotton or any other breathable yarn for a cooler and cleaner look.
Keep the tension even so the mesh stays neat.
Before final joining check the fit.
Make both front sides the same.
Use stitch markers to help keep your edges straight.
If you want a smoother, more refined shape, lightly block the vest.
What Not To Do
Chain too tight
Crochet one side of the front longer than the other
No checking the fit as you go
Using heavy weight yarn for an airy vest
Joining by pulling seams too tight
making the ties too short to tie comfortably
Ideas for Customisation
With a few small changes this mini vest will feel completely your own. Pick a neutral for everyday layering, or opt for a bright summer shade if you want it to pop. You can lengthen it a bit for more coverage, shorten it for a very cropped look, or add a simple edging around the neckline and armholes. Small bows or shell edging or even a slightly wider tie can also change the style without making the project too complicated.
Style Ideas
This type of crochet mini vest looks great over a tight fitting tank, bandeau, slip dress or simple camisole. Pair it with jeans, linen pants, denim shorts or a long skirt for a laid back handmade look. It’s also a great lightweight beach layer or a cute handmade piece to pack for vacation.
How to Care for
If possible, hand wash gently, especially if using a soft plant fibre yarn. Lay it flat to dry so it keeps its shape. Do not use high heat, especially when drying or ironing. If the vest stretches a little after wear, a gentle wash and some reshaping will help it settle back into place.
Time Required
Depending on your speed, yarn, size and stitch patter this may take a few hours.
Conclusion
A crochet mini vest is such a satisfying project because it gives you a wearable piece without the stress of a heavy sweater-style build. This front-tie version feels especially fun for warm weather since it is light, open, and easy to style. You can keep it simple, change the length, play with color, and make it feel completely personal. It is a lovely project for anyone who wants to crochet something fashionable and actually wear it often.
FAQs
1. Is this beginner-friendly?
Yes. The tutorial presents it as a very easy beginner-friendly project using simple stitches.
2. What yarn works best for this vest?
Lightweight cotton or a soft breathable blend works especially well for a clean, airy finish.
3. Can I adjust the size easily?
Yes. Measure as you go and add or reduce rows to suit your body and preferred fit.
4. Can I make it for warm weather?
Yes. The mesh-like texture makes it especially suitable for spring and summer wear.
5. How do I make it more comfortable?
Use a soft yarn, keep your tension relaxed, and try it on before finishing the seams and ties.