
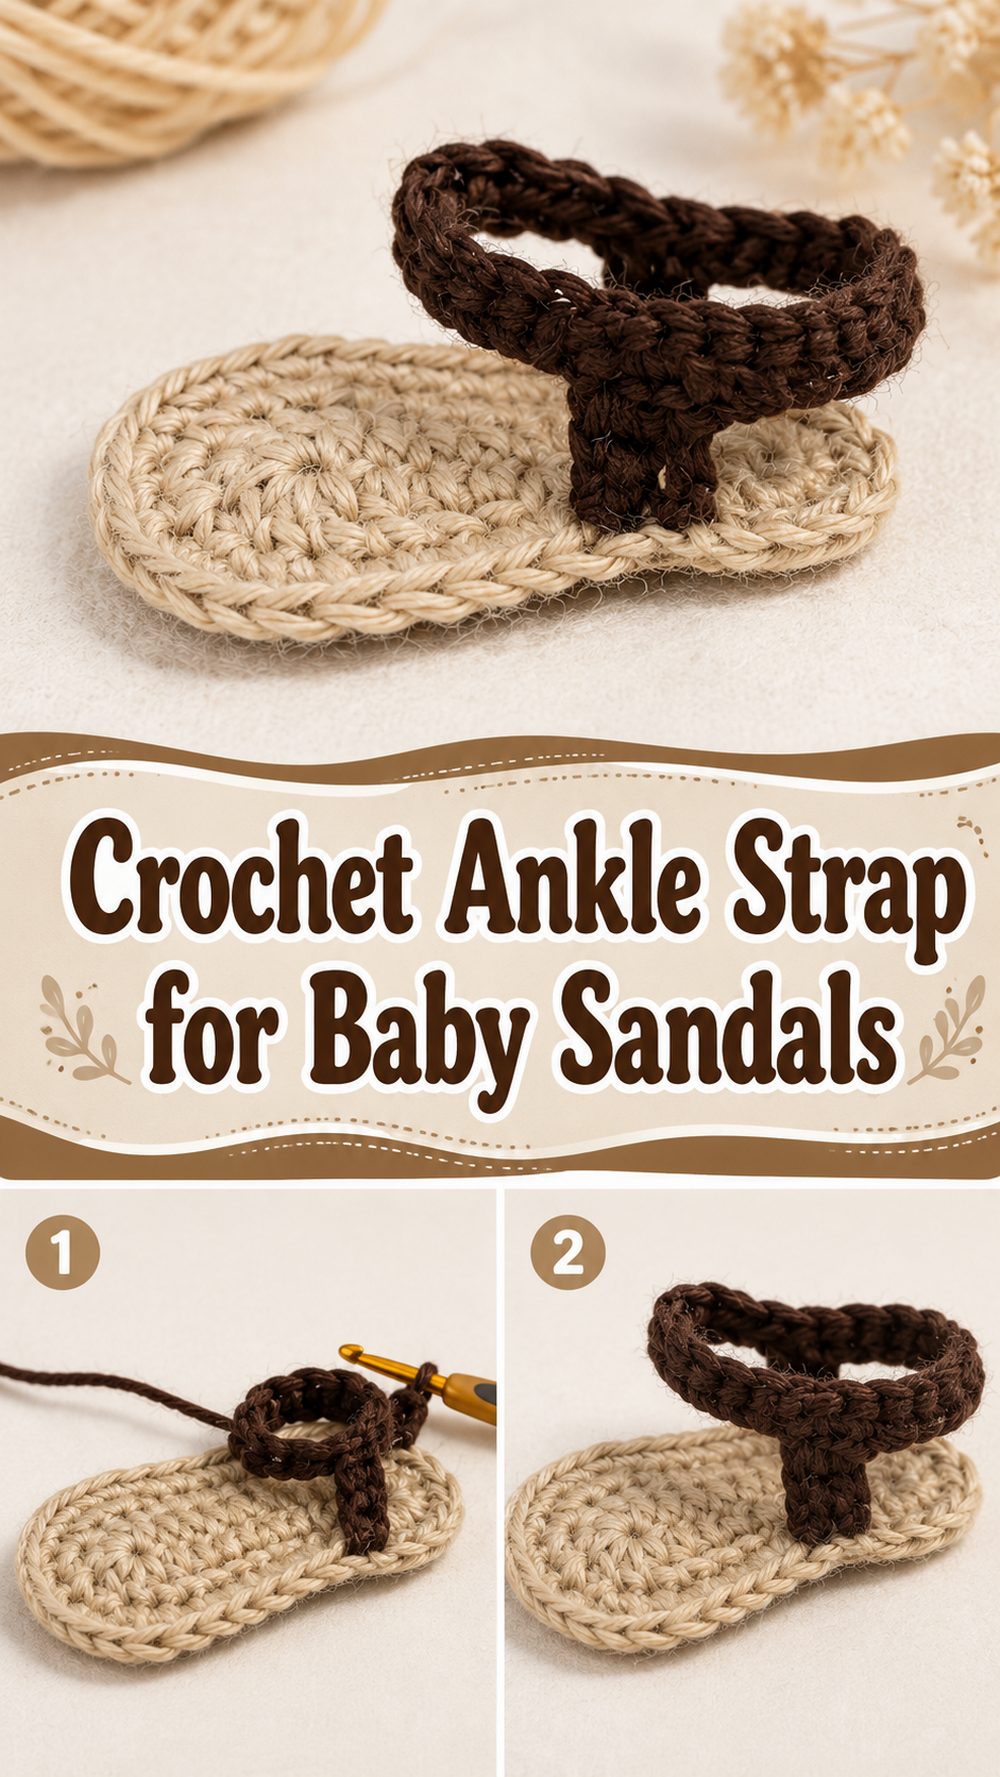
A crochet ankle strap is one of those little details that can totally change the look and feel of a baby sandal. It gives the sandal a sweeter finished look, helps it sit more securely on tiny feet and adds that classic handmade touch that makes crocheted baby footwear so endearing. I selected a tutorial for a simple ankle strap for a crochet baby sandal in size 0-3 months, which is a good option if you want to learn the strap part clearly and not get lost in a more complex design. It also comes as part of a mix and match baby sandal collection, so it feels particularly useful if you like to build simple baby shoe styles in different ways.
This kind of project is lovely for baby shower gifts, first photo outfits or just a neat finishing touch to a pair of crocheted sandals you have already made. The strap itself is a smaller piece so it also feels satisfying and manageable to work on.
Why You’ll Love This Project
The ankle strap is both practical and pretty, and this is a project worth making. It helps give a baby sandal a more secure fit and it also gives it a polished handmade look without a huge amount of extra crochet.
Materials Required
baby yarn – soft
Crochet hook
Scissors – Cutting Tools
Knitting needle
Stitch markers .
Tape measure (if needed)
A base for a crocheted baby sandal or a finished sandal piece
Choose a yarn and hook size that will give you the fit and texture you want.
The Best Yarn for This Project
The best yarn for a baby ankle strap is the softest baby-friendly yarn. A soft cotton blend or a smooth acrylic baby yarn usually works well, as it feels gentle and shows the stitches clearly. Because this is a small section of strap you don’t need anything too bulky. A softer, lighter yarn makes the strap feel more flexible and comfortable, rather than stiff.
If you are making the strap to match an existing crochet sandal, it’s best to use the same yarn so that the texture and look remain consistent. This also makes the strap fit in more naturally with the rest of the shoe.
Level of Skill
This is a beginner friendly project. The tutorial chosen is for a simple ankle strap for a crochet infant sandal, indicating a basic, straightforward construction rather than an intricate decorative technique.
It’s especially good for someone who already knows how to chain, do basic stitches and fasten off neatly. The piece is small so it makes a good confidence-building piece in a baby sandal project.
SIZE & FIT GUIDE
The tutorial is for a baby sandal size 0-3 months, so the strap is taught with that small baby size in mind.
The simplest way to adjust a crochet ankle strap is to test the fit against the sandal as you work. The strap should fit comfortably around the ankle area without pulling too tight. Strap mustn’t be too firm or constricting, babies need gentle comfort. If you must adapt it, keep the shaping simple and try the length before you fix it permanently.
Stitches for Use
For a simple project like this ankle strap, simple stitches are usually used, like:
Chain
Slip stitch
sc – single crochêt
Simple join stitches
If your sandal pattern uses another basic stitch, you can often keep the strap in the same style for a more balanced look.
How to Prepare It
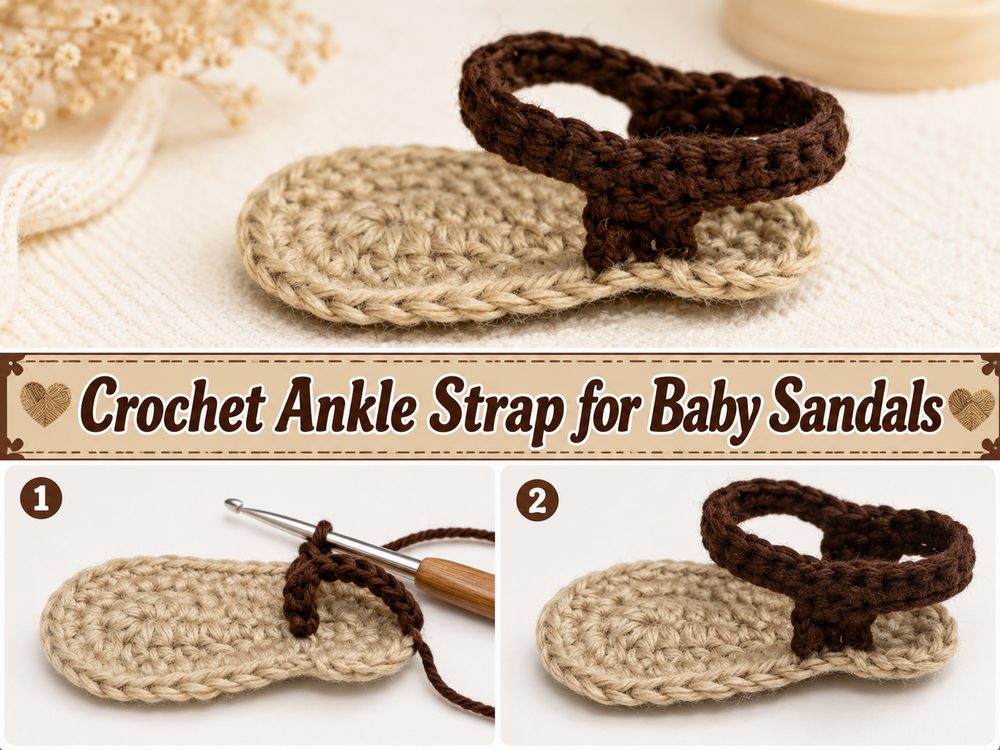
Step 1: The bottom of the sandal
Prep the main baby sandal section before you work the ankle strap. The strap is the finishing touch and needs a solid place to connect to either side of the sandal. Flatten the sandal and find precisely where to place the strap.
This step is important because a very pretty strap will not sit well if it is attached too far forward or too far back. Neat position helps the shoe look balanced and keeps the strap from twisting on baby sandals.
Step 2: Neatly tie the yarn
Join your yarn neatly to one side of the sandal, when you know where the strap should begin. Keep this join neat as it will be part of the finished look. Nice to have clean edges and smooth tension from the start on a small project like this.
Don’t pull the first stitches too tight. As this is for a baby, the strap should be soft and flexible to the touch. This provides the strap with a nice gentle tension that sits well without curling and doesn’t look too rigid.
Step 3. Add the Strap Length
The main work here is to make the strap itself. Since this tutorial is about a basic ankle strap, the construction is intended to be simple and useful rather than highly decorative.
Work in a straight line or narrow strip until the strap fits comfortably across the ankle area. It is worth checking the fit visually against the sandal here. The strap should be neat and proportionate to the tiny size of the shoe. Usually a simpler finish is more effective if it starts to look too wide or heavy.
Step 4: Try it on before you close
Stop and check the length before you tie the strap to the other side. This is one of the most critical moments of the project. If your strap is too short, the sandal will be hard to put on. If your strap is too loose, it may not hold its shape very well.
Because this tutorial is for a very small baby sandal size, the strap needs to be delicate and gentle. Don’t make it too tight, just comfortable. If necessary you can add a little length or remove a small section before securing it.
Step 5: Make the Closure or End the End
Depending on the style of sandal the strap might simply be joined into place, or finished to work with a button, tie or other fastening detail. If your sandal pattern has a simple exact closure, keep the strap finish simple so as not to overpower the tiny shoe.
This is also the place to make the end look good. All those straight edges & even stitches & smooth finish make the sandal more polished looking. Baby footwear is small, so little details show up quickly.
Step 6: Finish & Weave in the Ends
When the strap is on and the fit looks good, fasten off and carefully weave in the yarn ends. Neat finishing is even more important on baby items because you want the inside of the sandal to be as smooth as possible.
Then if you are making a pair compare both sandals. Make sure the straps are equal length, attached at the same points and sitting at the same angle. A matching set always looks more polished and gift ready.
The end result should be soft, sweet, and balanced with a simple ankle strap that provides the baby sandal a more secure and complete shape.
Helpful Hints
Use the same yarn as the rest of the sandal to keep the look neat and matched.
Make the strap thin and soft to fit a baby shoe.
Check the length before you put the other side on.
If you’re making a pair, compare both sandals frequently.
If you want to join both straps in one place use a stitch marker.
Ends are tidied in carefully so there is no bulkiness to the feel.
Pitfalls to Avoid
Strapping a baby’s ankle too tightly
One strap longer than the other one
The strap on the sandal is too far forward
working up such small section with very bulky yarn
Tightening the starting stitches too much.
Skipping the last fit check before binding off
Ideas for Customisation
The ankle strap can be very simple or a little fancier with tiny details. A little button, a contrast edge, a soft scalloped finish or a delicate tie can change the look without changing the basic idea. Soft shades like cream, pink, baby blue, sage, or beige all look lovely on baby sandals.
Keep the strap simple and neat for a traditional nursery look. If you want something more decorative for photos or gifts you can add a tiny bow or a contrasting trim.
Style advice
A crocheted ankle strap looks very nice on baby sandals for warm weather, baby shower gifts or special little outfits. It pairs nicely with rompers, bloomers, dresses or matching bonnets. If you like making sets, you can match the sandals with a headband or baby hat in the same yarn.
Care Instruction
Hand wash gently with mild soap and dry flat. Wash baby items carefully and not with high heat as they are small and delicate. Let your sandals air-dry so the strap retains its shape.
Time Needed
This may take a short amount of time depending on your speed, the yarn you use, and whether you are making one strap or finishing a full matching pair of sandals.sandals.
Conclusion
A crochet ankle strap may be a small part of a baby sandal, but it adds so much to the finished piece. It helps the shoe look complete, gives a better fit, and brings that sweet handmade detail that makes crochet baby projects so special. If you already have a baby sandal base ready, this is a lovely little section to add. Keep it soft, keep it neat, and enjoy the process of turning a simple sandal into something even more charming.
FAQs
1. Is this beginner-friendly?
Yes. The selected video teaches a basic ankle strap, so it is a simple focused project for beginners who know the crochet basics.
2. What size is the tutorial for?
The tutorial is for a crochet infant sandal size 0–3 months.
3. Can I adjust the strap length?
Yes. You can check the fit against the sandal while working and adjust the length before attaching the strap fully.
4. What yarn works best?
A soft baby yarn or smooth cotton blend works well because it keeps the strap gentle and comfortable.
5. Is this a full sandal tutorial?
The selected video is specifically about the ankle strap, and it is presented as part of a mix-and-match baby sandal collection.