
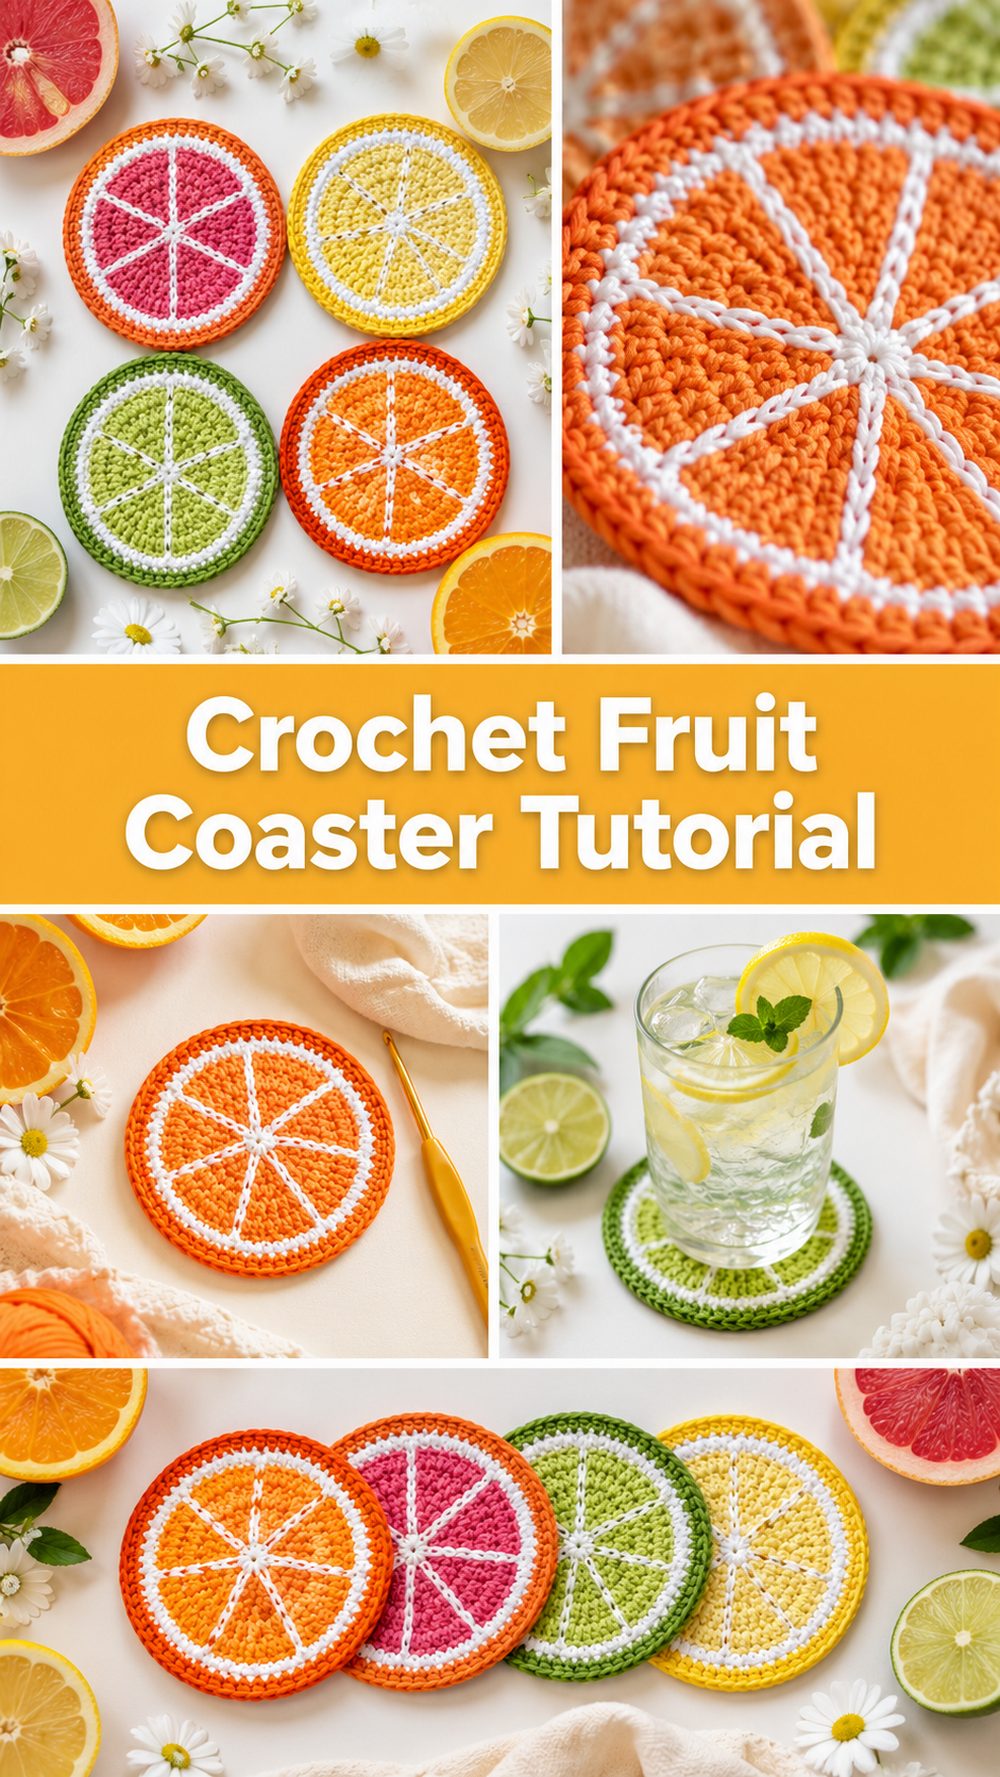
If you want a quick, practical and easy to enjoy cheerful little crochet project, then a fruit coaster is such a fun choice. The tutorial I selected shows you how to create a bright citrus type coaster that can resemble a lemon, lime, orange or grapefruit just by changing the yarn colours. It’s a simple, handmade piece that adds a fresh pop of colour to a coffee table, kitchen shelf or summer table setting. This type of project is especially nice for the beginner as it is small, satisfying and useful straight away. It’s also great for using up leftover yarn without having to tie it into a big pattern. This tutorial is a beginner friendly, step by step, no sew citrus coaster that can be adapted into several fruit looks with colour changes.
Why you’ll love this project
This is one of those little crochet makes that feels so rewarding right away. You get something cute and useful at the same time and the fruit-slice style makes it playful without being complicated. It’s also easy to personalise with different colour combinations, so you can make a matching set or mix several “fruits” together for a brighter look. This is a tutorial for a beginner, and it is a citrus coaster and they do mention you can change the colours to make different fruit versions.
Materials Required:
Fruit-inspired coloured yarn
A hook for crocheting
Shears
Yarn needle for weaving in ends.
stitch marker, if you want to mark the start of rounds
Choose a yarn and hook size to give you the fit and texture you want.
The Best Yarn for This Project:
Cotton yarn is usually the best choice for fruit coasters like these because they hold their shape well and feel practical for everyday use. Made from cotton or a cotton blend, this smooth coaster sits flat and gives the colour changes a crisp, clean look. This is a bright citrus-style project, so lightweight to medium cotton works especially well if you want a fresh, summery finish. You can also use stash yarn, but try to keep the texture similar between colours so the coaster looks even.
Level of Skill:
Beginner Friendly
This is a great project for newer crocheters as it is small, repetitive and worked in a simple round shape. The main thing to watch out for is keeping your stitches even and changing colours nicely so the fruit-slice effect pops.
Size & Fit Guide:
This coaster is adjustable, as you can see. You can stop a little early for a smaller glass coaster or go a little further for a larger mug coaster. One of the other results for a similar citrus slice tutorial also includes making two sizes, which is a good fit with this sort of project.
To re-size,
As you work, check the coaster under your cup or mug
Add more rounds if you want a bigger coaster.
Want a smaller, lighter version? Stop earlier.
Make the same size for each coaster in a set for a neat finished look
Stitches Used:
This project uses basic crochet techniques suitable for beginners from the tutorial style and presentation including:
Chain
Slip stitch
Basic stitches knitted in the round
Changes in colour
How to prepare it:
Step 1: Initiate the Center
The coaster starts in the center and spirals out in a circle. This middle part forms the first part of the fruit slice and provides the base to build on. As this is a tutorial for beginners, the start is simple and easy to follow and not overly fussy. And don’t pull too tight to get a nice flat center.
Step 2: Build on the Fruit
Once you have the center you continue working out with the main fruit colour. This is what the tasty inside of the slice looks like. The colour will be yellow for lemon, green for lime, orange for orange or pink for grapefruit depending on the look of the fruit you want. The beauty of this tutorial is that it uses the same basic method with different shades so you don’t need a whole new pattern for every version. The video also mentions that you can change the colours and do the same process for other citrus fruits.
Try to keep your tension even as you crochet so your circle will be smooth. If your coaster begins to ripple, your stitches may be getting too loose or you may be adding too much too quickly. If it begins to curl you may need to loosen your tension slightly.
Step 3: Adding the Contrast to the Fruit Slice Effect
This is what really makes the coaster fruit style. The tutorial is called a no-sew citrus coaster, so you create the fruit effect as you crochet, rather than sewing on lots of separate bits afterwards.
This section usually uses a contrasting shade to imply the pale inner rind and then an outer peel colour to finish the edge. The colour bands are what make the coaster look like a slice of fruit, instead of a round mat, without going overboard on the shape. Take your time with each colour transition so the lines look clean and purposeful.
Step 4: Maintain the Shape Flat and Level
This is a coaster so flatness is important. Work the outer rounds, stopping here and there to put the piece down on a table. That quick check lets you catch any waviness or curling before the coaster is completed. A fruit coaster should be round, neat and balanced, with the colours reading clearly from centre to edge.
If you want a bit larger coaster for your mugs keep going on the outer section until it feels big enough. If you are making a set for smaller cups or glasses keep them small. This kind of small adjustment is particularly beneficial for basic round coasters.
Step 5: Complete the Edge
The last outer round is what gives the coaster its finished peel effect. This edge borders the whole slice of fruit and gives the coaster a finished look. It also helps to define the shape visually if you use a stronger outer colour.
Don’t rush at this stage A clean outer edge can make a simple project look much more finished. If necessary, use a stitch marker to keep the round even and tidy.
- Fasten Off and Weave in the Ends
Cut yarn and neatly fasten off after last round. Weave in all ends securely. The tutorial is described as no-sew, keeping finishing simple, which makes it perfect for a quick project.
Weave in ends and lightly press the coaster with your hands. Light blocking can help shape it nice if it needs a cleaner finish.
What the Completed Coaster Should Look Like
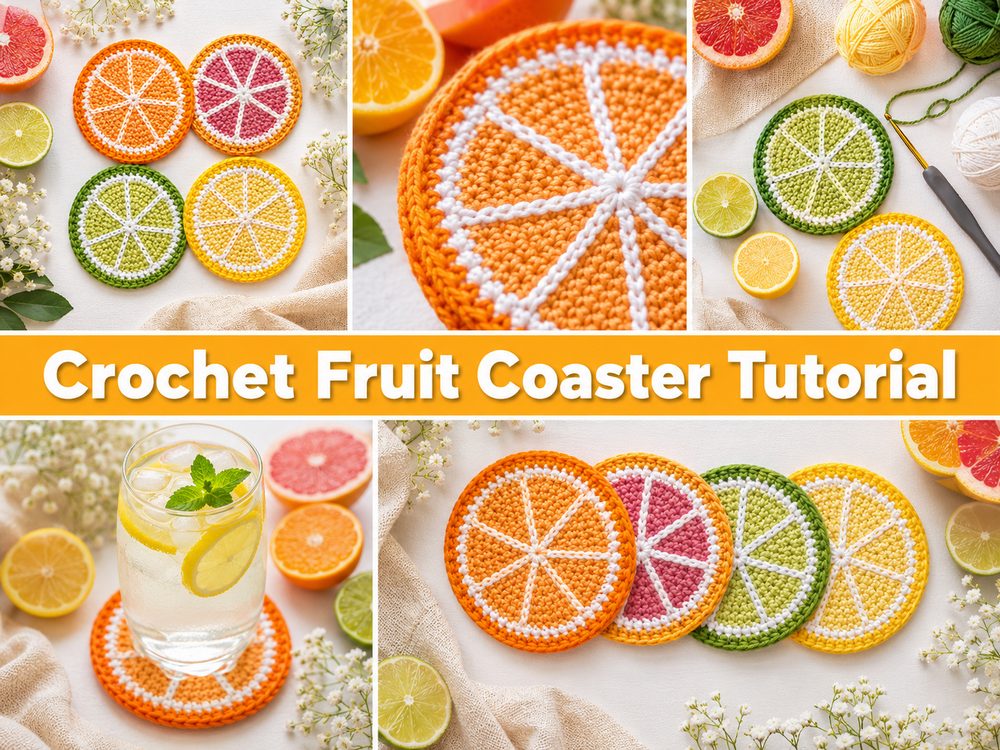
It should be a bright slice of citrus, with distinct colour sections and a smooth, round outline. It should lie flat under a glass or mug and feel light-hearted, cheery and practical. Make several in different colours and you have an instant fun handmade set for spring or summer.
Usefull tips:
Cotton yarn usually gives the cleanest coaster finish.
Keep your tension even so that the circle stays flat
Check the size under a real mug before finalising
For best fruit-slice effect, use crisp colour contrast
Create a complete matching set in various citrus colours
Blocking the light can make the coaster sit flatter, look neater
Avoid These Common Mistakes:
Pulling stitches too tight and the coaster curls up.
The increases are uneven so the circle turns wavy
Using a very stretchy yarn that won’t hold shape well
Using colours that are too similar so that the fruit look disappears
Making a set forgetting to compare sizes
Loose ends are left untied instead of tucked in tightly
Customising Suggestions:
There is lots of fun to be had with this pattern just by changing colours. Make a Lemon Set in Pale Yellow, a Bold Orange Set for a Sunny Kitchen or a Mixed Citrus Set for a Colourful Gift. they can be a little bigger for mugs or a little smaller for glasses. The softer decorative edge can make them appear sweeter and the brighter yarn shades make them feel more playful and modern.
Ideas for Style:
These fruit coasters look beautiful on a breakfast tray, summer coffee table, picnic setup or kitchen shelf. They also create cute handmade gifts for housewarmings, teachers or friends who love cheerful home decor. A mixed bunch, tied with a ribbon, would be especially sweet in the warmer months.
Care:
Hand wash when necessary, reshape when damp. Lay flat to dry so the coaster maintains its round shape. Avoid high heat, especially if you used a yarn blend that may lose its shape
Time Required:
depending on your speed, yarn, size and stitch pattern this can be a few hours.
Conclusion:
This crochet fruit coaster project is a lovely little make when you want something bright, useful, and easy to personalize. The citrus slice style keeps it fun, and the simple construction makes it approachable for newer crocheters too. You can make one in your favorite fruit color or build a whole set in mixed shades for a cheerful handmade collection. It is the kind of project that feels light, relaxing, and instantly rewarding.
FAQs:
Is this beginner-friendly?
Yes, it is a very approachable small project and a nice way to practice even stitches and simple color changes.
What yarn works best?
Cotton yarn is usually the best choice because it holds shape well and works nicely for coasters.
Can I change the size?
Yes. You can stop earlier for a smaller coaster or continue a bit longer for a larger mug size.
Do I have to make only one fruit style?
No. The same method can be adapted with different colors to make several citrus-inspired versions.
How do I make it look neater?
Keep your tension even, watch your color changes carefully, weave in the ends well, and block lightly if needed.