
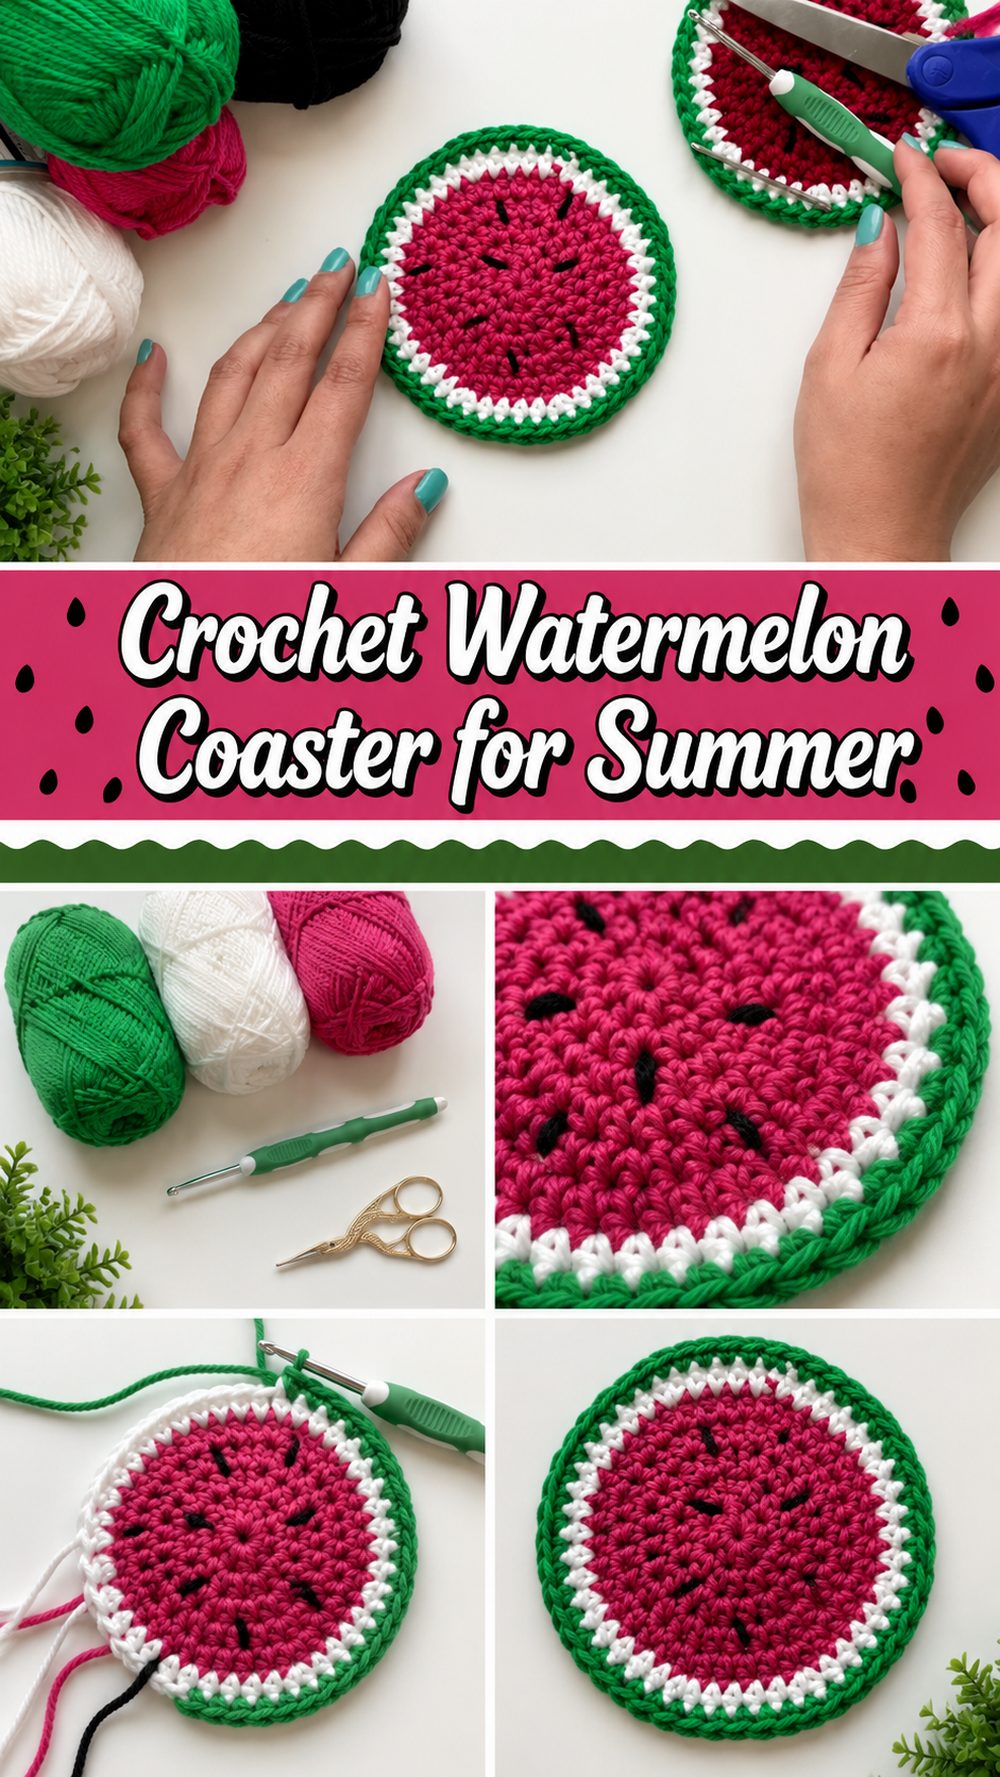
Watermelon-y crochet projects are always so happy and this one is no different-it’s small, quick and actually useful. This crochet watermelon coaster is the kind of project that adds a fun pop of colour to your table but doesn’t take all day to make. It’s got that old-fashioned watermelon look with a juicy red center, a neat pale edge, a fresh green rind, and little dark seeds to add some life to the whole design. A lovely choice for warm weather decorating, picnic inspired table settings or home made gifts. If you like simple crochet projects that allow you to play with colour and shape, this is a sweet little make. It’s also a good way to use up little bits of yarn from your stash, and that makes it all the more satisfying.
What You Will Enjoy In This Project
This is a fun project because it is quick, colourful and practical all at once. You get the satisfaction of making something cute, but it is also something you can really use on a desk, coffee table or outdoor summer setup. The form is simple enough to enjoy and the finished look feels playful without being complicated.
Materials Required
Here are the main supplies used in the tutorial:
Crochet hook 4.5mm
Yarn, medium worsted cotton
Red string
WHITE THREAD
Green Wool
Some little black yarn for the seeds
Scissors
Needle for yarn
Best Yarn for This Project
Cotton yarn is especially good for a coaster like this, it is absorbent, keeps its shape well and gives the piece a clean crisp finish. Breathable cotton is a lovely choice for a summer-inspired project. Bamboo blend can also be used if you’re looking for a softer feel, but cotton is generally the easiest option for a sturdy coaster that lies flat.
Level of Skill
This is a starter project. The shape is simple overall and it’s a lovely way to practise working in rounds, changing colours and adding a little finishing detail. If you know your basic stitches and are comfortable joining rounds, you should be able to enjoy this without too much trouble.
Size & Fit Guide
Since this is a coaster the easiest way to change the size is to change how big you make the red center before adding the white and green outer rounds. If you want a slightly bigger coaster for larger mugs or tumblers, just keep making the main circle bigger until it looks right for your needs. So keep the white stripe narrow then finish it off with the green edging so it still keeps that watermelon look.
Stitches Employed
This project is made with basic crochet stitches and round construction from the tutorial The obvious stitches and techniques used are:
Chain
Slip stitch
Double crochets:
Working in the circles
Changes of colour.
Simple embroidery or stitching for the seeds.
How to prepare them
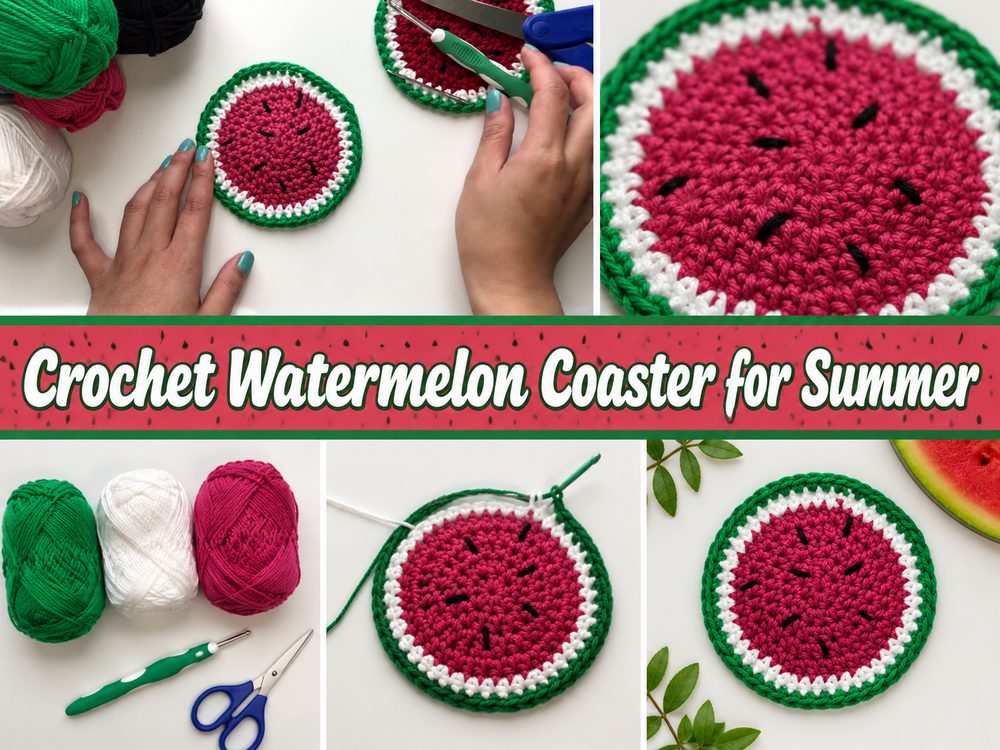
Step 1: Initiate the Foundation
This coaster starts from the center and works its way out in rounds. First you make the middle of the watermelon with red string. The purpose is to make a flat circle which will be the fruit section of the coaster. Most crocheted round coasters are started in the centre with a ring or a loop and worked outwards with evenly spaced stitches so that the piece lies flat.
Keep your stitches even and your tension relaxed as you work the first rounds. The fabric needs to be firm enough to keep its shape, but not so tight that the circle starts to curl, because it’s meant to sit under a cup or glass.
Step 2: Construct the Red Watermelon Core
After this foundation is completed, keep crocheting in red to increase the centre of the coaster. This is the main body of the watermelon slice. Work evenly round and round, increasing, so the shape is flat and smooth. If your coaster begins to ripple then you have too many increases. If it starts to pull into a bowl shape, you might need a little more room in the round.
Before going to the rind colours, the red part should be a clean, bright disc. This makes the coaster look bold and juicy, so it’s worth taking a moment to gently flatten it with your hands as you go.
Step 3: Add Pale Inner Skin
When the red center is the size you want, switch to white yarn. This round is like the pale layer of the fruit and outside rind. It may be a thin stripe but it makes a big difference in the finished look. Without it, the coaster wouldn’t have that classic watermelon contrast.
When switching colours, slow down at the last stitch of the previous round so the colour change looks neat. A clean transition makes the coaster look clean. This white round also frames the red centre before the outer green edge is put on.
Step 4: Make the Green Outer Edge with Crochet
Then use green yarn for the final rounds. This makes the rind and finishes the outside shape of the coaster. The green edge ties the whole watermelon design together and gives the coaster a fresh summer feel.
If you want the coaster to stack easily or lie flat under glasses, you can keep the green edging simple and smooth. When you finish the outer edge, make sure the coaster still lays flat on the table. You can smooth this out and gently shape the circle with your hands if needed before fastening off.
Step 5: Add the Watermelon Seeds
The little black seeds are what make this coaster immediately recognisable. Once the main crochet is finished, pick up a little black yarn and embroider simple seed shapes over the red area. These don’t have to be exactly the same. Just a couple of neat stitches around the center will do the trick to give your coaster that playful fruit look.
Don’t crowd the surface, but try to scatter the seeds evenly. Some open red between them helps keep the design clean and bright. This last step is small, but adds a lot of charm.
Step 6: Wrap Up and Clean Up
Add seeds and weave in all yarn ends carefully with a yarn needle. Make sure the back is nice and clean so the coaster won’t wobble on the table. If the edges are a bit wavy when you are done you can hand shape the coaster lightly or block it gently so it dries flat.
The finished coaster should resemble a bright round piece of watermelon, with a red center, a thin pale stripe, a green border and tiny dark seeds sewn on the top. It should feel sturdy enough for everyday use but still soft and handmade.
Helpful Hints
Cotton yarn is a great option for coasters because it absorbs moisture better than many other fibres.
Try to keep your tension even so the coaster remains round and flat.
Instead of waiting until the end, check the shape after each round.
When you change colours make sure you do the last stitch nice so the join is nice and clean.
Add the black seeds after the coaster body is complete, so that you can place them where they look best.
If you’re doing a set do one fully before starting the next as it will be easier to match the size and style.
Common Errors to Avoid
Making the center too tight causing the coaster to cup .
Adding too many increments and ending up with a wavy edge.
Not flattening your work as you work.
Pulling on too tight with colour changes will distort the round.
Sewing the seeds too close to the edge, where they can be lost in the design.
Leaving ends bulky on the back, which might cause the coaster to sit unevenly.
Ideas for Customisation
There are tonnes of easy ways to make this project your own. Use a bright lime green for a fun modern rind, or softer hues for a pastel summer set. You could make a big one to use as a small mug mat, or a tiny one as playful decor. If you want more detail, add extra seed stitches or make matching fruit-themed coasters in different colours for a whole summer table set.
Style Concepts
These coasters are great for iced drinks, lemonade glasses, summer brunch tables, and picnic style decorations. They also do sweet hand-made gifts for housewarmings, teacher gifts or small market sets. A stack of watermelon coasters tied with ribbon would be especially cute in a summer gift basket.
Care Instructions
For best results, hand wash gently or delicate cycle if your yarn allows it. Re-shape the coaster when wet and lay flat to dry. Avoid high heat, especially if you want the sewing and edges to remain neat.
Time Required
This can take a few hours depending on your speed, yarn, stitch tension and if you are making just one coaster or a full set.
Conclusion
This crochet watermelon coaster is one of those happy little projects that feels fun from start to finish. It is simple enough to enjoy on a relaxed afternoon, but cute enough to make your table feel special afterward. You can keep it classic, make a matching set, or adjust the size and colors to suit your own style. It is a lovely project for summer crafting and a nice reminder that small handmade pieces can bring a lot of charm.
FAQs
Is this beginner-friendly?
Yes, it is a good beginner project, especially if you are practicing basic stitches and working in rounds.
What yarn is best for this coaster?
Cotton yarn is usually the best choice because it is absorbent, sturdy, and holds its shape well.
Can I make it bigger?
Yes. You can continue growing the center section before adding the white and green rounds.
Do I have to add the seeds?
No. The seeds give it the watermelon look, but you can leave them off for a simpler style.
How can I make it sit flatter?
Check your stitch count as you go, keep tension even, and gently block the finished coaster if needed.