
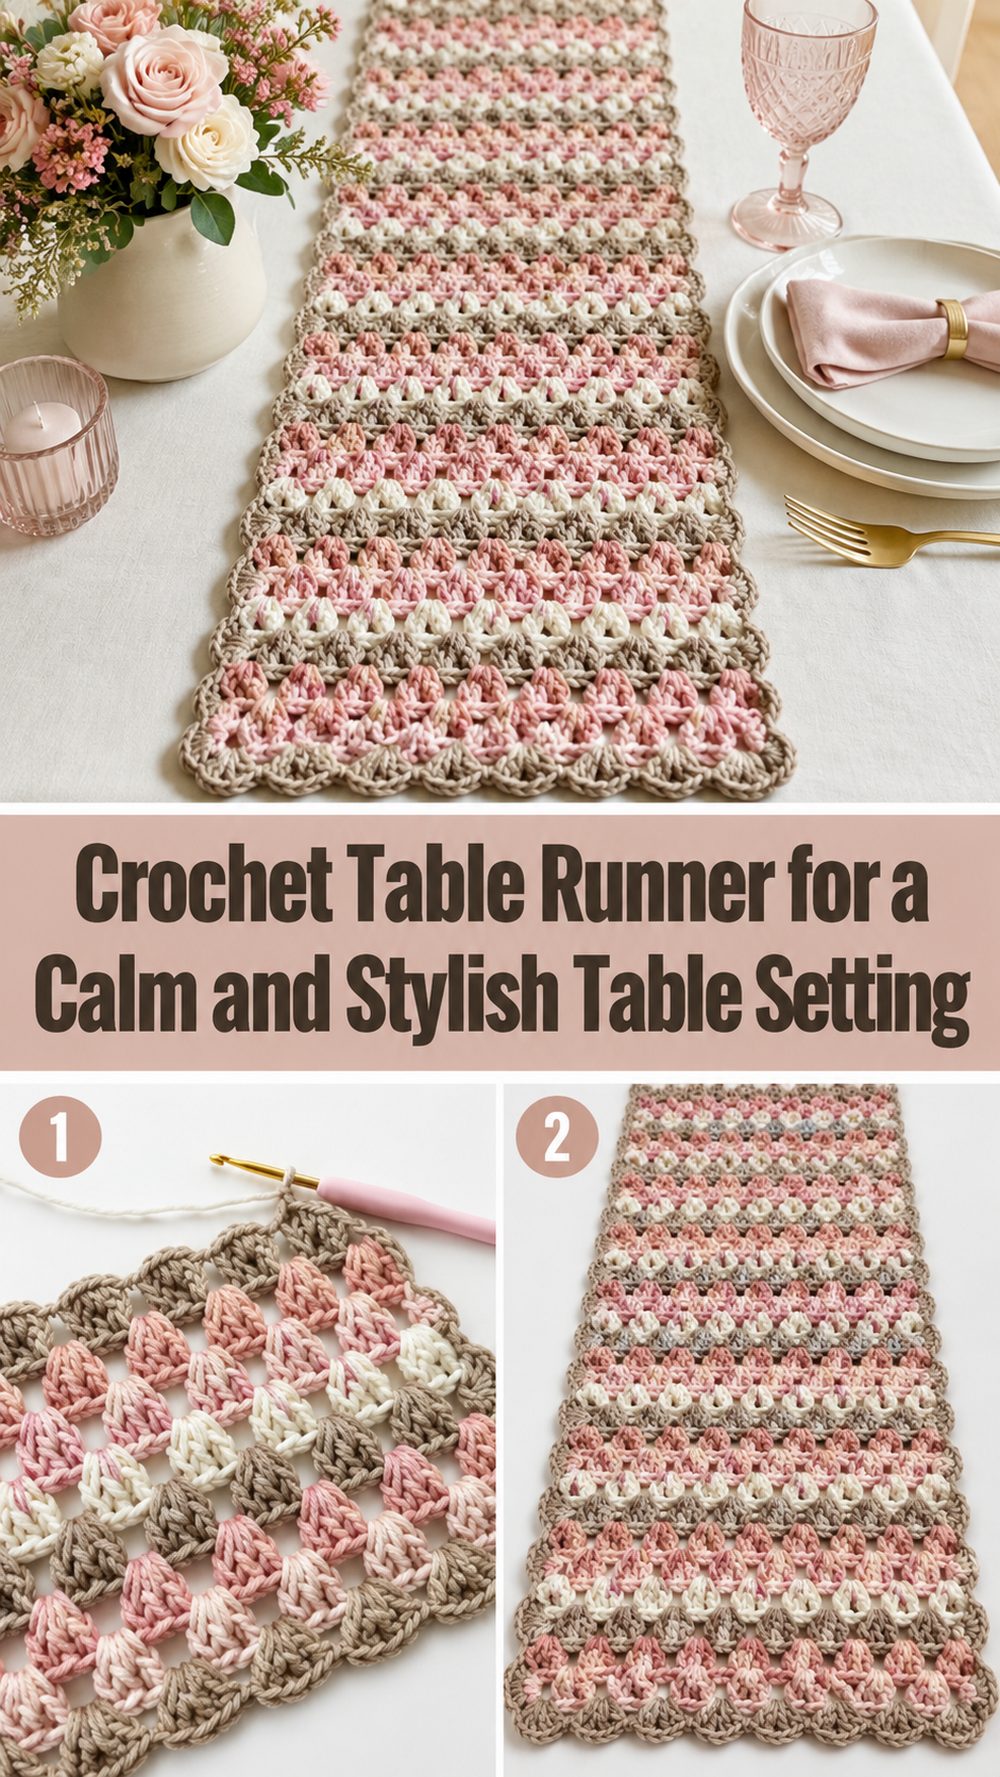
A crochet table runner is one of those projects that can make a dining table, console, or sideboard feel instantly warmer and more finished. It adds handmade texture without taking over the whole space, and it is a lovely way to bring a little softness into everyday home decor. The tutorial I chose teaches an easy table runner made with medium weight cotton yarn and a 4.5 mm hook, which gives it a practical, usable finish for the table. It is the kind of project that feels relaxing to work on because you can settle into the pattern and watch the length grow row by row. This is a great make for beginners, for anyone decorating on a budget, or for crocheters who want something useful that still feels pretty and personal. The selected tutorial is specifically presented as an easy crochet table runner project and lists medium weight cotton yarn, a 4.5 mm hook, and about 600 yards of yarn.
Why You’ll Love This Project
This project is easy to enjoy because it is decorative, practical, and calming to make. A table runner lets you create something beautiful for your home without needing complicated shaping, and cotton yarn makes it especially nice for a piece that will actually be used on the table. The chosen tutorial is presented as an easy table runner project, which makes it a comfortable fit for beginners and relaxed crochet sessions.
Materials Needed
- Medium weight cotton yarn
- 4.5 mm crochet hook
- Scissors
- Yarn needle
- Stitch markers
- Measuring tape
The selected tutorial notes that the project uses number 4 medium weight cotton yarn, a 4.5 mm crochet hook, and about 600 yards of yarn.
Best Yarn for This Project
Cotton is one of the best choices for a table runner because it gives the stitches clean definition and helps the finished piece lie nicely across the table. It also feels practical for home decor since it tends to hold its shape well and gives a fresh, tidy look. Medium weight cotton is a particularly good option here because it creates enough structure for a runner without making it feel overly heavy. Since the selected tutorial uses number 4 medium weight cotton yarn, that is the most natural match for recreating the same kind of finish.
Skill Level
This project is beginner-friendly and easy. The selected tutorial is explicitly described as an easy crochet table runner, which suggests a straightforward pattern that newer crocheters can follow with some confidence.
It is also a nice project for confident beginners who want to practice consistency, clean edges, and home decor crochet without worrying about complicated shaping.
Size and Fit Guide
A table runner is very easy to adjust because the main thing that changes is the length. Before you begin, measure the table or surface where you want to use it. Some people like a runner that sits mainly in the center, while others prefer a longer piece with more drape at both ends.
As you work, lay the crochet fabric across the table now and then to see how it looks. If you want a shorter accent piece, stop earlier. If you want a more dramatic runner for a dining table, continue until it reaches the length that feels right in your space. Width can also matter, so think about whether you want a slim decorative strip or a fuller centerpiece-style runner.
Stitches Used
The selected video presents this as an easy crochet table runner, so the design is built around a repeatable stitch pattern rather than complicated shaping. Follow the stitch sequence shown in the tutorial and aim for even tension so the runner looks neat and balanced from one end to the other.
How to Make It
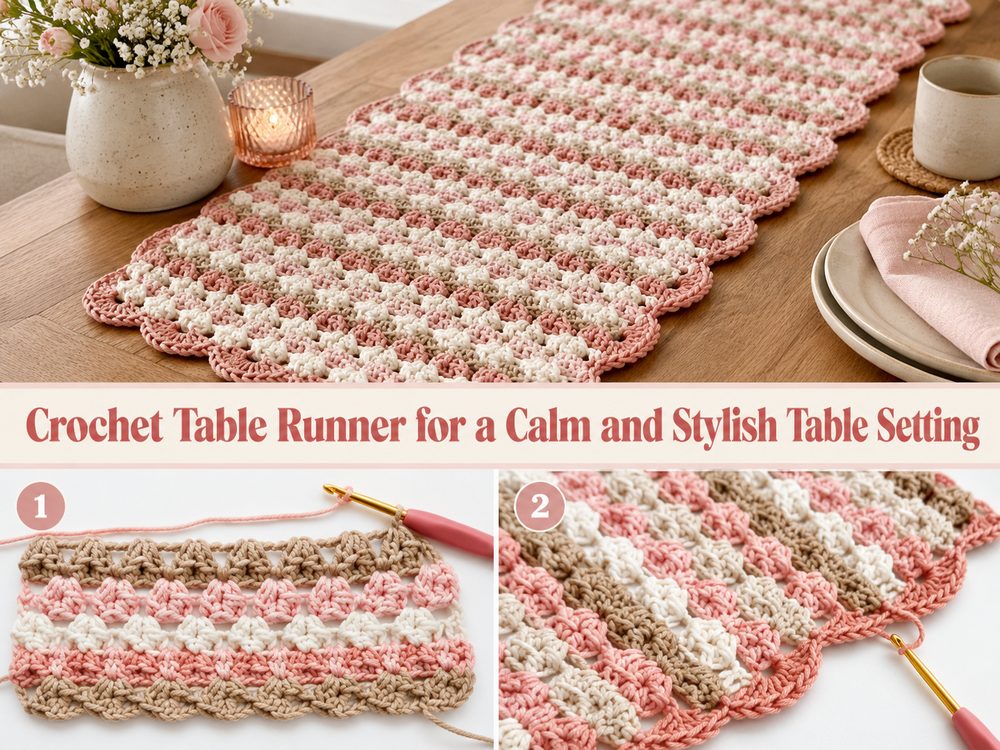
Step 1: Start the Foundation
Begin with the foundation chain that sets the width of the table runner. This first step matters because it affects how wide the finished runner will look across your table. Try to keep the chain relaxed and even. If it is too tight, the runner can pull or curve at the edge instead of lying flat.
A table runner looks best when the opening edge is smooth and straight, so it helps to take your time right at the beginning. This is especially important with cotton, since the stitches tend to show clearly.
Step 2: Work the First Rows
Once the foundation is ready, begin building the pattern exactly as shown in the tutorial. Since this is taught as an easy table runner, the design is meant to be comfortable to repeat and pleasant to settle into. That makes it a lovely project for quiet evenings or weekend crochet.
The first rows will set the look of the whole piece, so pay attention to your stitch placement and edge stitches. If the sides stay neat now, the rest of the runner will be much easier to keep straight.
Step 3: Build the Main Body
After the pattern is established, continue repeating the stitch sequence to grow the runner to your desired length. This is the most relaxing part of the project because the rhythm starts to feel natural and you can really enjoy watching the fabric extend row by row.
As the runner gets longer, pause sometimes to lay it flat and make sure it is sitting nicely. If your tension changes too much, the center or edges may start to ripple or narrow. Keeping the stitches steady will help the finished runner look polished on the table.
Step 4: Adjust the Length for Your Table
One of the nicest things about a crochet table runner is how easy it is to customize. You do not need to follow a fixed furniture size if you do not want to. Simply continue the stitch repeat until the piece looks right for your table, shelf, or sideboard.
A shorter runner can look lovely under a vase or candle arrangement, while a longer one creates more of a traditional dining-table feel. Because the selected tutorial gives yardage information of about 600 yards, that also suggests a substantial runner rather than a tiny accent swatch.
Step 5: Finish the Final Rows Neatly
When the runner reaches your chosen length, complete the final rows carefully so both ends feel balanced. In simple home decor projects like this, neat finishing makes a big difference. A clean last row helps the runner look intentional and finished rather than cut short.
Check that the last section matches the feel of the beginning. If the tension has changed, gently smooth the piece flat before weaving in your ends.
Step 6: Weave in Ends and Shape the Runner
Once the crochet is complete, weave in all loose ends securely and neatly. Then spread the runner out on a flat surface and shape it gently with your hands. Cotton responds beautifully to simple shaping, and this can help the edges look cleaner and the overall piece sit better on the table.
The final table runner should look long, tidy, and decorative, with a clean repeat that adds texture without feeling too busy. Since the selected tutorial uses medium weight cotton and a 4.5 mm hook, the result should have a practical, home-friendly feel that works well for everyday decor.
Helpful Tips
- Use cotton yarn for a clean and practical table-ready finish.
- Keep the starting chain relaxed so the runner lies flat.
- Check the width early before committing to the full length.
- Measure your table before you decide when to stop.
- Count occasionally if you tend to lose stitches at the row ends.
- Shape the finished piece gently so it sits neatly on the table.
Common Mistakes to Avoid
- Making the foundation chain too tight
- Forgetting to check the width before continuing too far
- Missing edge stitches and creating slanted sides
- Letting your tension change too much through the middle
- Stopping the runner without comparing it to your table length
- Leaving loose ends poorly woven into a piece that will be moved and used
Customization Ideas
A crochet table runner is very easy to personalize. You can keep it classic in cream, white, beige, or soft gray for a timeless home look, or choose a richer shade to suit seasonal decor. A solid cotton color gives a clean modern finish, while stripes can make it feel more playful. You can also make it shorter for a coffee table, longer for a dining table, or wider if you want more visual presence in the center of the table.
If you enjoy matching decor, you could even make coordinating placemats or a small centerpiece mat using the same yarn.
Style Ideas
This runner looks beautiful on a dining table, console table, coffee table, or dresser. You can style it with candles, a bowl, fresh flowers, or a simple tray for an easy decorated look. It also works nicely in farmhouse, cottage, modern handmade, or soft minimalist spaces because crochet texture adds warmth without needing lots of extra decoration.
Care Instructions
Since the selected tutorial uses cotton yarn, gentle washing and reshaping should help keep the runner looking fresh. Lay it flat to dry so it keeps its shape well. If needed, smooth it out carefully after washing so the edges stay neat.
Time Needed
This may take a few hours or longer depending on your speed, the final length you want, and how often you pause to check the fit on your table. Because it is presented as an easy crochet table runner, it should feel manageable as a relaxed home decor project rather than an overly technical make.
Conclusion
A crochet table runner is such a lovely project when you want something useful, decorative, and calming to make. It gives your space that soft handmade touch without being difficult to crochet, and it is easy to adjust to suit your table and style. This design is especially appealing because it uses medium weight cotton and a 4.5 mm hook, which makes it feel practical as well as pretty. Whether you keep it simple and neutral or choose a color that stands out, it is the kind of project that can quietly brighten a room every single day.
FAQs
Is this table runner beginner-friendly?
Yes. The selected tutorial is presented as an easy crochet table runner, which makes it suitable for beginners and confident beginners.
What yarn is best for this project?
Medium weight cotton is the best match for this tutorial, and it is a great choice for table runners because it gives clean stitch definition and good structure.
How much yarn do I need?
The selected tutorial states that it uses about 600 yards of yarn.
Can I make it longer or shorter?
Yes. A table runner is easy to adjust in length, so you can continue the pattern until it suits your table.
What hook size is used?
The selected tutorial lists a 4.5 mm crochet hook.