
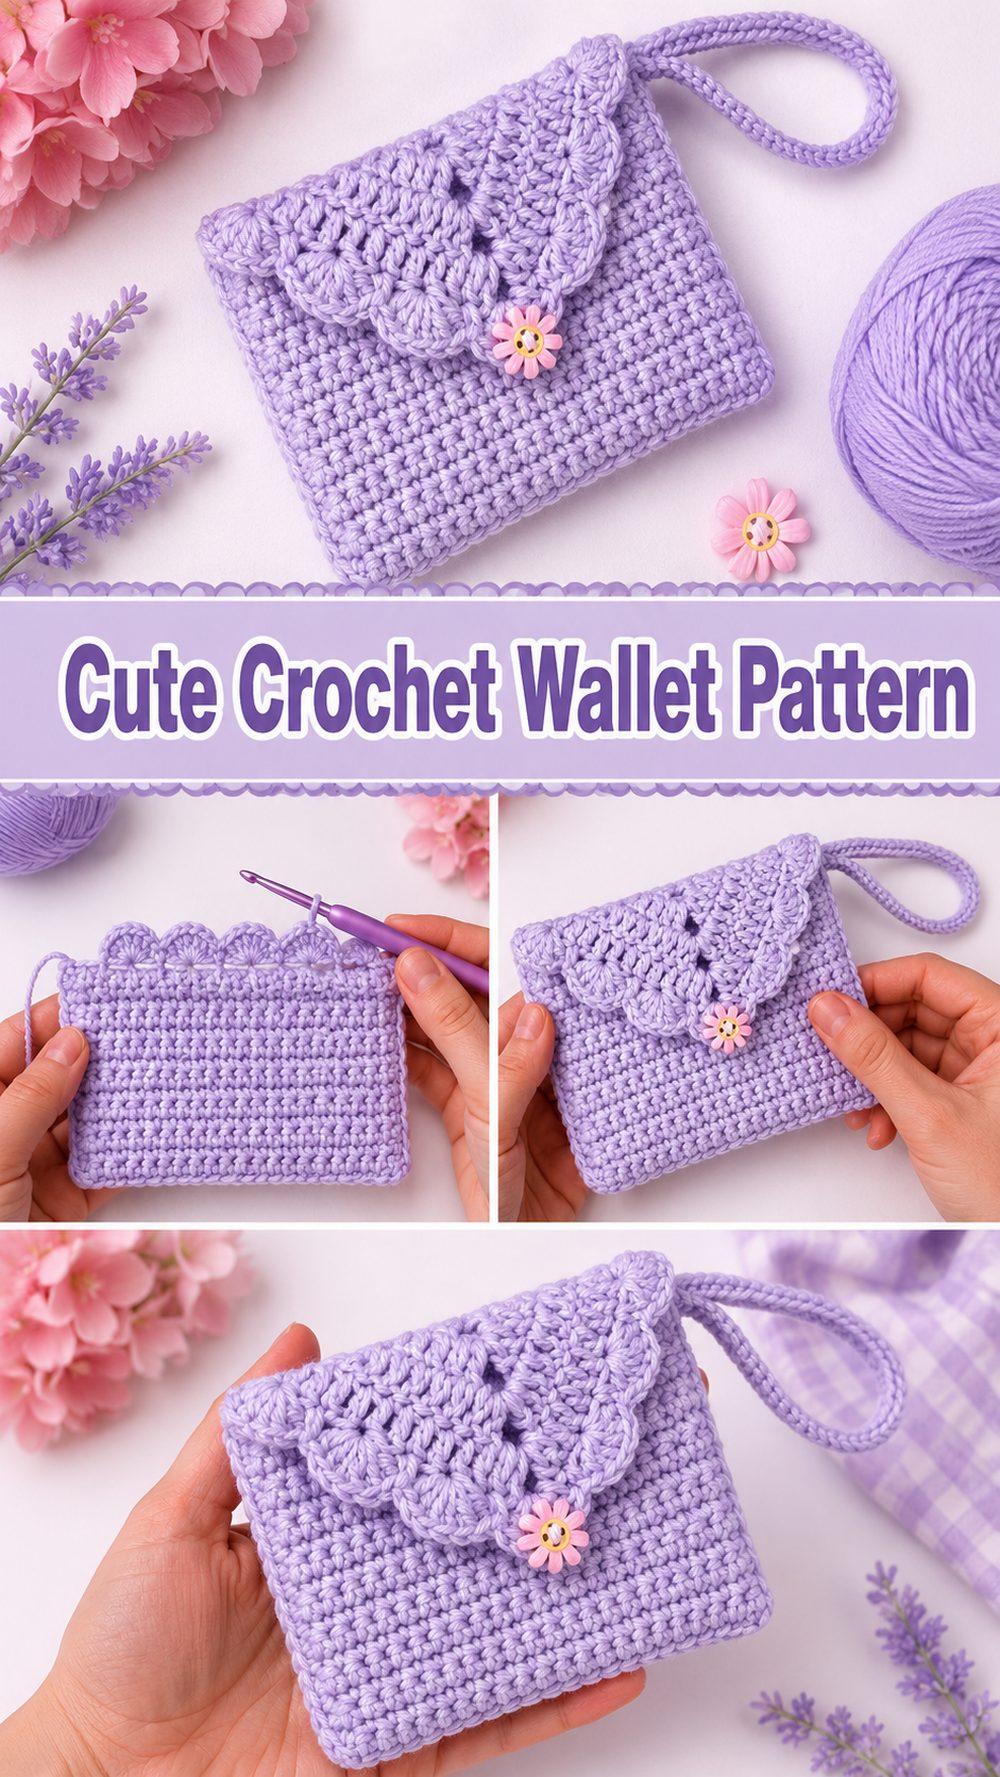
A crochet wallet is such a satisfying little project to make because it is practical, Making a crochet wallet is such a satisfying little project because it is practical, compact and easy to take with you almost anywhere. This tutorial is for a cute and easy crochet wallet and it teaches you how to make one in a clear step-by-step style.
This is a lovely option if you are looking for something handmade that is useful and simple to put together. This wallet has a neat little format that works well for cards, folded cash and little essentials, so it feels like a realistic everyday project, and not just something to sit on a shelf. The chosen video is also very up-to-date and is specifically provided as a step-by-step crochet wallet tutorial, so it fits well for a useful, beginner-friendly make.
The great thing about a project like this is that it’s so easy to customise. You can keep it simple and minimal, make it bright and playful, or turn it into a thoughtful, handmade gift. Accessories like wallets are great when you want a crochet project that feels useful right away, and because the video is presented as an easy wallet tutorial, it looks approachable without being boring.
Why you’ll love this project
This wallet is fun to make because it is small enough to stay fun but useful enough that it becomes a part of your daily routine. The tutorial is for a cute and easy crochet wallet with step-by-step instructions so it feels beginner-friendly and practical at the same time.
REQUIRED MATERIALS
Thread.
Crochet needle
scissors.
Yarn needle
Progress markers
Tape measure.
Optional added security button, snap, zipper or decorative closure
Choose the yarn and hook size that will give you the fit and texture you want.
Most Suitable Yarn for This Project:
Typically a smooth yarn with a little bit of structure is best for a crochet wallet. Cotton is particularly good as it helps the wallet to keep a neater shape and gives the stitches a clean finish. Or, if you want something a little softer but still want to keep some structure, a cotton blend is a good idea too. Since it’s a small accessory, the stitch pattern tends to show up more in a smooth yarn compared to a fuzzy yarn.
Level of Skill:
Easy to start.
The video that was chosen is clearly labelled as a “cute & easy” crochet wallet with step-by-step instructions, so it is a good choice for beginners who know the basics and are looking for a useful little project.
Size & Fit Guide:
Crochet wallets are so easy to size as you go. Decide what you want it to hold before you begin. If you only need room for a few cards and folded notes, keep it small. If you want a roomier wallet, add enough width and height for your daily essentials: As you go hold a card, ID or small stack of notes against your crocheted piece to help check the fit before finishing.
Stitches Employee:
This is a step by step wallet tutorial as it shows in the search result . But it does n’t clearly list all the stitches in the preview . So the safest approach is to follow the visible stitch pattern in the video and keep your rows even throughout .
How to prepare
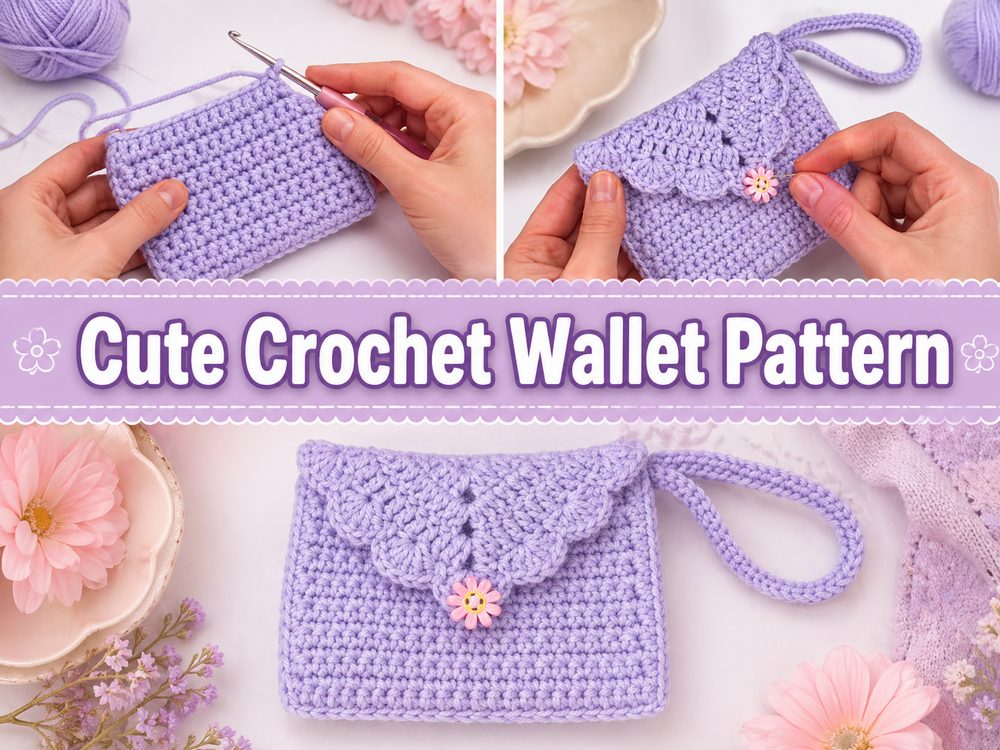
Step 1: Lay the Groundwork
Start with the foundation that will determine the breadth of your wallet. This first part is important, because it will determine how well your cards or notes will fit inside later. Compact width = slim wallet that fits easily into a handbag or pocket Slightly wider start = More room for extra cards or a little cash
If possible, keep your starting edge neat and even. Since wallets are small projects, the form is easily noticeable. A straight foundation makes the entire wallet look cleaner when folded or joined into its final form.
Step 2: Write the Main Body
When the foundation is finished, continue to work the main body in the stitch pattern shown in the tutorial. The video selected is a crochet wallet tutorial with step-by-step instructions. Hence the body construction is expected to be followed in an explicit and manageable sequence.
Check the proportions often as the fabric grows. It should be secure, it should be compact but it should be big enough to hold what you need. If you want something slim and minimal, stop when the fabric is long enough to fold neatly around a few cards. For a more spacious take, keep going until it works for your needs.
Step 3: Maintain a Neat Shape
This little part looks simple but makes a difference. Attempt to keep your tension as even as possible from one row to the next. Small accessories make uneven stitches very apparent, particularly at the edges. If one side starts to drift, place stitch markers at the ends of your rows to keep the shape even.
A nice rectangle or wallet panel will make the final assembly a lot easier. It also creates a more finished, functional, final wallet.
Step 4: Check size before folding
Place your card or folded notes against the crocheted piece before shaping the wallet. When is the best time to change size. If this is too narrow, try a new attempt with a little more width. If it seems too short, continue for a few more rows.
This is also the moment when you need to figure out what sort of wallet you want. You may want a flatter wallet if you only want to carry a few essentials everyday or a deeper wallet if you want to carry several cards or a little cash. Because the tutorial is easy and step-by-step, it should be comfortable to pause and compare your piece to the intended shape as you go.
Step 5: Fold and shape wallet
When the main piece is big enough, fold into the final wallet shape. One of the best moments in a project like this is when the flat crocheted fabric begins to look like an actual usable accessory. Lay it flat and make sure the edges line up as best as you can.
If you use a wallet with a flap, ensure it folds easily and is in the middle. If it is more of a simple pouch style wallet, make sure the opening looks clean and easy to use. Little tweaks here can make a huge difference in the final look.
Step 6: Attach the Sides
Carefully sew the sides together so that the wallet forms a secure pocket. Try to keep the seams as flat and neat as you can. A small wallet can feel clunky in your hand, or too thick in your bag with bulky side seams.
Joined Up Test fit with a real card or folded notes after joining. The wallet should be tight enough to keep things in it, but not so tight that you have a hard time sliding things in and out. As the selected video is to be a simple wallet project, the finishing should remain easy and approachable.
Step 7. Adding a Closure (optional)
You can leave the wallet plain or add a button, snap, zipper or loop for extra security. A closure can make the project feel a little more polished and help keep cards or cash tucked away safely inside.
If you add one, try it on before you sew it in for good. Usually a centred closure looks the neatest, especially on a small project like this. Even a very simple button can completely change the final style of the wallet.
Step 8: Complete and Cleanup
Tie up all the loose ends. Take one last look at the wallet. Use your hands to smooth the shape gently and check that the sides, opening and flap are all sitting comfortably. The end product has to be compact, tidy and useful in everyday use.
The tutorial I chose is described as cute and easy so the final wallet should be simple, useful and pleasant to make without complicated construction.
Useful Tips
If you want the wallet to hold its shape better use cotton yarn.
Check the fit with real cards before you seam.
Keep your edge stitches even, for a cleaner finish.
Use stitch markers if your rows tend to drift at the end.
Test the fold and shape and only add a closure after.
Weave in the ends securely as wallets get a lot of handling.
Common Errors to Avoid
Excessively narrowing the base
Crocheting too tight, making the wallet stiff
Forgetting to check the size before folding
Allowing one side to grow unevenly
Making the seams bulky
Check placement prior to attaching closure
Customisation Suggestions
You can change the entire look of this wallet by simply changing the colours and details. Pick a neutral shade for everyday wear, a bright yarn for a happy look, or a soft pastel for a gift. For a more secure finish, add stripes, a contrast flap, a snap, a button loop or a zipper. If you want to carry extra cards or folded cash, you can bump it up a notch, too.
Style Inspiration 4)
A crocheted wallet is great for everyday errands, travel, small purses and quick trips out when you don’t want to carry a whole purse. It’s also a sweet handmade gift, market item or stashbuster project when you want to use up leftover yarn in a practical way.
Care Instructions
If needed, hand wash gently in cool water. DRAIN excess moisture without wringing, reshape wallet and lay flat to dry. Use a low heat so the stitches keep their shape and the fabric stays tidy.
Time Required
This can take a few hours depending on your speed, the yarn you use and the size you want. The video I chose showcases it as a cute and easy crochet wallet with step-by-step directions, so it seems like a manageable small project rather than a long, complex one.
Conclusion
A crochet wallet is such a handy little project to have in your handmade collection. It is useful, giftable, and easy to personalize, and the small size makes it feel satisfying from start to finish. This tutorial style looks especially approachable because it is presented as easy and step-by-step, so it is a nice option when you want a practical crochet project without a lot of fuss.
FAQs
Is this beginner-friendly?
Yes. The selected video presents it as a cute and easy crochet wallet with step-by-step instructions.
What yarn is best for a crochet wallet?
Cotton or a cotton blend is usually a great choice if you want a neater and slightly more structured finish.
Can I adjust the size?
Yes. You can change the width and height to suit cards, cash, or other small essentials.
Do I need a closure?
No. You can keep it simple, or add a button, snap, or zipper if you want more security.
Is this a good gift project?
Yes. A small crochet wallet is practical, quick to customize, and easy to make in someone’s favorite color.