
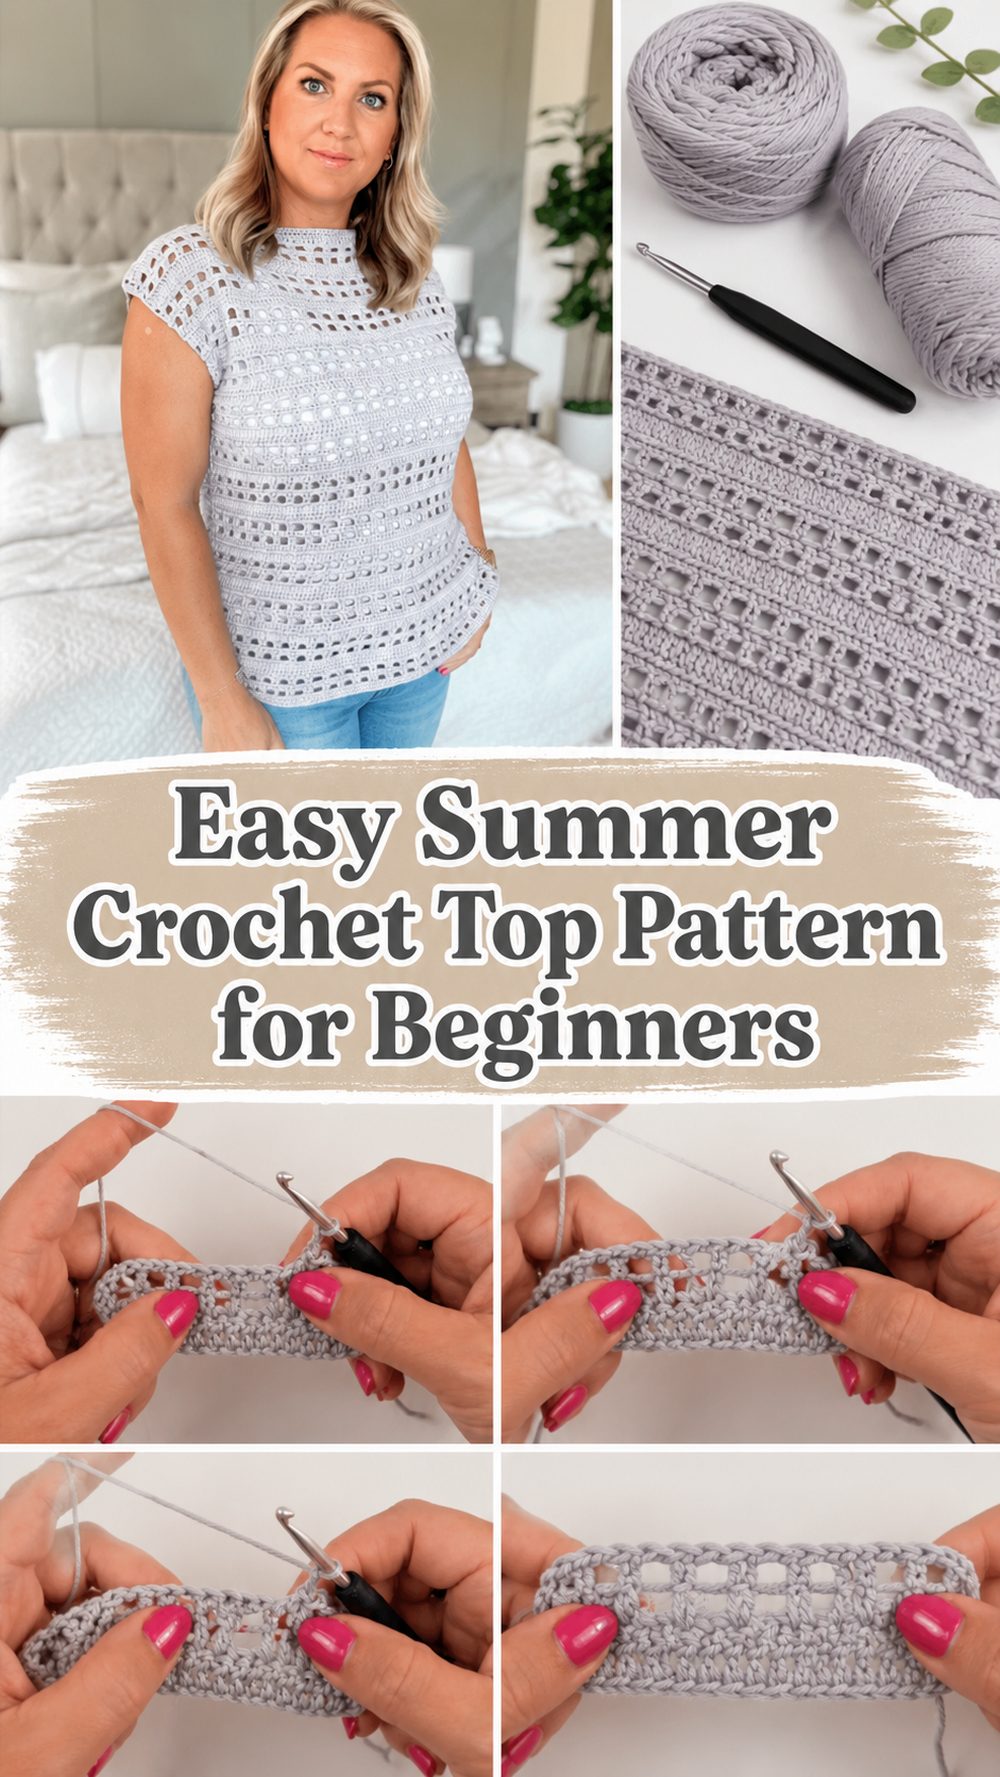
A basic summer crochet top is one of those projects that feels fun from the get-go. You get to do something light, wearable and easy to style, and by the end you have a handmade piece that looks great with jeans, skirts, shorts or layered over a camisole. It’s a really lovely top for warm weather with simple construction and a relaxed handmade feel that goes so well with every day outfits. It’s perfect for beginners, or confident beginners, who want to dabble in a garment but not get too technical. If you’ve been wanting a crochet top that feels approachable, practical and still stylish enough for summer, this is a nice place to start. The tutorial makes it look like a super easy beginner friendly top, made from two rectangles.
Why You’ll Love This Project
It’s a rewarding project because it keeps the shaping simple, while still giving you a wearable top you can actually enjoy all season. It is the type of crochet piece that feels relaxed, adaptable and easy to make your own with your own colour choice, length and fit.
Materials Required
Thread.
Crochet needle
scissors.
Needle for yarn
Stitch markers or clips
Tape measure
Pick a yarn and hook size that will give you the fit and texture you want.
The Best Yarn for This Project
The best summer top option is a soft breathable yarn. Lightweight yarns made from plant fibres, such as cotton, bamboo blends and others, are particularly good choices as they help the fabric feel cooler and more comfortable against the skin. A cotton-bamboo blend is a lovely option if you want a top with a little drape. Or if you want a more structured finish, opt for plain cotton.
Skill Level
This is best described as beginner friendly. The tutorial presents it as a super simple crochet top, and it’s a good first garment project for someone who knows the basic stitches and wants to practise shaping and joining simple panels.
Size & Fit Guide
This is a simple panel top so it is easy to adjust as you go along. Measure around the bust or where you want the top to sit and compare to the width of your crocheted panel. You can make the piece wider or narrower by changing the starting width and you can make it longer or shorter by adding or reducing rows. It’s a good idea to try on the piece on yourself from time to time to check the fit before you join.
Stitches Used
Since the tutorial is for beginners, the construction looks simple and approachable. For that style of top the stitches clearly suitable to this project are:
Chain
Slip stitch
Basic stitch pattern of the body used in the whole panels
Basic edgings and joining stitches
Keep an even tension so the two panels line up nicely.
How to prepare it
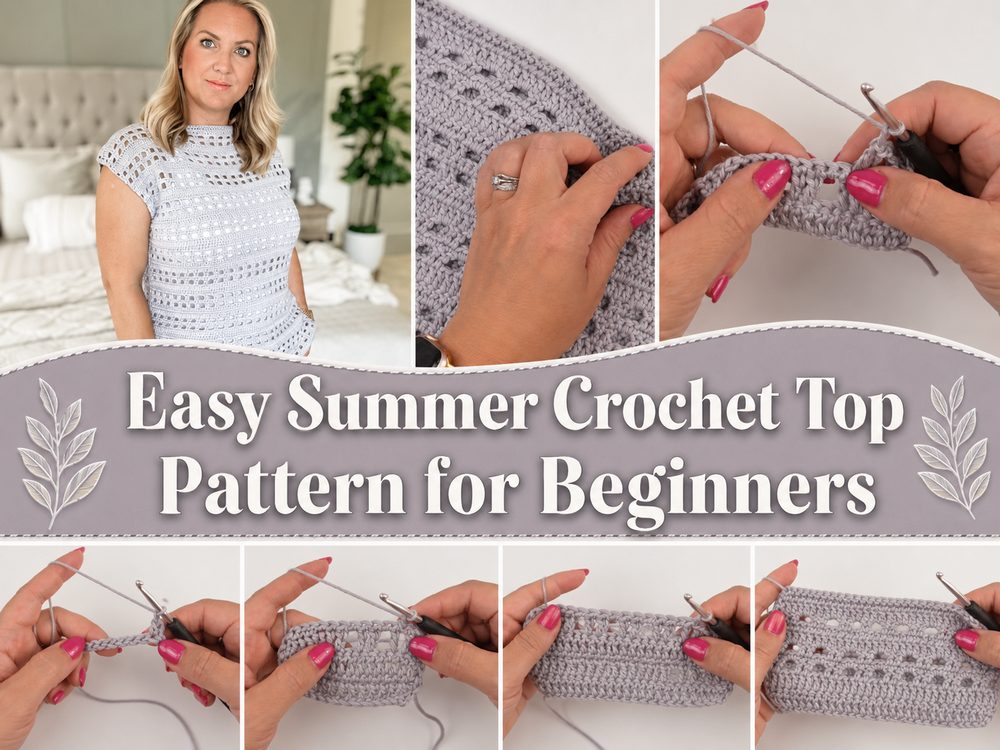
Step 1: Create the foundation
This top begins with a single rectangle. The construction is very simple and not fussy as the tutorial is described as a very easy, beginner friendly top made from two rectangles. Make a foundation chain that gives you the width you want for the body of the top. Make it a little bigger for a looser fit. To fit closer, stay closer to your body measurement with a little ease.
Step 2: Construct the First Panel
When the foundation is done, begin to work rows back and forth to make the first rectangle. This is the part that gives the top its relaxed easy shape. Keep your rows even, and keep the edges neat. If you pick a soft and breathable yarn, the fabric will already start to look like a nice summer piece. Work on until you have a panel the length you want. You can stop at the waist for a cropped style, or go all the way down for a fuller tee-style top.
Step 3: Making the Second Panel
When you have finished the first rectangle, make a second panel the same as the first. Try to keep the tension and number of rows the same so that they are the same size. This is an important bit as a balanced pair of panels makes seaming MUCH easier, and helps the finished top sit better on the body. Put them flat together before joining to make sure they look even.
Step 4: Fit Check
Before you sew, hold the panels up to yourself or compare them to a top you already like wearing. This is the best time to make changes. If it seems too short, add more rows. If it looks too wide, next time make the initial width a little smaller. The simple rectangle shape makes these garments really forgiving, which is part of why they are so beginner friendly.
Step 5. Sew Shoulder and Side Seams
Attach the two panels together beginning with the shoulders and leaving an opening for the neck. Then sew up the sides, making sure you leave enough room for comfortable armholes. This is where the garment really holds together. When you join, try not to pull too tight, as very tight seams will make the top uncomfortable to wear. The aim is to finish smoothly with a little ease left.
Step 6: Shape the Openings in a Natural Way
The construction is simple, so the shape of the neckline and armholes is generally achieved by the amount of unseaming, not by complex shaping. This makes the pattern much more accessible for newer crocheters. If you can, try the top on your body before you finish all the seams, to make sure the neck opening is comfortable and the armholes are not too tight.
Step 7: Add Simple Edges
Once the main garment is completed, you may wish to finish off the neckline, armholes and bottom edge with a neat finishing round. A simple edge can tidy up the whole top, and make it look more polished. Keep this part light so the top still has an airy and wearable vibe for summer.
Step 8: Finish and Weave in the Ends
Carefully weave in all the loose ends and smooth out the seams. At this point the finished top should look relaxed, easy to wear and handmade in the best possible way. The tutorial says it’s a simple top made from two rectangles so the finished look is clean and uncomplicated, which makes it easy to dress up or down.
Helpful Hints
If you want a cooler feeling for summer, go with cotton or a bamboo blend.
Before you make the second panel check your width.
Size the two panels the same.
If you want straighter edges use stitch markers.
Before final seaming, try the top against your body.
Finish the top and block it to make it look neater.
Things to Avoid
The second panel being a different size than the first one
Using yarn that’s too warm for the weather
Shoulder overseaming
Armholes too small to omit
Forgetting to check the fit before hooking up
Rectangles curling or widening due to uneven tension
Ideas for Customisation
This is easy to make your own top. For a simple everyday look, go for a soft neutral shade, or for something cheerful bring in bright summer colours. You can crop it for beachwear or make it longer for more coverage. Or you can go for a slightly wider neckline, edging, or a looser fit for an airy finish. A striped one would look nice too.
Style Suggestions
This style of crochet top looks amazing with denim shorts, wide leg pants, skirts or over a tank. It also makes a nice beach cover-up style over your swimwear. This is the kind of top you could wear again and again for a casual handmade wardrobe piece in the summer.
Washing Instructions
If possible wash by hand gently, especially if you used a soft plant fibre yarn. Lay flat to dry so it keeps its shape. Avoid high heat and hanging it while wet can stretch the fabric. Don’t hang it wet,
Time Required
This may take a few hours, depending on your speed, yarn, size and stitch pattern.
Credit by: Bella Coco
https://www.youtube.com/watch?v=zukn3XpQNrw
Conclusion
If you want a summer crochet top that feels simple, wearable, and beginner-friendly, this is a lovely pattern style to try. The easy two-panel construction makes it much less intimidating than many garment projects, and it gives you lots of room to adjust the fit, length, and overall look. With the right yarn and a little patience, you can turn it into a comfortable handmade top that feels perfect for warm days.
FAQs
Is this beginner-friendly?
Yes. The tutorial presents it as a super easy, beginner-friendly crochet top.
What yarn is best for this top?
Lightweight cotton or a cotton-bamboo blend is a great choice for summer.
Can I adjust the size?
Yes. You can change the width and length of the panels to suit your preferred fit.
Can I make it more breathable?
Yes. Use lighter yarn, keep the fabric relaxed, and avoid making the stitches too tight.
Do I need garment-making experience first?
Not much. Since this top is made from two rectangles, it is a gentle introduction to wearable crochet.