
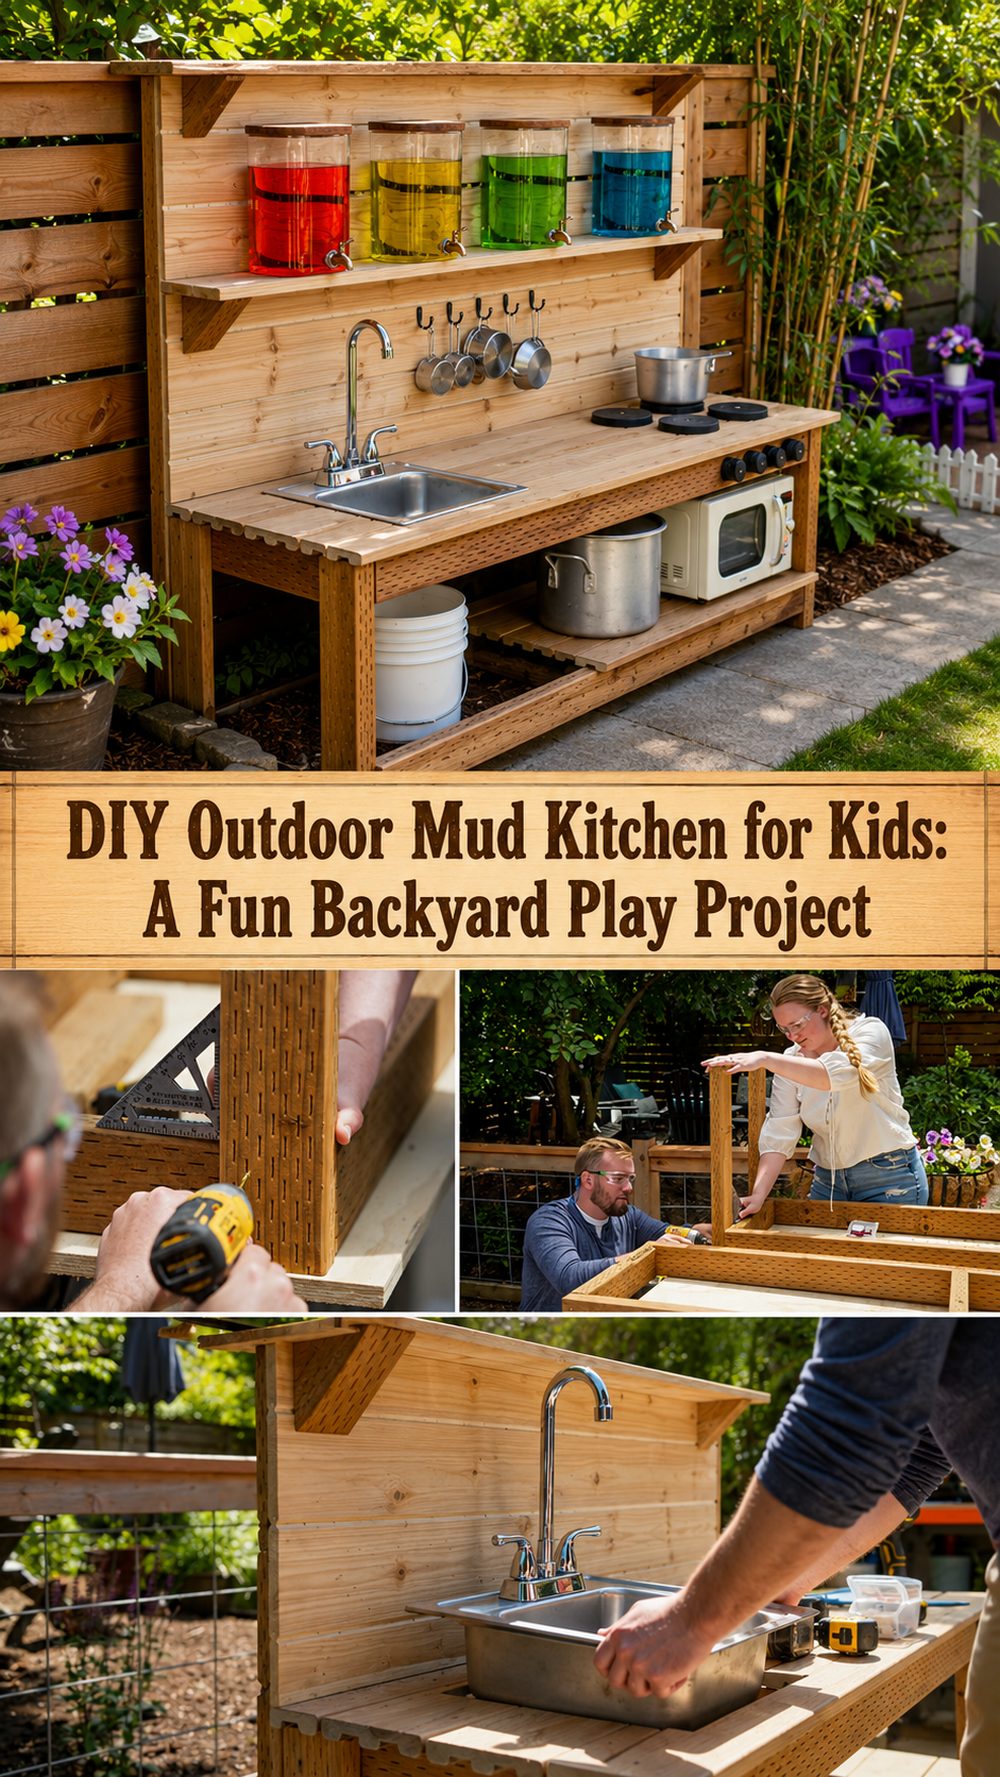
A mud kitchen is one of those outdoor projects that makes a backyard come alive. It gives kids a special place to mix, scoop, pour and create all kinds of messy pretend meals with mud, water, leaves, flowers and whatever else they find outside. This type of play set up is not only fun but also great for imagination and hands on sensory play. What’s so nice about this project is that it can be customised to suit your space, whether you want something simple and rustic or a more polished little play station. If you like practical, charming, beginner-friendly woodworking projects that are family-oriented, this is a great project to try. The tutorial I followed is for a full build of a kid-sized outdoor mud kitchen, complete with work space, storage and fun kitchen-style details.
What We Love About This Project:
This mud kitchen is fun, practical and simple to personalise. It transforms a simple corner of the yard into a creative outdoor activity area where kids can play for hours using very simple materials.
Materials Required:
Wooden boards or other suitable outdoor timber
Screws, Assembly
Counter top surface
An insert for a bowl, tub or sink for messy play.
Shelf pieces or backing boards
Utensil hanging hooks or pegs
If you want, finish or paint for use outdoors
Choose similar materials that match the look, size and style you want.
Tools Required:
Saw it
Drill/driver
Tape measure
Sander or sandpaper
Pencil
Basic clamps if necessary
Most of the build only needs basic household or woodworking tools.
Ideal Materials for This Project:
For an outdoor mud kitchen, a sturdy wood that’s weather resistant is best. Beginners find smooth boards easier to cut, sand and assemble and once the edges are softened they feel safer for little hands. Reclaimed wood can work well if you want a more budget-friendly option and it is clean, solid, and safe to use outdoors. For the washbasin area, a simple bowl or tub that can be taken out is practical because it can be easily emptied and washed.
Skill Level
Easy to confident novice. If you’re comfortable measuring, cutting, screwing pieces together and checking that everything sits level, this is a very doable project.
Size & Placement Guide:
Build the kitchen to fit your yard and the ages of the children using it. Keep the height comfortable for standing play, and the width wide enough for a play sink and a little work surface: 18 inches deep. Suitable for a garden bed, patio or fence. Partial shade is good. It’s smart to put it somewhere that can take splashes, dirt and regular use.
How to Make It:
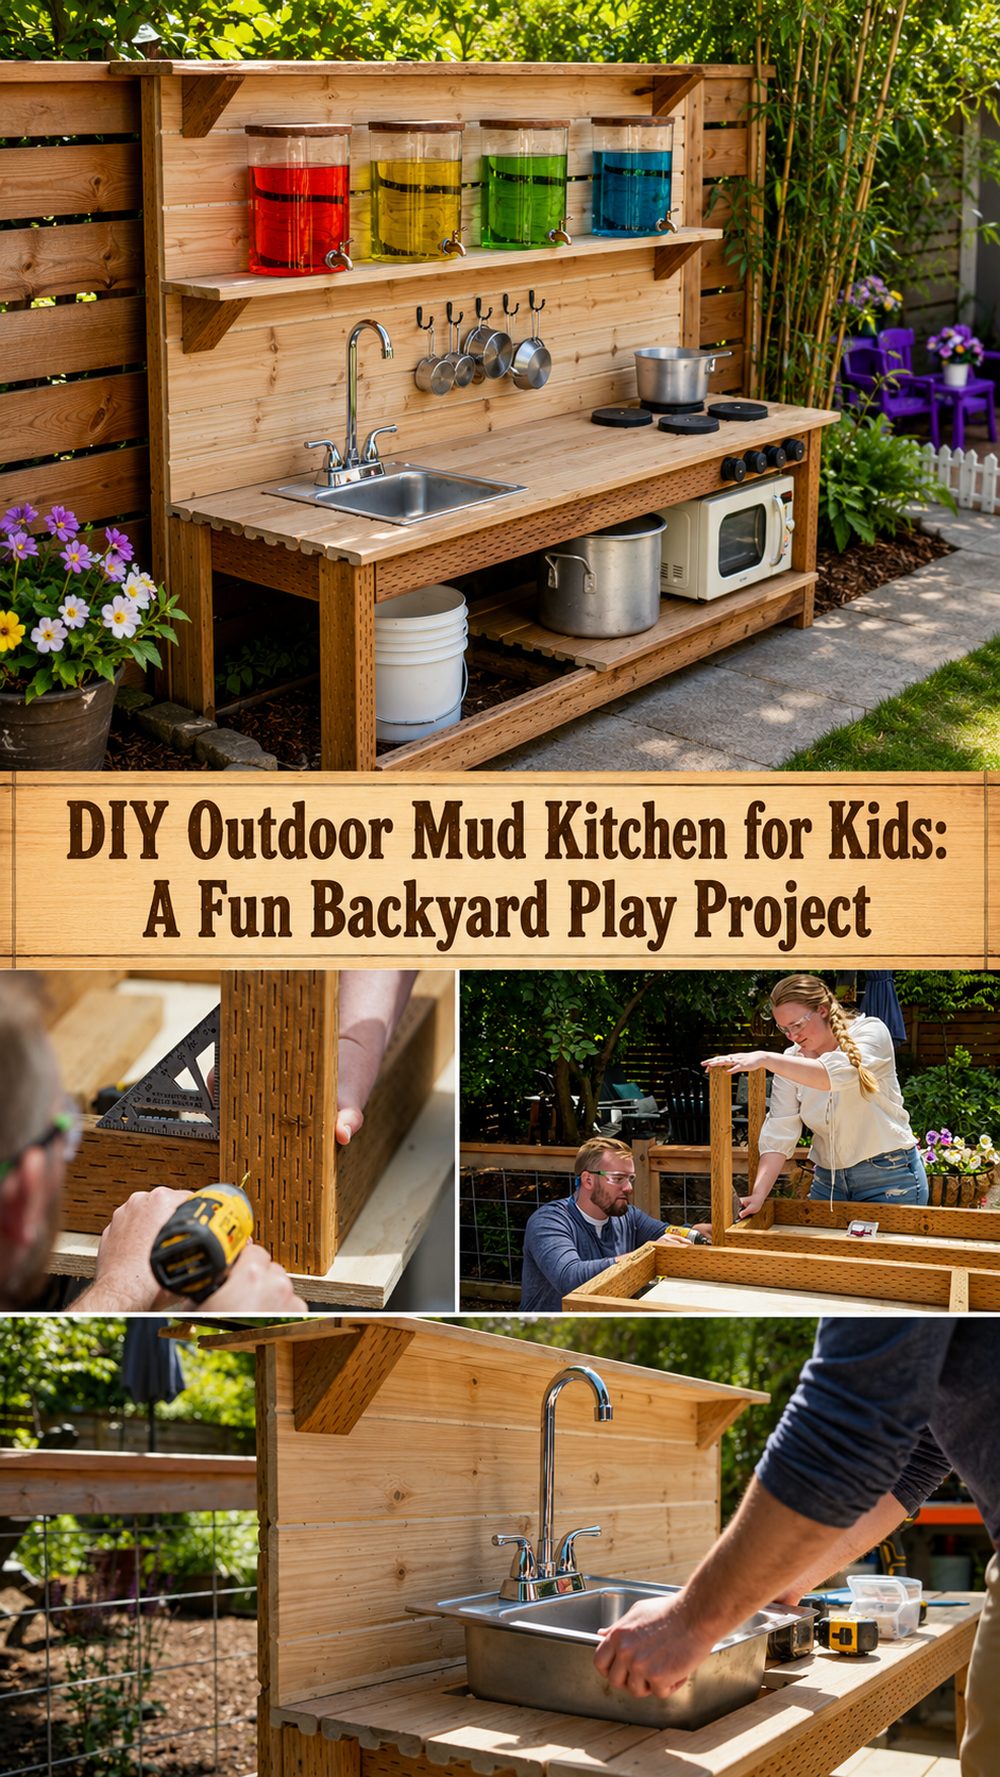
Step 1: Prepare the Base
Start by planning the overall shape and deciding how large you want the mud kitchen to be. Cut the main pieces for the frame, legs and counter top supports. Sand the surfaces and edges well before you begin putting anything together, so the wood feels smooth and child-friendly. Doing this prep work early makes the finished piece look better and feel safer.
Step 2: Construct the Main Frame
First build the basic structure. This gives you the body of the kitchen and lets you check the height, width and stability before adding any more details. Ensure the frame is square and firm and test it on the ground as you go. The base is the most important part of the whole project.
Step 3: Arrange the Countertop and Work Area
If the frame is solid, attach the countertop. The build in the tutorial has a proper work surface so the kids have room to mix mud, water, leaves and pebbles. Make room for messy play and pretend cooking. If you want a washbasin area, designate a section for the bowl or tub to sit in.
Step 4: Build in washbasin and storage features
Add the sink insert or bowl opening. Then add useful extras like a lower shelf, back panel or storage section. Such details make the mud kitchen look more like a real play station. Underneath there is a useful shelf for pots, buckets or extra containers and a back panel provides a place to attach hooks or decorative details.
Step 5: Add Kitchen-Style Elements
And now for the fun part: Add hooks for spoons, pans or small garden tools. You can also add simple decorative features like burners, knobs or a splashback area . Don’t have too many pieces. Keep it simple and strong. The best mud kitchens are practical first and cute second.
Step 6: Trim and Style
Sand the whole project one last time and wipe off dust. For extra weather protection, apply an outdoor-safe finish and let dry completely before use. Then decorate the kitchen with old utensils, bowls, measuring cups, flower petals, leaves and a few mud-friendly containers. When it’s all set up, it’s ready for outdoor play.
Helpful Hints:
Measure your layout before you cut.
Sand all edges well.
Fix the top and try the bowl or washbasin insert.
Keep the design simple for easier cleaning and maintenance.
If you use materials that are safe for outdoor use and plan to leave the kitchen outdoors all year, then go for it.
Place on a flat surface for more stability.
Typical Mistakes Not to Make:
Cut pieces before you plan the whole layout
Don’t forget to sand off rough edges
Setting the counter too high or low for the child
Use of weak or weather-sensitive materials on the outside
Putting too many decorations in the way of play
Skipping stability test prior to use
Ideas for Customisation:
You could paint it in soft garden colours, leave the wood as it is, add a chalkboard panel, hang little baskets, put a herb planter beside it or decorate it with recycled jars and tins. And for even more fun, add some seasonal touches such as mini pumpkins, flowers or nature trays.
Styling ideas:
Put the finished mud kitchen next to a sandbox, garden bed, or outdoor play area. Use old metal spoons, wooden bowls, small watering cans and a basket of leaves or pebbles to style it. Nearby a few potted plants look lovely with it.
Care Instructions:
Vacuum or brush away dirt regularly and wipe surfaces as needed. Rinse and empty the washbasin bowl frequently. If painted or sealed, check periodically for wear and touch up as needed. It will last longer in very wet weather if you cover it or bring loose accessories inside.
Time Required:
This project can take a short afternoon, or a few hours depending on materials, size, drying time, and detail.
Budget Guide:
It’s easy on a moderate budget, especially if you use leftover wood, recycled containers and simple secondhand kitchen accessories.
Conclusion:
An outdoor mud kitchen is a charming way to encourage creative, messy, open-ended play. It is practical, fun to build, and easy to adapt to your own backyard style. Whether you keep it simple or dress it up with playful details, it can become a favorite outdoor spot for little hands and big imaginations.
FAQs:
1. Is this beginner-friendly?
Yes, it is a great project for a beginner or confident beginner with basic tools.
2. What materials work best?
Smooth, sturdy wood and outdoor-safe finishes work best for long-term use.
3. Can I make it bigger or smaller?
Yes, the size can be adjusted to fit your yard and the child’s height.
4. Can I use recycled materials?
Yes, clean reclaimed wood and reused bowls or containers can work very well.
5. Can it stay outdoors?
Yes, but it will last better with weather-friendly materials and occasional maintenance.