
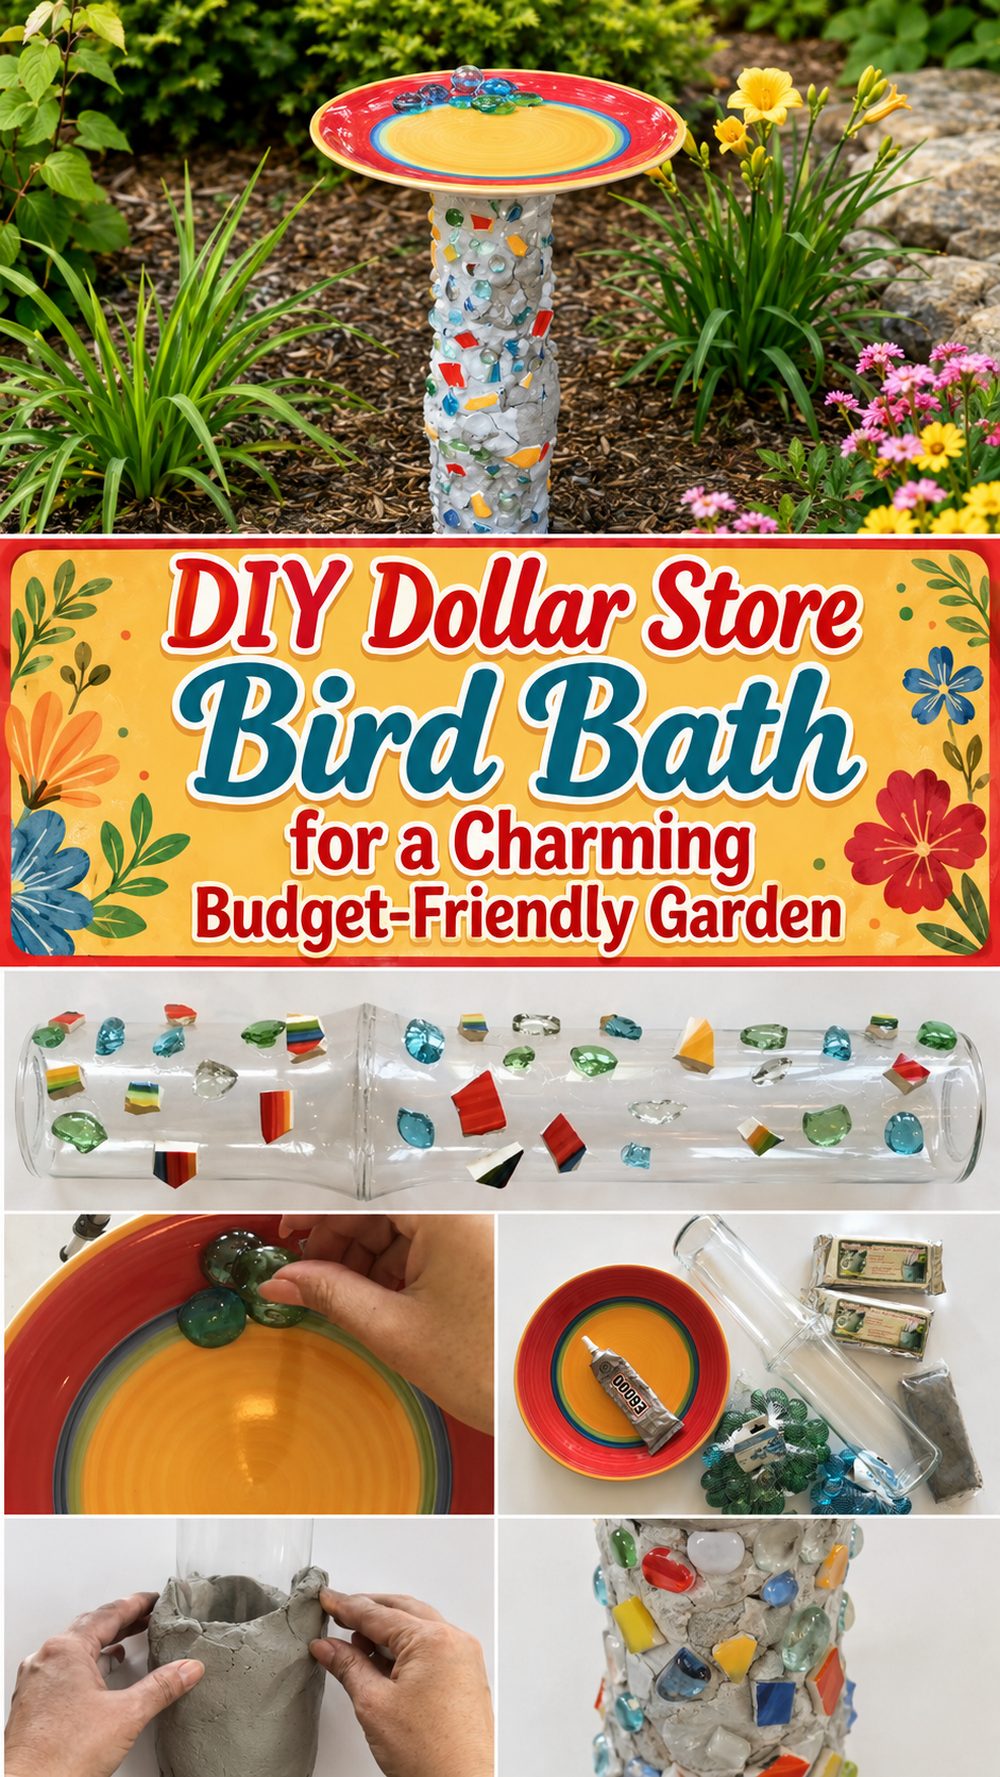
One of those easy outdoor projects that can really change the look of your yard is a bird bath made from dollar store supplies. It’s a cute decorative touch, a place for visiting birds to stop for a drink of water and it can be put together without spending much at all.
This type of project is especially nice for anyone that loves easy garden decor, thrifted looking outdoor accents or quick seasonal updates for a patio, porch or flower bed. The tutorial I chose involves a garden bird bath mostly made from Dollar Tree finds and keeps the build within reach for everyday crafters.
It’s a great choice for beginners because the shape is simple, the supplies are easy to swap out, and the finished piece can be styled to match just about any outdoor space.
Reasons You’ll Love this Project:
This project is cost effective, easy for beginners and customisable. It’s not only a pretty focal point for your garden, it’s a practical little resting spot for birds too.
Materials required:
A shallow bowl or garden dish
A pedestal-style base such as a candle holder, vase, planter or similar sturdy dollar store item
Decorative fillers or accents (if used in your version)
The materials are well adhered with strong adhesive
Finish or paint as desired for outdoor use
Choose materials that are similar to the look, size and style you want.
Required Tools:
Glue gun or strong glue dispenser
Basic tools for home or craft
Cloth or paper towel for cleaning
Optional paint brush for painting or sealing.
Top Materials for This Project:
For a bird bath like this, a shallow bowl is ideal so birds can step in easily rather than deal with deep water. It’s important to have a sturdy base, because outdoor pieces need to stay balanced. Use materials that can take moisture and sunlight, or add an outdoor safe sealer for a longer lasting finish. Glass-look pieces can provide a nice decorative finish, but plastic or lighter pieces may require added support to remain stable outdoors.
Skill:
Easy to use. It is a simple project, mostly just picking out matching bits, putting them together neatly and finishing them off so they can be put outside.
Size & Placement Guide:
You can make this bird bath taller for a flower bed focal point or shorter for a patio corner, fairy garden area or porch display. Keep the bowl wide and fairly shallow to make it inviting to birds. Select colours that match your outdoor style, such as soft neutrals, bright garden colours or tones inspired by aged stone. Put it somewhere you can see it, but somewhere calm. Leave enough open space for birds to safely approach. Best is a level surface, and partial sun can help keep the water comfortable while still making the piece stand out.
How to Make It:
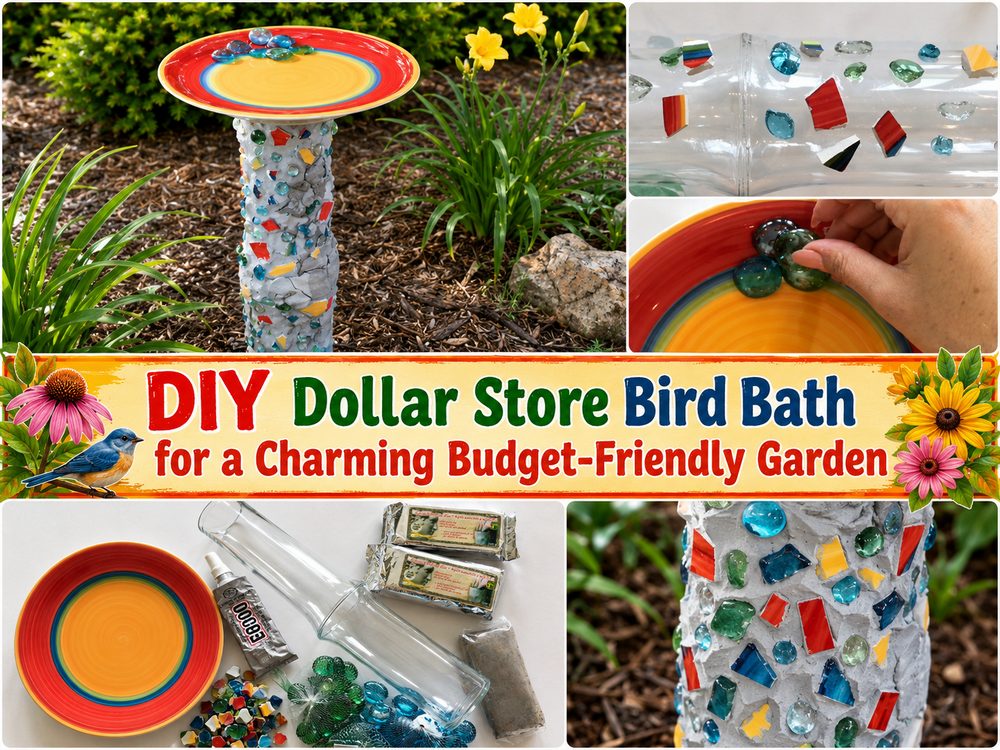
Step 1: Prep the Base
Lay out your main pieces and test the fit. Ensure surfaces are clean so glue or adhesive sticks well. Place the bowl on top of the base and make sure the shape looks balanced before attaching anything. This is a good time to decide if you want the base upright, upside down or layered for a more decorative look.
Step 2: Position the Pieces
Try a few combinations until the bird bath looks proportional. The bowl should sit centred on the base and feel stable on all sides. If you’re adding decorative elements, place them nearby and decide if they will go around the base, inside the edge of the bowl, or be minimal for a cleaner design.
Step 3: Create the Shape
Once you’re happy with the layout, apply a good quality adhesive to stick the bowl to the pedestal base. Do not move the piece, keep it in the center. If your version has more than one support piece, build it from the bottom up, making sure each section is secure before moving on to the next.
Step 4: Apply Colour or Texture
Once the structure is assembled you can leave it as it is or add more character with paint or finish. Opt for a stone-look, weathered finish, soft garden colour or just a simple glossy surface. Be sure that each layer is completely dry before handling again, especially if the bird bath will be outside.
Step 5: Accessorise
Carefully add optional accents so the design still feels functional. Keep the bowl area open enough for water and do not crowd the edges. A clean, simple finish is usually the best looking in the garden.
Step 6: Finish & Style
Set the bird bath in your outdoor location and fill with a shallow layer of water. Ensure it sits flat and doesn’t wobble. Surround it with plants, mulch, rocks or small garden accessories to give it a natural, tucked-in look.
Tips that Can Help:
Test the layout all over before you glue.
Create a shallow top for a bird-friendly design.
Allow glue, paint or sealer to dry completely before placing outside.
Keep the final look simple so the bird bath remains practical.
Place it on a flat surface for better stability .
Change the water often once it is in use.
Common Mistakes You Should Avoid
Skip layout test before attaching pieces –
Using a bowl which is too deep
Choosing a weak or narrow base .
To rush before the glue or paint is totally dry
Putting too many decorations around the water area
Putting it on uneven ground where it can tip over
Customisation Ideas:
You can change the colour to coordinate with your flowers, patio furniture or seasonal decor. Select a rustic garden look, a brighter cheerful finish or a soft neutral style. You can also add pebbles to the base for a subtle ageing effect or some decorative accents that match your yard. For a more personalised touch, change the height, use a different bowl shape or coordinate it with nearby planters and lanterns.
Style Tips:
This bird bath looks great in a flower bed, next to a walkway, on a patio or in a quiet corner of the backyard. It can be incorporated into a cottage garden scheme or a porch update or an inexpensive outdoor decorating project. A sweet handmade gift for anyone who loves birds, gardening or thrift style decor.
Care Instructions:
Wipe it as needed and rinse out the bowl regularly. Keep it attractive to birds by topping up with clean water often. If your materials are not very weather resistant, put the bird bath in a somewhat sheltered spot or bring it indoors when weather is harsh. Seasonal storage can extend the life of it.
Time Required:
Depending on your materials, size, drying time & level of detail this project could take a short afternoon or just a few hours.
Budget Guide:
This can be made with dollar store or leftover material very cheaply. It’s a great garden project for not a lot of money, especially if you already have glue or paint or decorative extras at home.dollar store or leftover materials. It is a great low-cost garden project, especially if you already have glue, paint, or decorative extras at home.
Conclusion:
This dollar store bird bath is an easy way to add charm, height, and personality to your outdoor space without a big budget. It is simple enough for beginners, flexible enough to customize, and pretty enough to become a favorite garden accent. Make it in your own style and enjoy giving your yard a handmade touch.
FAQs:
1. Is this beginner-friendly?
Yes. The structure is simple and easy to adapt.
2. What materials are best?
A shallow bowl and a sturdy base work best for both appearance and function.
3. Can I make it bigger or smaller?
Yes. Just adjust the bowl and pedestal size to fit your space.
4. Can I use recycled materials?
Yes. Clean reusable items can work beautifully if they feel stable and outdoor-friendly.
5. Can I use it outdoors all season?
Yes, though outdoor-safe finishes and some weather protection will help it last longer.