
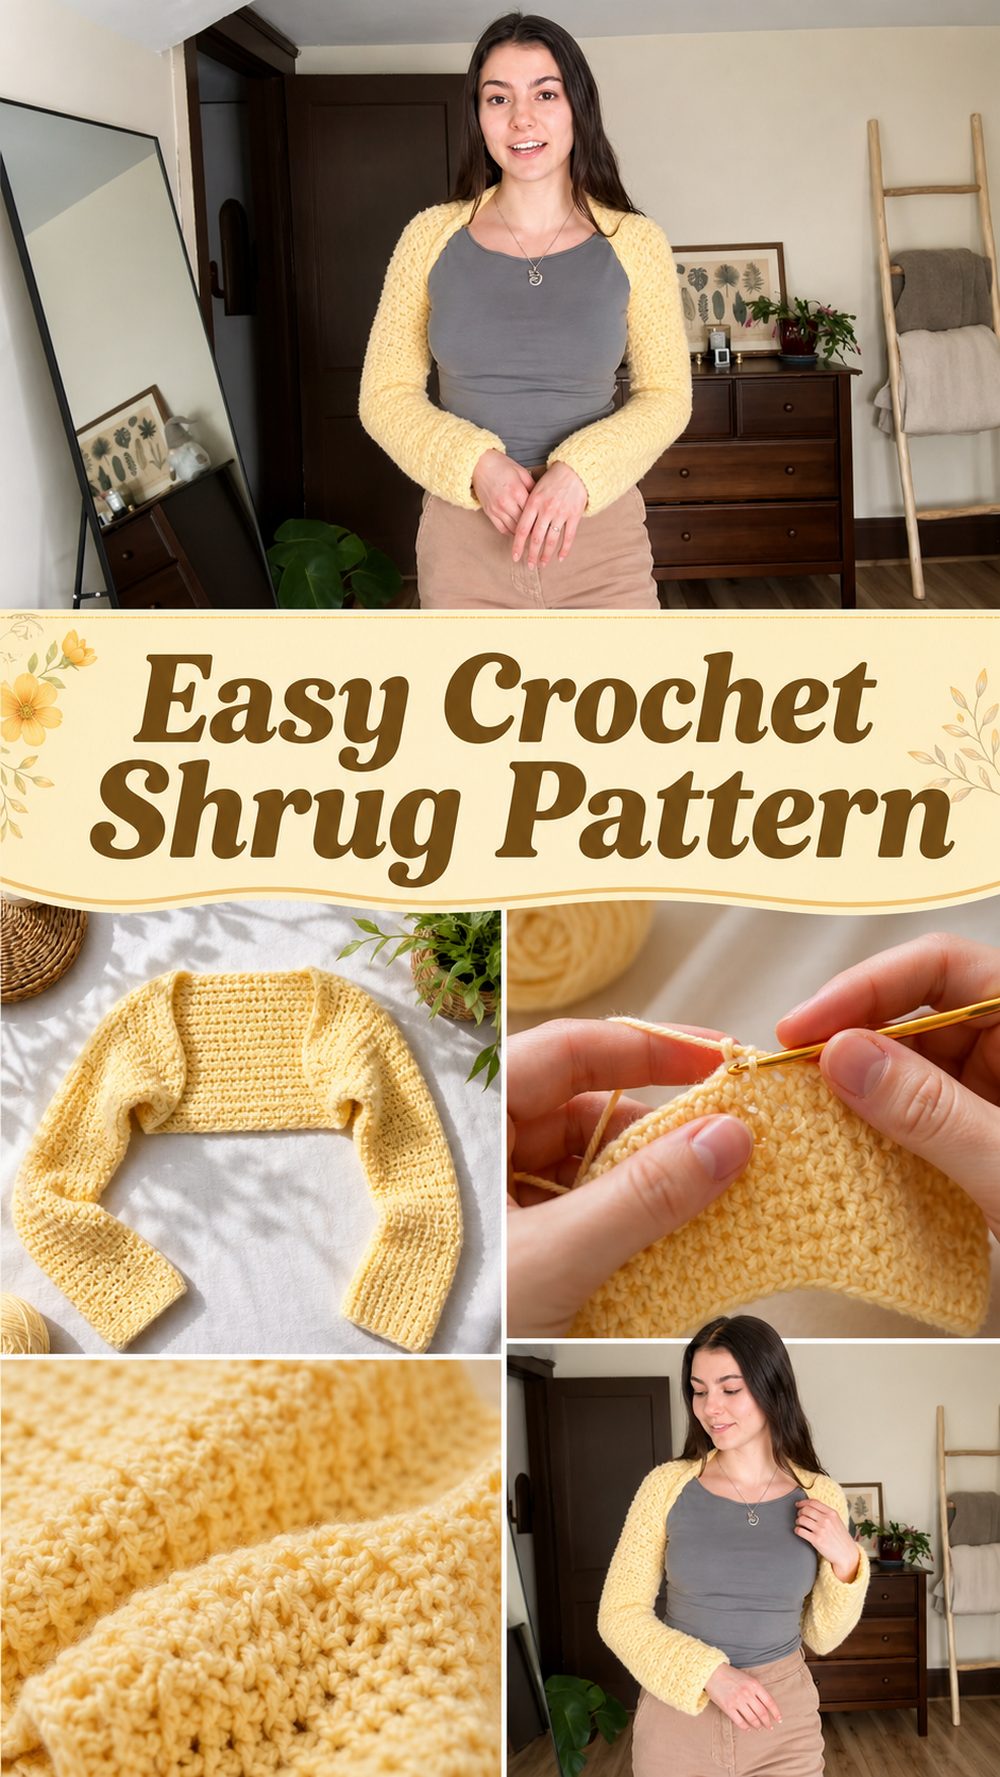
A crochet shrug is such a lovely project when you want to make a garment that feels useful without becoming too overwhelming. It gives you a soft extra layer over tanks, dresses, tops, and simple tees, and it is one of those pieces that can make an outfit feel more finished without much bulk. The tutorial I selected shows an open-front crochet shrug made from one long panel that is sewn together at the arms, which makes the construction feel much simpler and easier to understand than a heavily shaped sweater. That kind of design is especially nice if you want a wearable project that still feels approachable. A shrug like this can work beautifully in mild weather, for indoor layering, or whenever you want a handmade cover-up that is light, stylish, and comfortable to move in.
Why You’ll Love This Project:
This project is easy to love because the construction is simple, but the finished result still looks like a real wearable layer. The selected tutorial clearly describes the shrug as open in the front and made by crocheting one long panel and sewing it together at the arms, which makes it feel especially approachable for crocheters who want to try clothing without complicated assembly.
Materials Needed:
- Yarn
- Crochet hook
- Scissors
- Yarn needle
- Stitch markers
- Measuring tape
If the exact yarn weight or hook size is unclear, use a yarn and hook size that matches your desired fit and texture.
Best Yarn for This Project:
A soft yarn with a nice drape usually works best for a shrug like this. Since the selected tutorial is for an open-front shrug made from a long panel, it helps to choose a yarn that flows nicely rather than feeling too stiff. A cotton blend can be lovely if you want something breathable, while a soft acrylic or acrylic blend can work well if you want easy care and a comfortable everyday layer. For a lighter shrug, use a lighter yarn. For a cozier version, choose something a bit warmer, but try not to make it too bulky or the panel may feel heavy once worn.
Skill Level:
This project is beginner-friendly to easy intermediate.
The simple one-panel construction makes it feel more approachable than many garment patterns, but you still need to pay attention to sizing, edge consistency, and neat seaming at the arms. The most helpful part is that the tutorial clearly describes a straightforward build rather than a highly shaped garment.
Size and Fit Guide:
To adjust the size, think first about how you want the shrug to fit. Some people prefer a closer layer that sits neatly on the shoulders and upper arms, while others like a looser, more relaxed drape. Since the selected tutorial uses one long panel, the main size changes will usually come from adjusting the panel length, width, and the placement of the arm joins. This is an inference based on the construction described in the tutorial snippet.
As you work, hold the panel against your body or compare it to a shrug, cardigan, or light sweater that already fits the way you like. Pay close attention to the width across the back, the amount of fabric you want in the front opening, and how deep you want the arm sections to sit. Checking the fit as you go is the easiest way to make this style feel comfortable and wearable.
Stitches Used:
Follow the video directly for the exact stitch order and row structure. The available YouTube result clearly tells us the shrug is open in the front and constructed from one long panel sewn together at the arms, but it does not expose a full written stitch list, exact counts, or row-by-row details in the snippet. It is better to follow the tutorial itself for those exact steps rather than guess them.
How to Make It:
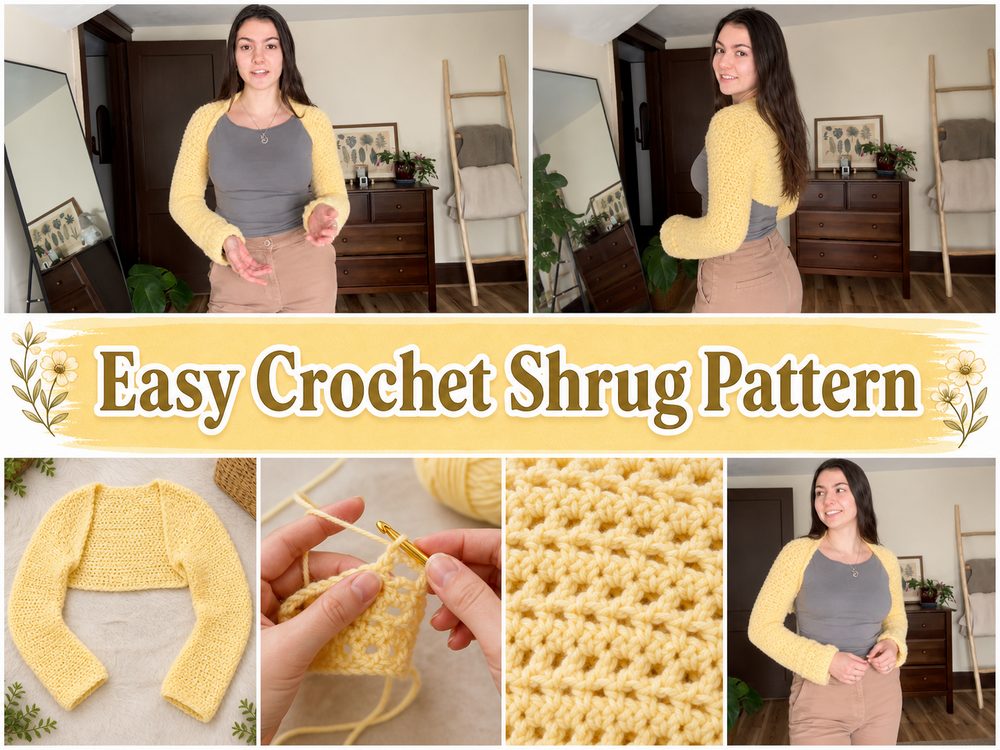
Step 1: Start the Long Panel
Begin by crocheting the main long panel that will form the body of the shrug. Since the selected tutorial specifically says the whole project is built from one long panel, this first section is really the heart of the design. Keep your foundation even and avoid making it too tight, because the panel needs enough flexibility to sit comfortably once it wraps around the body.
At this stage, it helps to decide whether you want a shorter shrug or something with a little more drape. That choice will affect how long and wide you want the panel to become.
Step 2: Build the Main Fabric
Once the foundation is ready, continue working the panel in the stitch pattern shown in the tutorial. This is the relaxing part of the project where you simply focus on building the fabric evenly. Because the construction is based on a single panel, neat edges matter a lot. They will affect how polished the finished shrug looks after seaming.
Lay the panel flat every now and then to make sure it is staying even and not pulling in at one side.
Step 3: Check Width and Length as You Go
Since the shrug is made from one long panel, sizing depends heavily on the final dimensions of that piece. Hold it against your shoulders and upper back from time to time and imagine how it will sit once the arm sections are joined. A shrug should feel comfortable to wear and allow easy movement through the upper body, so checking the scale before finishing the panel is very helpful.
If you want more front coverage, continue the panel until it feels long enough. If you prefer a lighter and simpler shrug, stop once it gives the amount of drape you want.
Step 4: Keep the Front Open Shape in Mind
The selected tutorial clearly identifies this as an open-front shrug. That means the finished piece is meant to layer softly without closing across the front. As you crochet the panel, keep that in mind and think about how much fabric you want falling at each side of the body.
An open-front piece often looks best when it feels balanced from left to right, so check that your panel has an even shape and clean edges.
Step 5: Mark the Arm Join Areas
Once the panel reaches the right size, the next important step is figuring out where the arm joins will go. The tutorial snippet tells us the shrug is sewn together at the arms, so this is the stage where the flat fabric starts becoming a wearable piece.
Use stitch markers if needed to help keep the arm sections even. Before sewing, compare both sides carefully so the openings are placed at the same depth and distance.
Step 6: Sew the Arm Sections
Now join the fabric where the arm areas are meant to be. This is what transforms the long panel into a shrug. Take your time with this part and keep the seams neat and comfortable. Since the shrug is open in the front, the arm seams do a lot of the structural work, so you want them to feel secure without becoming bulky. The one-panel-plus-arm-seams construction comes directly from the selected tutorial snippet.
After joining, slip the piece on gently to check whether the arm openings feel comfortable and balanced.
Step 7: Refine the Shape
Once the seams are done, look at the overall shape. At this point, you should be able to see the open-front shrug clearly. Check how it sits across the shoulders, how the front hangs, and whether the sleeves or arm openings feel too loose or too tight.
This is the moment to make small adjustments if something feels slightly off. A little extra care here can make the finished shrug much nicer to wear.
Step 8: Finish the Edges
If the tutorial includes simple edge finishing, work that now. Clean edges help the shrug look more polished and can also make the arm openings feel neater. Keep your tension relaxed so the finish does not tighten the fabric too much.
Because this piece is built from a straightforward panel, simple finishing is often enough to let the shape stand out beautifully.
Step 9: Weave In Ends and Final Check
Weave in all yarn tails carefully, especially near the arm seams where the fabric may get more strain during wear. Then try the shrug on one more time and check how it feels in motion. A finished shrug like this should feel light, comfortable, and easy to layer over other clothes. That matches the selected tutorial’s presentation of the project as an open-front shrug made from one long panel with arm joins.
Helpful Tips:
- Keep the long panel even from start to finish.
- Check the size against your body before seaming.
- Mark the arm join positions before sewing.
- Make sure both arm openings match.
- Choose a yarn with a nice drape for a softer finished look.
- Weave in seam-area ends securely.
Common Mistakes to Avoid:
- Making the foundation too tight
- Forgetting to check the panel size before seaming
- Placing the arm joins unevenly
- Making one arm opening larger than the other
- Using yarn that feels too stiff for a shrug
- Pulling any finishing edges too tightly
Customization Ideas:
You can make this shrug in a soft neutral shade for an easy everyday layer, or choose a brighter color if you want it to stand out more over simple tops and dresses. A lighter yarn gives it a breezier feel, while a warmer yarn makes it a little cozier for cooler weather. You can also make the panel longer for more front drape or keep it shorter for a simpler shrug shape.
Style Ideas:
Wear it over a tank top, dress, fitted tee, or sleeveless outfit when you want a light extra layer. An open-front shrug like this also works nicely over casual basics because it adds a handmade touch without feeling too heavy. It can look relaxed for everyday wear or a little more polished depending on the yarn and color you choose.
Care Instructions:
Hand wash gently in cool water with mild soap, or follow the yarn label if your yarn is machine washable. Lay flat to dry so the panel and seams keep their shape. Avoid high heat, especially with acrylic or blended fibers. If needed, smooth the shrug into shape while damp so the front edges and sleeves dry neatly.
Time Needed:
This may take several hours or more depending on your speed, yarn, size, and stitch pattern.
Conclusion:
A crochet shrug is a lovely project when you want a wearable layer that feels practical, stylish, and less intimidating than a full sweater. The selected tutorial stands out because it uses a simple open-front construction made from one long panel sewn together at the arms, which gives you a clear path from flat crochet fabric to a finished garment. It is a great kind of project to personalize with your own fit, yarn, and style choices.
FAQs:
1. Is this project beginner-friendly?
Yes, it looks approachable for beginners who are ready to try a simple wearable. The selected tutorial describes a very straightforward build using one long panel and arm seams.
2. Can I adjust the size?
Yes. Because the shrug is constructed from one long panel, adjusting the panel dimensions and arm join placement is a practical way to change the fit. This is an inference based on the construction described in the selected tutorial.
3. What yarn is best for a crochet shrug?
A soft yarn with good drape usually works best, such as a cotton blend, soft acrylic, or acrylic blend.
4. How do I make the arm openings comfortable?
Mark both sides carefully before sewing and check the fit before fully finishing so the openings stay balanced and wearable.
5. What can I wear with a crochet shrug?
You can layer it over dresses, tanks, tees, and sleeveless tops when you want a light handmade extra layer.