
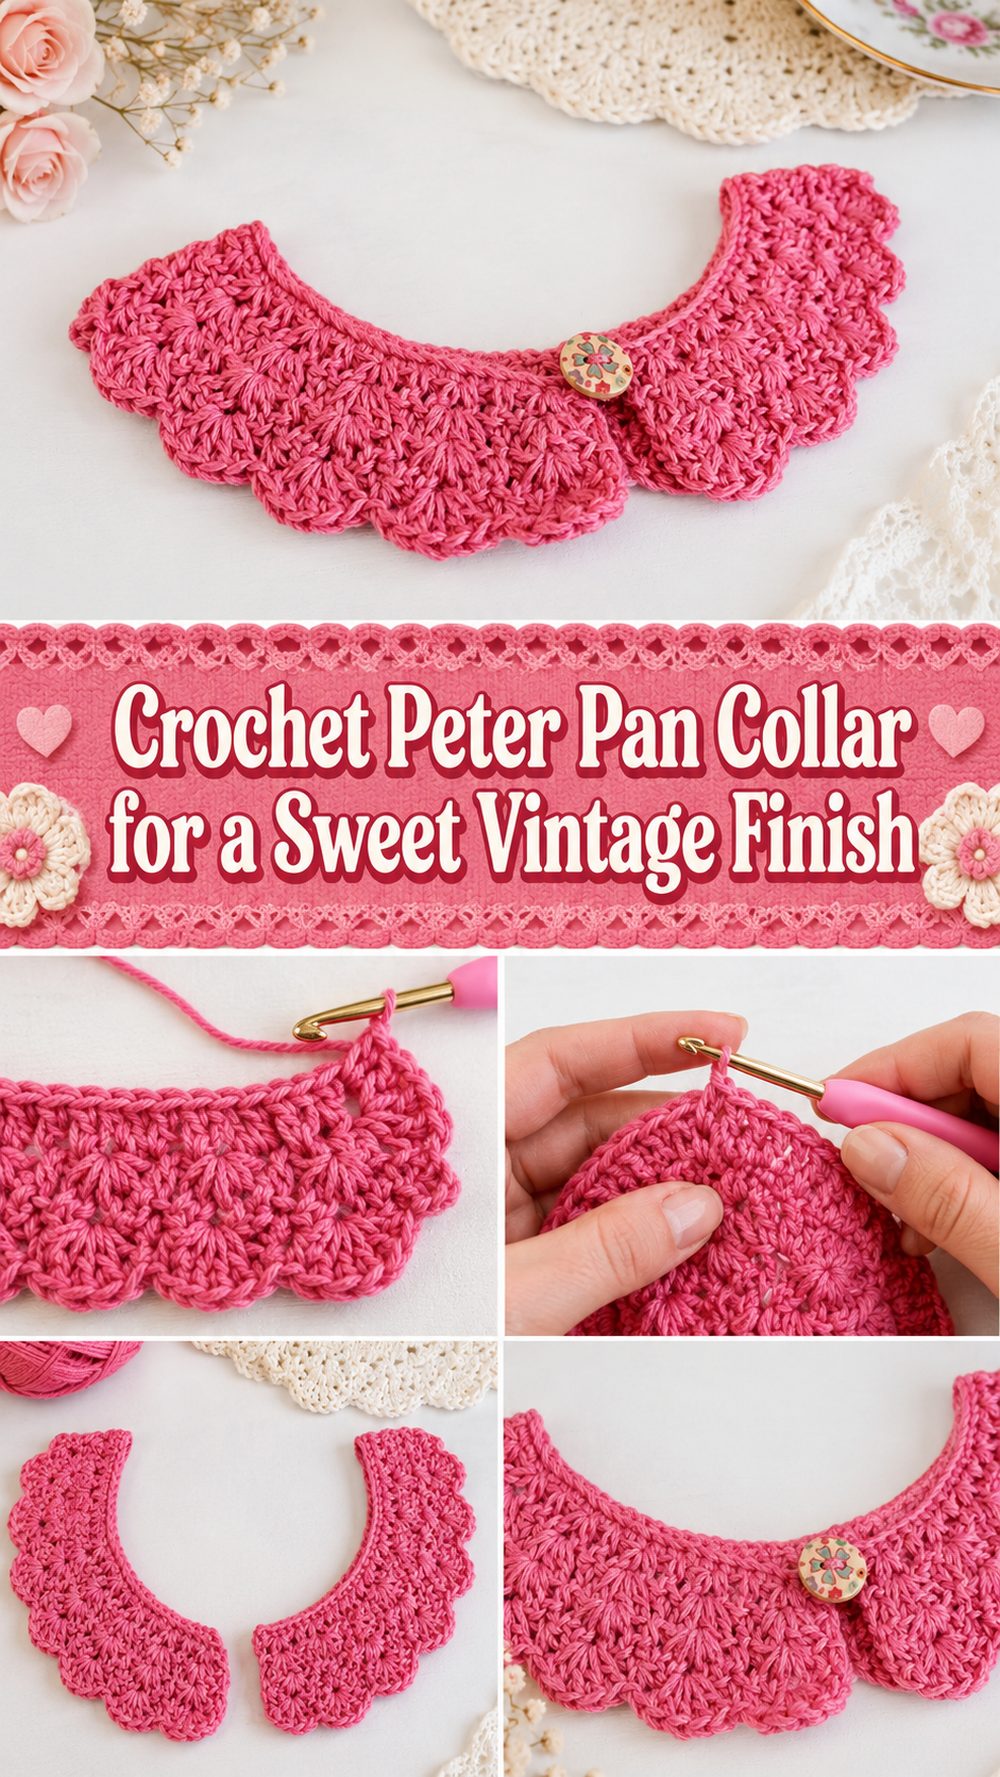
A crochet Peter Pan collar is one of those little projects that can totally change the feel of an outfit. It has that soft rounded shape that looks timeless, feminine and a little bit vintage, but it still works beautifully with modern clothes too. You could throw it over a simple blouse, a knit top, a dress or even a plain jumper if you want to add a hand-made touch without making an entire garment. The tutorial I chose was for a simple Peter Pan collar, classic in shape, so it feels like a nice project for anyone who likes pretty accessories that are handy and satisfying to complete. It’s the kind of crochet project that looks complicated and one of a kind when finished, but is small enough to feel doable. It also makes a great gift, especially for someone who loves a delicate handmade style.
Why You’ll Love This Project:
This project is a cute, wearable, tiny piece that is easy to love. A Peter Pan collar is a great way to add a polished handmade look to plain outfits, and it has a special feel without the time and commitment of a full jumper or top. The chosen tutorial shows it as an easy and pretty Peter Pan collar that can be made in different sizes which makes it even more practical.
Materials Required:
Yarn
Crochet needle
scissors.
Yarn needle
Progress markers
Tape measure
A button, tie or other simple closure if you want a removable finish
If you aren’t sure of the exact weight of yarn or hook size, use a yarn and hook size that will get you the fit and texture you want.
Yarn for This Project:
A smooth yarn with good stitch definition is especially good for a Peter Pan collar. Cotton is a good choice if you want to keep the collar rounded and give it a neat, crisp finish. Cotton blend can be nice too if you want a slightly softer drape around the neckline. If you want a more delicate collar, use a lighter weight yarn. If you want a statement piece that’s a little more substantial, choose something with a little more body, but don’t go too thick, or the collar will feel bulky over clothing.
Level of Skill:
This project is easy to beginner friendly.
According to the tutorial you chose, the collar is easy, so it’s a nice option for crocheters who know the basics and want to try their hand at a wearable accessory. The important thing is to keep an even tension, keep the edges neat and make sure it is balanced on both sides.
Sizing & Fit Guide:
One of the best things about a Peter Pan collar is that it’s fairly easy to adjust. Measure around the area of neckline where you want the collar to sit, either high up near the neck or a bit lower, over a blouse or dress. The tutorial selected mentions that the collar can be made in all sizes and therefore the fit is meant to be flexible instead of fixed to just one measurement.
As you go, hold the collar up to the neckline or lay it over a garment to see how it’s sitting. For a softer everyday collar, make the depth smaller and If you want a more dramatic vintage look, keep going until the collar feels fuller and more visible.
Stitches Used:
Watch the video carefully for exact stitch order and repeat placement. The search result clearly states it’s a step-by-step Peter Pan collar tutorial but it doesn’t show a complete written stitch list in the snippet so it’s best not to guess exact stitch counts or row formulas. What is clear is that the project is made as an easy crochet collar with a rounded Peter Pan shape and adjustable sizing.
How to do it:
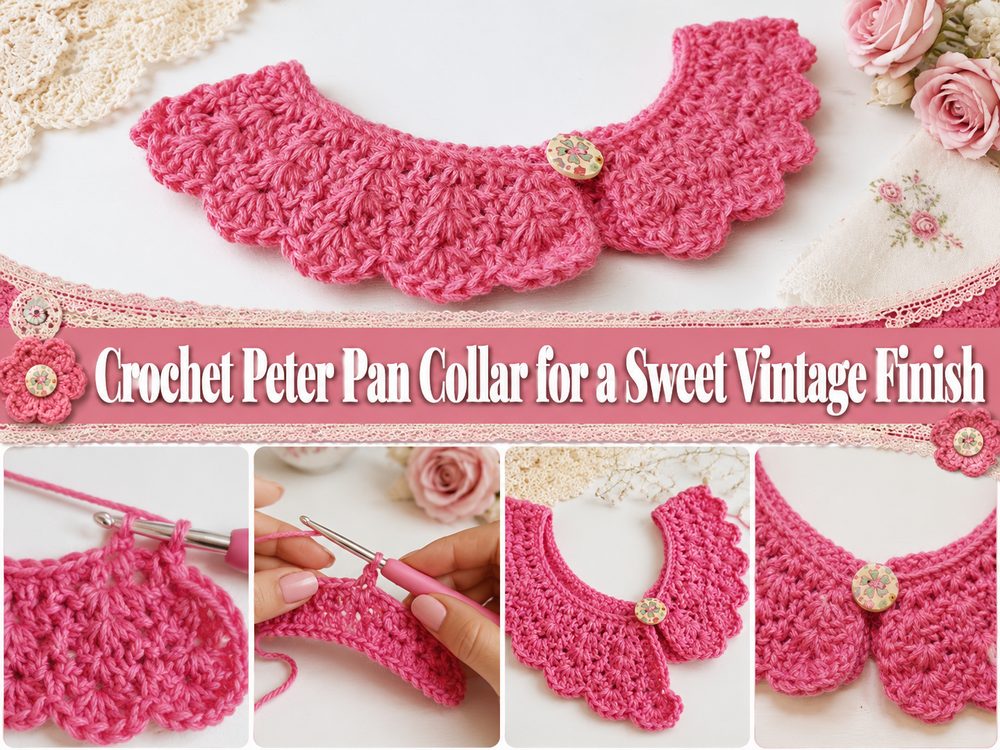
Step 1: Begin the Foundation
Start with the base that will sit around the neckline. This first section is very important as it determines how comfortable the collar will be to wear. Keep your tension even, and don’t make the start too tight. A collar should sit neatly and gently around the neck and not pulled in.
Laying it around the neckline area helps to check the length early. You can stop or extend the start until it feels right for your chosen fit as this style is adjustable.
Step 2: Build the Base Rows
Once the foundation is ready, work the setup rows that form the base of the collar. This section has to be stable and even, as it is the base for the decorative shaping that comes after it. Go slow around the edges here. Always make sure the ends of a Peter Pan collar are even and neat.
If you’re sure you want a detachable closure, keep this in mind when shaping the ends of the collar so they sit cleanly at the front.
Step 3: Start the Rounded Collar Shape
Once the base is in place, the collar starts to take on its signature Peter Pan look. This is the full shape that makes the project so charming. The outline should not be sharp or straight but should soften outwards on a gentle curve.
Lay the piece flat while you work sometimes. This you can see if the shaping is going smoothly. A good Peter Pan collar should be graceful and even, with both sides growing evenly.
Step 4: Assemble the Main Decorative Section
The collar starts to look more chic and polished as you go on. This is where the design body really comes to life. Work the stitch pattern in the tutorial carefully and keep your repeats consistent. Even a simple stitch pattern can look refined if the rows are tidy and the shape is symmetrical.
“As this is a smaller wearable accessory, the little details are of more importance. A clean decorative body can polish up the whole project.
Step 5: Resize as You Work
The tutorial I chose also states that the collar can be made in all sizes, which is really helpful for a project like this.
As you crochet, compare the collar to the garment you plan to wear it with. If you want it to sit closer to the neckline then keep it small and more delicate. If you want it to stand out more, add more depth until it frames the neckline the way you want it to. This is one of those projects where it really helps to see it visually as you go.
Step 6: Keep Both Sides Even
The Peter Pan collar is best when it is symmetrical. Be careful to count your repetitions and stop often to compare the left side to the right side. If one half starts to grow longer, or deeper, than the other, it is best to correct it early on, rather than wait until the end.
Stitch markers really help here, especially around the center or where you are changing shape.
Step 7: Complete the Outer Edge
Usually the final clean look is on the outer edge of the collar. Complete the tutorial with the finishing section which will add a nice border to frame the entire piece. Maintain a relaxed tension during this part. If the edge is too tight the collar may be pulled in. If it’s too loose it can lose that nice rounded finish.
A tidy edge helps the collar lie beautifully on top of clothing.
Step 8: Finish the Front
If you want a detachable collar, finish the front ends in a way that suits your style. It could be a simple tie, a button loop or some other small fastening that keeps the collar in place but still looks pretty. The collar is an accessory so comfort is just as important as looks.
The front should hang nicely and not feel heavy when worn.
Step 9: Finish the collar, and weave in ends
Once you have finished your crocheting, weave in your yarn ends neatly and carefully. Then lay the collar flat and shape it gently with your hands. Blocking out light can help to smooth the curve, open the stitches, and make the collar look even more finished.
The finished look is soft, rounded, elegant and easy to layer over blouses, dresses or sweaters. It is the classic round neckline that makes the Peter Pan collar such a perennial favourite.
Helpful Hints:
First, keep the tension loose for the neckline so it is comfortable.
If you are crocheting in the round, check the fit over an actual garment.
Keep checking on both sides to maintain an even shape.
Use smooth yarn so that the stitch pattern is clearly visible.
Don’t rush the final edging.
Light blocking can help the collar appear more clean and polished.
Common mistakes to avoid are:
Over-tightening the foundation
Don’t think about symmetry when you’re working
Letting one part get bigger than the other
using yarn that is too stiff or bulky
pulling the outer edge too tight
Finishing without trying it out on clothes
Ideas for Customisation:
You can make this collar in white or cream to get a vintage classic look or try blush, dusty blue, sage or black for something a little different. A narrower collar is nice and simple for everyday use, while a deeper one is more dramatic and dressy. You can add a ribbon tie, a little button, or a slightly decorative border to give it an even more personal feel.
Style Ideas:
Wear your Peter Pan collar over a plain blouse to dress it up in a flash, or with a simple knit top for a soft layered effect. It also looks great over dresses and lightweight sweaters. This style of collar is ideal for those who favour cottage style or vintage-inspired looks, but can also be used to soften more contemporary basics.
Care Instructions:
Hand wash gently in cool water with mild soap. Lay flat to dry. Do not twist or wring out, especially if the collar has open stitches. Form it when wet so the rounded edges dry clean. Keep it away from high heat to ensure the yarn maintains its softness and structure.
Time Required:
depending on your speed, yarn, size and stitch pattern this can be a few hours.nding on your speed, yarn, size, and stitch pattern.
Conclusion:
A crochet Peter Pan collar is a lovely project when you want something elegant, practical, and fun to finish in a short amount of time. It adds a handmade touch to simple outfits and gives you lots of room to adjust the size, depth, color, and overall mood of the piece. Whether you keep it delicate and classic or make it a little fuller and more noticeable, it is the kind of accessory that feels special every time you wear it.
FAQs:
1. Is this project good for beginners?
Yes, it is a nice beginner-friendly project for someone who already knows the basic crochet motions and wants to make a small wearable item.
2. What yarn works best for a Peter Pan collar?
Cotton or a smooth cotton blend is usually a great choice because it holds the shape nicely and shows the stitch detail well.
3. Can I adjust the size?
Yes. The tutorial is presented as suitable for all sizes, so you can adapt the neckline length and collar depth to suit your needs.
4. Can I make it detachable?
Yes. You can finish the ends with a simple closure like a tie or button so the collar can be worn with different outfits.
5. How do I make it look neat and polished?
Keep your tension even, check both sides often, and block the finished collar lightly so the rounded shape sits nicely.