
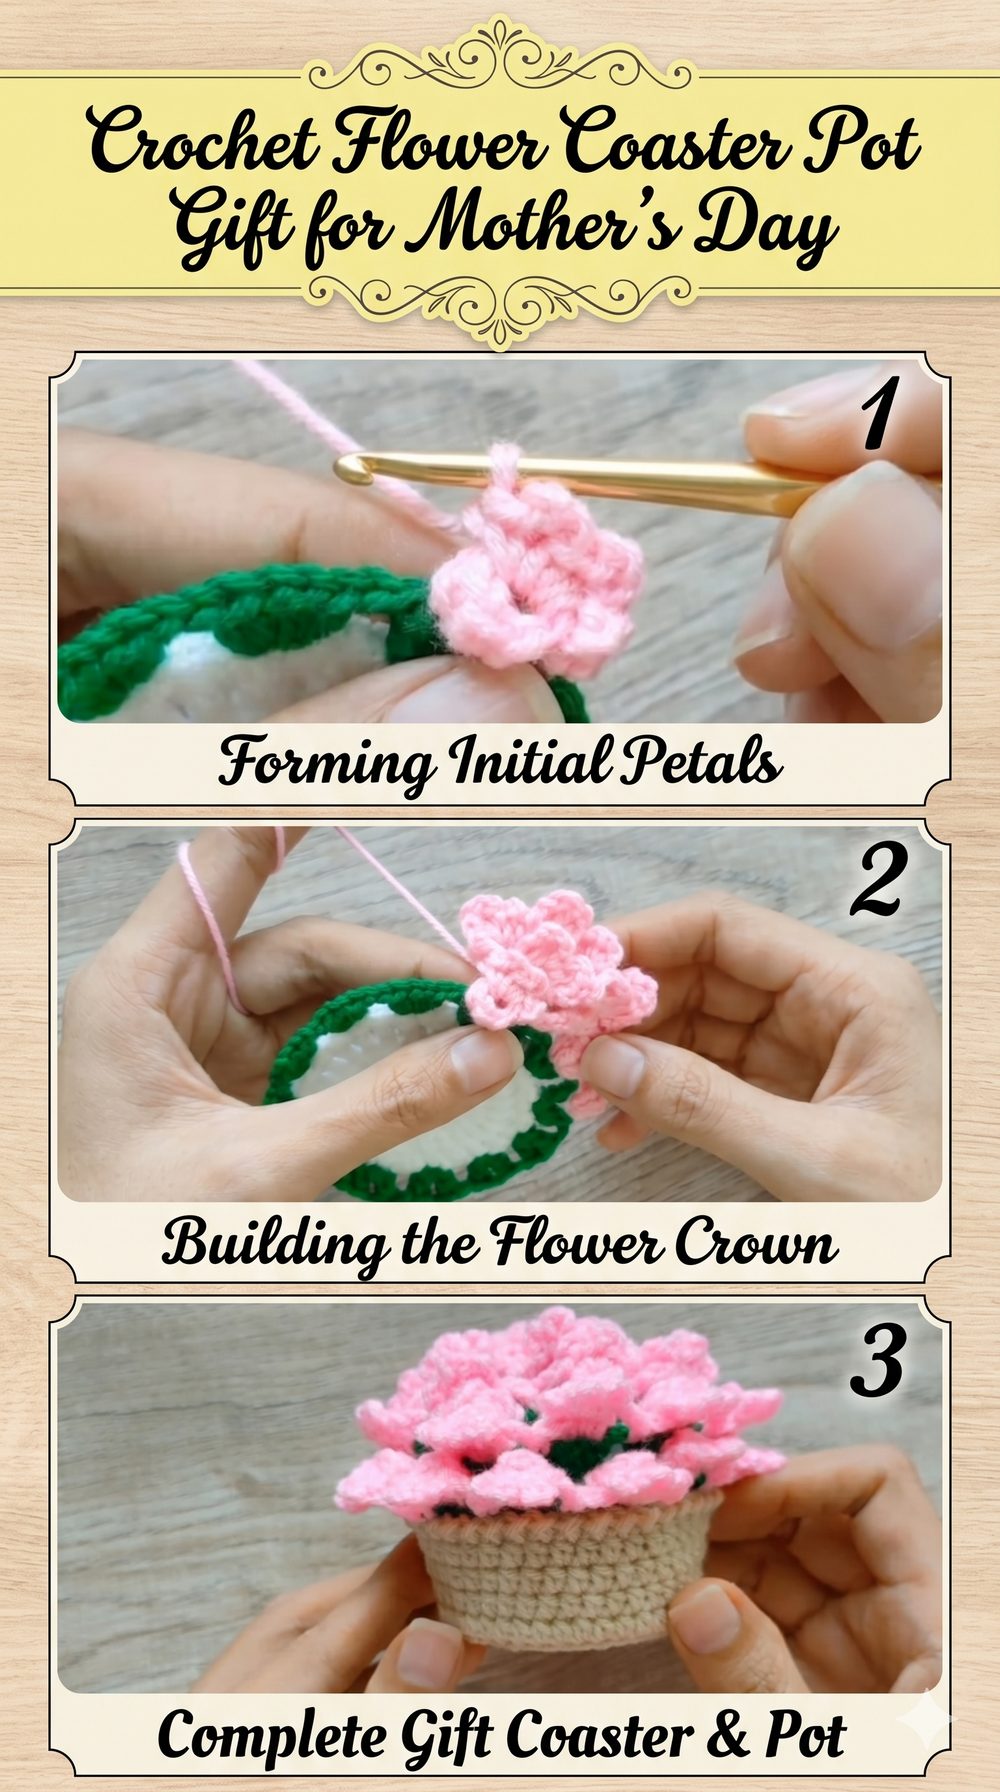
If you want to make something handmade, sweet and actually useful for Mothers Day, this Crochet Flower Coaster Pot is such a lovely idea. It looks pretty and decorative like a small bouquet, but also practical as the flowers can be used as coasters. That mix of cute and useful makes it all the more special as a gift. This is a nice project, especially if you like making home décor pieces that feel thoughtful without being too complicated. It’s also great if you want a gift that looks impressive but can be tailored to your own colours and style. The finished set is cheerful, soft, and handmade in the best way, and it is the kind of piece that can beautifully brighten a table, desk or coffee corner.
Why You’ll Love This Project:
The fun part of this project is you get two for one, a pretty display piece and a useful set of coasters. It’s gift-worthy, decorative looking and still has that practical everyday charm that makes handmade presents so meaningful.
What you’ll need:
Yarn in flower colours, green for leaves or stems, and another colour for the pot
Hook for crochet
scissors.
Needle for Yarn
Stitch marker if you want to mark the start of rounds
Measuring tape if you want the pieces to line up nicely
The tutorial preview specifically mentions cotton yarn for the flowers of the coasters, acrylic yarn for the pot and a 2.5mm hook.
Best Yarn for This Project:
Cotton is a great choice for flower coasters, it helps them hold shape well and makes them more practical for actual table use. If you want it to hold up a bit better you can use something a bit sturdier for the pot part. If you want a softer decorative finish, you can keep all the yarns a similar texture. If you are not sure of the exact yarn size for your version, choose a yarn and hook size that will give you the fit and texture you want. The original tutorial preview says to use cotton for the coaster and acrylic for the pot, which makes sense, both for shape and look.
Required Skill Level:
This is a good easy to intermediate project for someone who knows the basics already. You should be comfortable working starting loops, working into rounds and changing colours as needed. The shapes are not too big but neat finishing makes a difference here.
Size & Fit Guide:
This is a gift item, not clothing. The main thing is that the coasters are the same size so they stack and fit nicely in the pot. If you want them a little larger or smaller, you can change not only yarn weight and hook size, but add a little more shaping around the outside if the design allows. Try to make each flower the same size, so the final gift has a balanced and polished look.
Stitches Employed:
The project clearly takes from the tutorial preview:
magic ring chain single crochet
dc color change
The search preview does not show the full stitch breakdown, so it is best to watch the video closely to see where the repeats go exactly.
How to Make It:
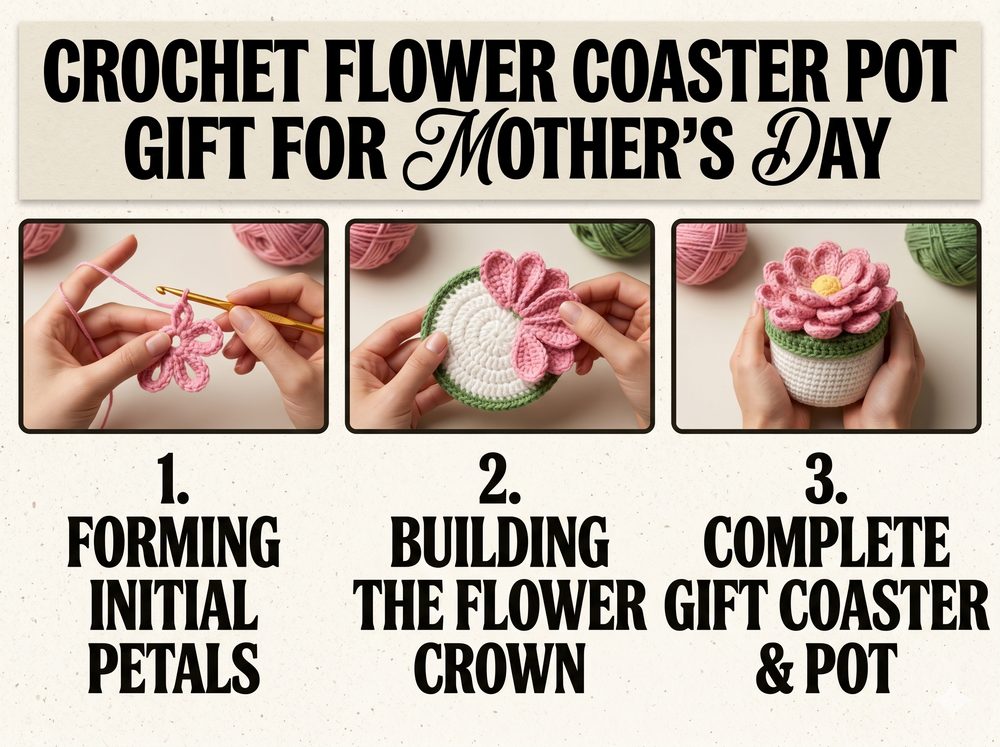
Step 1: Begin the flower center.
The project starts with creating the coaster flower itself. The preview shows the flower starting in a magic ring, which is a nice choice to keep the center tidy. When you make the ring you build the first round into that center so it makes a flat base. This first part is important because it will create the shape for the petals later, so try to keep your stitches even and not too loose.
Step 2: Build Round Base
After the center is made the coaster grows outward in the round. The preview shows a section worked in double crochet, which helps the coaster to spread out quickly while still maintaining a soft, rounded shape. At this point you want the fabric to lay flat. If it begins to cup, your stitches could be too tight. If it starts rippling too much you may need to loosen your tension just a little bit and make sure your stitch placement is even.
Step 3: Create the Flower Shape
Once the round base is in place the decorative flower look is added. This is what takes a simple coaster to a giftable little bouquet piece. The petal shaping is probably from grouped stitches around the outside edge, plus the colour changes help the flower to look really pretty. Work slowly here so the petals are even from one side to the other . This is also a good time to press the coaster gently with your hands as you go- so it retains that clean flower outline.
Step 4: Add More Matching Flowers
Since the finished present is a flower coaster pot, you will need more than one flower coaster. Again do the same and try to keep your tension consistent so all the pieces are the same. This part is easy but important. Your first coaster might be a little different but use it as a reference and compare every new one to it. Final gift, with matching size, shape of petal, placement of colour, looks much more polished.
Step 5: Cook the Pot
But this project is the pot that gives that extra charm. Instead of just handing over a pile of coasters you’re turning them into a display piece. The pot is made with a different yarn, so the tutorial preview mentions that a separate structure is worked to hold the flowers upright or neatly gathered together. Focus on firm stitches and a shape that feels stable when you’re making the pot. A tighter tension often makes containers look cleaner and stand up straighter.
Step 6. Add Leaves or Supporting Pieces
A flower gift almost always looks better with a little green detail, and this sort of project often has leaves or small joining parts to help the bouquet effect come together. These little things make a big difference. They break up the flower colours, add contrast and help the finished piece look more complete. If your leaves curl up that can actually look quite natural but if you want a neater finish you can gently shape them before assembly.
Step 7: Put the flowers in the pot
This is where the project really turns into a Mother’s Day gift and not just a coaster pattern. Place the completed flower coasters in the pot to resemble a small bouquet. Keep moving the placement around, until it looks good from the front and the sides. If one flower is taller/leaning more than the others that can still look charming, but try to keep the whole set neat enough that it still reads clearly as a coordinated gift.
Step 8: Cleanup and Finish
Carefully weave in all loose ends, especially on the coaster pieces as these will be handled the most. Ensure the flowers are flat enough to be used on a table top. If desired, lightly shape or block the coasters to open the petals nicely. The finished look should be cheerful, floral, and neat, with the coasters pretty enough to display and practical enough to use.
Useful Tips:
If you want a practical, absorbent finish, use cotton for the coasters’ flowers.
Keep your tension even, so every flower will fit.
Finish off after comparing each coaster to the first.
Make the pot with a firm stitch so it holds shape better.
As this is a gift item, weave in the ends neatly.
Light blocking can help make the petals appear cleaner and more open.
Things Not to Do:
Too loose in the centers of the flowers which can cause a messy opening
changing the tension so that the coasters are different sizes
Not flattening the coaster as you go, which can cause curling.
The pot is too soft to hold the arrangement well.
Hurry the finishing and leave visible ends
Select a yarn that is not too fuzzy if you want the flower shape to be well-defined.
Ideas for Customisation:
You can make this gift very personal by changing the flower colours to match your mother’s favourite shades. Soft pinks, cream, lavender, yellow or even bright happy shades all work beautifully. Otherwise, you can opt for a neutral colour for a clean home décor look or go for something bolder for a more playful finish. A little tag, ribbon or even a hand made note would make it feel extra special too. The bouquet effect also allows to mix up the colours instead of having every flower the same.
Style Suggestions:
This finished piece would look nice on a coffee table, side table, desk or shelf in the kitchen. When not in use it can be displayed as a little yarn bouquet, then pulled apart whenever someone needs a coaster. It’s a sweet gift for moms who like handmade decor, tea time, or small, practical gifts with a decorative touch.
Care Instructions:
If you use cotton for the coaster flowers, a gentle hand wash or careful spot cleaning is a good option. Wash the petals and reshape laying flat to dry. Avoid high heat, especially when you are blending yarn fibres in the set. If the pot becomes soft after washing, re-shape the pot when it is damp and allow it to dry thoroughly before re-arranging the flowers.
Time Required:
Depending on your speed, yarn, number of flower coasters you make, and how much finishing detail you add, this may take a few hours. Sure, a full gift set will be longer than a single coaster..
Conclusion:
This crochet flower coaster pot is such a thoughtful Mother’s Day gift because it feels decorative, useful, and personal all at once. It is the kind of project that lets you play with color, enjoy small repetitive crochet steps, and end up with something that really looks special. You can keep it soft and classic, make it bright and cheerful, or adjust it to suit your own style. However you make it, it has that lovely handmade charm that makes a gift feel extra meaningful.
FAQs:
1. Is this beginner-friendly?
Yes, for confident beginners who already know basic stitches and can work in rounds.
2. What yarn is best for this project?
Cotton is especially nice for the coaster flowers because it holds shape well and suits table use.
3. Can I adjust the size?
Yes. You can change yarn weight, hook size, or carefully adapt the outer shaping for a slightly different coaster size.
4. Do all the flower coasters need to match exactly?
They do not have to be perfect, but matching size and overall shape makes the final bouquet look much neater.
5. Is this a good last-minute Mother’s Day gift?
It can be, especially if you keep the set simple and use easy color combinations. Smaller gift sets are quicker to finish.