
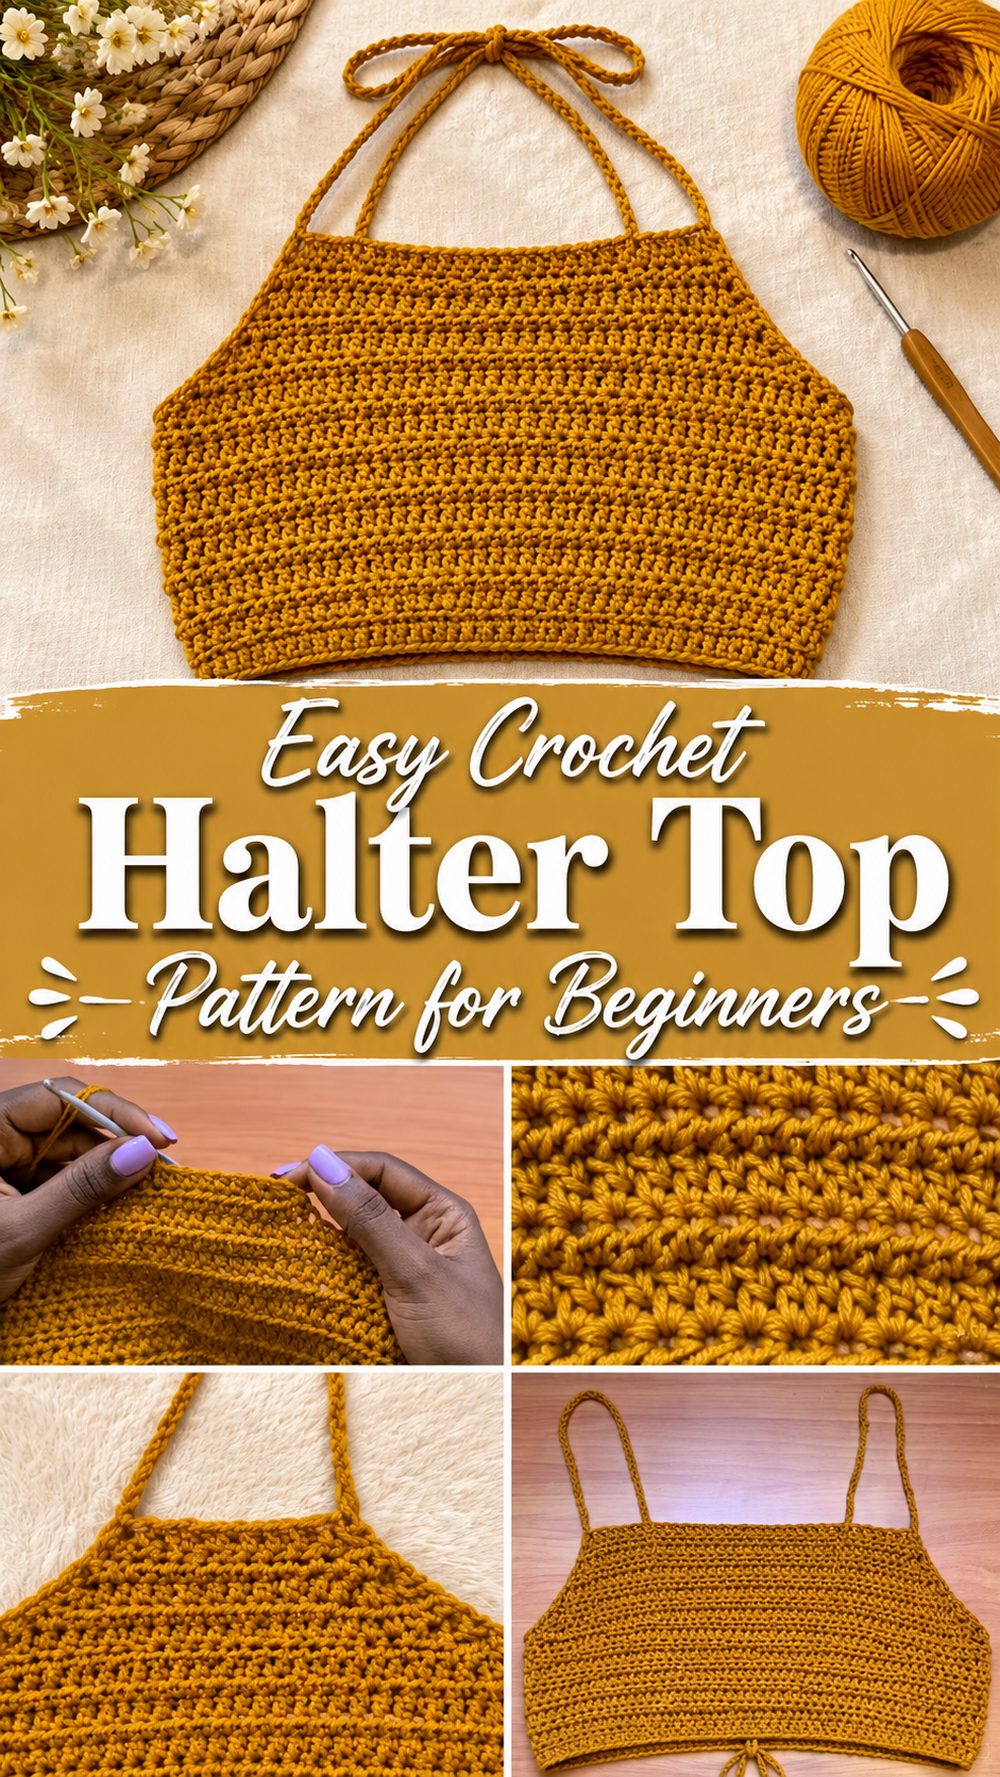
A crochet halter top is one of those projects that feels fun from the very beginning. It works up into a light, wearable piece that looks cute with jeans, skirts, shorts, or layered over swimwear in warm weather. This style is especially nice if you want something handmade that still feels modern, simple, and easy to personalize. The tutorial I selected is a beginner-friendly, all-sizes halter top video that focuses on a quick, simple build, which makes it a great choice for anyone who wants a free crochet top pattern without getting buried in complicated shaping. It is shown as a fast and approachable project, and the tutorial is presented as suitable for beginners and adjustable for different sizes.
Why You’ll Love This Project
This halter top is the kind of project that feels satisfying because it is simple, wearable, and easy to adjust. It is a great make for warm weather, and the overall style is flattering without needing overly complicated construction. Since the tutorial is framed as quick, easy, and suitable for all sizes, it is especially appealing for crocheters who want something practical and customizable.
Materials Needed
- Yarn
- Crochet hook
- Scissors
- Yarn needle
- Stitch markers
- Measuring tape
Use a yarn and hook size that matches your desired fit and texture.
Best Yarn for This Project
Because this is a halter top, lightweight yarn usually gives the nicest result. For a summer-friendly finish, soft cotton, bamboo blends, or other breathable yarns work especially well. They help the top feel cooler, lighter, and more comfortable against the skin. If you want a little more stretch or softness, a cotton blend can also be a good option. Try to choose a yarn that shows your stitches clearly and feels comfortable enough to wear for several hours.
Skill Level
Beginner-friendly to easy.
The selected tutorial is presented as quick and beginner-friendly, which makes it a good project for newer crocheters who already know the very basics. You should be comfortable making chains and keeping your rows neat, but the overall design is meant to stay simple and approachable.
Size and Fit Guide
This halter top is meant to be adjusted to fit your own body, which is one of the best things about making it by hand. Measure across the bust area before you begin, and keep checking the width and height of the top as you work. You can add or reduce rows depending on how much coverage you want. Since the tutorial is described as an all-sizes project, the idea is to build it around your own measurements instead of forcing a fixed size.
Stitches Used
The exact stitch list is not fully stated in the search preview, so it is safest to keep this flexible. The tutorial clearly presents a simple beginner build, and one related result around this style mentions single crochet shaping with increases, which fits the kind of easy halter top construction often used in this type of project. At minimum, expect to use:
- Chain
- Slip stitch
- Single crochet
- Increases
- Ties or chain straps
Where the video shows a repeat, continue that repeat until your top fits the way you want.
How to Make It
Step 1: Start the Foundation
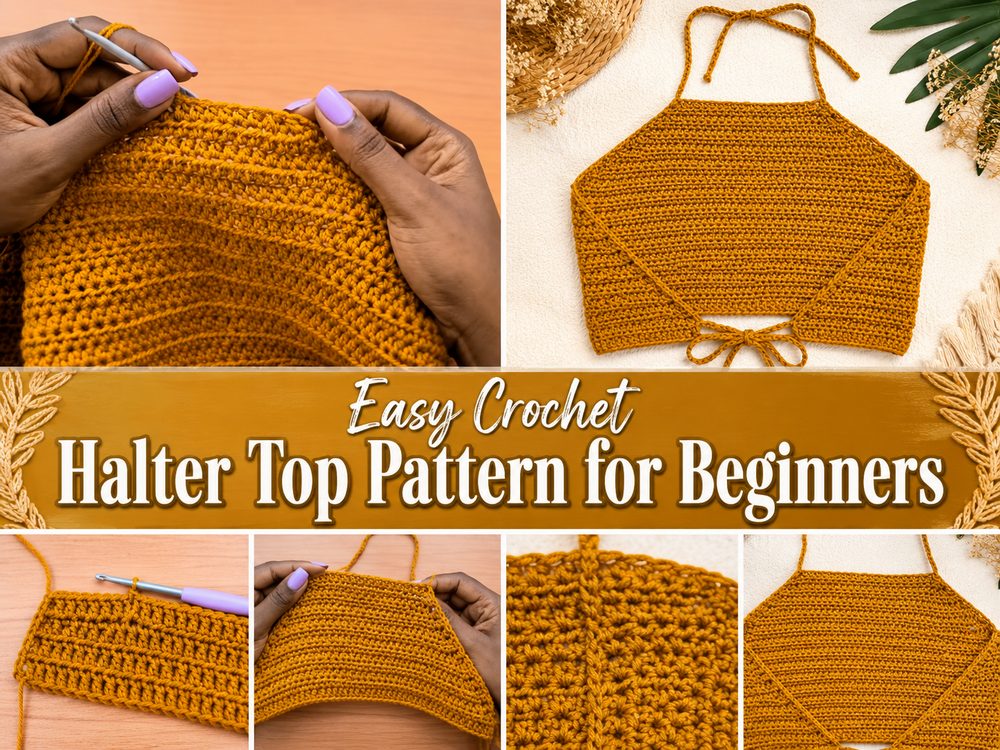
This top is introduced as a simple halter design, so the project begins with a basic foundation that creates the first shape of the front panel. Start by making a chain that suits your bust width or the section you want to cover. Keep your tension even from the beginning, because a too-tight chain can make the whole top pull inward later. A soft, flexible foundation makes the finished top much more comfortable to wear.
Step 2: Build the Front Shape
From there, begin working the main body of the top. The tutorial is described as one of the easiest and quickest ways to make a simple halter top, so the shaping appears to stay very straightforward rather than heavily structured.
Work back and forth, keeping your edges neat. If the front section is worked in a triangular or shaped style, continue increasing where shown so the fabric grows smoothly. If it is more of a straight panel, keep crocheting until the width and height give you the amount of coverage you want. Since the pattern is meant for all sizes, the important part is checking the piece against your body as you go instead of chasing exact numbers.
Step 3: Create the Halter Neck Shape
Once the front body has enough coverage, shape the upper section into a halter style. This is what gives the top its lifted, tied-at-the-neck look. Depending on how the tutorial demonstrates it, this may happen by narrowing the top area, working straps directly from the front panel, or adding long chain ties that are reinforced with stitches.
Make sure both sides look balanced. If the top has two upper sections, count rows visually and compare both sides often so one side does not end up taller than the other.
Step 4: Add the Neck Ties
A halter top needs secure ties, so this stage is important. Crochet long straps or chain ties that will comfortably go behind the neck. Do not make them too short. It is always better to leave a little extra length so you can tie the top securely and adjust it later.
If you want more comfort, keep the straps flat rather than narrow and tight. Flat straps usually feel better on the neck, especially if you plan to wear the top for a longer time.
Step 5: Shape or Extend the Body
At this point, decide whether you want a shorter crop style or a little more length. Continue working rows until it sits where you want on the body. One of the nicest things about this project is how easy it is to personalize. You can keep it minimal and breezy, or you can add a few more rows for more coverage and confidence.
Try it on before joining or finishing the back. This helps you see whether the width feels secure and whether the lower edge sits comfortably.
Step 6: Add the Back Ties or Finish the Back
A simple halter top often finishes with ties across the back. That keeps the top adjustable and makes fitting much easier. Add chain ties or worked straps to each side of the top, making sure they are strong enough to hold the piece in place.
If the tutorial uses a more open back, keep the ties long and secure. If you prefer more coverage, you can also add extra rows to the body before attaching the ties.
Step 7: Clean Up the Edges
Once the main top is done, go around the edges to tidy everything up. A neat finishing round can make a huge difference. It helps the neckline, arm edges, and lower edge look cleaner and more polished. If the video uses a simple border, follow that same idea with an even edge all the way around.
This is also the moment to weave in ends carefully. Since a halter top is worn close to the body, loose ends can be uncomfortable and may work their way out if they are not secured well.
Step 8: Check the Final Fit
Before calling it finished, try the top on and adjust the ties. The top should feel secure without pulling too tightly at the neck or back. The fabric should lie flat across the front, and the edges should not curl too much. If needed, lightly block the piece to smooth the stitches and help the shape settle.
The final result should be a simple, flattering halter top with a clean handmade look, comfortable ties, and an easy fit that you can customize for your own style.
Helpful Tips
- Use breathable cotton yarn if you want a cool summer top.
- Check the fit before finishing the straps.
- Keep your tension even so the shape stays balanced.
- Compare both sides often if you are shaping the top.
- Use stitch markers to help keep edges tidy.
- Block the finished top for a neater look.
Common Mistakes to Avoid
- Making the starting chain too tight
- Forgetting to check fit as you work
- Making one side taller or wider than the other
- Using yarn that feels too heavy or warm for a summer top
- Crocheting straps that are too short
- Leaving ends loosely woven in
Customization Ideas
You can make this halter top feel completely your own with just a few simple changes. Try a solid neutral shade for an easy everyday piece, or use bright summer colors for a fun beachy look. You can make it shorter for a cropped style or add more rows for extra coverage. A scalloped edge, a shell border, or even a little lace detail can soften the look. If you like more support, use wider straps or a firmer yarn with less stretch.
Style Ideas
This kind of halter top looks lovely with denim shorts, flowy skirts, wide-leg trousers, or layered under an open shirt. It also makes a sweet vacation piece or festival-style top. In softer shades, it can feel casual and relaxed. In bold colors, it becomes more of a statement piece. It also makes a thoughtful handmade gift if you know the recipient’s general size and style.
Care Instructions
Hand wash gently in cool water if possible. Use mild soap and avoid twisting or wringing the fabric. Lay it flat to dry so the shape stays nice. Keep it away from high heat, especially if your yarn is delicate or blended.
Time Needed
This may take a few hours depending on your speed, yarn, size, and stitch pattern. The selected tutorial itself is presented as quick and easy, which suggests it is meant to be a satisfying project rather than a long, complicated make.
Conclusion
If you have been wanting a simple free crochet halter top pattern, this is a lovely project to try. It has that nice mix of easy construction and stylish finished look, and it leaves plenty of room for personal adjustments. You can play with the fit, yarn, color, and length until it feels just right for you. That is part of what makes handmade clothing so enjoyable.
FAQs
1. Is this halter top beginner-friendly?
Yes. The selected tutorial is described as quick, easy, beginner-friendly, and suitable for all sizes.
2. What yarn is best for this project?
A lightweight cotton or bamboo blend is a great choice for a breathable summer feel.
3. Can I adjust the size?
Yes. This style is meant to be adjusted by checking the fit as you work and adding or reducing rows as needed.
4. Can I make it more comfortable?
Yes. Use soft yarn, avoid overly tight straps, and make sure the neck and back ties are long enough to adjust easily.
5. How long does it take to make?
It depends on your speed and the size you are making, but it is presented as a quick project.