
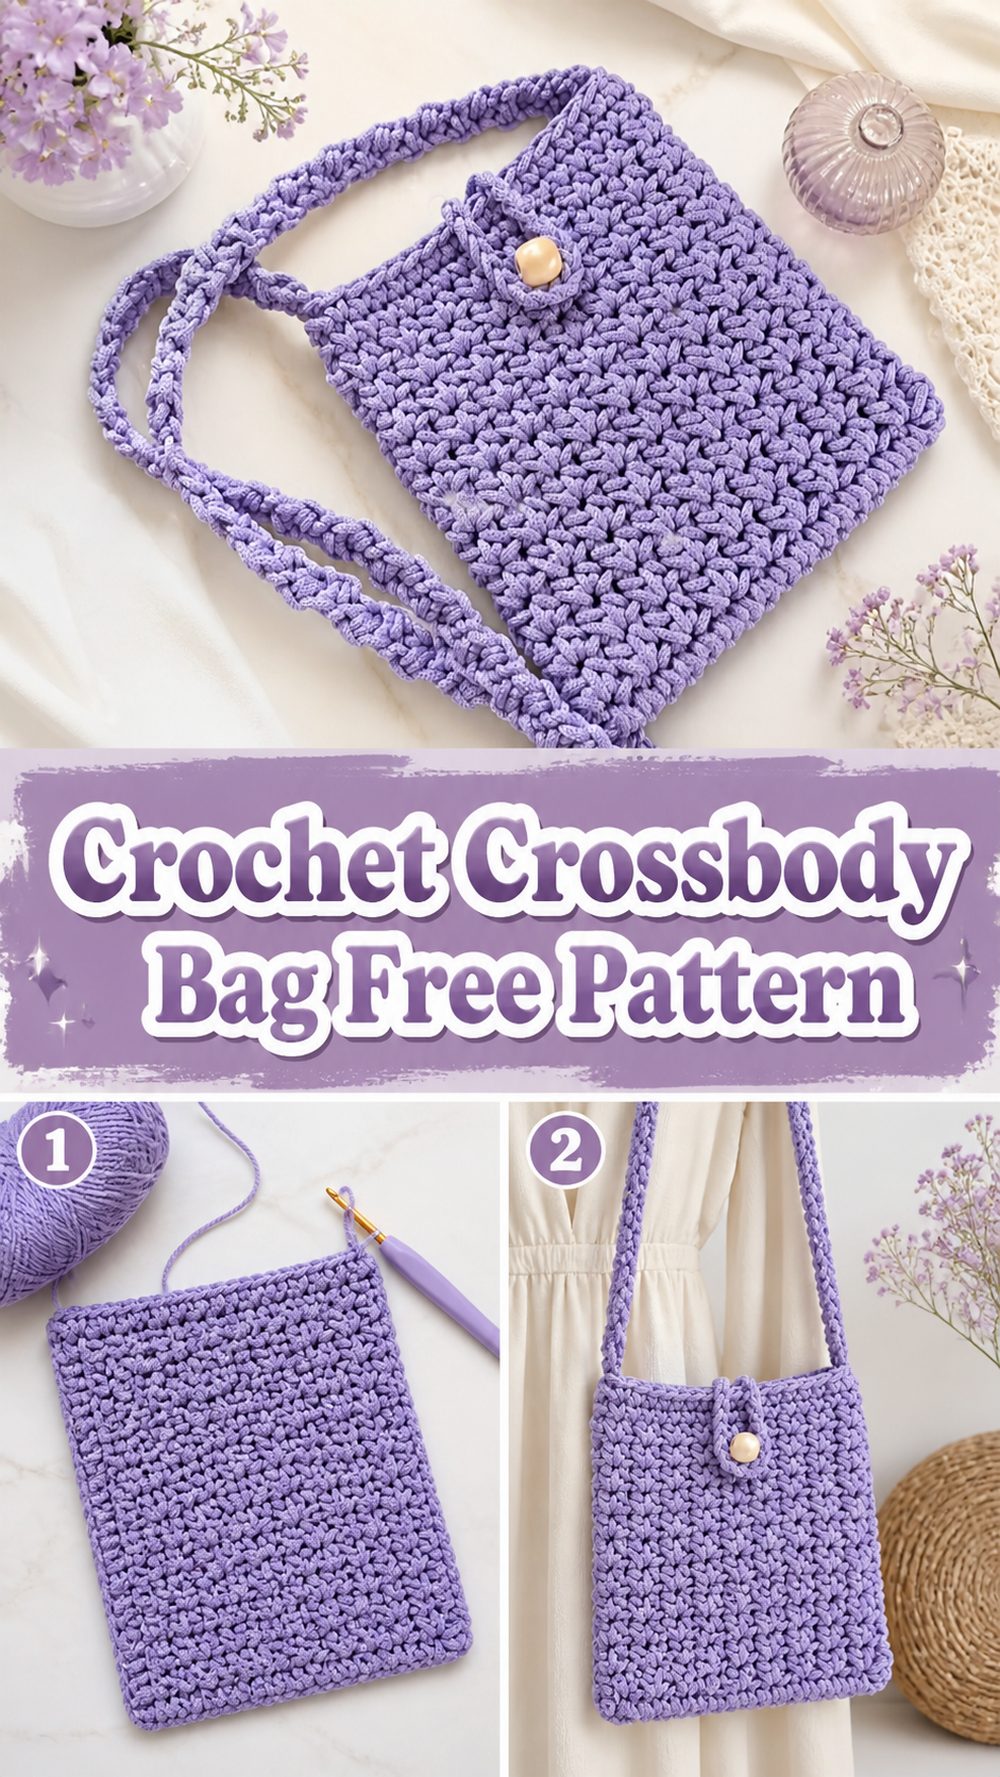
It is such a useful project to make a crochet crossbody bag because you have something handmade but still easy to wear in your day to day. If you’re after a crochet accessory that is more than just pretty, then this is a lovely option as it’s practical, comfortable to carry and easy to style with casual outfits. I chose this tutorial because it walks you through making a beginner-friendly crochet crossbody bag, so it feels accessible even if you’re still gaining confidence with bag projects. This is a great type of bag because it has a long strap and feels hand free. When it’s done, you have a piece that will do for errands or short outings, travel or daily needs. If you love practical, giftable, and easily customisable crochet accessories, this is a super satisfying project to make.
Why You Will Love This Project
This bag is easy to love because it is beginner friendly, practical and wearable. The tutorial chosen presents it as a beginner crochet crossbody bag and teaches it step by step which makes it a good choice for a crocheter that wants a useful accessory without overly complicated construction.
What You Need
Thread.
Crochet needle
scissors.
Yarn needle
Progress markers
(2) Tape measurer
Optional button, zipper, or lining for more structure or security
Pick a yarn and hook size that fit and texture the way you want.
The best yarns to use for this project:
Crossbodies tend to work best with a yarn that has a little structure, because you want the fabric to hold its shape while still feeling comfortable to carry. Cotton or a cotton blend is often a lovely choice for bags, as it helps the stitches look neat and gives the finished piece a practical feel. If you want a softer bag, you can go with a gentler yarn, but it helps if it has enough body to keep the shape from getting too floppy.
Skill Level:
Good for beginners. The chosen YouTube tutorial is explicitly described as “a crochet bag for beginners”, making it a good fit for newer crocheters who already know the basics and are looking to move into accessories.
Size & Fit Guide:
A crossbody bag is super adjustable. You can make the body bigger if you want more room for daily items, or keep it compact for a lighter bag that holds essentials. The strap length is most important so it helps to test against your body before finishing it all the way. A shorter strap will make the bag sit higher, a longer one gives that relaxed cross body look across the torso.
Stitch Count:
This is a step-by-step crochet crossbody bag tutorial for beginners (YouTube result picked for safety), but the search preview does not clearly state all the stitches used. Because of this it’s better to follow the exact stitch sequence shown in the video rather than guessing stitch names here.
How To Prepare
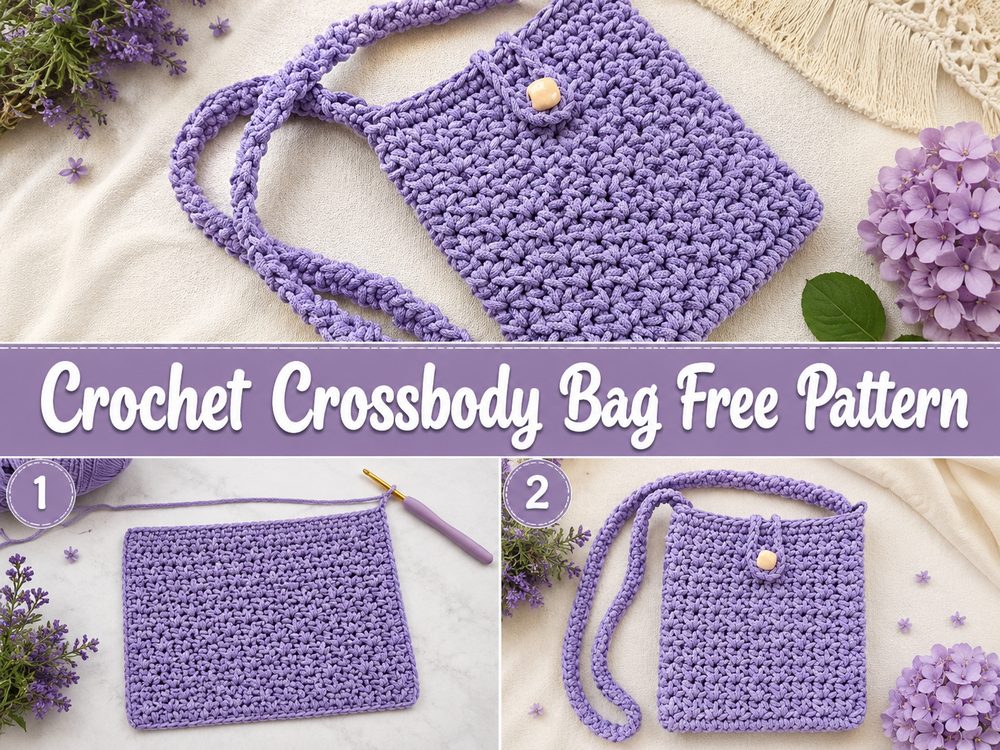
Step 1: Begin the Bag Body
Start with the main body of the bag. In this first stage working carefully and keeping your stitches even helps to work the shape and size. You want your cross body bag to be neat and sturdy enough for everyday use, so a tidy beginning will make the rest of the project easier.
Step 2: Building the Main Panel
Keep working on the main section until it is the size you want. This is where the project becomes satisfying because you can already imagine how it will look like the final bag. Reduce the body to a smaller size, for a small everyday bag. If you want a little more room inside, go a little farther before moving on.
Step 3: Shape the Structure of the Bag
With the main piece the flat crochet begins to morph into something that actually resembles a bag. Here’s where the project gets more interesting. Keep looking at the edges and corners so that everything is nice and balanced. The tutorial chosen is step by step for beginners, so the structure is intended to be accessible and not too technical.
Step 4: Create the Depth
A good cross body bag needs some room in it, so the side or lower shaping is important. When you are working on the bag body, think about how much depth you want. A slim bag feels light and simple, a slightly deeper one holds more everyday essentials.
Step 5: Attach the Bag
Once you’ve prepared the larger pieces or edges, carefully join them to make the full shape of the bag. This is where the project starts looking really finished. Take some time here to align the edges nicely and make the final body look clean.
Step 6: Attaching the Strap
The strap is one of the most important parts of a crossbody bag because it changes the look and feel of the finished product. Make the strap long enough to sit comfortably across your body without pulling too tight. Before you fasten off, hold the bag up against you to see where it falls. Small strap adjustments can make a huge difference to the bag’s wearability.
Step 7: Add an Optional Closure
If you want additional security, you can add a button, zipper, flap or other simple closure. A plain open top bag can still look lovely but a closure can give it a more practical feel for every day use. Pick the one that best matches the style you want.
Step 8: Edges Complete
When you’ve completed the body and strap, weave in all the stray ends and neaten up the opening and strap joins. A simple crochet bag can be made to look polished with a clean finish. If the bag needs a little more structure a lining can do the trick.
Step 9: Give it a final once-over
The finished bag needs to be light and ergonomic and easy to wear. The final project is a crochet crossbody bag tutorial for beginners, which is practical to use and easy to make, as the chosen video is.
Practical Advice
Choose a yarn substantial enough to give the bag structure.
Keep your tension even so your body remains neat.
Test the strap length before permanently fixing it.
Use stitch markers if they keep your edges neat.
If you want more structure inside, line it.
If you will be using the bag often outside of your home, consider a closure.
Common Mistakes To Look Out For
Making the bag body too small without considering what it needs to hold
Allowing the edges to go uneven
Attaching the strap before checking the length
Use very floppy yarn if you want a tidier shape.
Skipping finishing details around top edge
Not tying up loose ends on a bag that will be used a lot of
Ideas for Personalisation
There are plenty of easy ways to personalise this crossbody bag. A neutral is perfect for everyday, a bright for something playful, or soft earthy tones for a cosy handmade look. The strap can be made shorter or longer depending on how you want to wear it, add a closure, line the inside or make the body a little bigger.
Style Ideas
A crocheted crossbody bag works well with jeans, simple dresses, oversize shirts, casual sets and easy weekend wear. It is also a great travel style accessory, as you can keep your hands free and still add that soft handmade charm to your look.
Instructions for care
If necessary, hand wash gently in cool or lukewarm water. Do not squeeze the bag roughly, re-shape while still damp and allow to dry naturally so that the body and strap keep their shape.
Time Required
This may take a few hours, depending on your speed, yarn, size and stitch pattern.
Conclusion
If you want a crochet project that is useful, wearable, and beginner-friendly, a crossbody bag is a great choice. The selected tutorial stands out because it clearly teaches a crochet crossbody bag step by step and specifically describes it as a project for beginners. That makes it a lovely option for building confidence while making something you can actually use. Take your time with the body and strap, and enjoy creating a handmade bag that fits your own style.
FAQs
1. Is this crochet crossbody bag beginner-friendly?
Yes. The selected YouTube tutorial explicitly says it is “a crochet bag for beginners.”
2. Can I adjust the size?
Yes. You can make the bag body larger or smaller depending on how much space you want inside.
3. What yarn works best for this project?
A yarn with some structure, such as cotton or a cotton blend, is often a very good choice for a crossbody bag.
4. Can I change the strap length?
Yes. The strap is one of the easiest parts to adjust so the bag sits where you want it.
5. Is this good for everyday use?
Yes. A crossbody bag is especially practical for daily wear because it is comfortable and hands-free.