
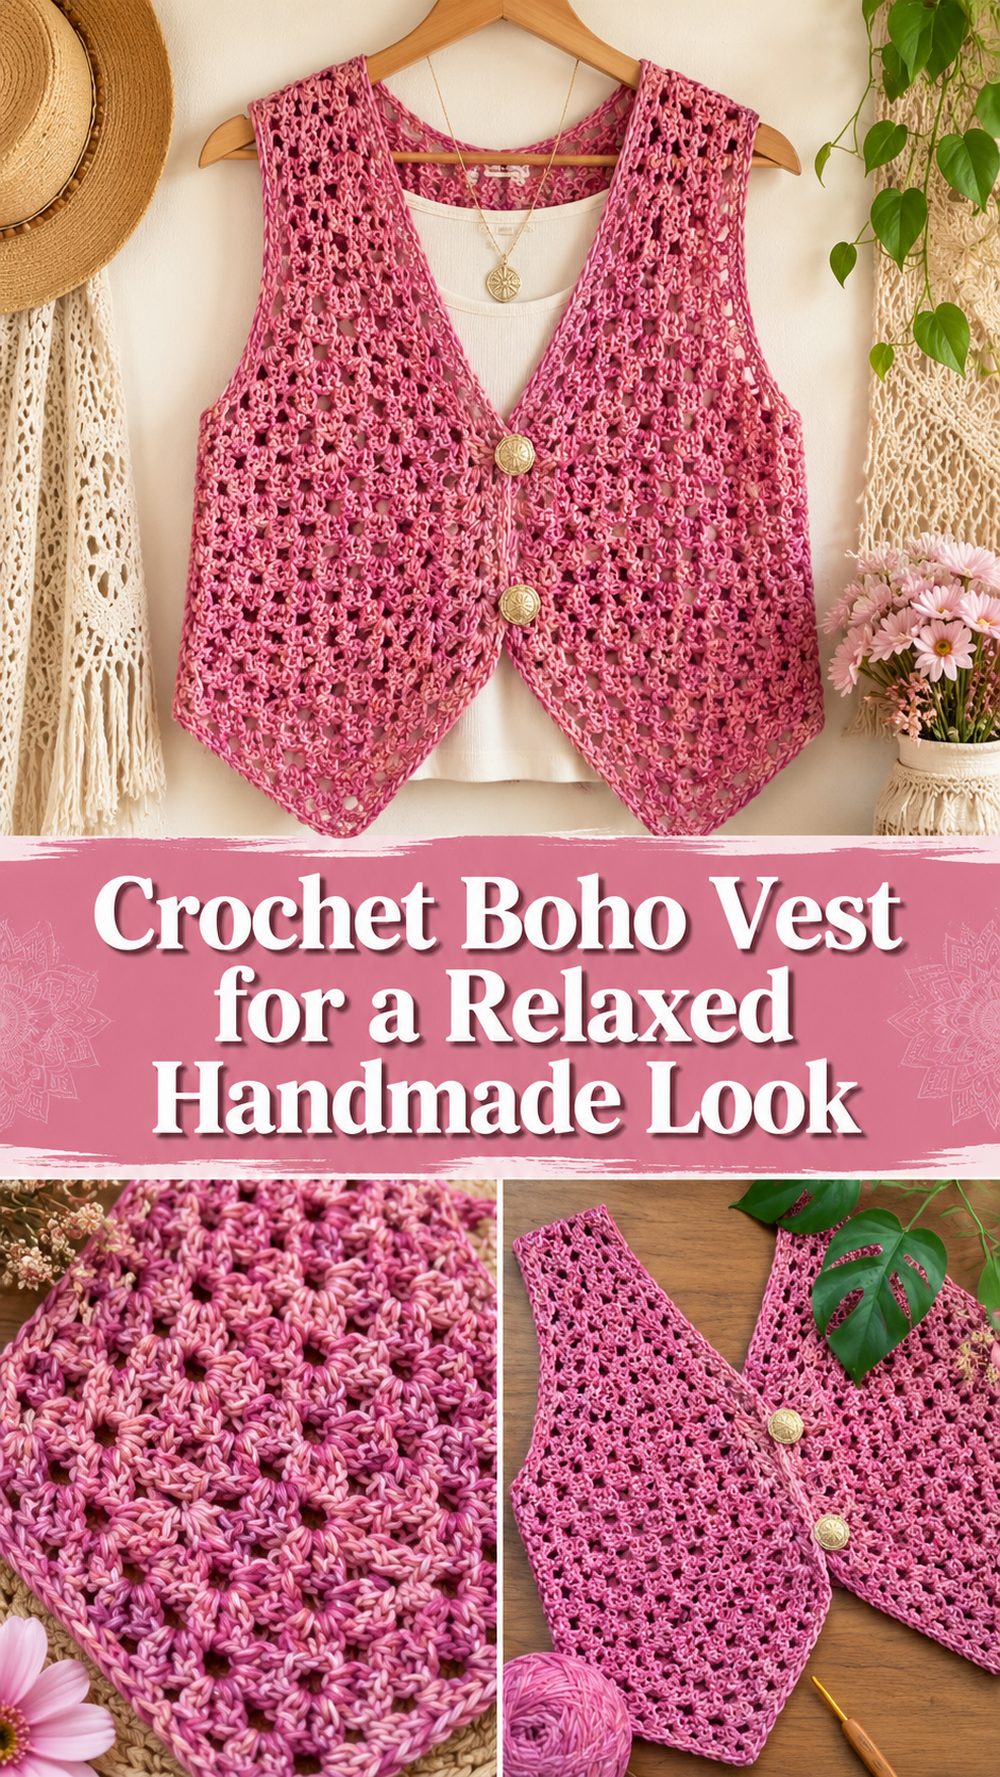
A crochet boho vest is the kind of project that feels stylish, relaxed, and fun all at once. It is perfect for layering over a simple tank, dress, or fitted top when you want to add that easy handmade touch without making your outfit feel heavy. The tutorial I chose teaches a beginner-friendly boho vest in a clear step-by-step style, which makes it a lovely option for crocheters who want to try a wearable project that still feels approachable. What makes a boho vest so appealing is the balance between comfort and personality. It can look casual, beachy, artsy, or festival-inspired depending on the yarn and length you choose. This is the sort of crochet piece that lets you enjoy the process while also ending up with something you will actually want to wear.
Why You’ll Love This Project
This project is a great choice because it gives you that laid-back boho look without needing an overly complicated build. The selected tutorial is presented as beginner-friendly and step by step, which makes it much more comfortable for newer crocheters who want to move into wearable pieces. A vest like this is also easy to style and easy to personalize.
Materials Needed
- Yarn for a lightweight or medium-weight vest
- Crochet hook
- Scissors
- Yarn needle
- Measuring tape
- Stitch markers if you like marking edges, arm openings, or shaping points
Use a yarn and hook size that matches your desired fit and texture.
Best Yarn for This Project
A boho vest usually looks best in yarn that has a nice drape and shows the stitch texture clearly. If you want a lighter warm-weather vest, cotton or a cotton blend is a lovely choice because it feels breathable and keeps the fabric from getting too heavy. If you want a softer flowing look, a bamboo blend or smooth acrylic blend can work nicely too. Try not to choose anything too fuzzy if you want the stitches and any openwork sections to stay visible. A yarn with movement will help the vest hang more naturally and give it that relaxed boho feel.
Skill Level
Beginner-friendly to easy.
The selected tutorial specifically presents the vest as beginner-friendly and step by step, so it is a nice option for someone who knows the basics and wants to make a simple wearable item. It should feel manageable for confident beginners who are ready to try garment construction without taking on anything too technical.
Size and Fit Guide
The best way to size a crochet vest is to measure as you work. Check the width across your bust or wherever you want the vest to sit most comfortably, then hold the crochet against your body from time to time. This helps you decide whether you want a closer fit or a looser layering piece.
For length, think about the look you want. A shorter boho vest can feel playful and easy, while a longer one leans more relaxed and dramatic. Since wearable crochet can change a little depending on yarn and tension, checking the fit as you go is always more reliable than guessing.
Stitches Used
The selected YouTube result confirms that this is a beginner-friendly boho vest taught step by step, but it does not spell out every stitch in the search snippet, so I do not want to invent exact stitch names that are not clearly stated. Based on the way the project is presented, it uses simple beginner-level crochet stitches and repeated sections to build the vest shape in an easy, wearable style.
How to Make It
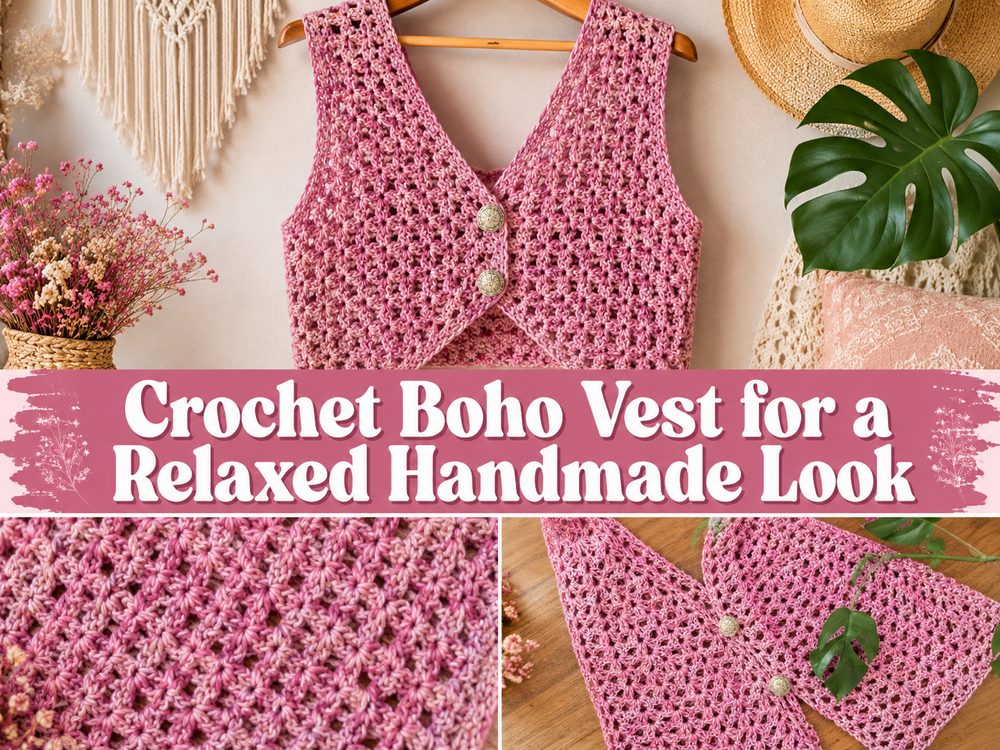
Step 1: Start the Foundation
Begin by creating the foundation for your vest with your preferred width in mind. Since this is a wearable piece, it helps to compare the starting section against your body or a top that already fits you well. The goal is not to chase a mystery number but to create a shape that works for the way you want to wear the vest.
Keep the foundation relaxed. If the first row or chain is too tight, the vest can pull at the bottom and lose some of that soft, boho drape.
Step 2: Build the Main Fabric
Once the foundation is ready, continue with the main stitch pattern shown in the tutorial. Because this project is designed for beginners, the body is built in a simple and repeatable way rather than with anything too fussy. That makes it a nice project for settling into a comfortable rhythm.
As the vest grows, pay attention to the overall texture. A boho vest usually looks best when the fabric feels soft and easy rather than dense and stiff. Steady tension will help the finished piece look much cleaner.
Step 3: Shape the Vest
As you keep working, begin watching how the vest is shaping up on your body. This is where you decide if you want it to sit close to the torso or feel a little more relaxed and open. If the tutorial uses separate sections, compare both sides often so they stay even. If it is worked in larger panels, measure regularly so the proportions stay balanced.
This stage is where the vest starts to feel like a real garment instead of just a rectangle of crochet. Even a simple boho design looks much better when you pause and check the shape before moving too far ahead.
Step 4: Create the Arm Openings and Upper Area
Once you reach the upper part of the vest, pay close attention to comfort. The arm openings should give you enough space to move easily without making the vest look too loose through the sides. Hold the piece against yourself or try it on if possible before you fully finish this section.
A boho vest usually benefits from a relaxed silhouette, but it still needs clean structure through the upper body. Keep your edges neat and make sure both sides look balanced.
Step 5: Join the Pieces
When the body sections are complete, join them where needed to create the finished vest shape. Keep the seams comfortable and avoid pulling too tightly. A seam that is too tight can change the drape and make a light vest feel awkward when worn.
After joining, do another quick fit check. This is the best moment to notice whether the vest hangs evenly and whether the arm openings feel right.
Step 6: Add Finishing Touches
Finish the edges neatly around the front, neckline, or armholes if the tutorial includes a border or cleanup row. Even a very simple edging can make a beginner vest look much more polished and wearable.
Weave in all ends securely, especially near any seams or places that will get extra movement. A few careful finishing minutes can really improve the final result.
Step 7: Check the Final Look
The finished boho vest should feel comfortable, easy to layer, and relaxed in shape. It should not feel stiff or overly tight. The best result is one that has a natural handmade feel with a clean finish and a shape that suits your own style. Since the tutorial is designed as a beginner-friendly project, the final look is meant to be accessible, wearable, and fun rather than overly complicated.
Helpful Tips
- Use a yarn with good drape for a softer boho look.
- Keep your starting edge loose.
- Measure often while working.
- Compare both sides before joining.
- Use stitch markers if you want cleaner edges.
- Try the vest on before final finishing if possible.
Common Mistakes to Avoid
- Making the foundation too tight
- Forgetting to check fit as you go
- Letting one side become longer than the other
- Using very heavy yarn for a relaxed vest
- Joining seams too tightly
- Skipping the final edge cleanup
Customization Ideas
A boho vest is easy to make your own. You can keep it short for a casual everyday layer or make it longer for a more flowing look. Soft neutrals give it a natural earthy style, while brighter colors can make it feel more playful and festival-inspired. You could also add fringe, a simple tie front, or a more decorative edging if you want a little extra personality.
Style Ideas
This kind of vest looks lovely over a tank top, slip dress, fitted tee, or even swimwear as a light layer. Pair it with jeans, shorts, or a long skirt for an easy boho outfit. It also makes a nice handmade gift for someone who enjoys relaxed crochet fashion pieces they can wear often.
Care Instructions
Hand wash gently when possible, especially if you use cotton or other soft fibers. Lay the vest flat to dry so the shape stays even. Avoid high heat, since that can affect both the fabric and the drape. If needed, reshape it lightly while damp.
Time Needed
This may take a few hours depending on your speed, yarn, size, and stitch pattern.
Conclusion
A crochet boho vest is such a satisfying project because it feels stylish and handmade without being too difficult to tackle. The selected tutorial keeps things beginner-friendly and step by step, which makes it a great entry point into crochet wearables. You can adjust the fit, play with yarn and color, and make the finished piece feel completely your own. If you want a relaxed layering project with a lot of personality, this is a lovely one to make.
FAQs
1. Is this boho vest beginner-friendly?
Yes. The selected tutorial is specifically described as beginner-friendly and step by step.
2. What yarn works best for a crochet boho vest?
A yarn with soft drape, such as cotton or a smooth blend, usually works best.
3. Can I adjust the size?
Yes. The easiest way is to measure as you go and change the width or length to suit your fit.
4. Is this good for layering?
Yes. A crochet boho vest is especially nice as a lightweight layer over simple tops or dresses.
5. How do I make it look neater?
Keep your tension even, compare both sides often, and finish the edges carefully.