
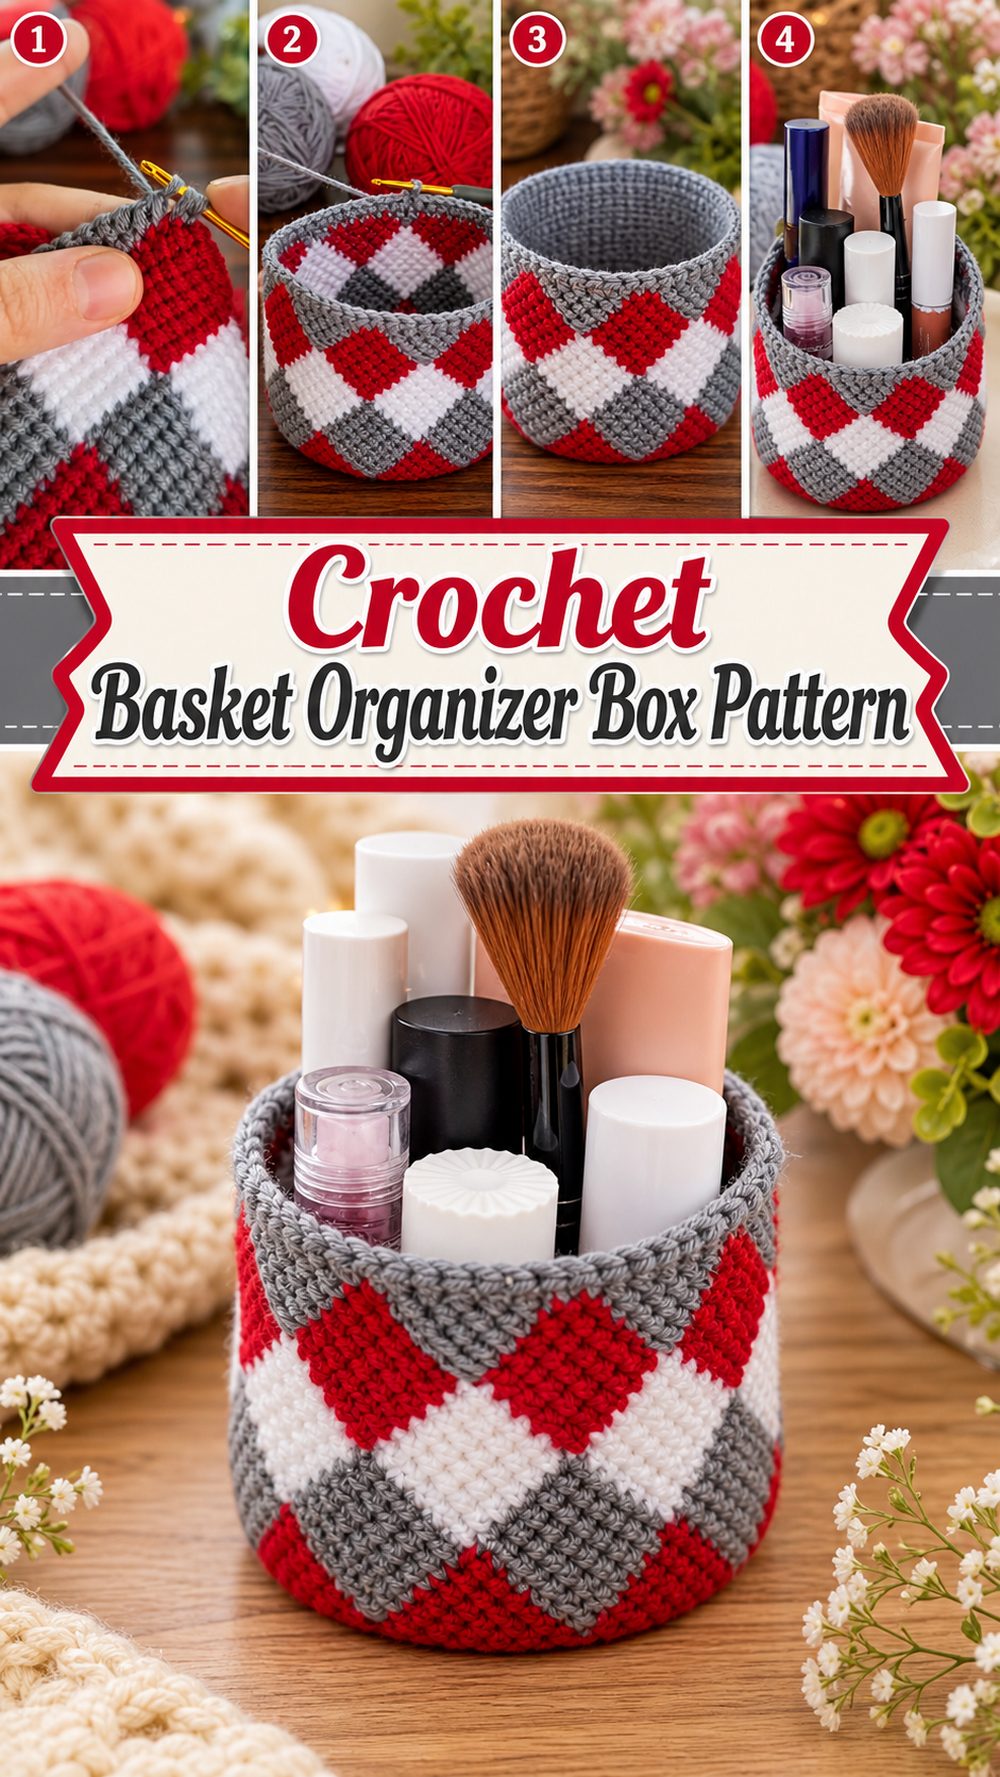
A crochet basket organizer is one of those projects that feels useful the moment you start thinking about it. It is not just pretty to look at. It gives you a practical place to hold all those little things that usually end up scattered around the house, like makeup, hooks, pens, clips, small toiletries, or craft bits. The YouTube tutorial I selected teaches a super easy crochet basket / organizer box and presents it as a useful and decorative project, with a step-by-step format and everyday organizing in mind. It is also shown as a good option for makeup, cosmetics, small items, and gifts, which makes it feel especially versatile for home use or handmade gifting.
Why You’ll Love This Project
This project is easy to enjoy because it gives you something both pretty and practical. A basket organizer is the kind of crochet piece that can sit on a desk, shelf, vanity, or bedside table and instantly make the space look more put together. Since the selected tutorial presents it as simple, decorative, and useful, it feels like a nice balance of relaxing crochet and everyday function.
Materials Needed
- Yarn
- Crochet hook
- Scissors
- Yarn needle
- Stitch markers if you like help keeping corners tidy
- Measuring tape
- Optional firmener or sturdier yarn if you want more structure
Use a yarn and hook size that matches your desired fit and texture.
Best Yarn for This Project
For a basket organizer, the best yarn is usually one that helps the shape stay neat. Cotton is often a lovely choice because it has a cleaner, firmer feel and can make baskets look crisp and well defined. A cotton blend can also work nicely if you want a little softness without losing too much structure. If you prefer a warmer handmade look, you can use acrylic, but it helps to choose one that is not too stretchy or floppy. Since this project is meant to act like an organizer box, yarn with good stitch definition and a bit of body will usually give the best result.
Skill Level
Easy to confident beginner.
The selected YouTube tutorial is described as super easy and step by step, which makes it a friendly choice for crocheters who already know the basics and want to make something useful for the home. It is also a nice project for practicing even edges, shaping, and building a structured item instead of only making flat swatches.
Size and Fit Guide
One of the nicest things about a basket organizer is that you can adjust it to suit your space. If you want it for makeup brushes, make it a little taller. If you want it for small craft items or desk supplies, you can make it wider or more boxy. The easiest way to size it is to think about what you want to store before you begin. Then check the base and side height as you work.
A small organizer can be perfect for clips, lip balm, hooks, or cotton pads. A wider one can hold folded washcloths, yarn tools, or skincare items. If you want a matching set, you can make one small basket first and then repeat the same shape in different sizes.
Stitches Used
The search result clearly supports that this is a step-by-step crochet basket organizer tutorial, but it does not clearly list every stitch used by name. Because of that, it is better to describe it as a straightforward basket-style project with simple construction rather than pretend exact stitch names, stitch counts, or row counts are confirmed when they are not.
How to Make It
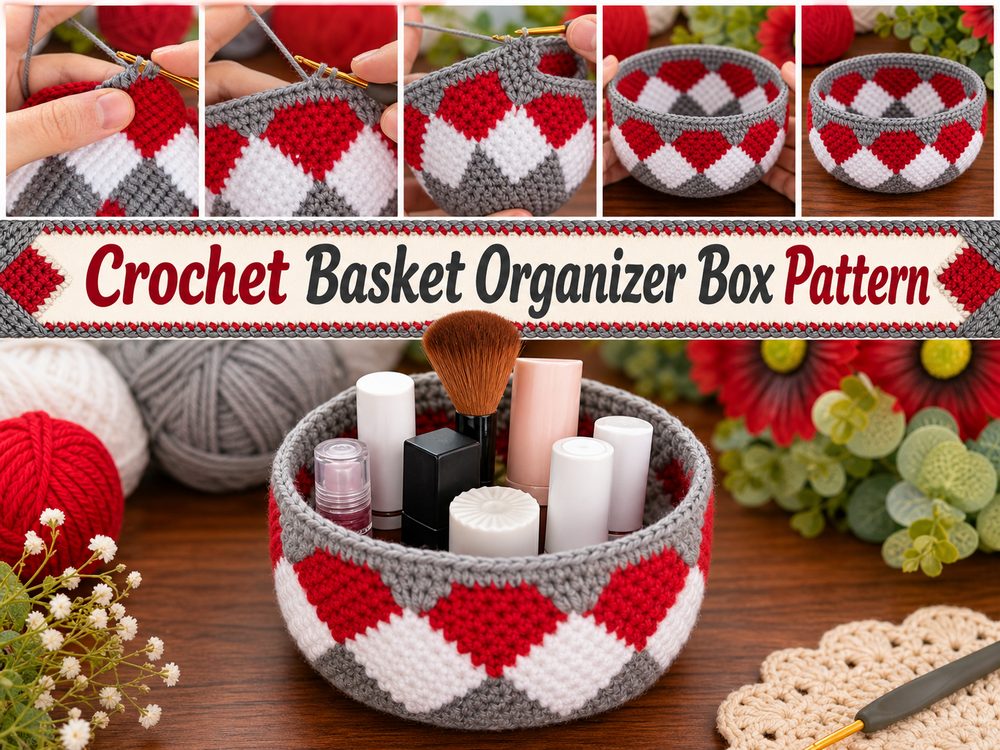
Step 1: Start the Base
A basket organizer usually begins with the base, because that is what sets the shape for everything else. For this kind of project, think of the base as the floor of your little storage box. It can be made to suit the size you want, so this is the stage where you decide whether your basket will be narrow, wide, tall, or more compact.
As you work the beginning section, keep your stitches even and pay attention to how flat the base sits. A tidy base helps the whole basket look neater later. If it starts curling too much, your tension may be too tight. If it looks wavy, your tension may be too loose. A nice balanced tension gives the best result and makes the organizer easier to shape.
Step 2: Build Up the Sides
Once the base is large enough, the next part is turning that flat piece into a basket. This is where the project starts feeling exciting, because you can really see it becoming a little organizer box instead of just a crochet panel. As the sides begin to grow, keep checking that they rise evenly all around.
This part is especially satisfying because basket projects often work up in a very steady rhythm. You can relax into the stitches and just keep going until the height feels right for your intended use. If you are making it for makeup or cosmetics, you may want enough height to hold items upright. If you are using it for small bits and pieces, a lower basket can be just right. The selected video specifically frames the project as suitable for makeup, cosmetics, small items, and gifts, so it makes sense to think in flexible, practical terms while you crochet.
Step 3: Focus on Structure
A basket organizer looks best when it has enough body to hold its shape well. While working the sides, try not to crochet too loosely. A firmer tension often helps a basket stand up better, especially if you are using regular yarn rather than cord or something extra stiff.
If your basket starts feeling too soft, you can still make it work by keeping the size modest and not overloading it with heavy items. Smaller baskets tend to hold their shape more easily. This is one reason simple organizer boxes are such nice crochet projects. They can be practical without needing complicated shaping.
Step 4: Adjust the Size as You Go
The selected tutorial presents this as a useful organizer box, so it makes sense to treat sizing as something flexible. If you need a shallow basket for clips, notions, or keys, stop when the sides feel tall enough. If you want something that works more like a storage basket for cosmetics, toiletries, or slightly taller tools, continue building the sides until the depth feels right.
This is also a good moment to test how you want to use it. Place a few items inside while the basket is still in progress. That gives you a much better idea of whether the height and width feel right. A practical project like this should suit your real life, not just look good in theory.
Step 5: Shape the Corners and Edges
As the basket grows, the corners and upper edge start to define the final look. Even if the tutorial keeps the method simple, neat edges matter a lot in a project like this. A clean top edge can make the whole basket look more polished and intentional.
If you like, you can use stitch markers at key points to help keep the sides balanced, especially if you are aiming for a boxy shape. This is helpful if you want your organizer to sit nicely on a vanity, shelf, or tabletop without leaning.
Step 6: Finish the Basket Neatly
Once the basket reaches the size you want, finish off in a way that keeps the top edge tidy. Weave in your ends carefully, because home décor projects are usually viewed up close and little finishing details show more than they do in a blanket or scarf.
After that, shape the basket gently with your hands. Set it on a flat surface and check whether it stands nicely. The final result should feel useful, decorative, and structured enough to hold small everyday items. That matches the way the selected tutorial presents it: a very useful and decorative basket organizer box.
Helpful Tips
- Choose a yarn with some body if you want the basket to stand up well.
- Keep your tension even so the sides look smooth and balanced.
- Check the size with real items as you go.
- Make the base first with your intended use in mind.
- Use stitch markers if that helps you keep the shape tidy.
- Weave in ends neatly for a more polished finish.
- Make a second basket in a different size for a matching organizer set.
Common Mistakes to Avoid
- Making the base too small for the items you want to store
- Crocheting too loosely so the basket feels floppy
- Forgetting to check the height before finishing
- Letting the edges become uneven
- Using very stretchy yarn if you want a firm basket
- Finishing too quickly without shaping the basket at the end
Customization Ideas
A basket organizer is very easy to personalize. You can make it in soft neutrals for a calm home décor look, or use cheerful colors for a craft room, kid’s room, or desk. A simple basket can also be dressed up with a border, a label, a button detail, or a contrasting top edge. If you love practical crochet, make a whole set in different sizes for makeup, hooks, cords, pens, or small bathroom items.
You can also turn it into a sweet handmade gift. Since the selected tutorial specifically notes that it suits gifts as well as cosmetics and small items, it would be lovely filled with little treats, skincare, craft tools, or a few wrapped goodies.
Style Ideas
This kind of crochet basket organizer looks lovely on a vanity, craft table, bathroom shelf, bedside table, or office desk. It works especially well in spaces where you want storage to feel softer and prettier instead of plain or plastic. You can also pair it with matching crocheted covers, coasters, or trays to create a cozy handmade corner that still feels neat and useful.
Care Instructions
Gently hand wash if needed and lay flat or shape carefully to dry. Avoid high heat, especially if your yarn is acrylic or a delicate blend. If the basket softens after washing, reshape it while damp and let it dry in the form you want.
Time Needed
This may take a few hours depending on your speed, yarn choice, basket size, and how structured you want the finished organizer to feel. Since it is a smaller project, it works well as an afternoon or evening crochet make.
Conclusion
A crochet basket organizer is such a satisfying little project because it brings together beauty and usefulness in a really simple way. It helps clear up small clutter, adds a handmade touch to your space, and gives you plenty of room to play with color, size, and texture. The selected tutorial presents it as a super easy, decorative organizer box that works well for makeup, cosmetics, small items, and gifts, which makes it a lovely choice for everyday crochet with a practical purpose.
FAQs
Is this beginner-friendly?
Yes. The selected tutorial is described as super easy and step by step, so it should feel approachable for beginners with basic crochet experience.
What can I use this basket for?
The tutorial specifically suggests it for makeup, cosmetics, small items, and gifts, so it can be used in many practical ways around the home.
Can I adjust the size?
Yes. Basket organizers are easy to customize by changing the base size and side height as you work.
What yarn is best?
A yarn with good structure and stitch definition usually works best, especially if you want the basket to hold its shape nicely.
Can I make a matching set?
Yes. Once you understand the basic shape, you can repeat it in different sizes for a coordinated organizer collection.