
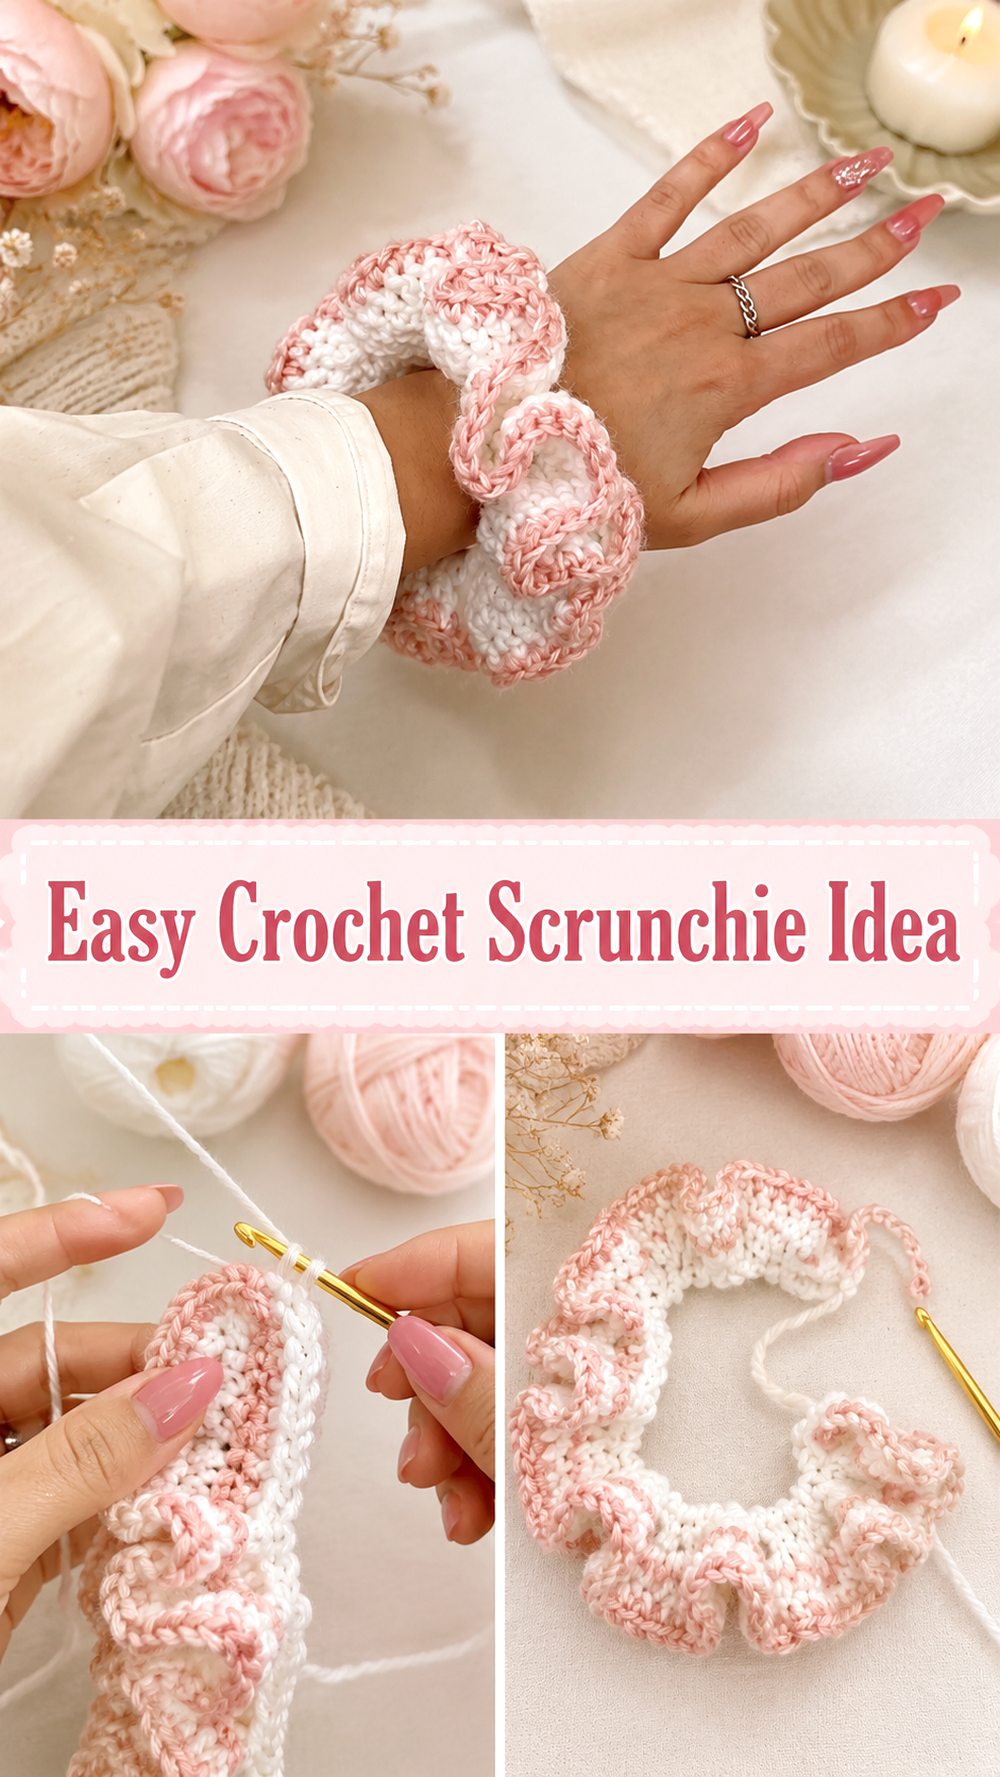
A crochet scrunchie is such a fun little project when you want something quick, cute, and useful. This one has that soft gathered look around a hair tie, and it is a lovely way to use up leftover yarn while making something you can actually wear.
Why You’ll Love This Project
This is a simple project that feels satisfying from start to finish. It is great for a relaxed crochet session, makes a sweet handmade gift, and is easy to customize with different colors and textures.
Materials Needed
- A hair tie or elastic
- Yarn
- Crochet hook
- Scissors
- Yarn needle
Use a yarn and hook size that matches your desired fit and texture.
Best Yarn for This Project
Soft cotton or a smooth lightweight acrylic both work well for scrunchies. Cotton gives a neat shape, while softer yarns can make the finished scrunchie feel fluffier and more textured.
Skill Level
Beginner-friendly.
Size and Fit Guide
You can make it fuller by adding more stitches around the hair tie and keep repeating the ruffle section until you like the look. Adjust the fullness and overall texture as needed.
Stitches Used
- Slip knot
- Chain stitch
- Single crochet
How to Make It
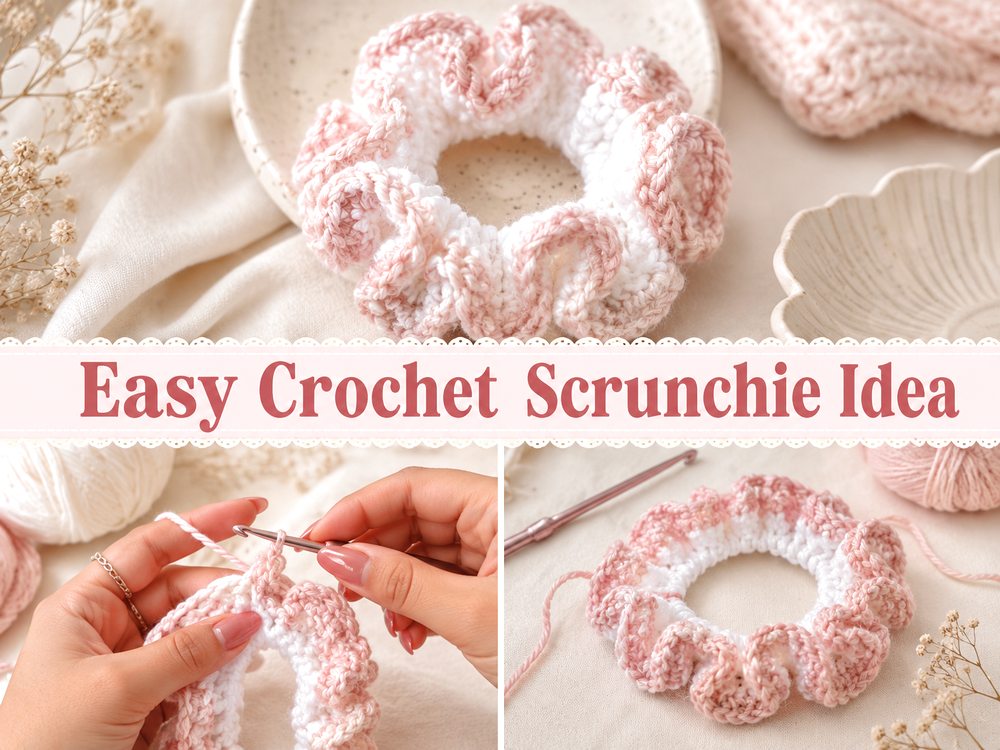
Start the Foundation
Begin by attaching your yarn to the hair tie. Work crochet stitches evenly all the way around the elastic so it is fully covered.
Work the Main Section
Once the hair tie is covered, continue working into those stitches to build the scrunchie texture. This is where the piece starts to bunch and gather into that classic scrunchie shape.
Adjust the Size
Keep repeating the main stitch pattern until the scrunchie looks as full as you want. You can stop earlier for a lighter look or keep going for more volume.
Finish the Edges
When you are happy with the fullness, fasten off your yarn and weave in the ends neatly so the scrunchie feels secure and tidy.
Helpful Tips
- Try to keep your stitches even around the elastic.
- Spread the first round nicely so the hair tie stays fully covered.
- Use a stitch marker if you lose track of where the round begins.
- Check the fullness as you go so you can stop at the look you like.
- Weave in the ends firmly since this project gets stretched during use.
Common Mistakes to Avoid
- Pulling stitches too tight around the hair tie
- Leaving gaps that show the elastic
- Stopping before the scrunchie looks full enough
- Forgetting to secure the ends well
- Using yarn that feels too stiff for the look you want
Customization Ideas
Try a pastel version for spring, bold shades for a playful look, or a neutral color for everyday wear. You could also add a bow, make it extra ruffled, or use a textured yarn for a fluffier finish.
Style Ideas
Wear it in a ponytail, on a messy bun, or on your wrist as a cute accessory. It also makes a nice little add-on for gift baskets, party favors, or stocking stuffers.
Care Instructions
Hand wash gently in cool water if needed. Reshape it while damp and lay it flat to dry. Avoid rough washing so it keeps its gathered shape.
Time Needed
This may take a few hours depending on your speed, yarn, size, and stitch pattern.
Conclusion
This crochet scrunchie is a lovely small project that is both practical and pretty. It is perfect when you want something easy, giftable, and enjoyable to make.
FAQs
Can beginners make this?
Yes, this is a good beginner project with simple steps.
Do I need a lot of yarn?
No, this is a great stash-buster project.
Can I make it fuller?
Yes, just keep repeating until you like the volume.
What yarn works best?
Cotton or soft acrylic both work nicely depending on the finish you want.
Can I make more than one quickly?
Yes, once you get the hang of it, they are easy to make in different colors.