
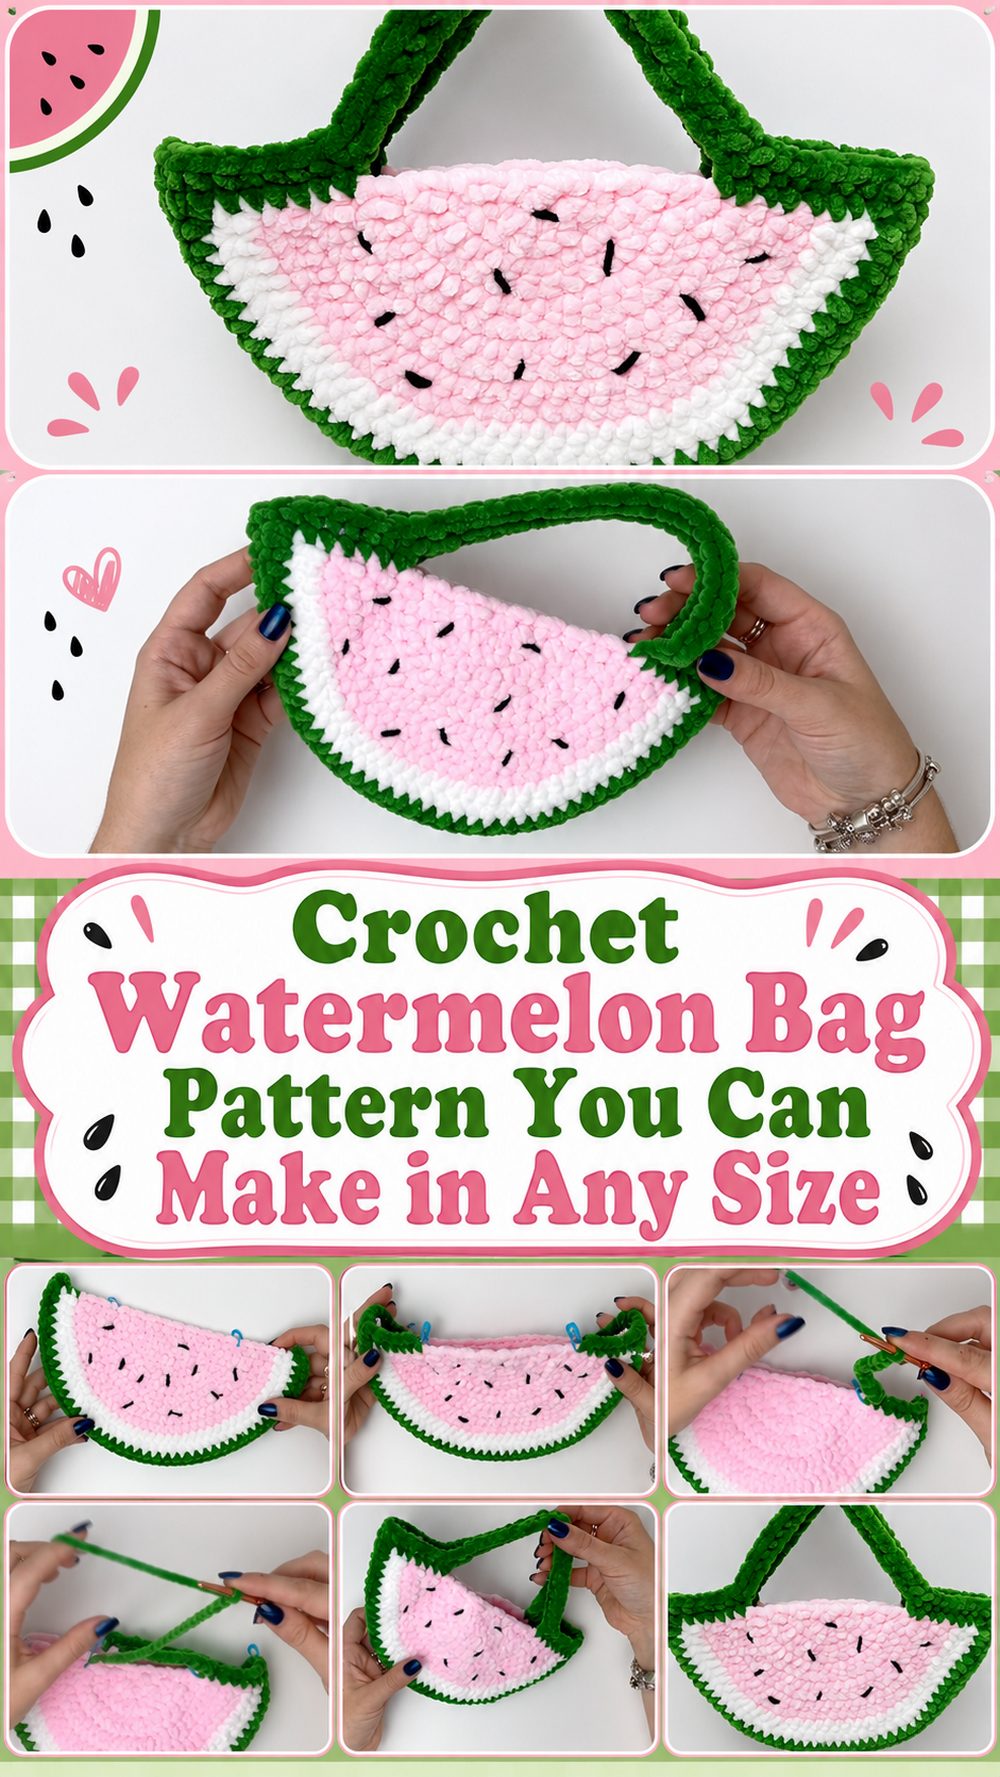
Crochet Watermelon Bag Watermelon bag is a fun project that is playful and practical. It has that bright summer look but still useful enough to carry on a walk, a market trip, a day at the beach or just as a cute everyday accessory. This tutorial teaches a no sew watermelon bag and shows that you can make this in different sizes which makes it even more attractive if you like to adjust your crochet to fit your style. The shape is happy, the colour shifts give it that classic watermelon feel, and the finished piece feels fresh and handmade in the nicest way. If you like small bags, crochet that looks like fruit, or easy to wear projects that have that special look, this is a lovely one to try.
Why You’ll Love This Idea
This bag is such a fun combination of simple crochet, bold colour changes and a cute finished shape. It’s especially nice for summer, stash-friendly crochet and gift-worthy. The no-sew construction makes it feel less fussy as you work.
Materials Required
Red Thread
WHITE THREAD
Yarn: Green
Seed detail in black yarn
Crochet-hooks
scissors.
Yarn needle
Progress markers
Tape measure
Choose a yarn and hook size that will give you the fit and texture you want. The tutorial says the bag size is customisable so you can make it bigger or smaller depending on what you want to put in it.
Best Yarn for This Pattern:
If you are making a watermelon bag, using a smooth yarn with good stitch definition is very good because it makes the colour sections and the seed details more visible. If you want a summery feel, choose lightweight cotton or a soft cotton blend, as this will help the bag feel breathable and keep the shape looking neat. If you want something softer and more casual, a gentle acrylic or acrylic blend will do nicely as well.
Level of skill:
Good for beginners to easy. The tutorial is a full crochet pattern for beginners and the project seems doable if you know how to make basic stitches, work in rounds/shaped rows and change colours nicely.
Size & Fit Guide:
One of the best things about this project is that you can make the bag in any size you want. Before you start, measure how wide and deep you want your bag to be, then keep checking the shape as you crochet. You can stop the main body early for a smaller purse, or carry on longer for a roomier everyday bag. If you want it to be a crossbody make the strap longer. If you want a shoulder bag, keep it shorter, more compact.
Used Stitches:
Chain
slip-stitch
Basic crochet stitches for shaping the body of the bag
Colour changes
Seed decorative details
This tutorial is marked as beginner-friendly, so the construction is based on simple basic crochet stitches, not something too complicated.
How to Prepare
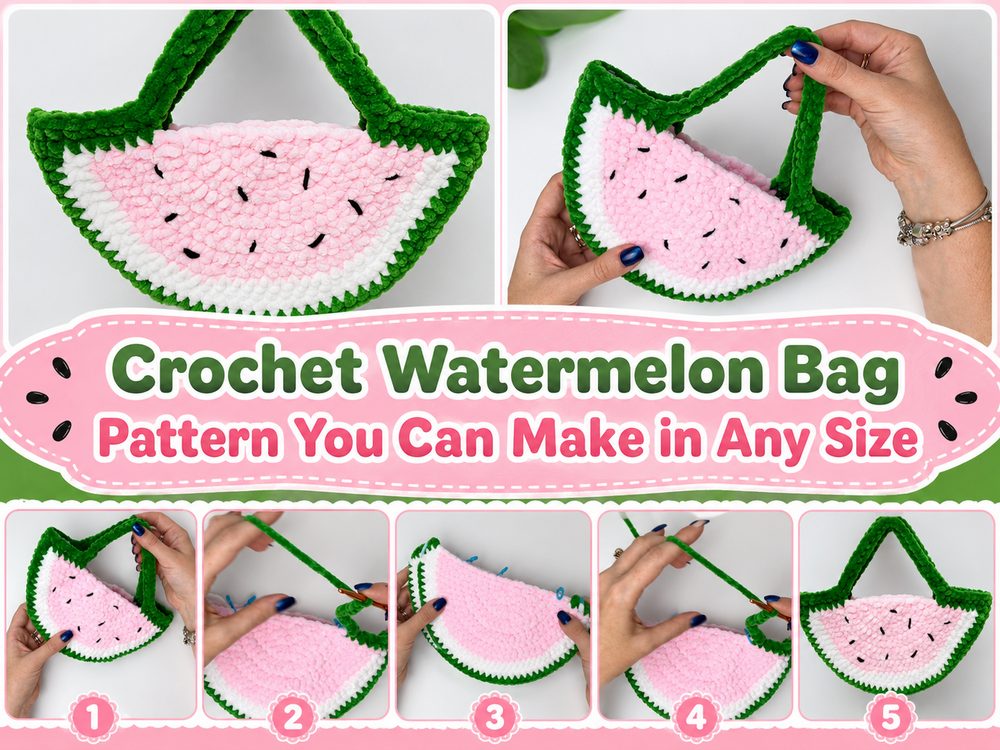
Step 1: Lay the Foundation
One of the things that makes this project feel so satisfying is that you begin by constructing the main shape of this watermelon bag first, instead of having to rely on separate sewn pieces later. Begin with the base section in the watermelon colours. Be sure to make even stitches so the shape remains neat. The tutorial does not restrict you to a specific size, so rather than forcing the bag to be one exact measurement, focus more on the shape and proportion.
Step 2: Create the Watermelon Look
This project is charming by the colour layout. The red section is the main fruit area, then a narrow light stripe gives that fresh cut-watermelon effect and the green section makes the rind. Work your colour changes cleanly and take your time here, because this is what makes the finished bag instantly identifiable. If your yarn twists a bit at the joins, slow down and straighten it out as you go. A nice colour transition really makes a big difference on a project like this.
Step 3: Make the Body of the Bag
Follow the curve and depth of the piece as the body grows. The finished bag in the tutorial has that classic watermelon inspired shape, so you want the body to look balanced, not too flat, not too narrow. The bag is customisable, so you can just keep adding rounds or rows until the bag feels big enough for you. Now is a good time to think of what you want to put inside. A smaller one makes a great little purse and a larger one can carry more everyday essentials.
Step 4: Add the Seed Info
The black seed accents are what really makes the watermelon theme come alive. Once the main body is built, add them and place them in a balanced way over the red section. There is no need to overdo them. Usually a few well spaced seeds look cleaner and cuter than packing in too many. Before you lock in all the details, try stepping back and looking at the bag from a little distance. That makes it easier to see if the design is symetrical.
Step 5: Make the bag without stitching
The tutorial notes that the bag pattern itself is no sew which is a big plus if you don’t like piecing crochet projects together afterwards. The structure is worked so the bag comes together as part of the crochet process, rather than making several separate panels and then stitching them up later. That makes the project go more smoothly, and often gives the finished bag a more polished look too.
Step 6: Create and Attach the Strap
Once the body is the size you want, add the strap length that suits your method of wearing. Keep it short for a mini hand-held bag. If it’s a shoulder bag, go for extra length. For a crossbody, make it a little longer so it sits comfortably across the body without pulling the bag up too high. Try the strap on before you finish it off completely, the right length can change the whole feel of the bag.
Step 7: Finish the Edge
Clean edges make a fun bag like this look neat and on purpose. If necessary, run around the top edge to smooth everything out and make the opening feel secure. Weave in the ends carefully, especially at colour changes and seed information. By the time you are done, your bag should be bright, round, and obviously inspired by a slice of watermelon, with the red center, light stripe, green edge and black seed accents all working together.
Helpful Hints
Try to keep your tension consistent as much as possible to keep the curve smooth. If you are a knitter who has a tendency to lose the start of a round or the edge of a section, use stitch markers. Check the size before you finish the bag body so you don’t end up with something smaller than you hoped. Cotton yarn is especially nice if you are making the bag for summer use as it helps keep the project feeling light and crisp.
Common Errors to Avoid
It is a common mistake to make the colour changes too tight and pull the bag out of shape. Another is planting the seeds unevenly so that the front looks crowded on one side. Some crocheters also skip measuring the length of the strap before closing it off and speed up the process. Weave loose ends around the colour joins to keep the inside tidy. And if you are resizing the bag, don’t forget to change the strap to the new scale.
Customisation Suggestions
There are lots of easy ways you can make this bag sweeter and more personal. The darker green rind will be more contrasting. If you want a pastel fruit try a softer pink/red. For extra security, you could add a zipper, a button loop or a simple lining. A wrist strap version would be adorable for a mini purse, and a longer strap makes it an easy everyday summer bag. The tutorial is size flexible, so you can also make the bag bigger for beach essentials or smaller for a kid’s accessory.
Style Inspiration
It looks great with casual summer outfits, denim, simple dresses, sandals or beachwear. It also makes a happy handmade gift for the fruit lover, the colour lover, or the playful crochet lover. It’s a fun handmade touch for markets, picnics, festivals or vacation days but not too heavy.
Easy care instructions
If you can hand wash, gently, especially if you want the shape and colour sections to stay nice. Lay flat to dry. Avoid high heat. If the bag stretches a little after use, reshape it with your hands while it dries.
Estimated Time:
Conclusion
This crochet watermelon bag is the kind of project that feels happy from start to finish. It gives you room to play with color, adjust the size, and enjoy a no-sew construction that keeps things simpler. You can keep it small and cute or make it more practical, and that flexibility makes it a great project to revisit in different ways. It is bright, useful, and full of summer charm.
FAQs
1. Is this beginner-friendly?
Yes, it is presented as a beginner-friendly full tutorial, so it should suit newer crocheters who know the basics.
2. Can I adjust the size?
Yes. The tutorial specifically says the bag can be made in any size you like.
3. Does this project require sewing pieces together?
No. The bag pattern is described as no sew.
4. What yarn works best for a summer watermelon bag?
Cotton or a cotton blend is a lovely choice because it feels light, breathable, and neat.
5. How can I make the bag more comfortable to wear?
Test the strap length before finishing, and choose a yarn that feels soft but still gives the bag enough structure.