
A crochet baby sun hat needs a comfortable crown, a soft inner surface and a brim that does not fall across the face. The original tutorial should remain the source for exact stitch counts and sizing. This guide focuses on the decisions that make the finished hat more wearable: measuring the head, checking crown width, choosing a suitable fibre, keeping the brim balanced and avoiding loose decorative parts. A handmade hat is not a substitute for shade, protective clothing or other sun-safety advice from a qualified health professional.
Quick List
- Understanding the Top-Down Hat Shape
- Choosing a Soft Warm-Weather Yarn
- Measuring for a Comfortable Fit
- Checking the Crown Before the Sides
- Controlling Hat Depth
- Creating a Balanced Brim
- Keeping Decorations Baby-Appropriate
- Care, Supervision and Realistic Use
Why This Baby Sun Hat Article Needs Careful Guidance
The current page contains repeated wording, guessed stitch information and broad advice to resize by changing rounds without enough warning that those changes affect the entire shape. Baby items need more careful language. The useful value is in helping readers follow the original pattern accurately, compare finished measurements, keep the inner surface smooth and avoid treating a decorative crochet brim as guaranteed sun protection.
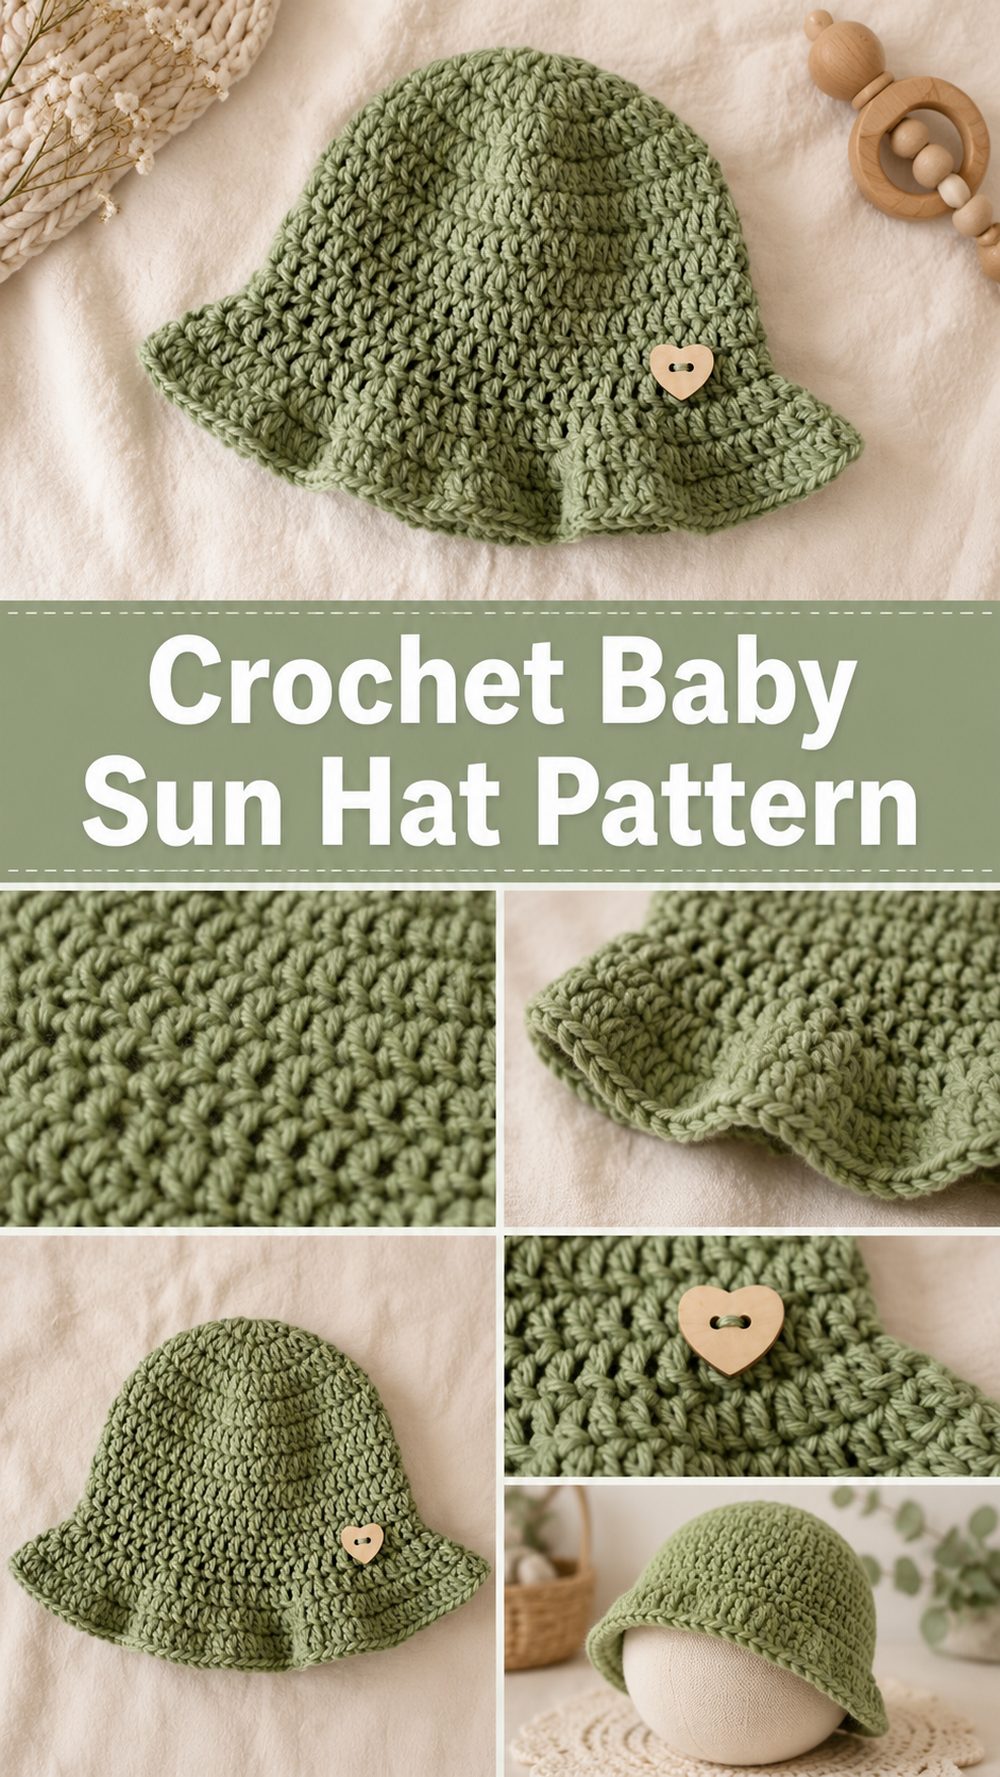
1. Understanding the Top-Down Crochet Hat Shape
Many baby sun hats begin with a flat or gently shaped crown, continue into straight side rounds and finish with increases that form the brim. Each section has a different job. The crown controls circumference, the sides control depth and the brim creates the outward flare.
Why the Construction Order Matters
Adding extra rounds in one section does not produce the same result as adding them in another. More crown increases change width, extra side rounds change depth and additional brim increases change flare. Follow the original pattern rather than making several changes at once.
Check the Shape Between Sections
Lay the crown flat before beginning the sides. It should match the designer’s intended shape without heavy ruffling or tight cupping. Once the side section begins, check that the hat turns downward smoothly instead of continuing to spread like a flat circle.
2. Choosing Yarn for a Baby Sun Hat
A warm-weather hat should feel light and smooth, but the brim also needs enough body to hold a useful shape. Many designers choose cotton or a soft cotton blend, though the exact fibre and weight should come from the pattern. A heavy or fuzzy yarn can make the hat warmer and hide uneven stitches.
Look for a Smooth Inner Surface
Choose yarn that does not feel scratchy against sensitive skin and avoid fibres that shed easily. Make a swatch, wash it according to the label and feel both sides after drying. A yarn that feels soft in the ball can become firmer when crocheted tightly.
Balance Drape and Brim Shape
Very soft yarn may create a brim that collapses, while very firm yarn can feel stiff around the head. Use the yarn recommended by the designer where possible. Substituting fibre or weight may require a new gauge and can change the entire fit.
3. Measuring for a Comfortable Baby Hat Fit
Age labels are only a starting point because babies of the same age can have different head measurements. Use the pattern’s finished circumference and intended ease. The hat should stay in place without pressing into the forehead or leaving a deep mark.
Measure the Head Gently
Use a soft tape around the widest part of the head, keeping it level and comfortably loose. Do not pull the tape tight. When the hat is a gift and an accurate measurement is unavailable, use the designer’s size chart rather than inventing a custom size from general age alone.
Compare Finished Measurements
Check circumference and depth, not only the crown diameter. Two hats can have a similar width but sit differently because one has deeper sides or a tighter edge. A pattern that provides finished measurements is more reliable than a photo-based guess.
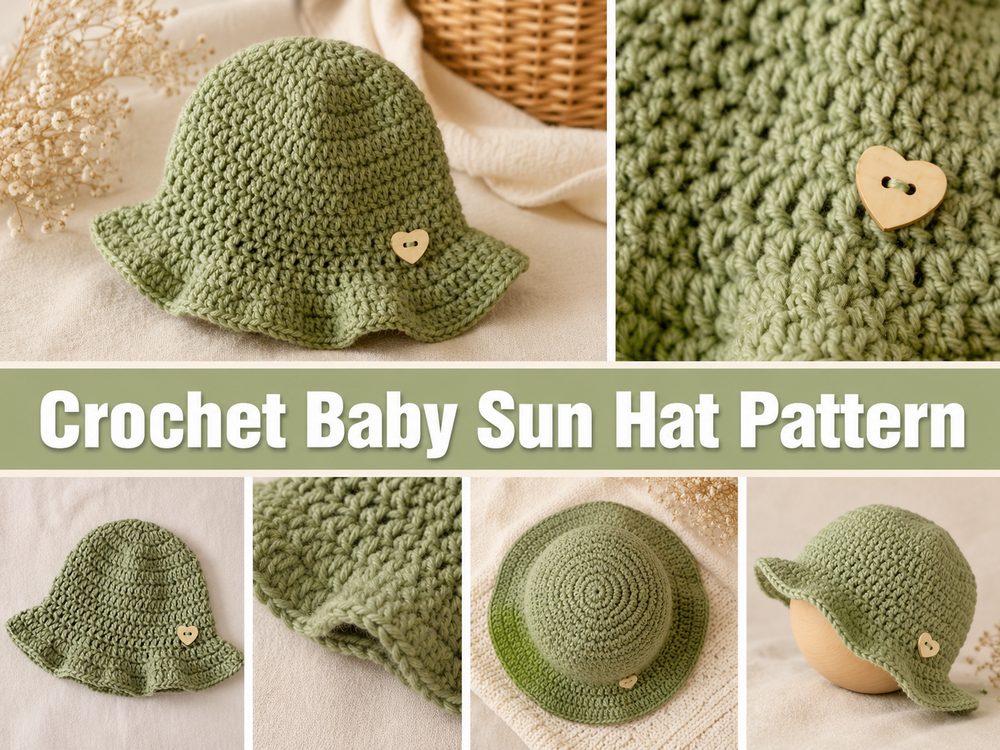
4. Checking the Crown Before Working the Hat Sides
The crown is the foundation of the fit. If it is already too small, continuing downward will not create enough room. If it is too wide, the hat may fall over the eyes or sit loosely even when the side depth looks correct.
Watch for Cupping and Ruffling
A crown that cups earlier than the pattern intends may be too tight or may have too few increases. A strongly ruffled circle may have too much width. Recheck the pattern, stitch count and gauge before assuming the shape can be fixed in later rounds.
Use Stitch Markers for Even Rounds
Mark the beginning of rounds and any increase points specified by the pattern. Even spacing helps the crown stay balanced. Moving an increase repeatedly into the same area can create visible angles instead of a smooth rounded top.
5. Controlling the Hat Depth
The side section determines where the lower edge sits around the ears and forehead. A hat that is too shallow may lift easily, while a deep hat can cover the eyes before the brim begins.
Check Depth Before Adding the Brim
Use the designer’s measurement point and compare the hat with the intended size. Do not simply add several rounds for growth, because a deeper hat is not the same as a wider hat. The wearer needs room without excess fabric folding around the face.
Keep the Lower Edge Comfortable
The lower edge should not become tighter than the main body. If the pattern adds an edging round, check its tension carefully. A decorative border can reduce stretch and change the final fit.
6. Creating a Balanced Crochet Sun-Hat Brim
A brim needs enough width to create the intended style without becoming heavy or blocking vision. The increase rate, fibre and stitch density all affect whether it lies flat, waves softly or ruffles.
Follow the Patterned Increase Rate
Adding extra increases may create a ruffle rather than more useful coverage. Too few increases can pull the brim downward or make it curl. Complete the original brim first, then assess the shape before making any carefully planned change.
Keep the Brim Clear of the Face
The edge should not repeatedly fall across the eyes or mouth. A very wide floppy brim may look attractive in a photo but be inconvenient in real use. Test positioning only with attentive adult supervision and stop using the hat if it interferes with vision or breathing.
7. Keeping Baby Hat Decorations Simple
Flowers, bows and ties can make the hat look special, but every added part changes comfort and introduces another attachment point. A clean colour change or stitched edging often provides enough decoration without loose components.
Avoid Detachable Small Parts
Buttons, beads, charms and loosely attached appliques can come off. A baby accessory should not include decorations that can become small loose objects. Embroidered or fully integrated details reduce bulk, but they still need secure ends and a smooth inside.
Be Cautious with Ties
Long cords or ties can create an entanglement risk. Do not add them casually as a styling feature. Follow the original pattern and current child-safety guidance for the intended age and use.
8. Care, Supervision and Realistic Sun Use
The hat should be washed according to the yarn label and reshaped without high heat unless the fibre instructions allow it. Recheck the fit after washing because cotton and other fibres may relax, shrink or change stiffness.
A Crochet Hat Is Not Complete Sun Protection
Open stitches and a soft handmade brim may allow sunlight through. Use the hat only as one clothing accessory alongside appropriate shade, timing, clothing and professional health guidance. Do not make a specific protection-factor claim unless the finished product has been properly tested.
Use with Attentive Supervision
Check that the hat remains clear of the face and remove it during sleep or whenever supervision is not appropriate. Inspect seams, edges and decorations before each use and stop using the item if it becomes stretched, damaged or too small.
Conclusion
This crochet baby sun hat is a sweet and practical project that feels very satisfying to make. It is simple enough to enjoy without stress, but still gives you a finished piece that looks thoughtful and handmade. You can easily adjust it with different yarns, colors, and brim depth to suit your style or the baby you are making it for. If you want a warm-weather crochet project that is cute, useful, and beginner-friendly, this is a lovely one to try.
FAQs
1. Is this project beginner-friendly?
Yes. The selected tutorial presents it as a very easy baby sun hat, so it is a nice project for beginners.
2. What yarn works best for a baby sun hat?
Lightweight cotton or a soft breathable blend works very well for warm-weather baby hats.
3. Can I adjust the size?
Yes. You can adjust the crown width, hat depth, and brim rounds as needed while checking the fit.
4. Is this good for summer?
Yes. The tutorial is specifically described as a summer baby hat, so it suits warm weather especially well.
5. How do I make it more comfortable for a baby?
Use soft yarn, avoid tight stitches, and make sure the fit is gentle rather than snug.