
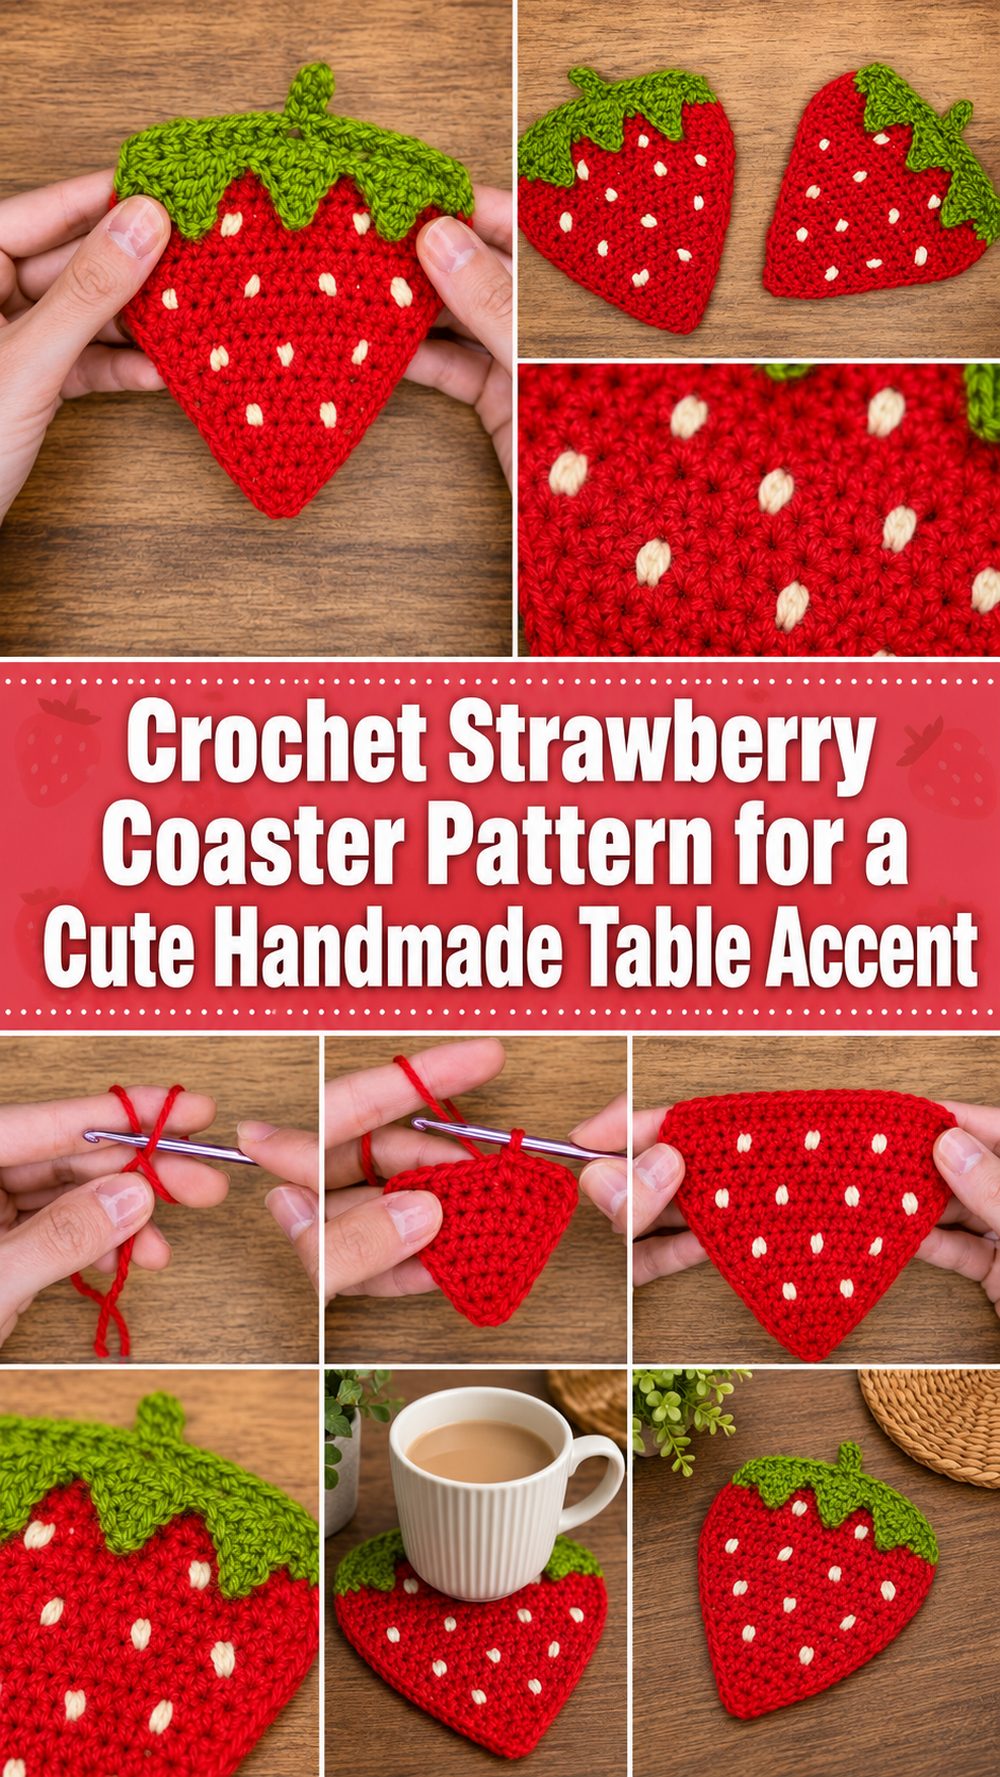
A crochet strawberry coaster is such a sweet little project for brightening up your table, desk, coffee corner, or summer A crochet strawberry coaster is such a cute little project to add a little sweetness to your table, desk, coffee corner or summer tray. It’s got that happy fruit shape we all know, with a soft red body, green leafy top and little seed details that give it a playful feel without being too complicated. This is the type of small crochet make that is ideal when you want something quick, useful and giftable. Make one for your own cup, crochet a matching set for the kitchen, or use them as handmade party favours for spring and summer parties. It’s also a great project for using up scraps of yarn as you only need small amounts of each colour. The finished coaster is cute, practical and full of handmade charm.
Why You’ll Like This Project:
This crochet strawberry coaster is fun because it gives you a finished item that is useful without taking on a big project. “The shape is simple, the colour changes make it interesting and the little seed details bring the whole strawberry to life.” Great make for beginners who want to practise shaping, neat edges and finishing touches but still end up with something adorable and practical.
Materials Required:
Red, medium weight Yarn
Green medium weight yarn
A wee white yarn for the seed details
4 mm crochet hook
Scissors
Needle for yarn
Stitch marker (optional, but helpful
Measuring tape (optional)
If you want a coaster that is smaller, larger, softer or firmer, use a yarn and hook size that will give you the fit and texture you desire.
Best Yarn for This Project:
Cotton yarn is generally the best for a coaster because it holds its shape well, copes with moisture better than fuzzy yarn and provides a clean, flat look to the finished piece. A medium-weight cotton or cotton blend yarn is especially good if you want your strawberry coaster to feel sturdy under a mug or glass. You can also practise with acrylic or use it for decoration but cotton is more practical for everyday use.
Skill Level
This project is a good one for beginners, especially someone who already knows the basic crochet stitches. The shaping is easy to follow step by step and the small size makes it less daunting than a large home décor piece. Confident beginners will love the colour changes, leafy top and embroidered seed details.
Size & Fit Guide:
The size of the coaster will depend on your yarn, hook and tension. If you want a larger coaster for mugs, use a thicker yarn or keep shaping until the body of the strawberry is large enough. If you want a smaller coaster for cups or decoration use thinner yarn and a smaller hook. As you’re working, place your cup or mug over the piece to check if it’s giving you enough coverage.
Stitches in Use:
The tutorial uses basic crochet stitches so it’s a good beginner strawberry coaster. You will learn through simple foundation stitches, turning or joining techniques and basic shaping. You should know chain stitches, single crochet style stitches, slip stitches for joining or finishing and easy colour changes. Later the seed details are added with a yarn needle.
How to Prepare It:
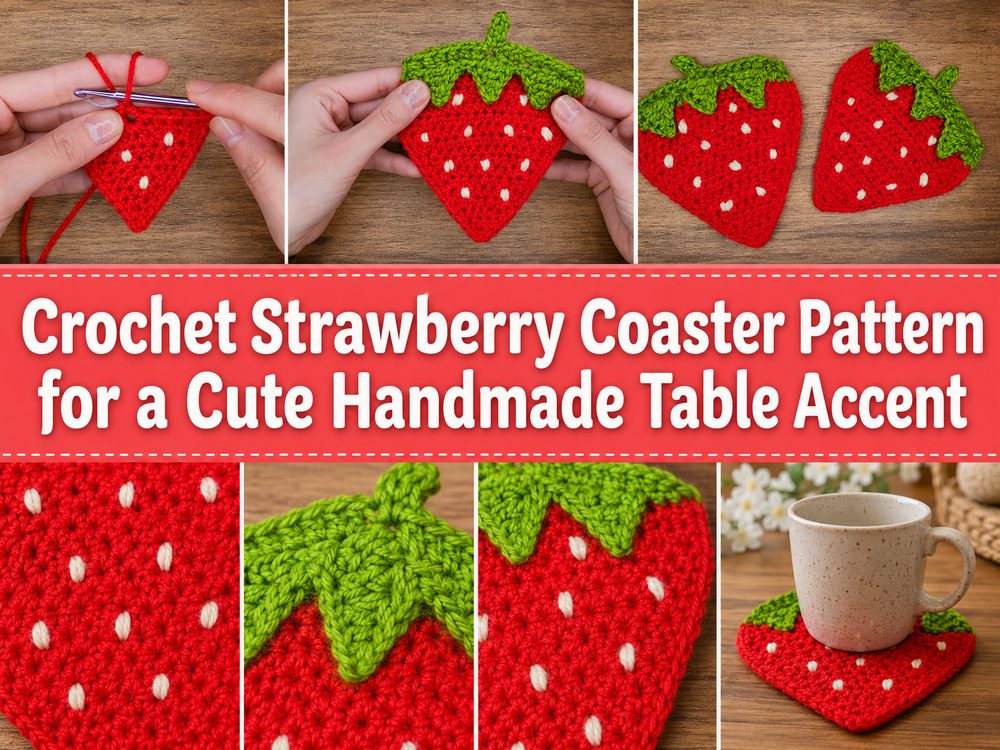
Step 1: Begin Strawberry Body
Start with the red yarn, this will create the main strawberry shape. The coaster begins in the middle or bottom of the strawberry and slowly expands outward. From the start, keep tension even so the coaster will lay flat, not curl.
The idea when forming the red section is to create a rounded strawberry body that is wider in the middle and tapers off gently at the top. This shape is what makes the coaster look like a strawberry and not just a simple circle or oval. If your edges start waving, your stitches may be too loose or you may be adding width too fast. If the piece cups up, your stitches might be too tight or the shape could need a little more ease.
Work slowly and smooth the piece as you go with your hand. Check the shape early so it will lay nicely on a flat surface. It is much easier to finish this way.
Step 2: Make the Red Coaster Base
Keep crocheting with the red yarn until you have a useful coaster size. The strawberry body should be wide enough to fit the base of a cup comfortably. Exact sizing can vary depending on yarn and tension, so the safest way to adjust is to place a mug over the piece and see how it covers.
The red part needs to be rounded at the bottom, fuller in the middle and a little shaped near the top where the green leaves will be added. Try not to tighten the stitches too much on the edges. A smooth edge will help the strawberry sit flat while a sharp edge will cause the coaster to curl.
This is also where the project begins to feel satisfying, as the body grows and the shape of the fruit becomes clearer. If necessary, use your stitch marker to mark the beginning of a round or the side edge.
Step 3: Add the Green Leafy Top
Once the red strawberry body is made, switch to green yarn for the leafy top. The green part is what gives the coaster its strawberry appearance so take your time with this part. The leaves are worked along the top edge, creating small pointed shapes that hover above the red body.
Each leaf should appear like a little point or petal. The leaves don’t have to be exactly the same but should be balanced enough to make the top look tidy. If one leaf feels too loose, adjust your tension slightly tighter. If they curl too much later on you can block the leaves.
The green top helps hide the transition area too and gives the coaster a finished look. Be sure to secure your yarn ends when changing colours so the coaster will hold up to everyday use.
Step 4: Make the Strawberry Shape
The shaping is where the charm of this coaster lies. There shouldn’t be a plain round coaster with leaves stuck on it. The red part needs a soft strawberry outline, and the green top should naturally cover the top edge.
To maintain a clean shape, keep checking the coaster on a flat surface. Don’t worry too much if it looks uneven, you are still working. You can usually improve small uneven areas when you weave in ends and gently block the piece.
If you want a bigger strawberry increase the width before you finish the red section. If you want a longer strawberry, go a little further with the body before adding the green top. The idea is to keep the proportions sweet and fruity, and plenty of surface area to protect your table.
Step 5: Enter the Seed Information
When the main shape of the coaster is finished, add the seed detail with white yarn and a yarn needle. The little stitches make the coaster look like a strawberry straight away. Space them across the red body, scattering them rather than lining them up too perfectly.
Depending on the look you like, use small straight stitches or tiny V-shaped stitches. Ensure the seed stitches are short enough so they don’t snag when the coaster is in use. Tie off the yarn neatly on the back, but don’t make clunky knots that could prevent the coaster from lying flat.
A good tip is to start with less seeds and add more only if the strawberry looks too plain. Adding an extra seed stitch is easier than taking too many out.
Step 6: Weave in the tails
When the strawberry body, leafy top and seed details are done, flip the coaster over and weave in all yarn tails with a yarn needle. Bring the ends in and work them through the stitches close by to hide them and hold them in place.
This is a coaster so the back should be as smooth as can be. Bulky yarn tails can cause the piece to wobble under a cup. Make sure the ends are secure before trimming them.
With fingers, round the edges. Stretch the bottom curve a little, smooth the sides and place the green leaves where they look good.
Step 7: Complete and Flatten the Coaster
The finished coaster will look like a soft red strawberry with a green leafy top and little white seed details. lightly block if your piece curls a bit. You can wet the coaster, shape it on a towel and let it dry flat. This makes the edges relax and makes the strawberry look cleaner.
If you want a firmer coaster, then use cotton yarn and a hook size that gives you a close, sturdy fabric. If you want a softer decorative coaster you can use acrylic or a looser tension, but remember that very soft yarn may not protect the table as well.
The final coaster should be bright, flat and ready to go under a mug, glass, small candle or plant pot.
Helpful Hints:
If you want the coaster to be functional for drinks, use cotton yarn. Maintain an even stitch tension so the strawberry doesn’t twist or curl. Check size with your favourite mug before finishing the red body. When adding seeds, make sure the stitches are small and secure so they don’t catch on cups. If you make a set, write down your yarn, hook and any adjustments so each coaster is close in size. Blocking is an easy way to clean up the strawberry especially around the green leaves.
Errors to Watch Out For:
If you tighten the stitches too much the coaster will cup
adding too loose seed stitches making them easy to snag
Forgetting to tie yarn ends firmly on the back
with very fuzzy yarn that can hide the strawberry shape
Skip the fit test with a mug or glass.
pulling the green leaf section too tight can distort the top edge
Customisation Ideas: *
Knit this strawberry coaster in traditional red, pale pink, rich berry or even a pastel colour for a cute cottage style finish. For a softer finish, try yellow or cream seed stitches. You can even make the leafy top bigger for a fun cartoon strawberry style or keep it small and tidy for a cleaner coaster. Adding a thin border around the red body may add definition. You could mix the strawberry coasters with lemon, orange, watermelon or apple coasters for a full fruit set.
Styling Ideas:
Use your crochet strawberry coaster for iced tea, coffee, lemonade or a small dessert plate It looks lovely on a summer table, picnic tray, beside table or craft desk. A set of four is a lovely handmade house warming gift. Or tuck one into a gift basket with a mug, tea bags, and a small candle for a cosy handmade gift.
Care Details:
If you used cotton yarn, hand wash the coaster gently in cool water. Don’t twist the fabric but squeeze out the excess water with a towel. Lay flat to dry and reshape the strawberry while it is still wet. Avoid high heat as this can shrink cotton or change the texture of synthetic yarn.
Time Required:
Depending on your speed, yarn, size and stitch pattern, this may take a few hours. Once you have the shape, the next coaster will usually seem much faster.
Conclusion:
A crochet strawberry coaster is a small project with a lot of personality. It is useful, cute, beginner-friendly, and easy to customize with your favorite yarn colors. Whether you make one for your desk or a full set for your kitchen table, this pattern is a lovely way to practice shaping, color changes, and simple finishing details. Take your time with the leafy top and seed stitches, and enjoy turning a few scraps of yarn into something cheerful and handmade.
FAQs:
Is this crochet strawberry coaster beginner-friendly?
Yes. It is best for beginners who know basic crochet stitches and want to practice simple shaping and finishing.
What yarn is best for a coaster?
Cotton yarn is the best choice because it is sturdy, absorbent, and helps the coaster lie flat.
Can I adjust the size?
Yes. Use a different yarn weight or hook size, or continue the body until it is large enough for your cup.
Can I make this for summer décor?
Absolutely. The strawberry design is perfect for summer tables, picnics, cold drinks, and bright kitchen décor.
Can I sell the finished coaster?
In most cases, handmade finished items can be sold, but always respect the original tutorial creator’s pattern terms if they are stated.